Hello, friends! Your favorite designer and author of the blog design-foto.ru is here. Today we’re going to talk about a seemingly simple but very important topic – how to properly seal drywall seams. This stage is a real test of strength for your future walls, as it determines how smooth, even, and, most importantly, durable your finish will be. If you’ve ever seen thin, disheartening cracks spreading across freshly painted walls, running precisely along the joints of drywall sheets, you know how unpleasant it is. But don’t worry! In this article, I will reveal all the secrets on how to avoid this misfortune and achieve a truly seamless, perfect result. We’ll go through the entire process from choosing the right materials to the final sanding, so by the end of the article, you’ll be ready to tackle this task yourself with flying colors.
Wall Putty for Wallpaper: How Many Coats Are Needed and How to Apply?
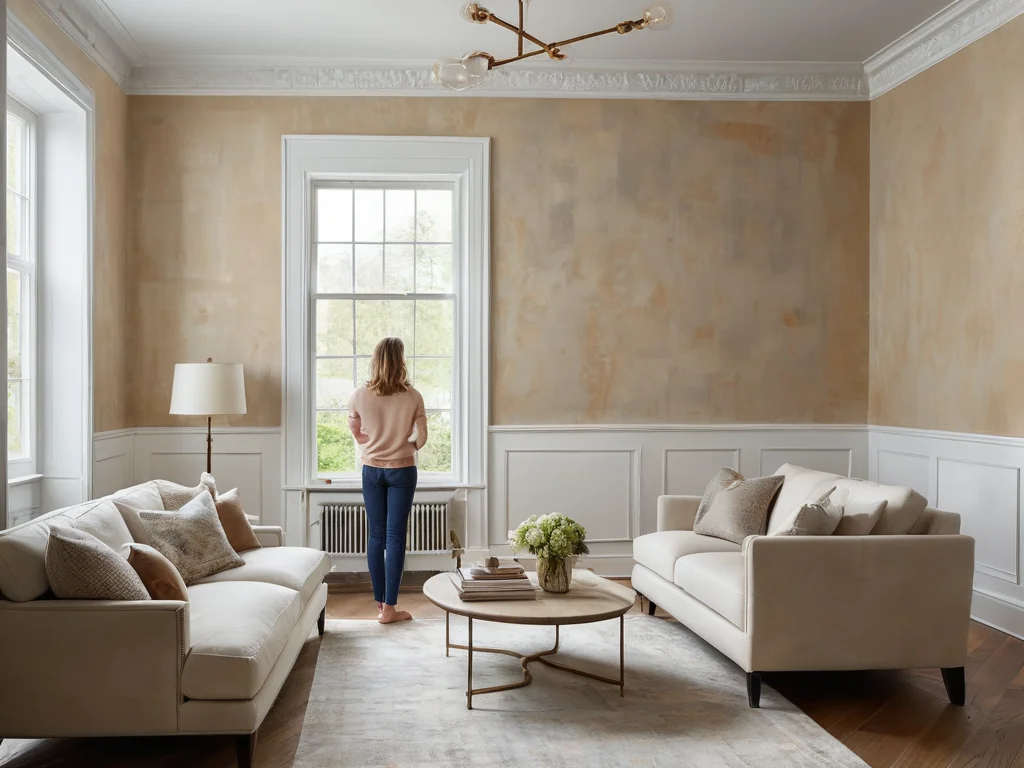
Greetings, friends! Today we will talk about what seems like a simple, but very important stage of any renovation – puttying walls for wallpaper. Many believe that this is a routine task that can be done “anyhow,” since there will be wallpaper on top anyway. But believe me, as a designer with many years of experience, it is the quality of the putty that determines how even, smooth, and beautiful your walls will be after wallpapering. A perfectly even surface is not just aesthetics; it is a guarantee that the wallpaper will lie without bubbles, wrinkles, or peeling, and the pattern at the seams will match perfectly. I think you will agree that disappointment from ruined expensive wallpaper and spoiled mood is something that anyone who invests time and money in their home wants to avoid. Therefore, today we will analyze all the nuances of puttying walls for wallpaper, from choosing the material to the final sanding, so that your renovation goes smoothly and the result pleases for many years to come.
Aligning Walls with Drywall Adhesive: When This Method is Your Salvation?
Hello, friends! Your favorite designer and author of the design-foto.ru blog is back with you. Today we’ll talk about a wall leveling method that often sparks debate, but can be a real lifesaver in certain situations. We’re talking about installing drywall with adhesive. Many are accustomed to the frame method, but there are cases where the “frameless” option wins on all fronts. Let’s figure out when exactly it will be the best choice, how to implement it correctly, and what mistakes to avoid.
Gypsum or Cement Plaster: What and Where to Use?
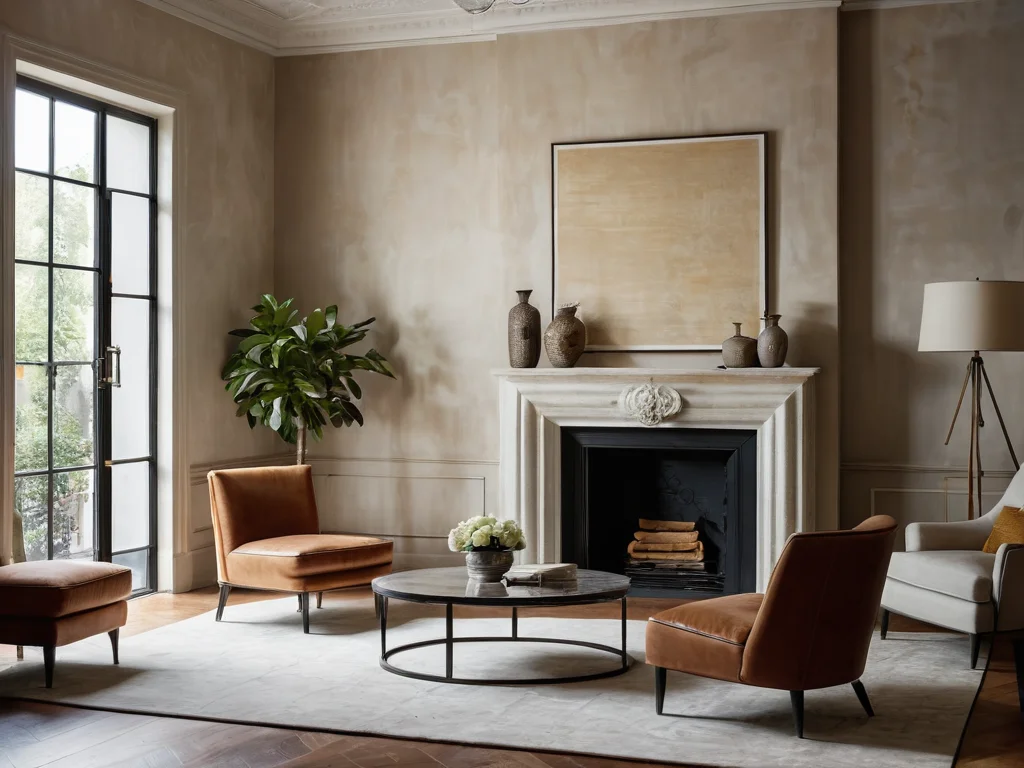
Hello, dear readers of design-foto.ru! My name is [Ваше Имя], and I am a designer with many years of experience. Today, we will talk about something important – plaster. When it comes to leveling walls, we often face a choice: gypsum or cement? Both materials do an excellent job, but have their own characteristics that make them more suitable for some conditions and completely unacceptable for others. Confused? Let’s figure it out together and learn to make the right choice for your home.
nnnnStarting and Finishing Putty: What’s the Difference and How to Use It
Greetings, friends, to our cozy portal design-foto.ru! Today we will dive into the world of wall leveling, which for many seems complex and unpredictable. But in reality, by understanding the basics and having the right tools, you can achieve a perfect result even without the help of expensive specialists. We’re talking about putty – an indispensable assistant in any renovation. But did you know that there is starting and finishing putty, and each of them performs its unique role? Let’s figure out together what their main differences are, how to use them correctly, and what pitfalls to avoid.
How to Repair Cracks and Holes in Walls Before Finishing: A Complete Guide
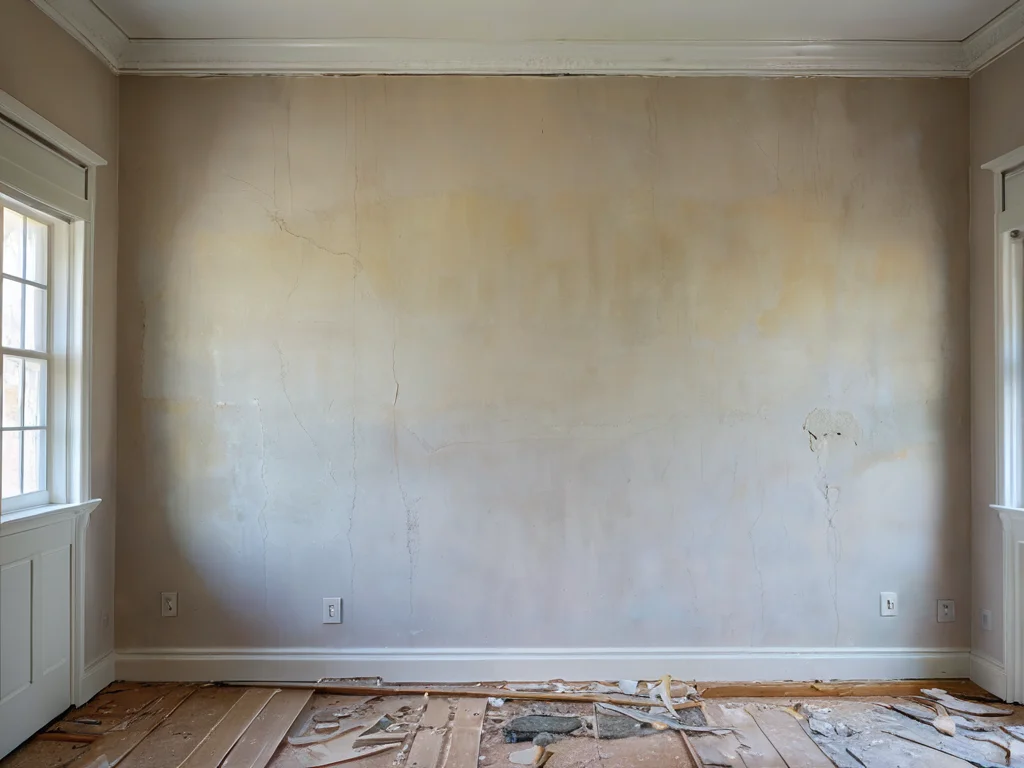
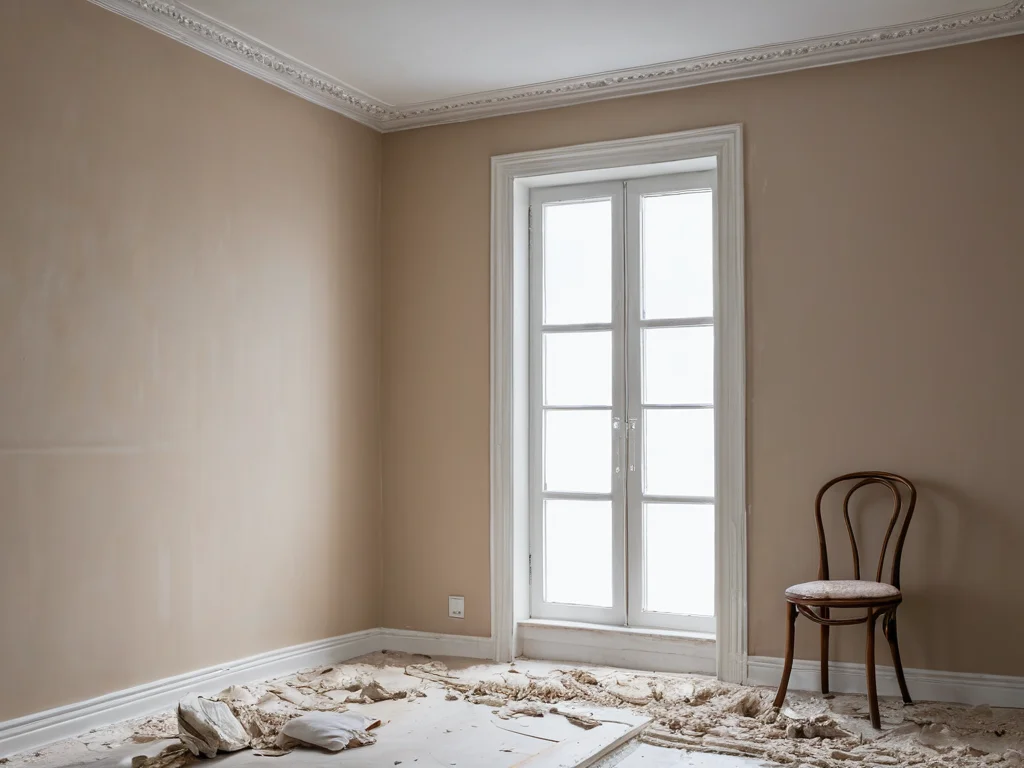
Anyone who has ever thought about transforming their home has faced the need to prepare walls for finishing. And it would seem, what could be simpler than removing small imperfections? However, it is precisely the hidden defects, such as cracks and holes, that can spoil the entire impression of a fresh renovation. Why is this so important, and how can this task be accomplished without hiring expensive specialists? In this article, we will thoroughly analyze all the nuances: from choosing the right materials to the subtleties of performing the work. You will learn how to restore the ideal smoothness to your walls yourself, ready for any type of decoration.
Which Tile to Choose for a Small Bathroom: Color, Size, Texture, and Space-Expanding Secrets
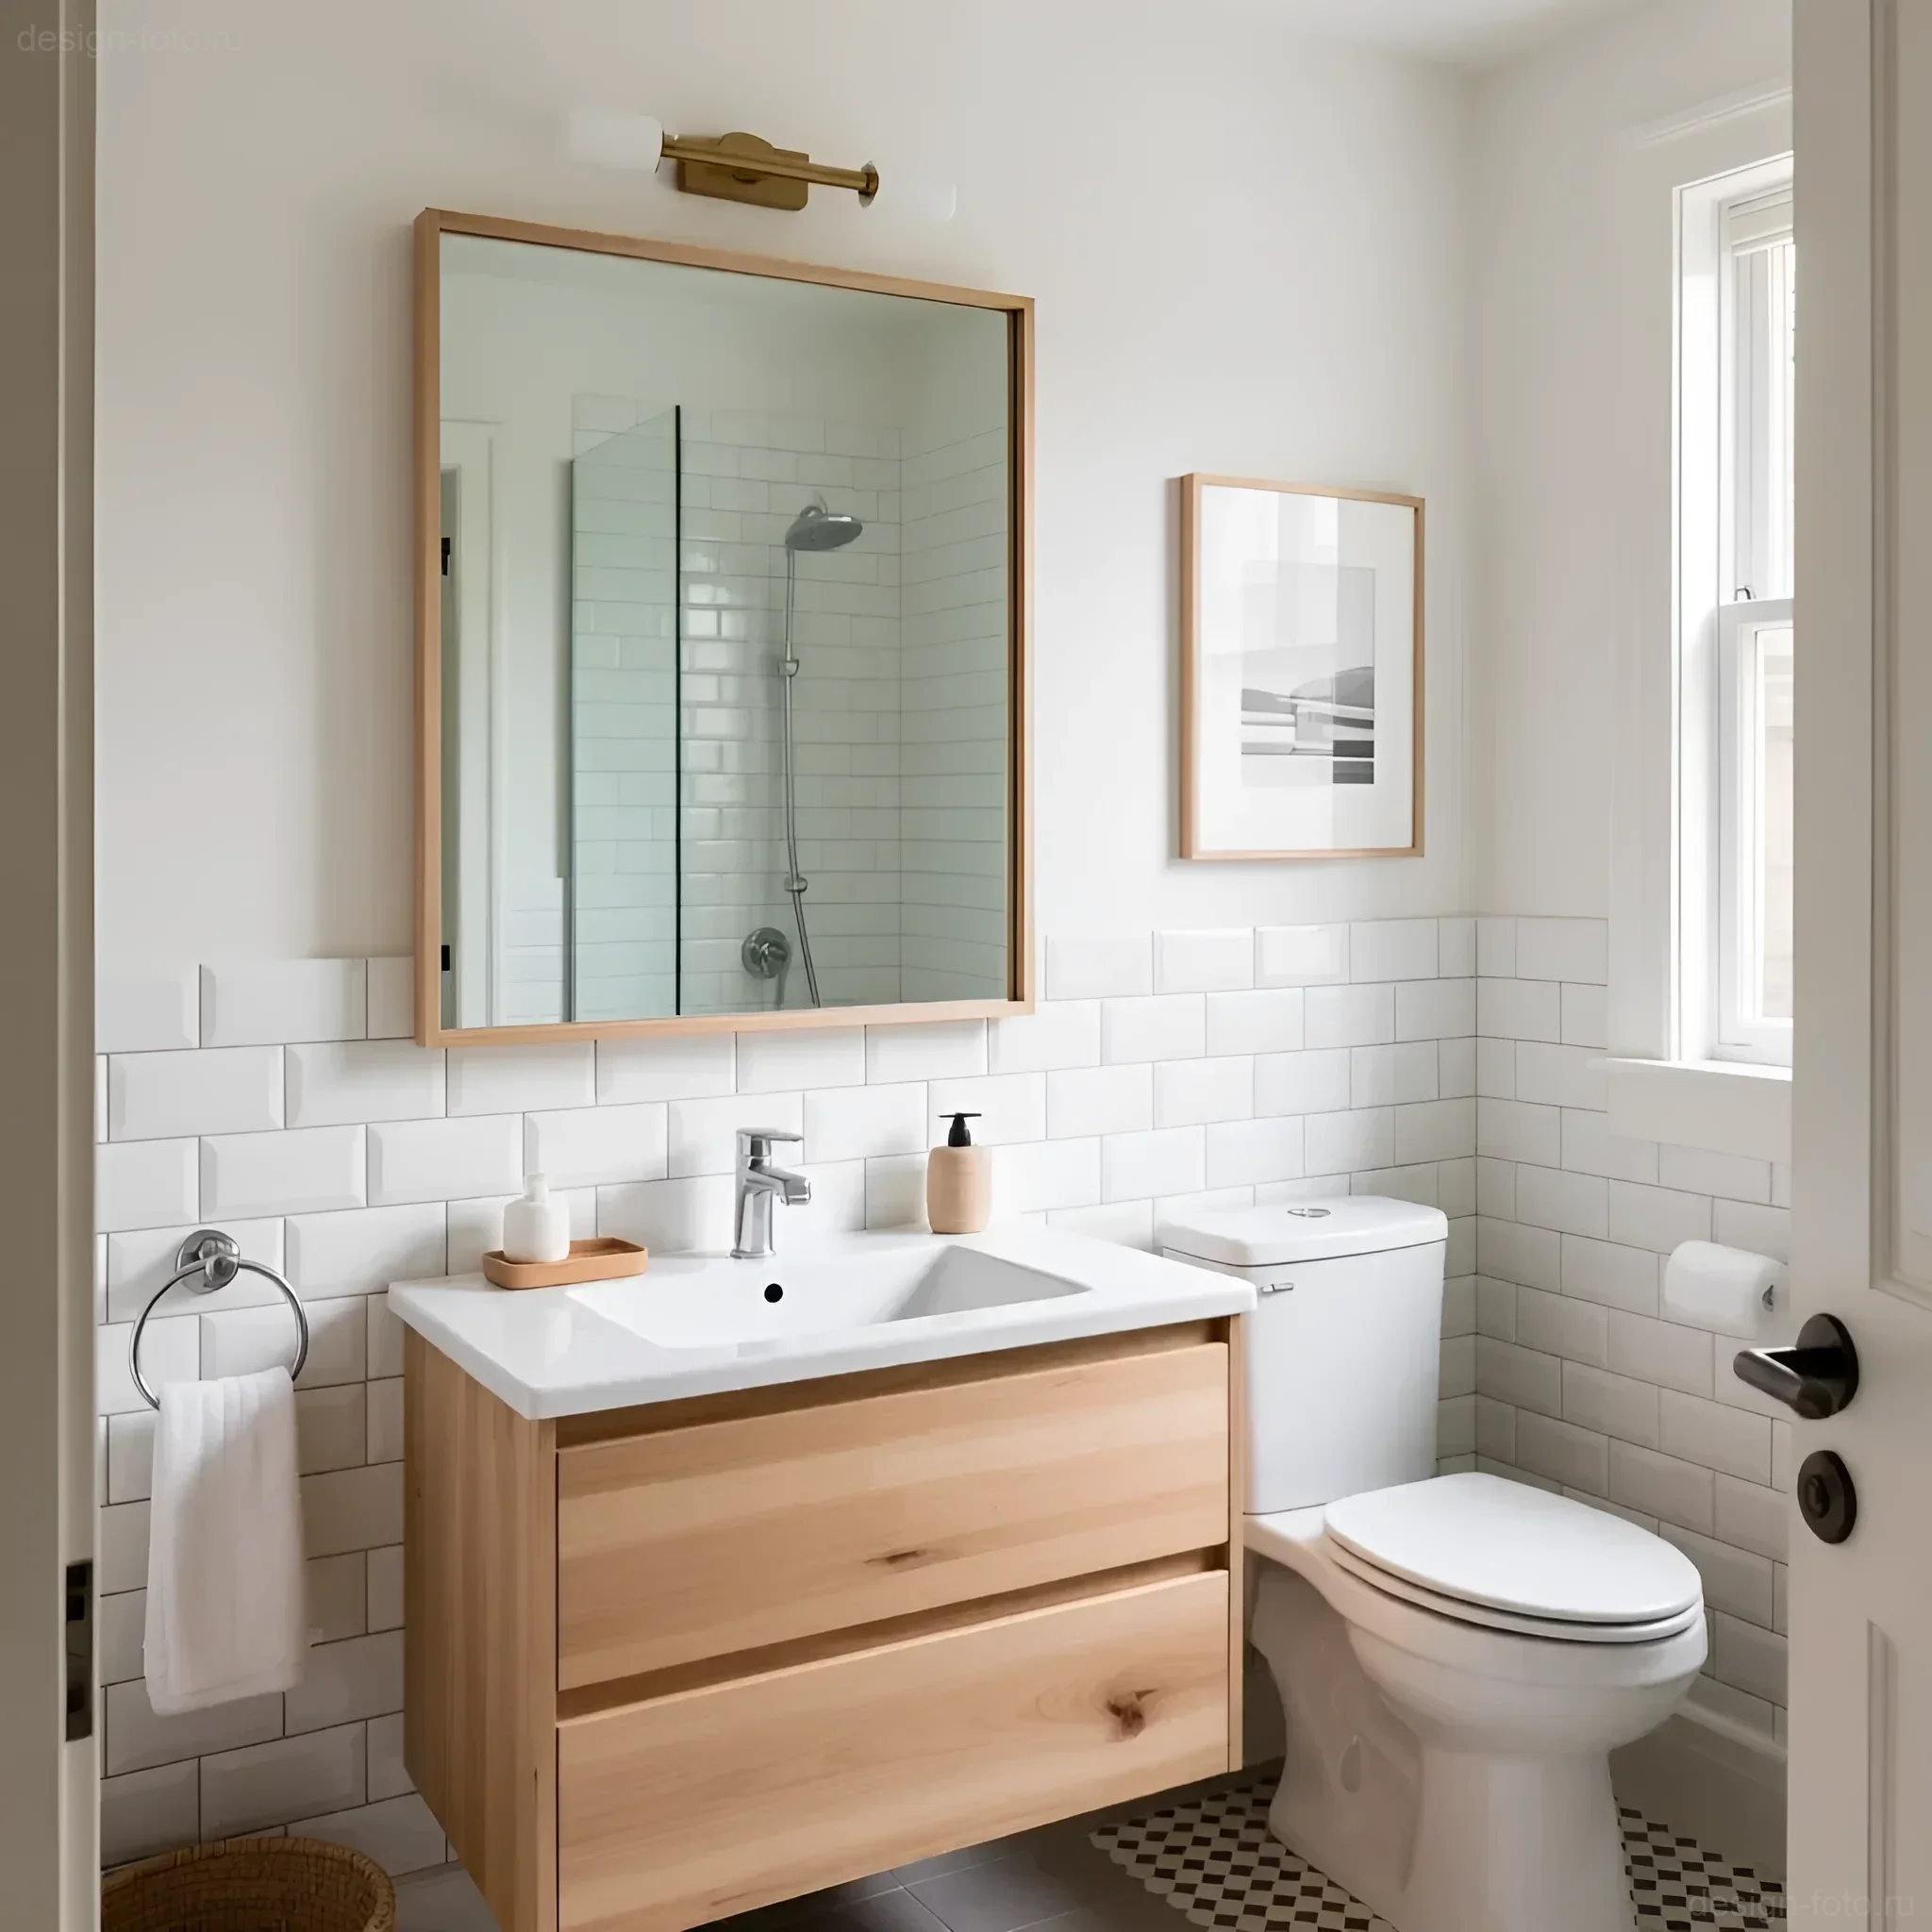
Working with limited spaces, such as standard bathrooms in apartment buildings or guest bathrooms, requires designers to be not only creative but also to strictly adhere to the laws of ergonomics and visual optics. In a small bathroom, tile is not just a finishing material; it is a key tool that determines the perception of volume, light, and cleanliness. Properly selected porcelain stoneware or ceramic can visually “break” walls, add depth, and make the room functionally and aesthetically complete. As professionals, we recommend approaching tile selection as pragmatically as possible, analyzing three key parameters: color, size, and texture.
Minimalism in Interior Design: The Secret to Style, Ergonomics, and the Line Between Emptiness
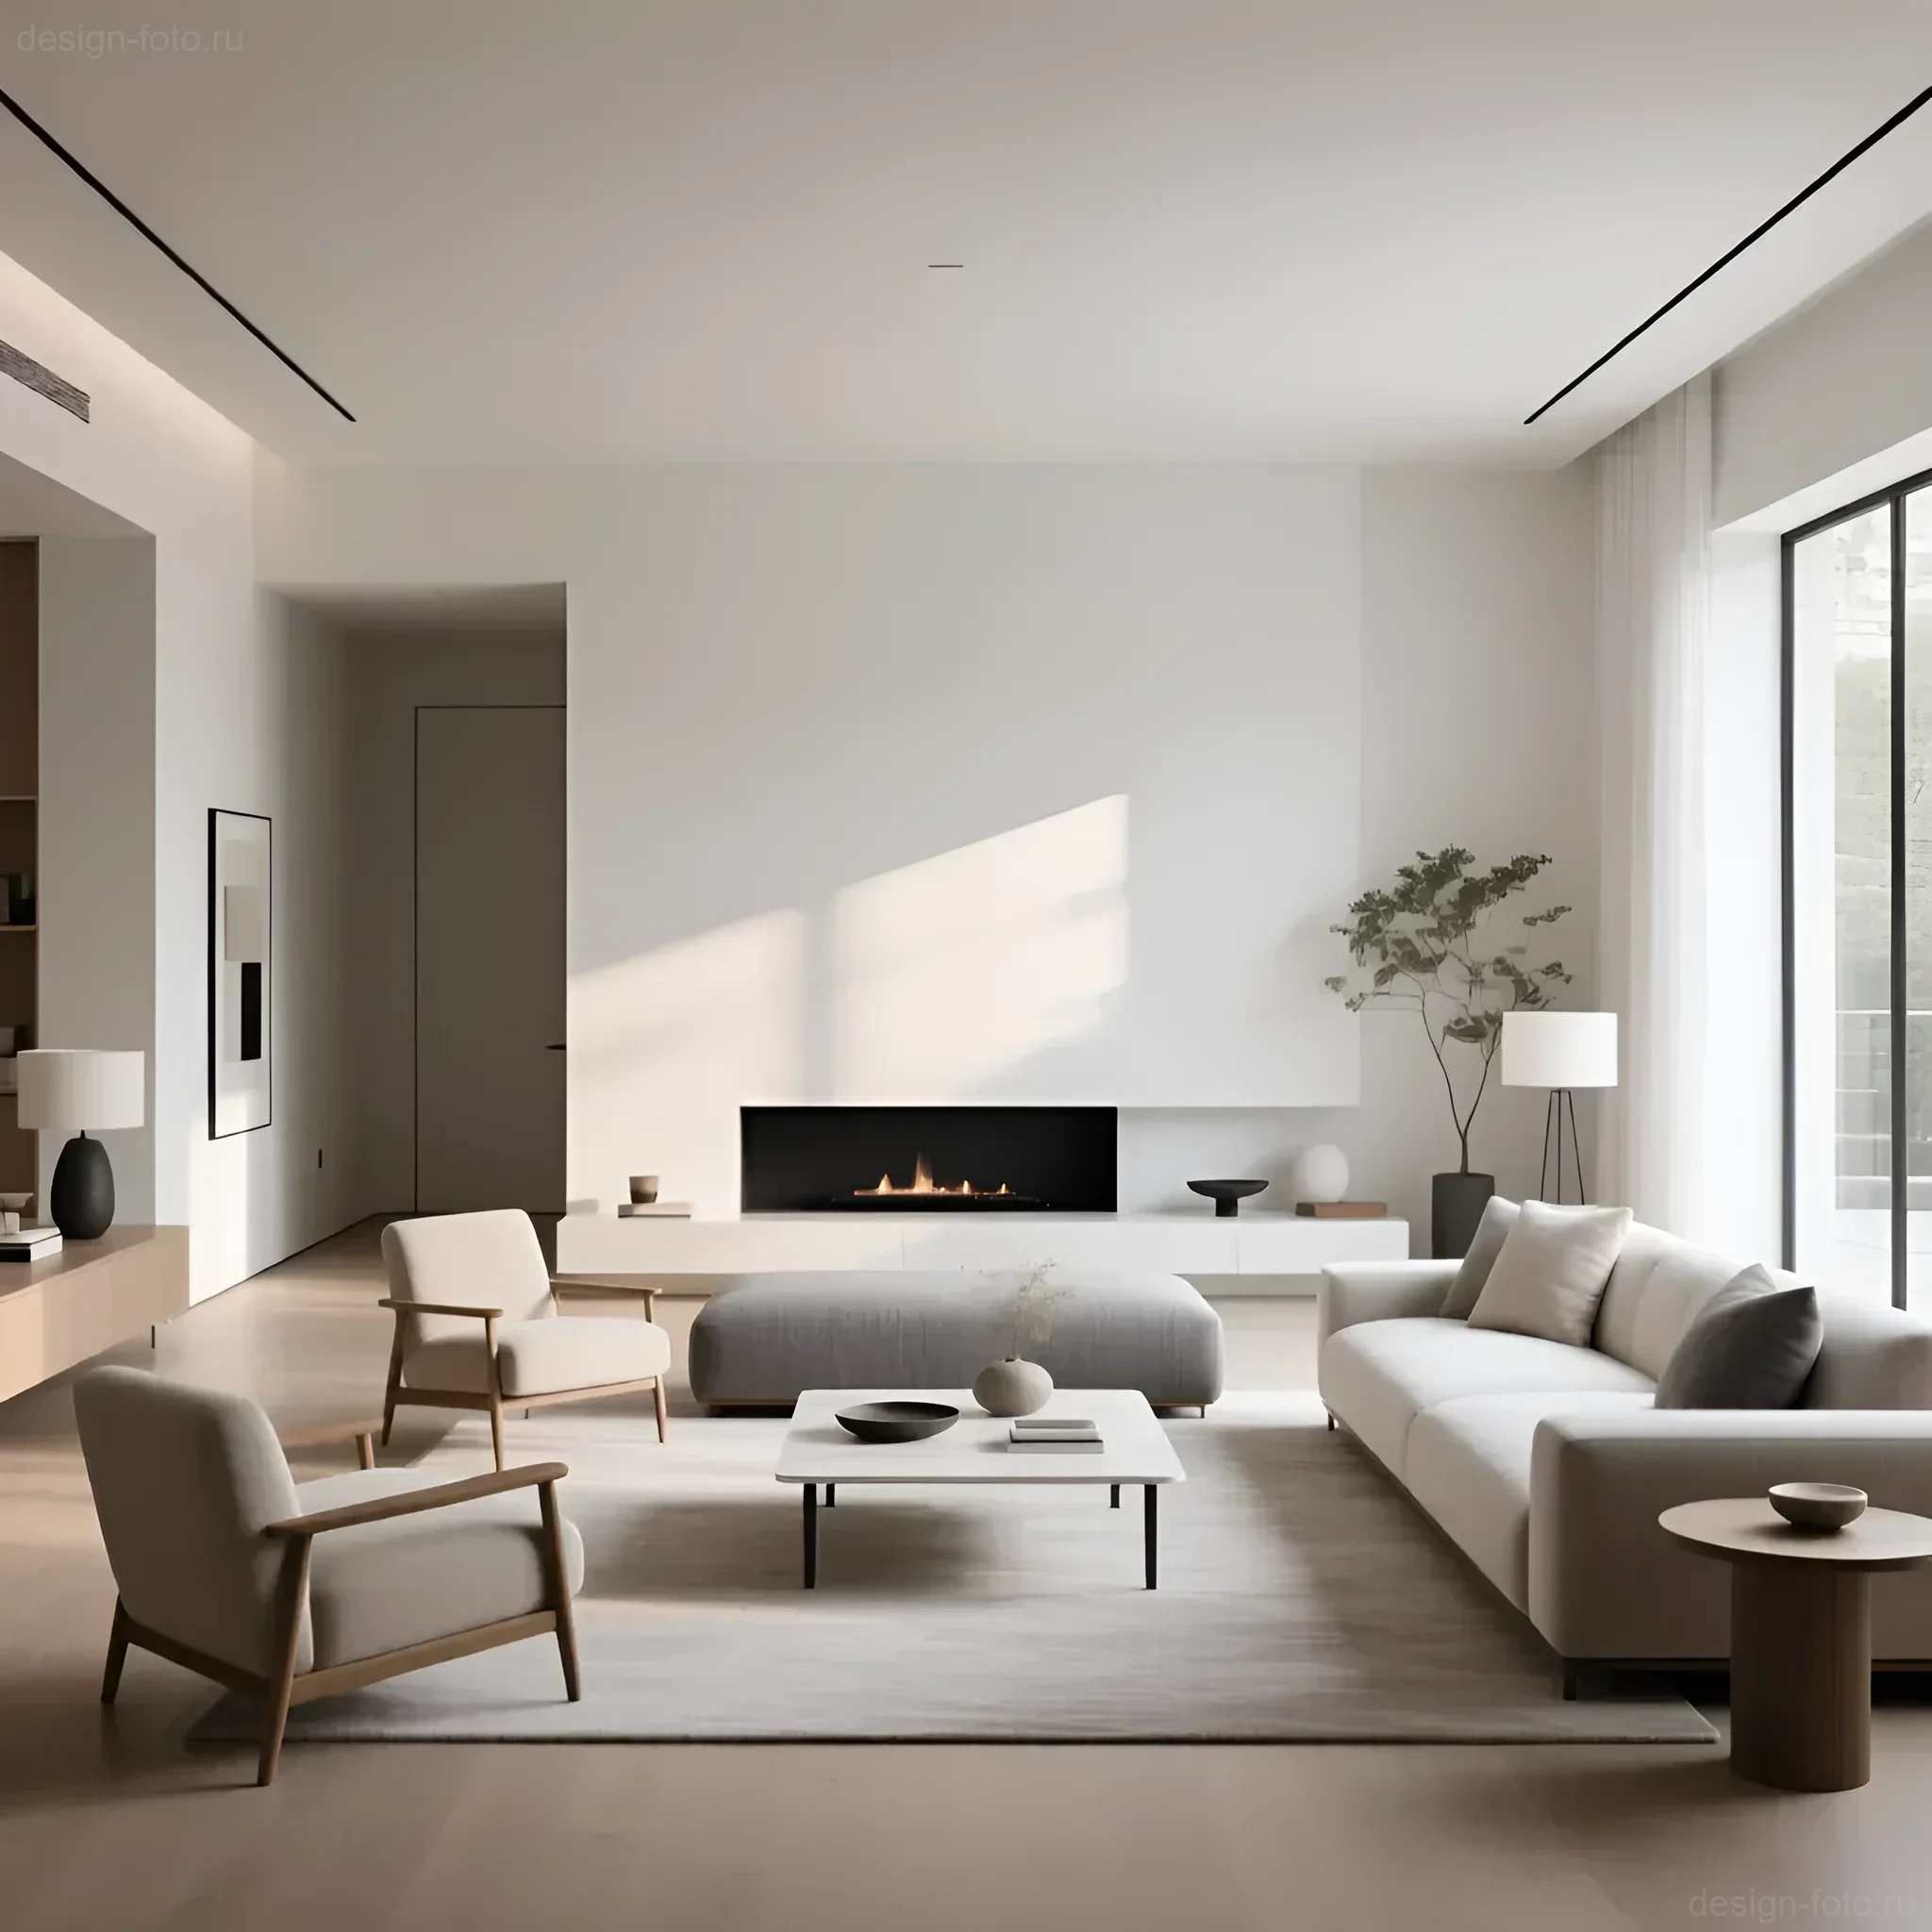
Minimalism is not just an aesthetic choice; it’s a philosophy of space organization that requires a deep understanding of functionality, ergonomics, and architectural purity. In professional practice, we often face a dilemma: how to create a clean, concise interior that is simultaneously warm and livable, rather than resembling a sterile museum hall. Our task as designers is to find that fine line where the absence of the superfluous becomes an advantage, not a sign of incompleteness or emptiness.
How to Maintain Perfect Order in a Minimalist Interior: A Practical Guide
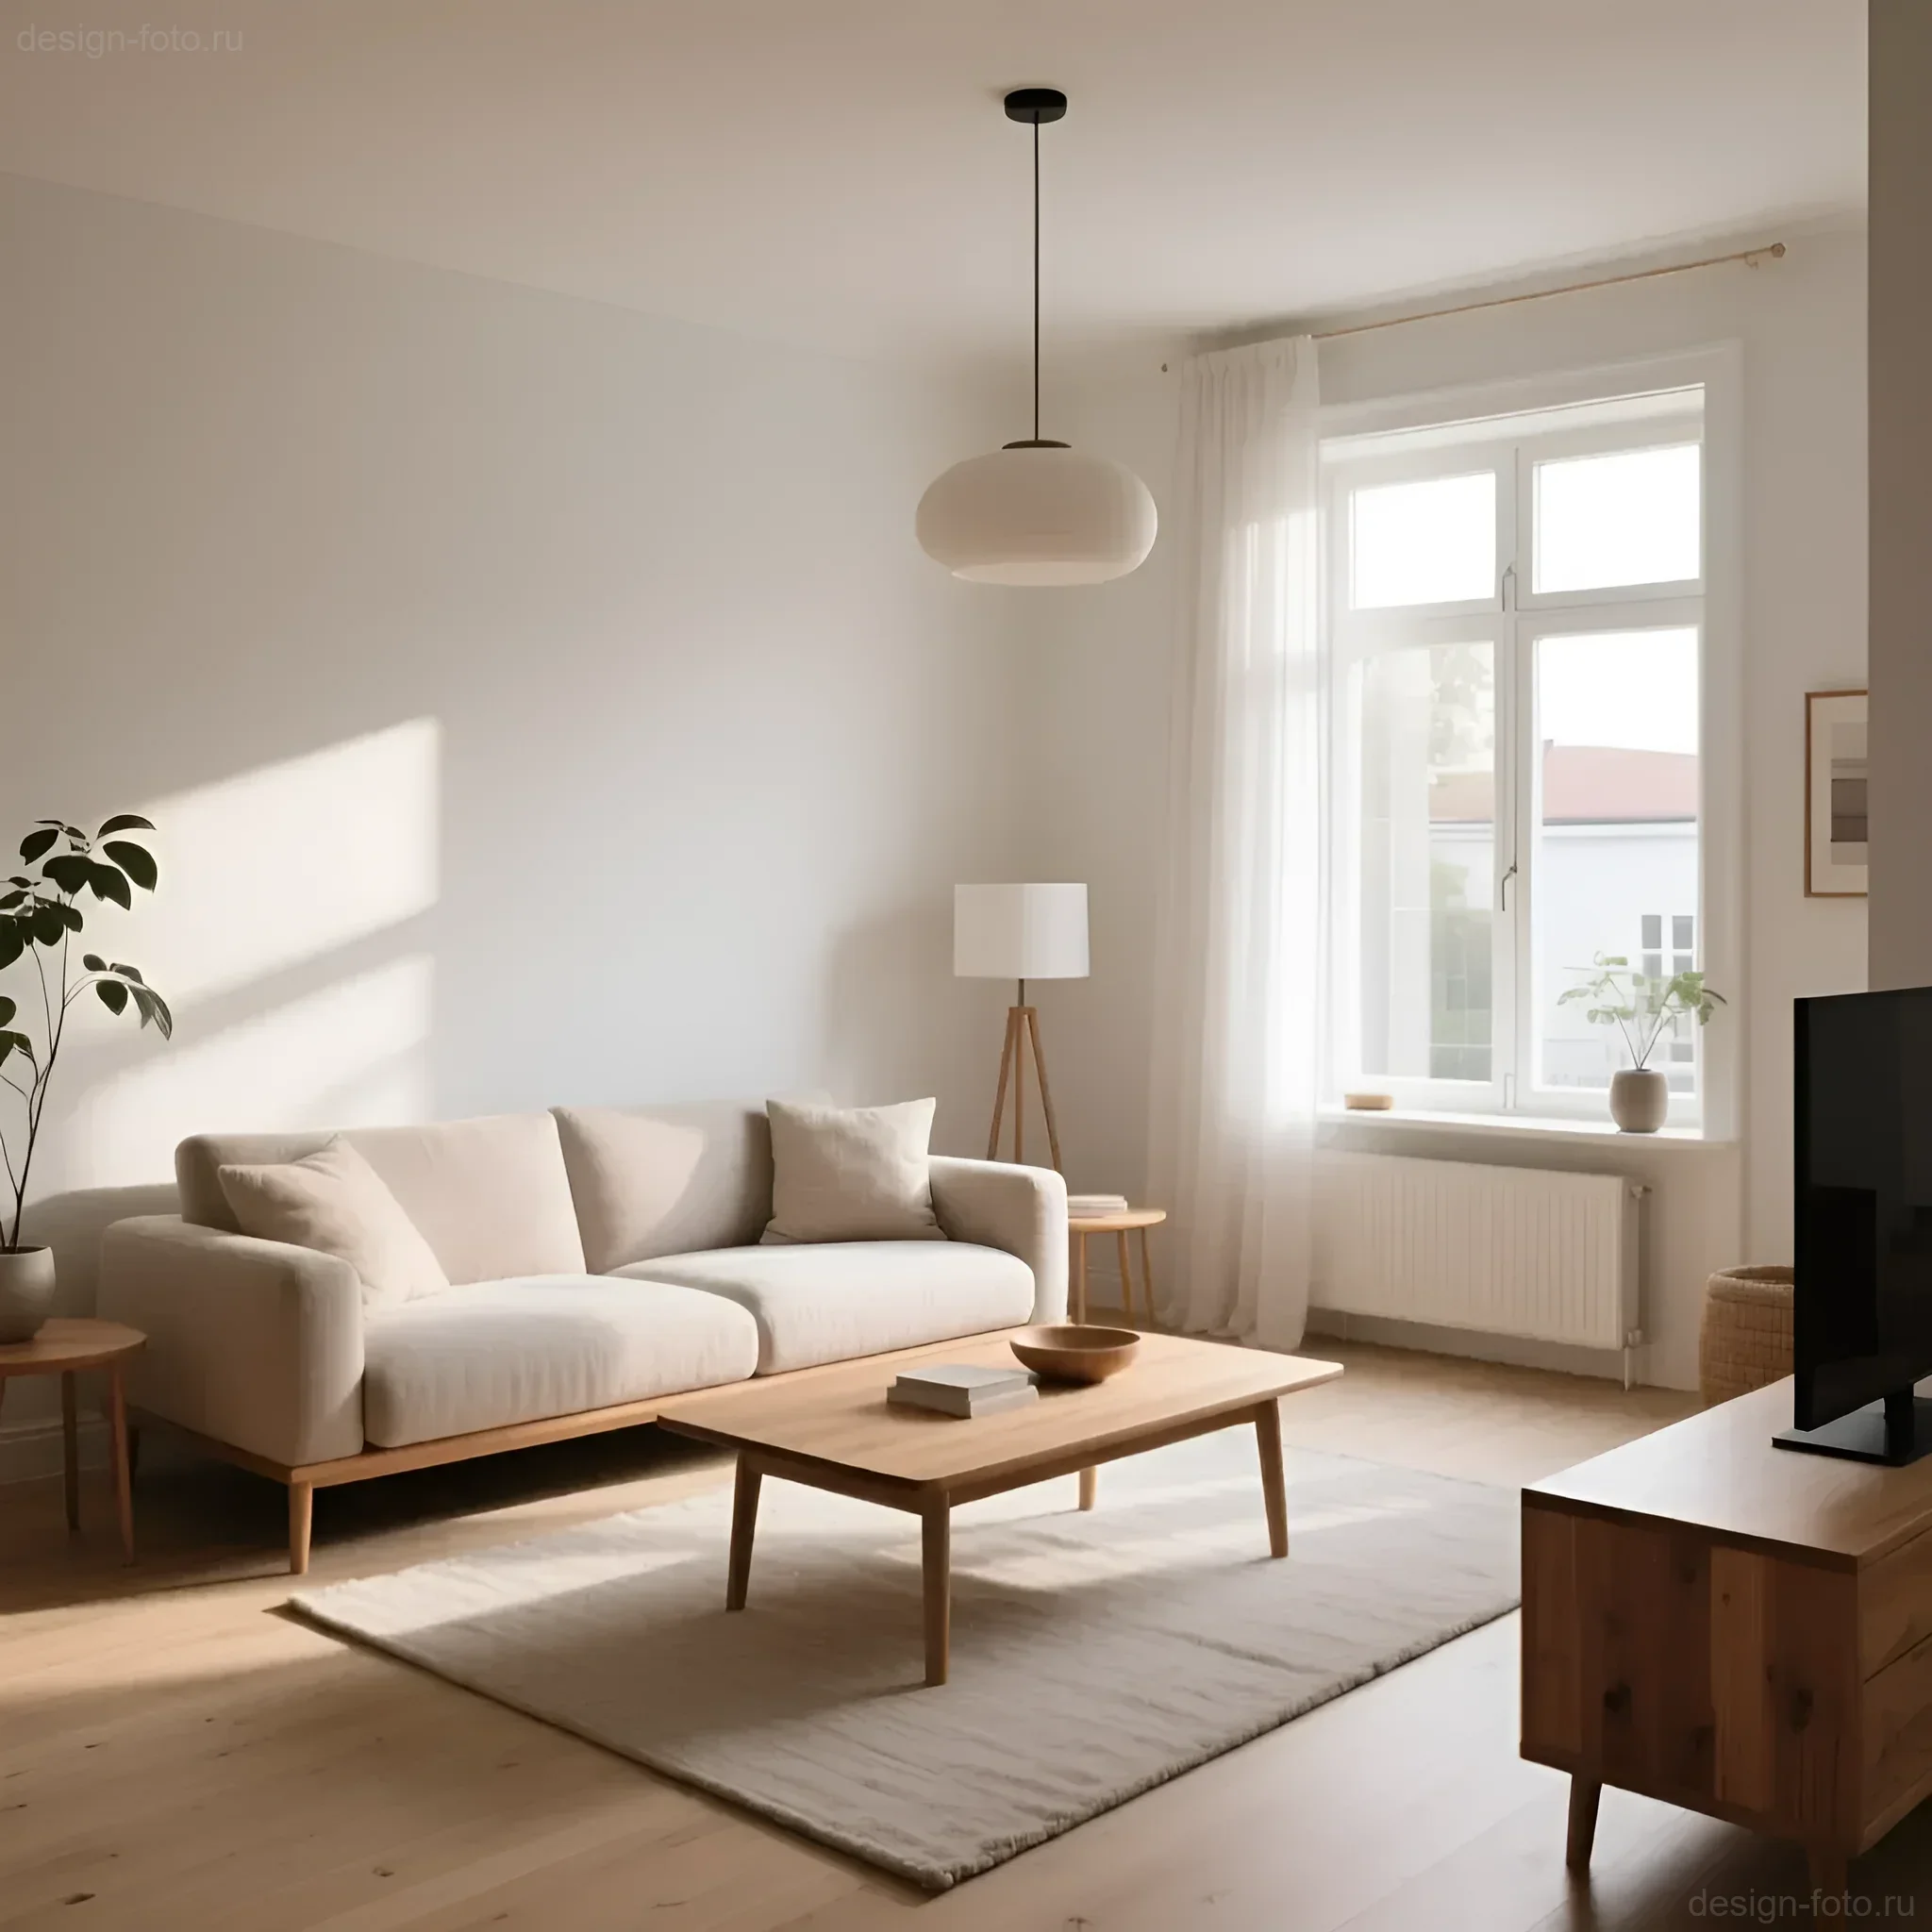
Minimalism is not just an aesthetic choice; it’s a strict philosophy of space organization. Many mistakenly believe that it’s enough to remove decor and paint walls white to achieve a minimalist interior. In reality, minimalism is the highest degree of organization, where every item has its place, and the absence of visual clutter is achieved through the total integration of storage systems. While a little mess in a classic or even Scandinavian interior might be perceived as a “lively” accent, in minimalism, any carelessness destroys the entire concept.
Art Deco Colors: Black, Gold, Emerald, Burgundy – Luxury and Practical Tips for Your Interior
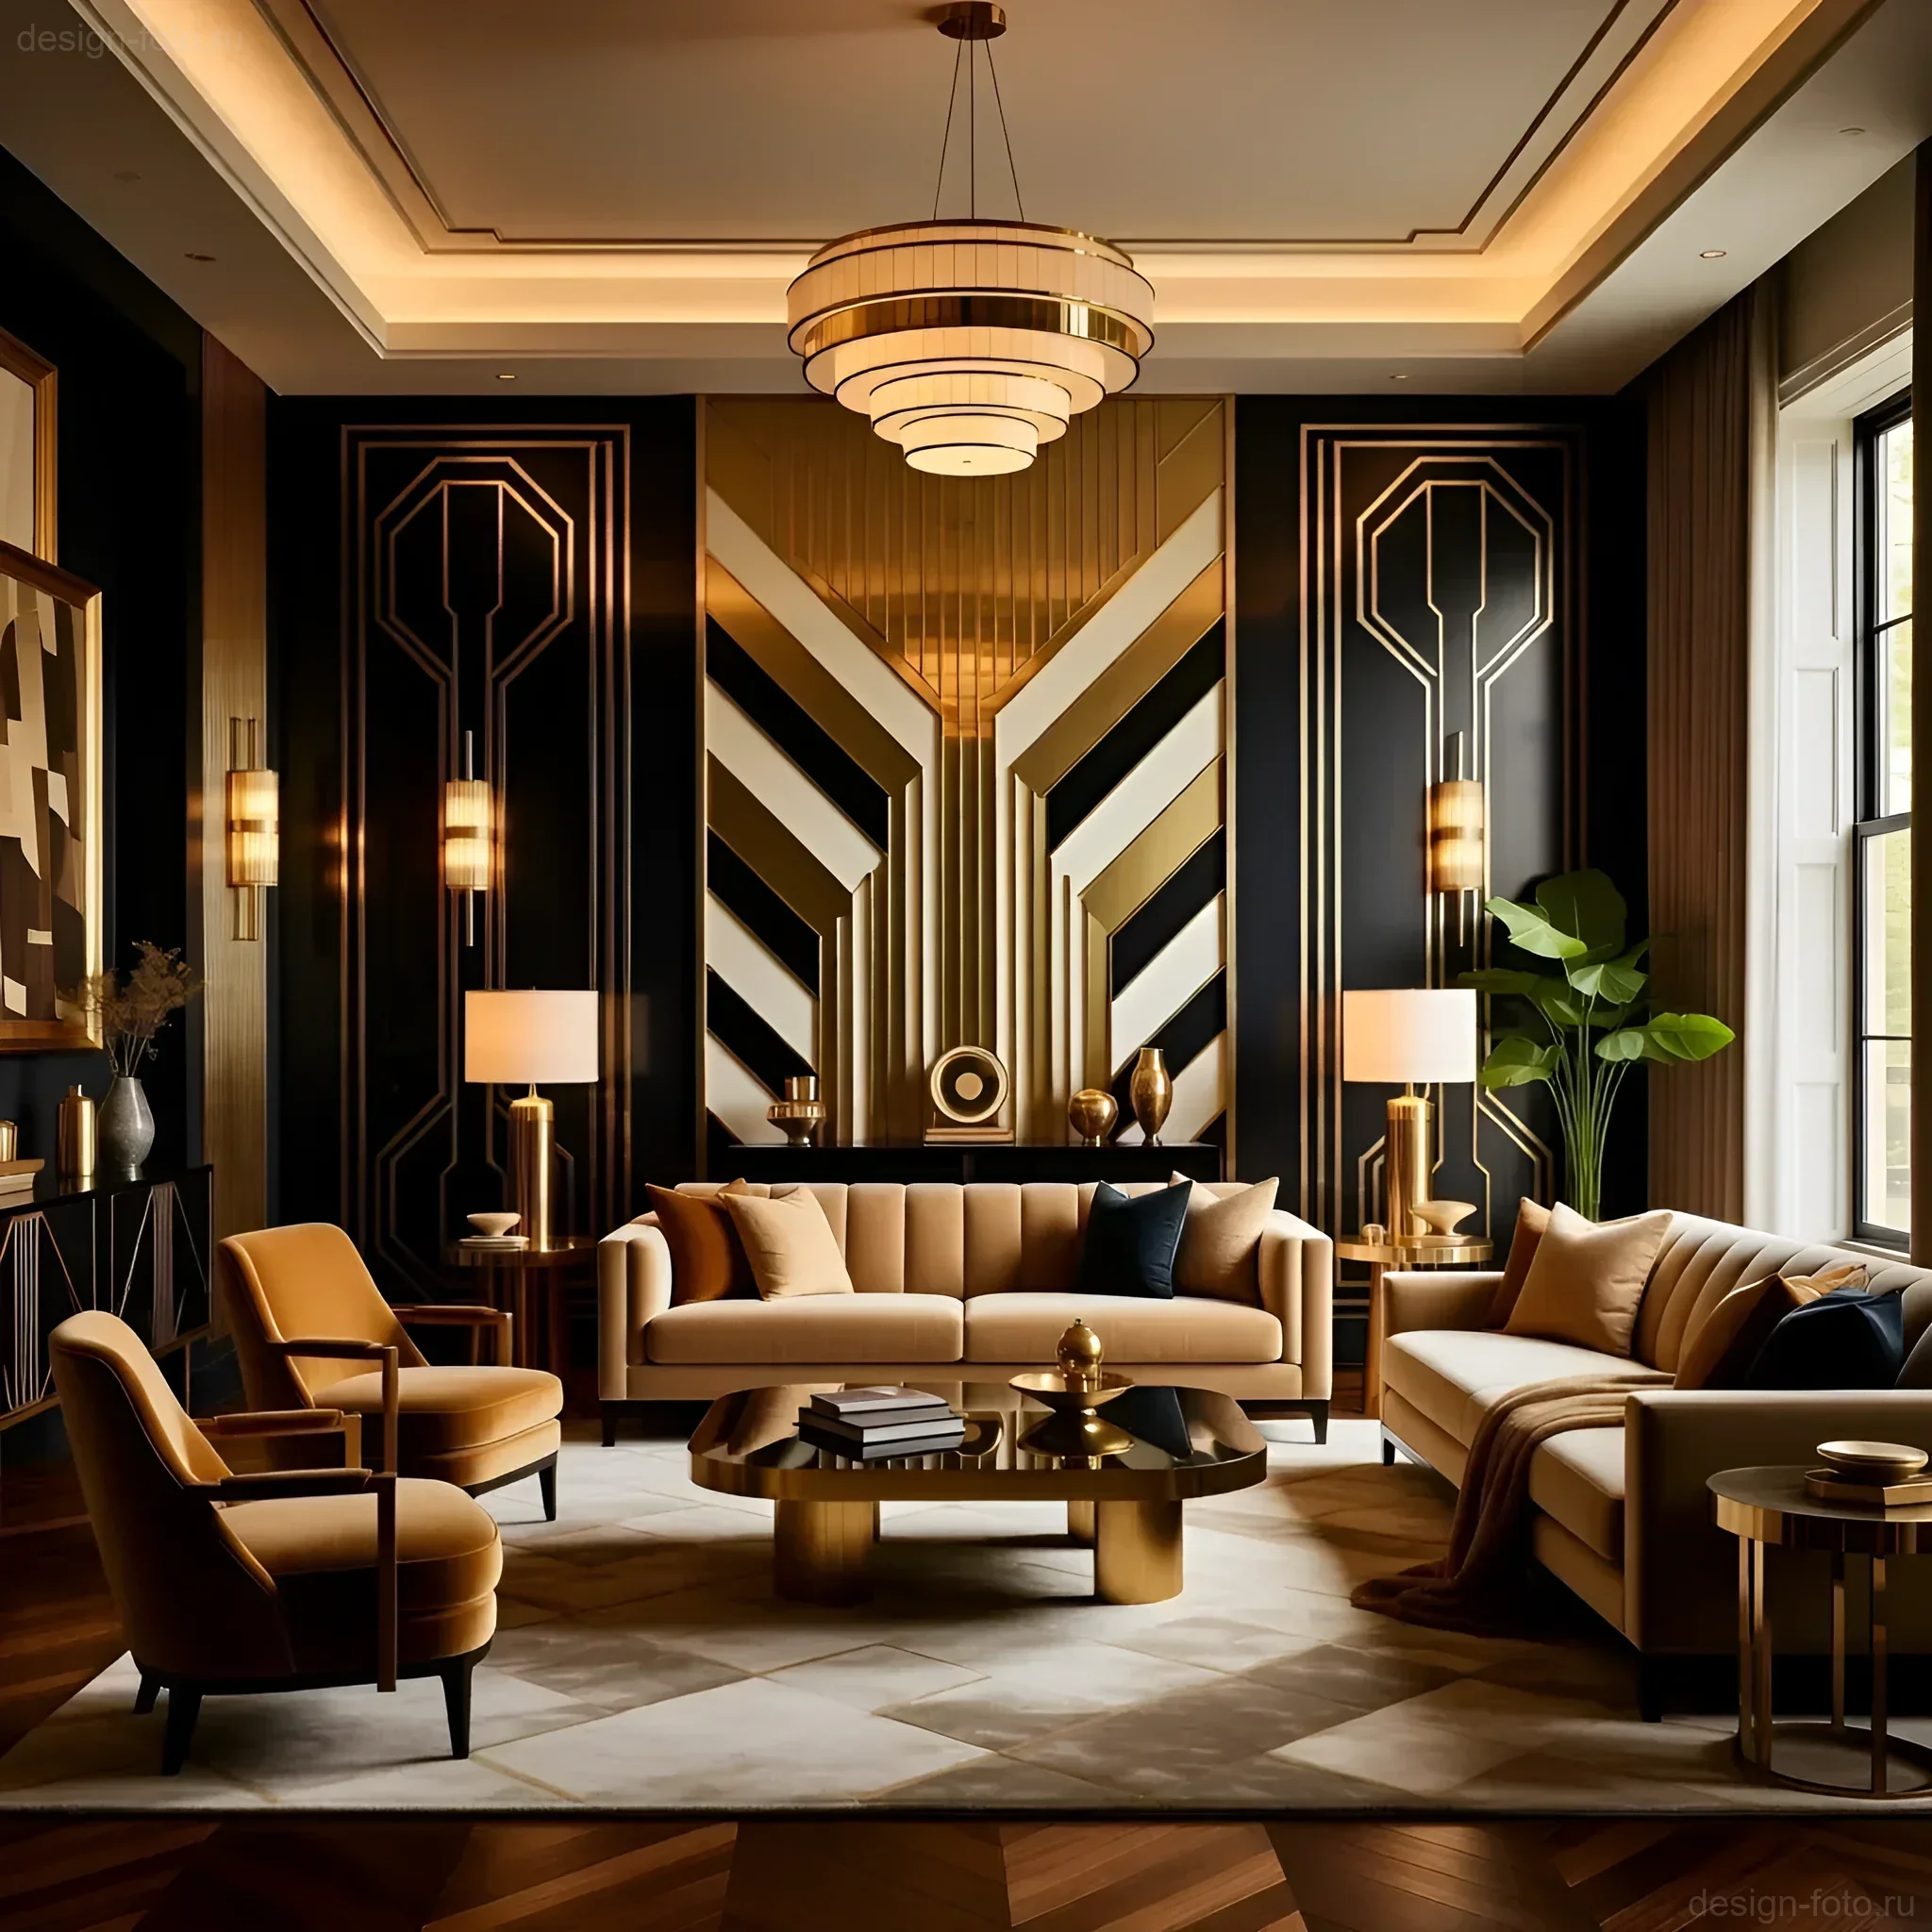
The Art Deco style, which emerged at the dawn of the 20th century, has always been synonymous with luxury, boldness, and geometric precision. However, in today’s context, where functionality and ergonomics are paramount, many consider it excessive. Our task as professionals is to show that the key Art Deco colors – black, gold, emerald, and burgundy – can be integrated even into the most pragmatic interiors, creating a sense of premium quality without compromising comfort. These are not just decorative shades; they are tools for zoning, accentuating, and visually enhancing the depth of space. You will learn how to use this dramatic palette to avoid theatricality and achieve a balanced, expert design.