Working with limited spaces, such as standard bathrooms in apartment buildings or guest bathrooms, requires designers to be not only creative but also to strictly adhere to the laws of ergonomics and visual optics. In a small bathroom, tile is not just a finishing material; it is a key tool that determines the perception of volume, light, and cleanliness. Properly selected porcelain stoneware or ceramic can visually “break” walls, add depth, and make the room functionally and aesthetically complete. As professionals, we recommend approaching tile selection as pragmatically as possible, analyzing three key parameters: color, size, and texture.
How to Choose Tile for a Small Bathroom: Creating Space and Coziness
The primary task that tile should accomplish in a compact bathroom is visual expansion. Unlike spacious rooms where we can afford to play with contrasts and dark, deep tones, here maximum lightness and light reflection are required. Choosing tile is a complex engineering and design calculation, not just buying a decorative element you like.
Key principles for a small space:
- Light Reflection: The higher the reflection coefficient, the better. Glossy or semi-glossy light-colored tiles on the walls literally “multiply” natural and artificial light.
- Minimal Grout Lines: Grout lines visually fragment the space. Our goal is to create a monolithic, unified surface. This is achieved through rectified porcelain stoneware and matching grout color.
- Unity of Floor and Walls: Using the same tile or materials with very similar tones for the floor and some walls (e.g., in the shower area) blurs boundaries, creating a “jewelry box” effect or a sense of infinite space.
Bathroom Styles and Tile Selection: Harmony of Design and Functionality
Tile selection is always tied to the overall style, but in a small bathroom, this constraint becomes stricter. Some styles that require massive elements or abundant decor are simply not applicable here.
Recommendations for styles and tiles:
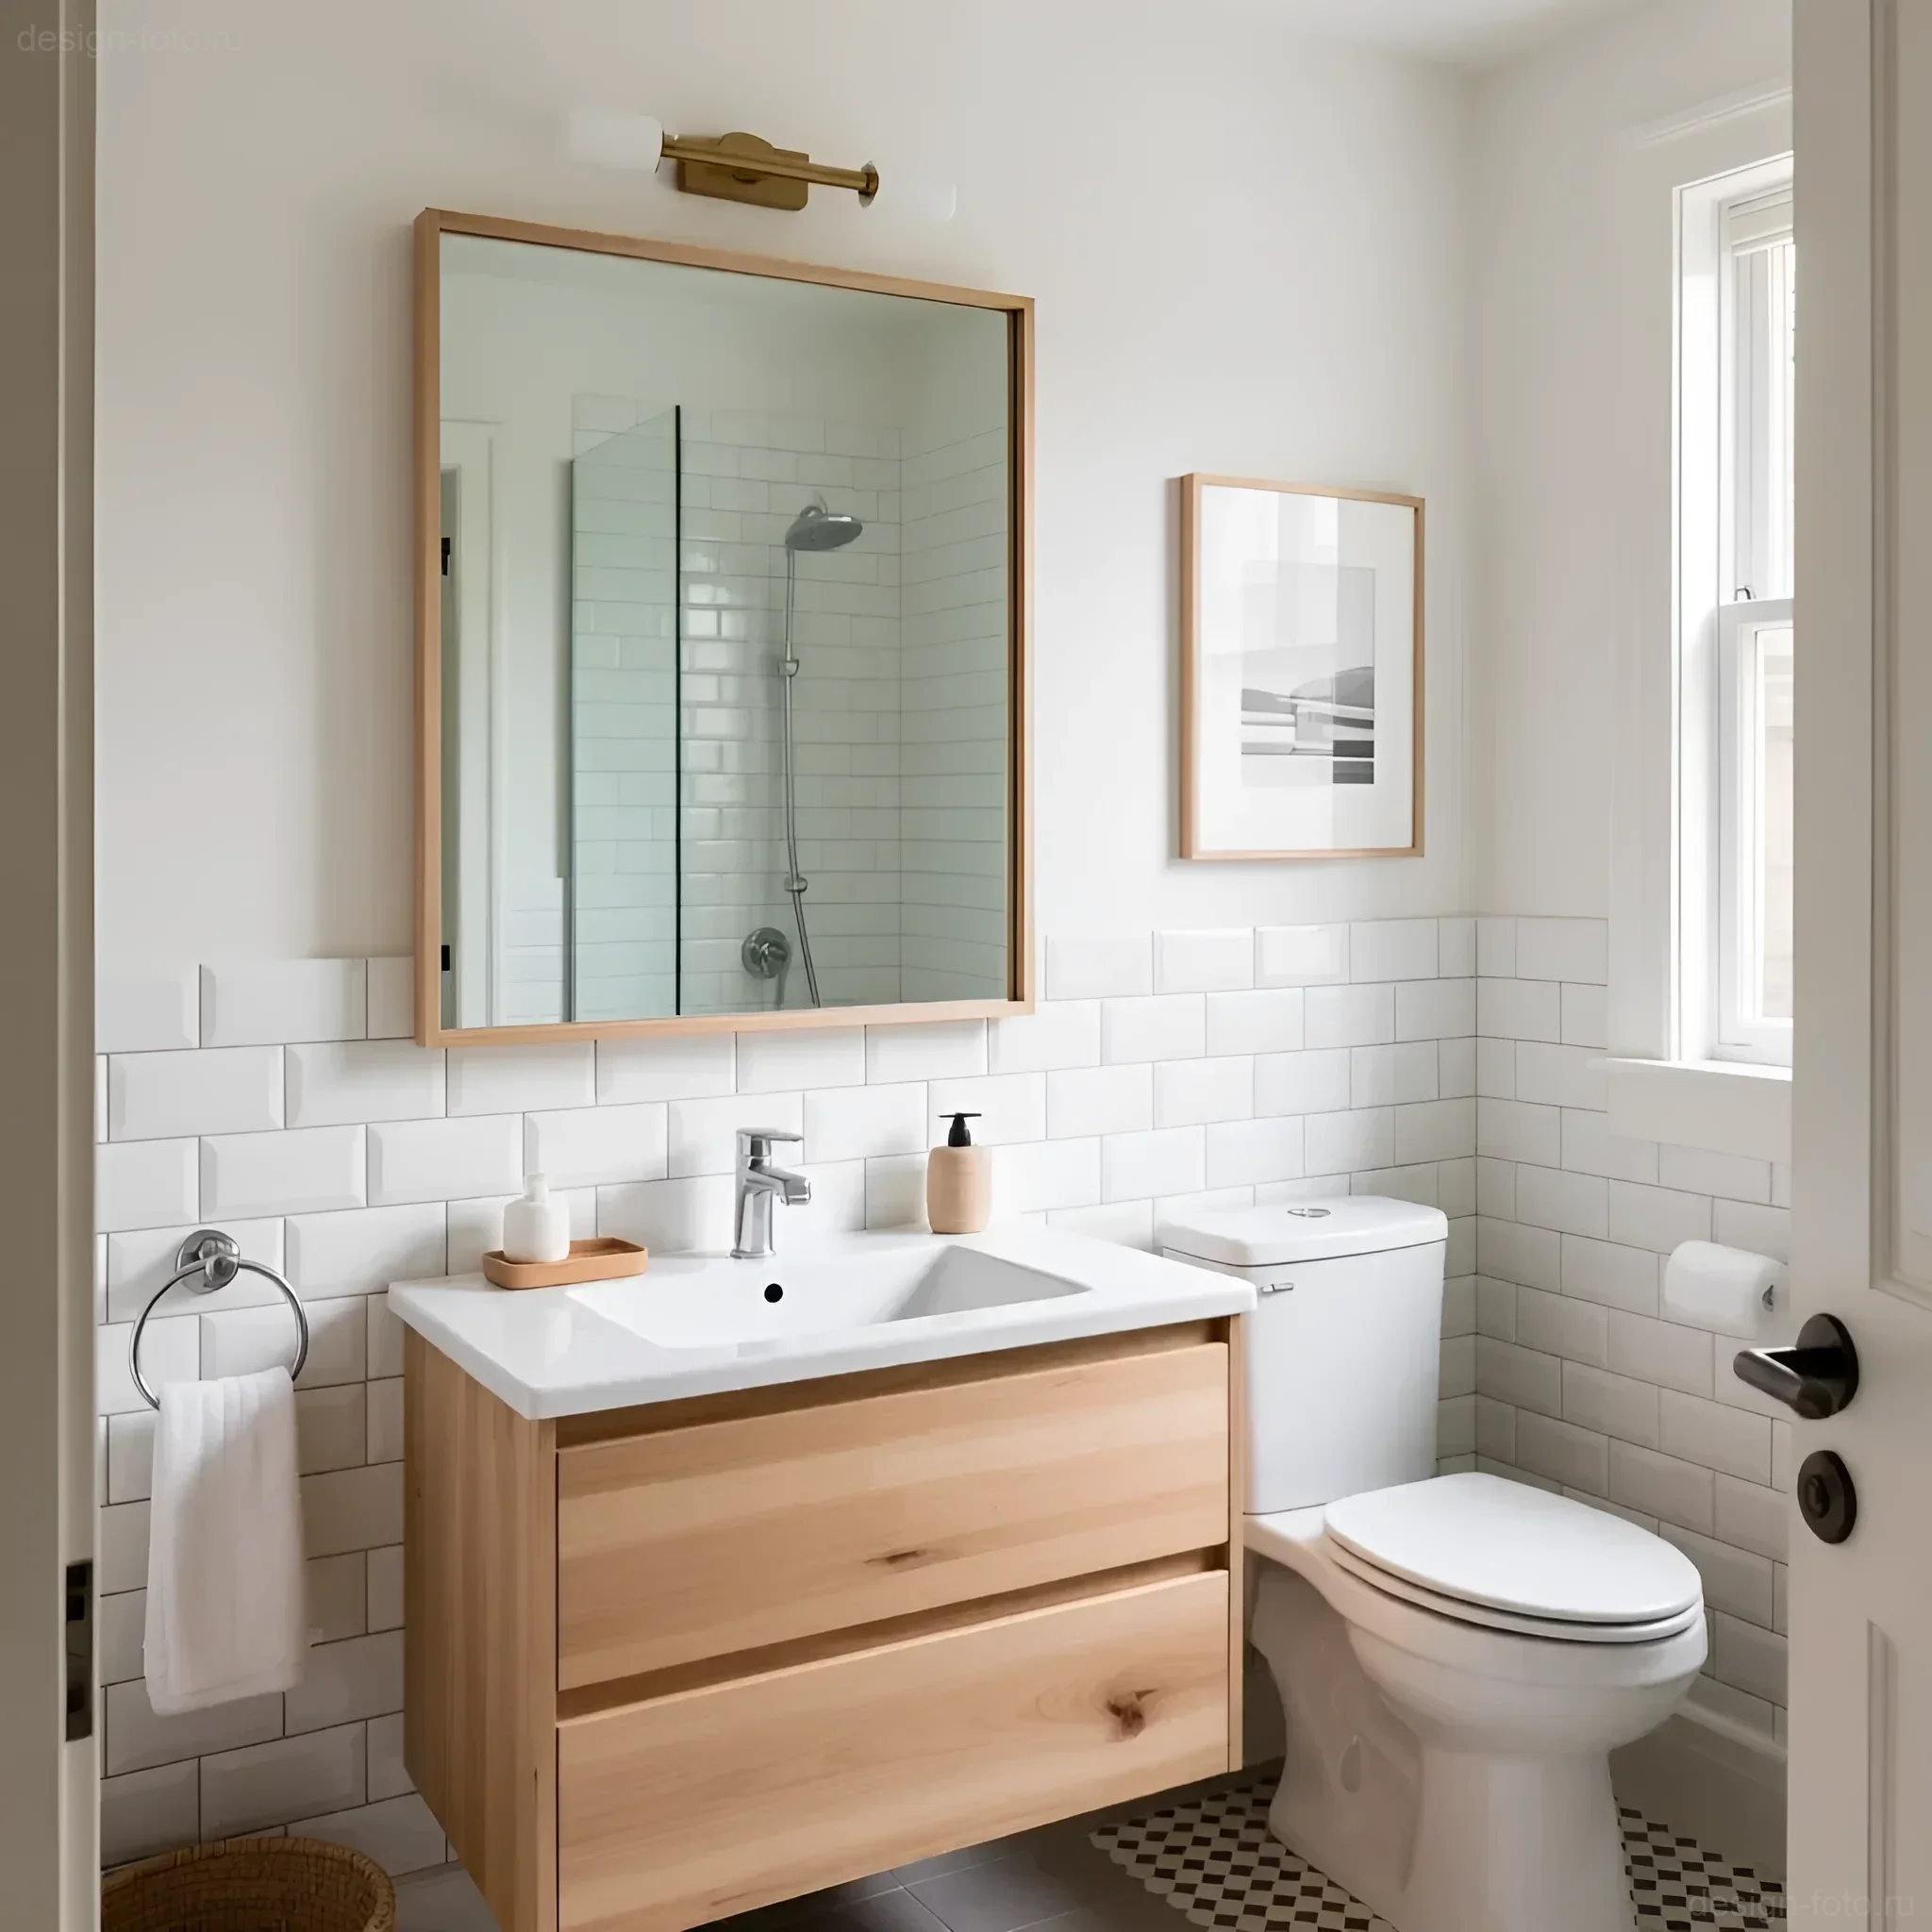
- Scandinavian Minimalism: Requires light, matte, or semi-matte surfaces. The ideal choice is white subway tile (metro, 10×20 or 7.5×15 cm) or porcelain stoneware resembling light wood (e.g., bleached oak) for the floor.
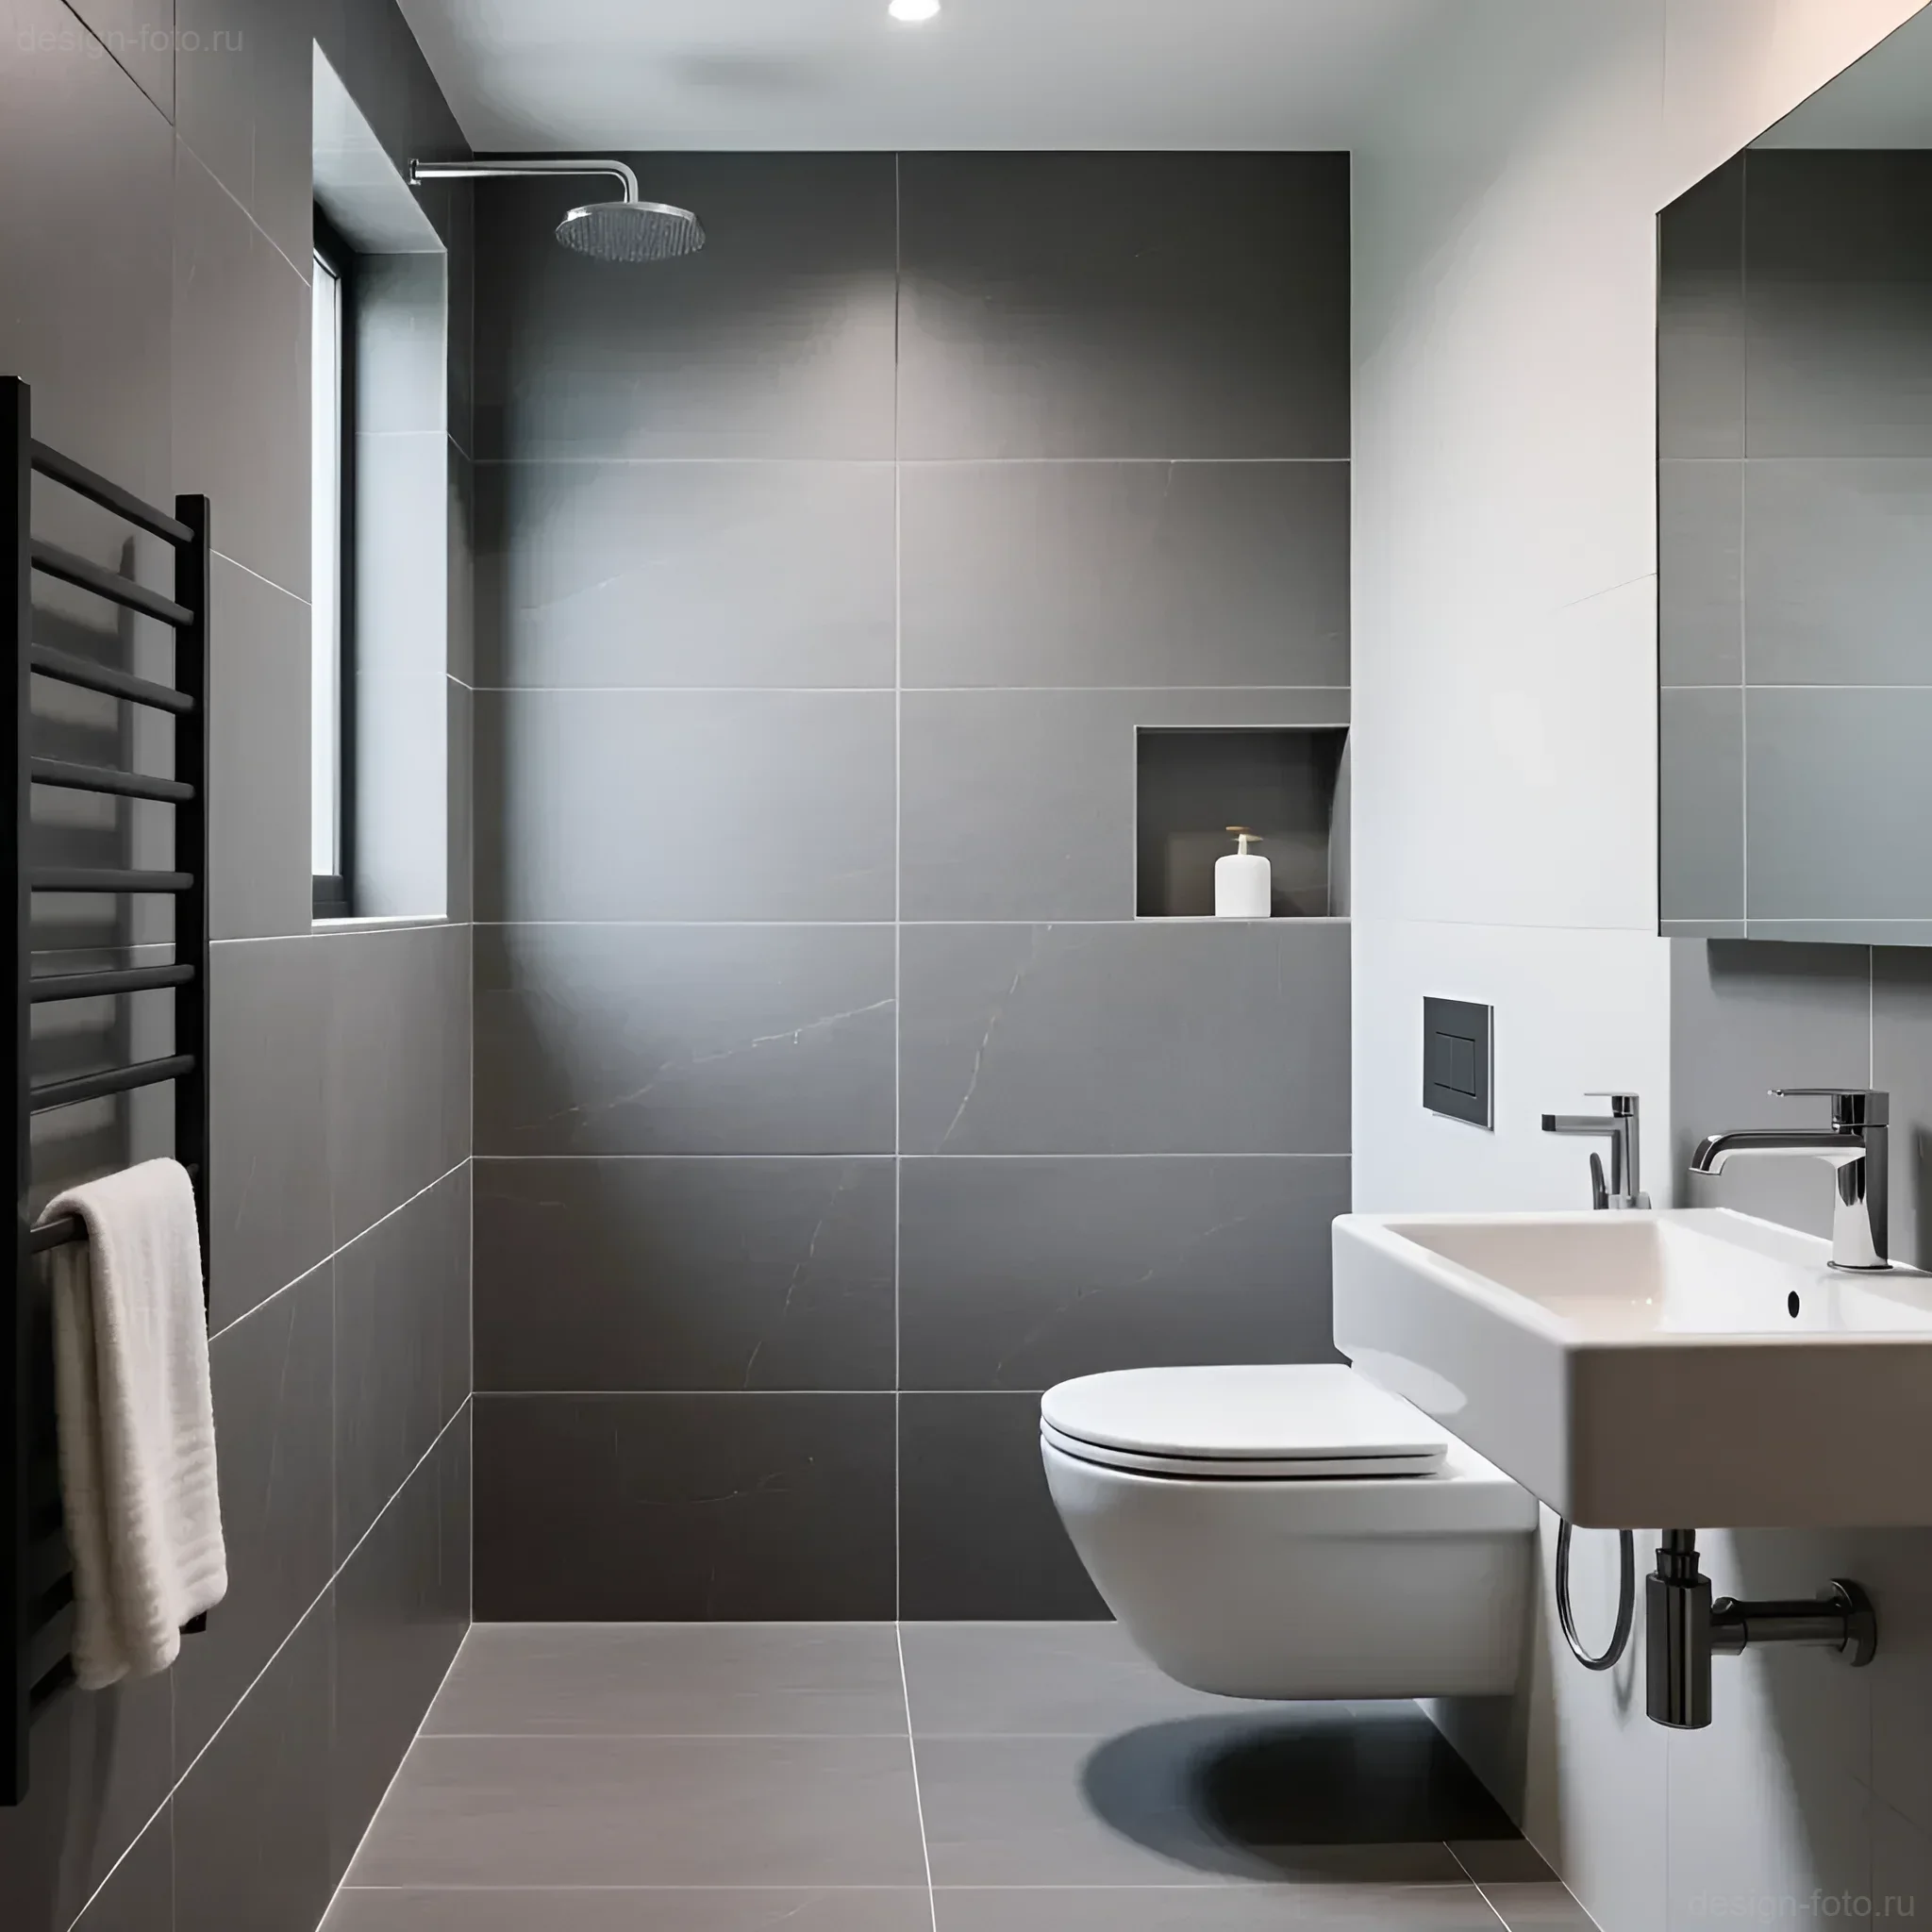
- Contemporary Style: Involves the use of large-format, rectified porcelain stoneware (e.g., 60×60 or 60×120 cm) imitating concrete or light marble. This solution is one of the most effective for visual enlargement.
- Loft/Industrial: In a small bathroom, loft is realized through moderate use of textures. It is recommended to limit it to one accent wall (e.g., brick-look or dark concrete) in the shower area, leaving the other walls as light and smooth as possible.
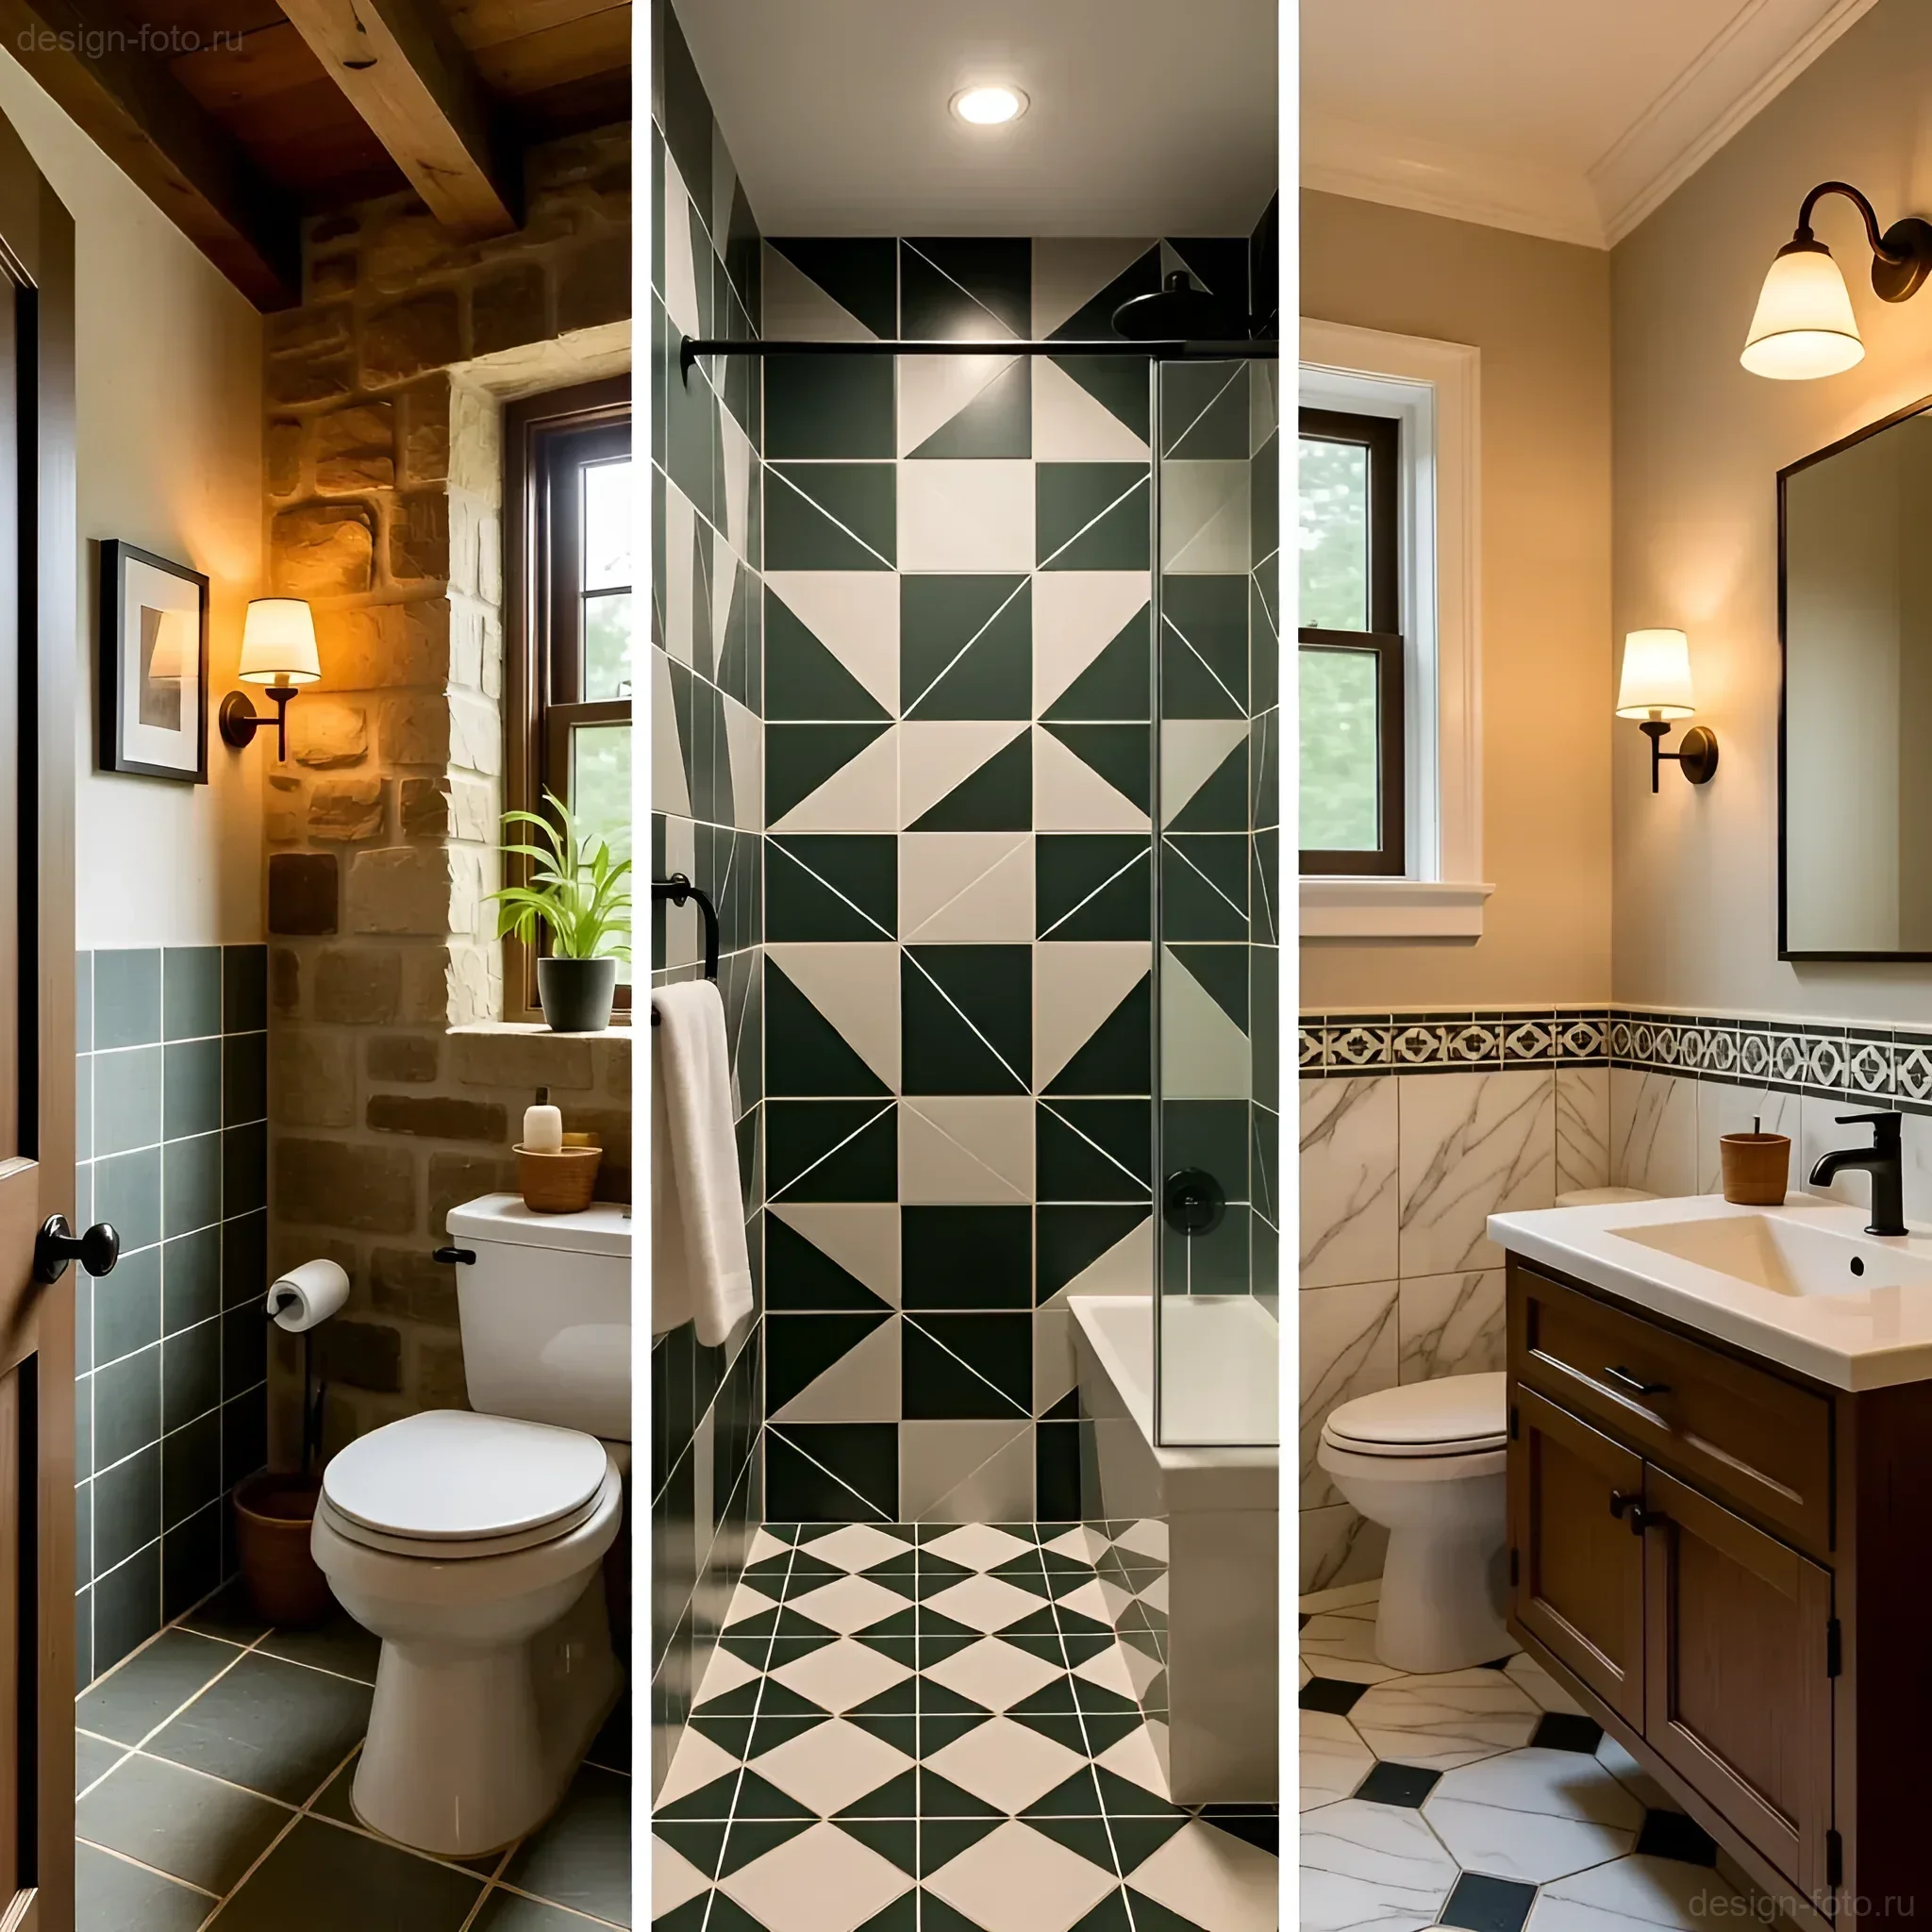
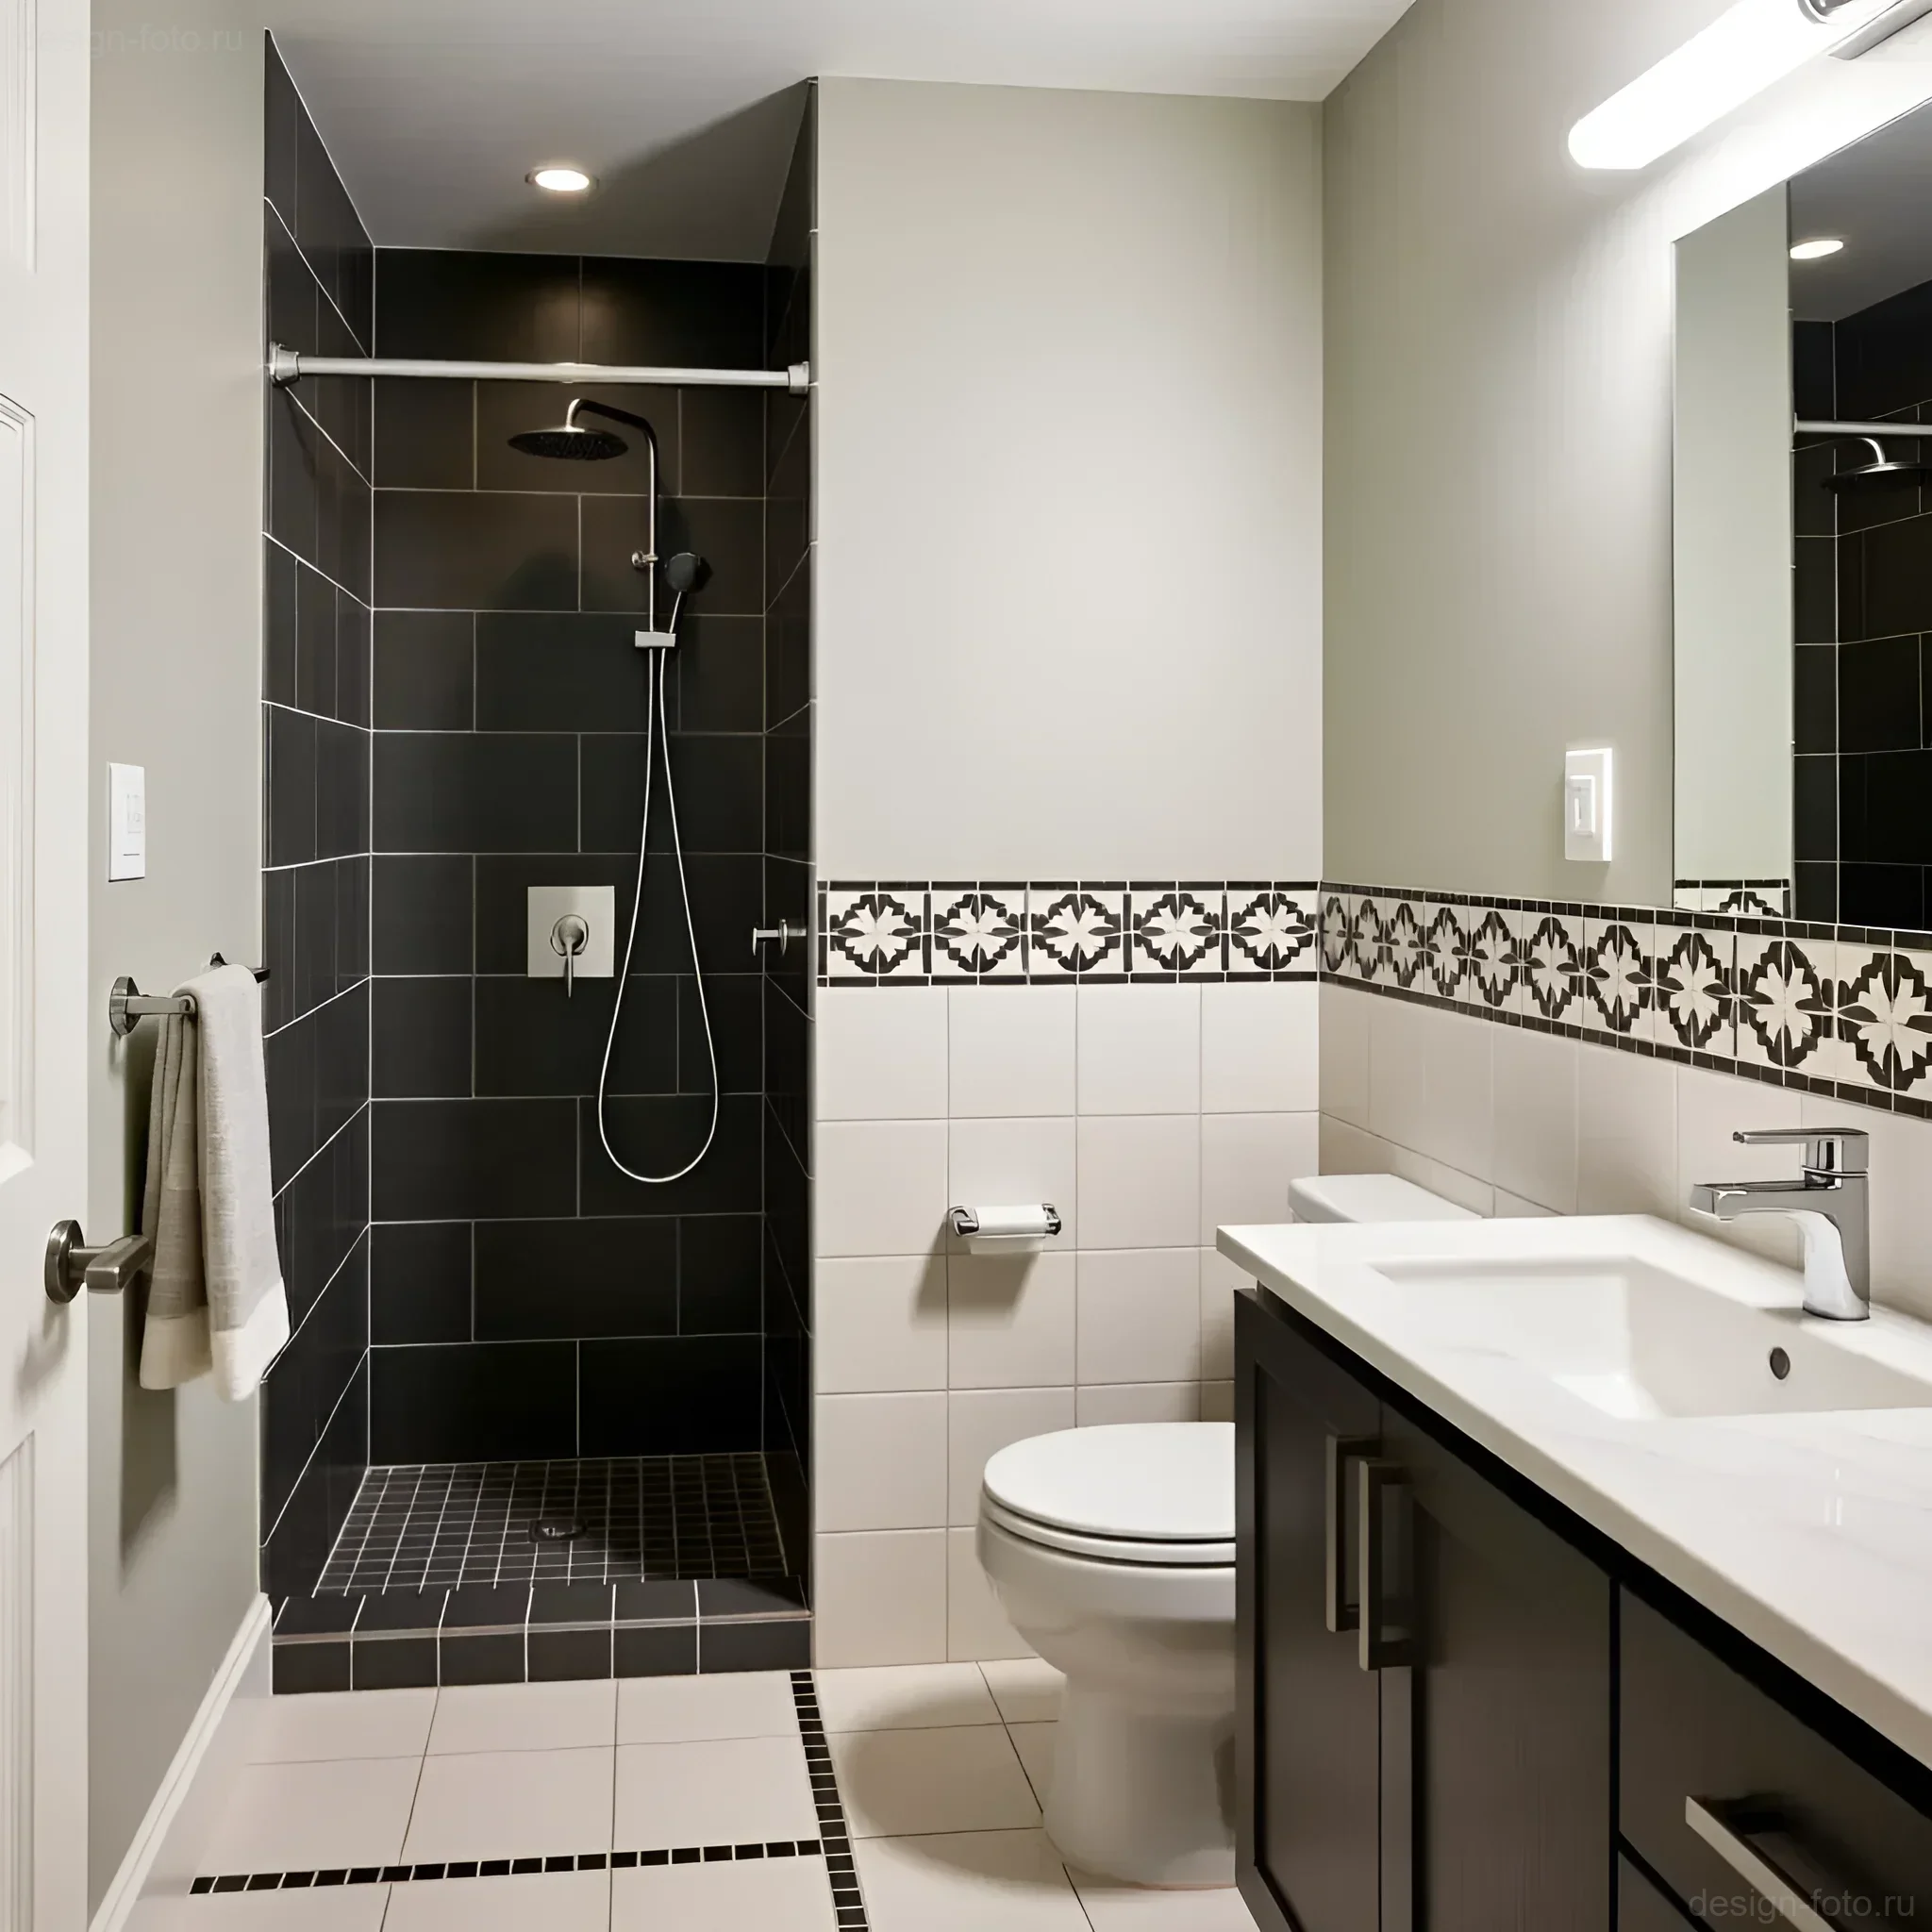
- Classic/Neoclassical: Small mosaics or octagonal tiles (e.g., honeycomb or hexagonal) work well here for the floor, often in a black and white palette. For the walls, use light porcelain stoneware resembling Carrara marble.
Tile Color for a Small Bathroom: Visual Space Expansion
Color is the most powerful tool for optical correction. In a compact space, we should strive for monochrome and light, cool tones that have the ability to “recede.”
Optimal color palette:
- White (and its shades): A foolproof option. It reflects light maximally, making the room airy. Important: choose not sterile-cold, but warm white (with a hint of beige or gray pigment) to avoid a hospital room feel.
- Light Gray (Greige): Ideal for the floor and lower part of the walls. Gray is an excellent background for white sanitary ware and chrome details. Choose shades with low saturation.
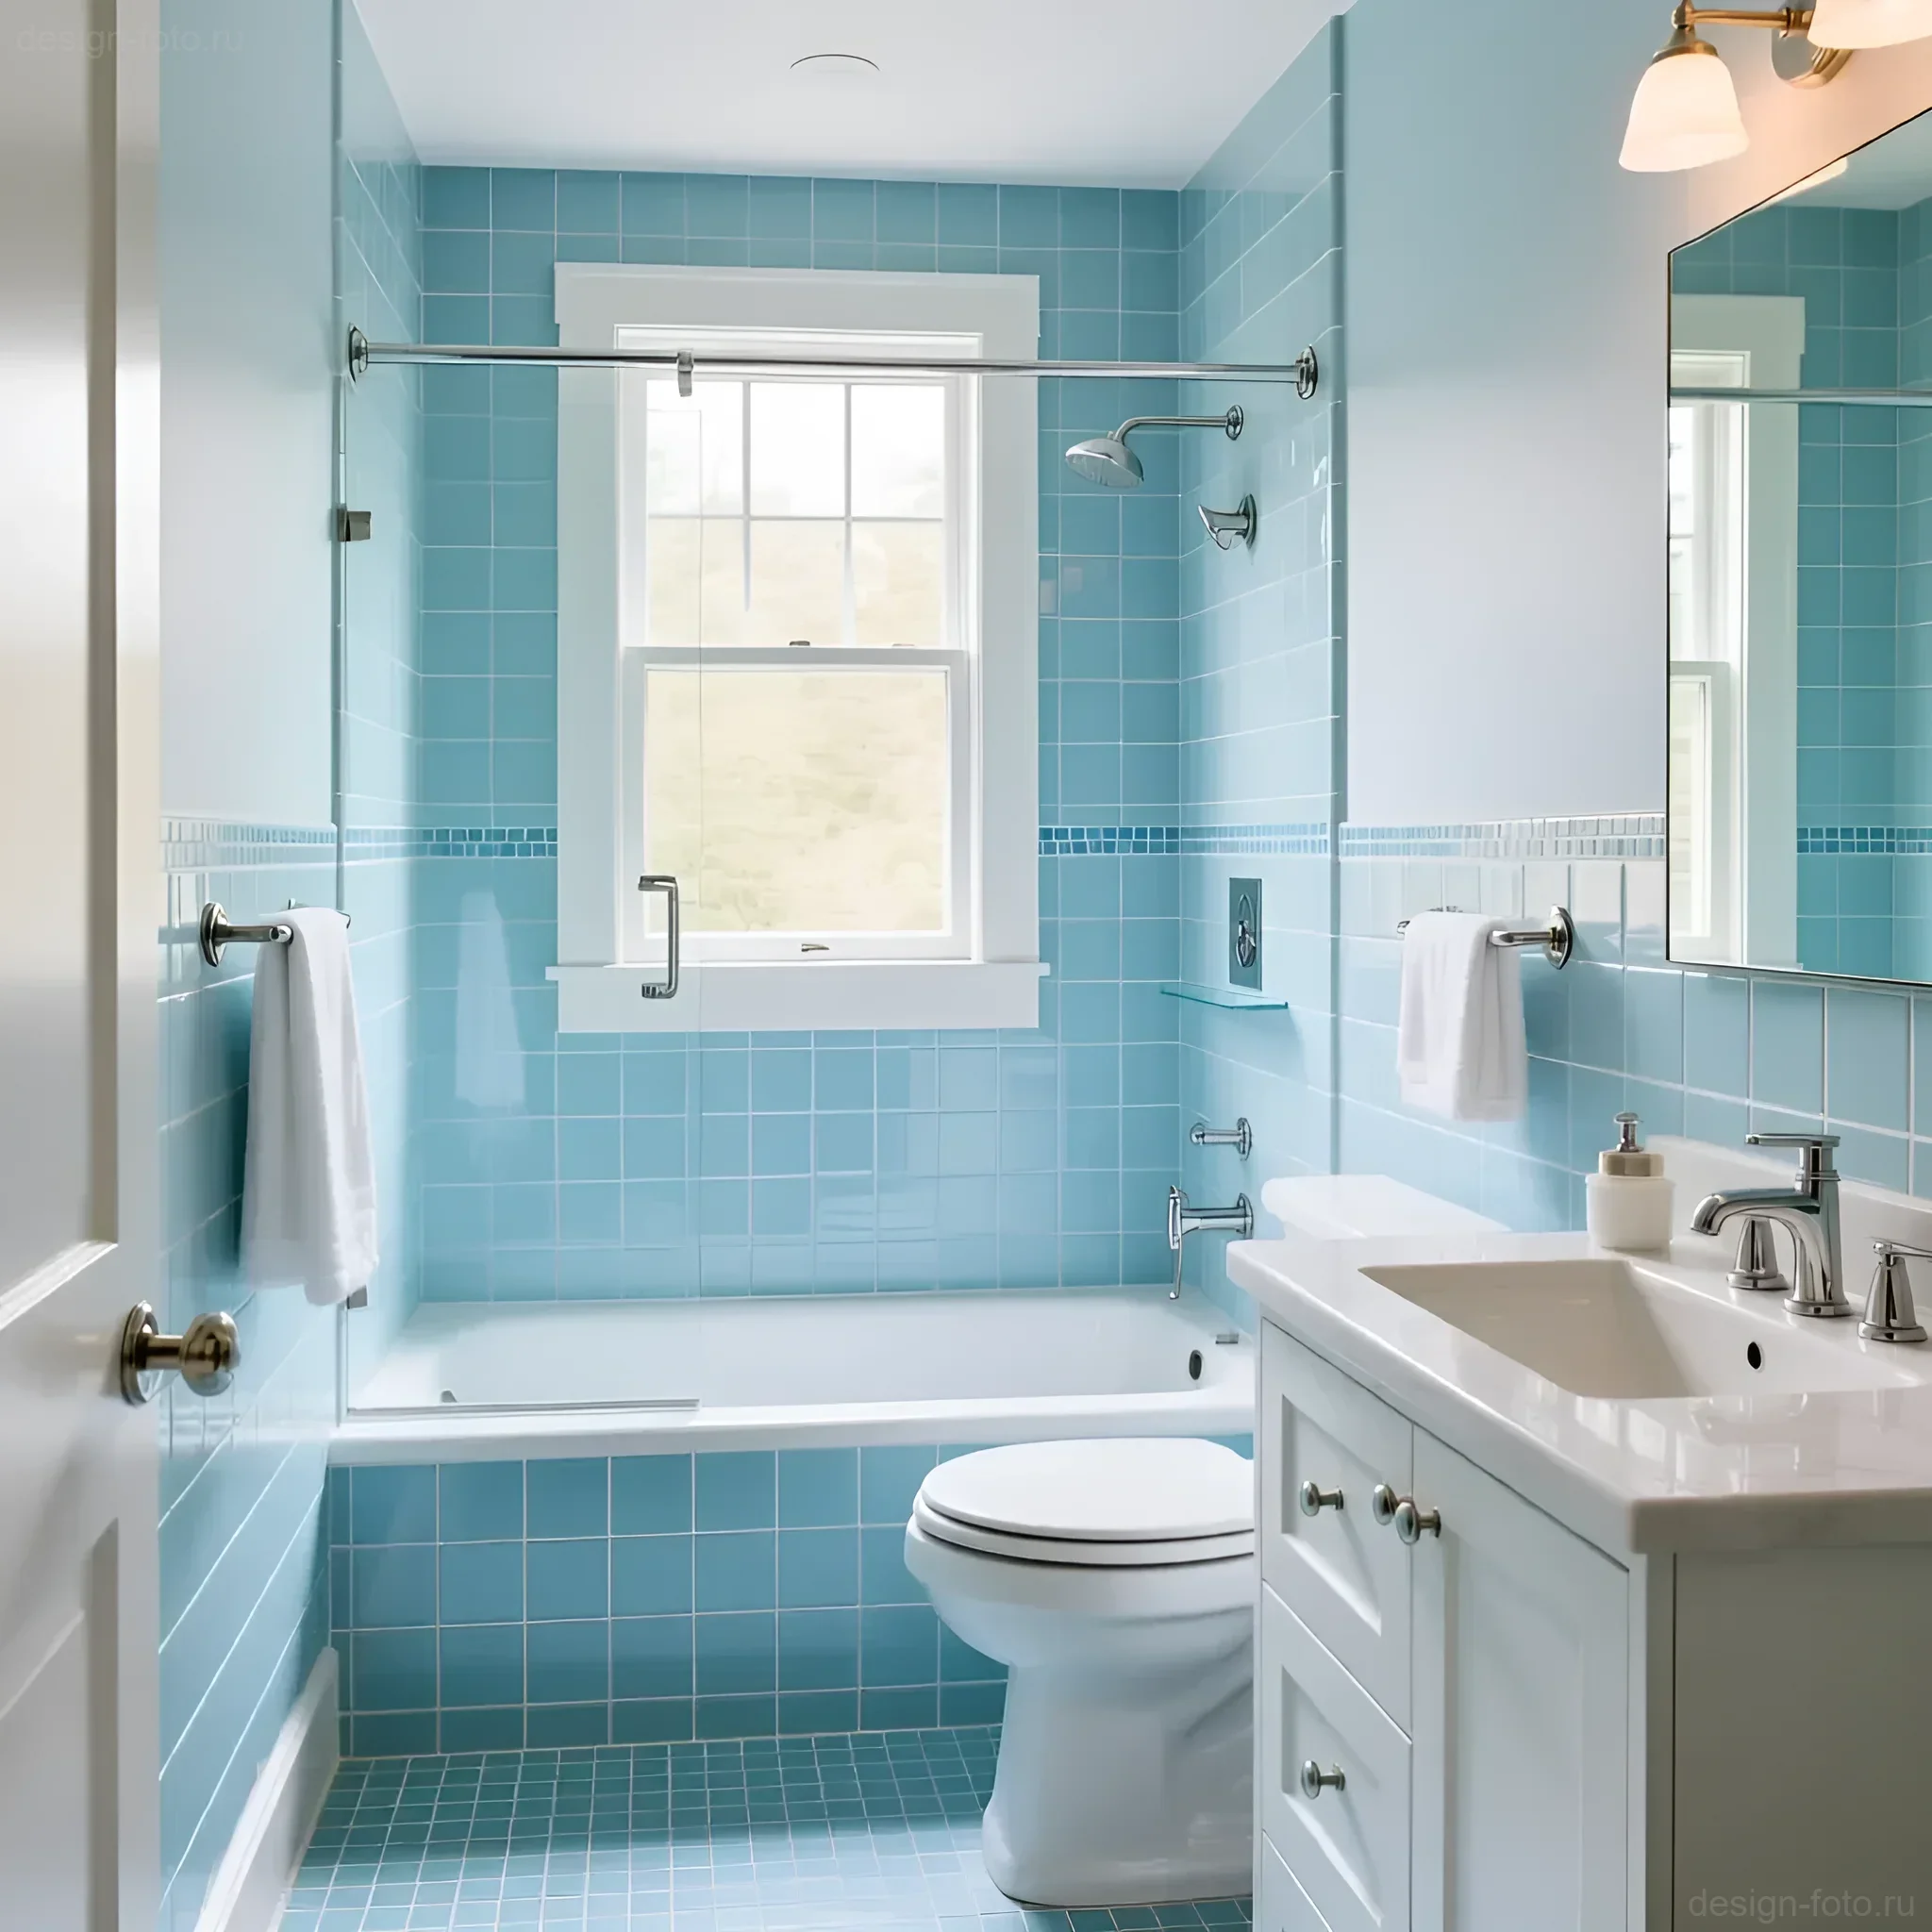
- Pastel and Cool Tones: Light blue, mint, pale pink (dusty rose). These colors work better than saturated warm tones (yellow, orange).
The Rule of Contrast and Accents
You shouldn’t completely abandon color, otherwise the interior might become boring. Use the 80/20 rule:
- 80% – Light Background: Walls, main part of the floor.
- 20% – Accent: This could be a strip of dark or textured tile on the wall behind the toilet installation, or a niche in the shower area finished with bright mosaic. The accent should be local and well-lit.
Attention to grout: In a small bathroom, grout should match the tile color as closely as possible (tone-on-tone). Contrasting grout (e.g., black on white tile) creates a grid that visually shrinks and fragments the surface. Exception: loft or industrial style, where a contrasting grout line on subway tile is acceptable, but only in very light tones.
Tile Size in a Small Bathroom: Secrets of Proportions and Geometry
A common misconception: the smaller the bathroom, the smaller the tile should be. In reality, small tiles (like 10×10 cm) create too many grout lines, which, as we’ve already established, “eat up” space. Professionals lean towards two diametrically opposed but effective solutions.
Option 1: Medium Format for Walls (Optimal Balance)
The most functional and least expensive option for walls is medium-format rectangular tile:
- Sizes: 20×50 cm, 20×60 cm, 30×60 cm.
- Advantage: Allows for minimizing horizontal grout lines. Horizontal laying expands walls, while vertical laying “lifts” the ceiling.
Option 2: Large Format (Monolithic Effect)
If your budget and room geometry allow, use large-format porcelain stoneware:
- Sizes: 60×60 cm, 80×80 cm, 60×120 cm.
- Condition: The tile must be rectified (with cut edges), allowing for a grout joint of 1–1.5 mm.
- Application: Large format, especially on the floor, creates the impression that the room is larger than it actually is, as the gaze doesn’t get caught on frequent seams.
Laying Geometry: How to Deceive the Eye
On the floor in narrow and long bathrooms (like a “pencil case”), we recommend laying rectangular tiles or porcelain stoneware diagonally (45 degrees). This creates dynamism and distracts attention from the actual boundaries of the room.
Important: When choosing a large format, ensure that its geometry does not lead to too many offcuts in the corners. In a 150×200 cm room, 60×120 cm tiles might be inefficient due to waste.
Tile Texture for a Small Bathroom: Playing with Textures and Volumes
Tile texture affects light reflection and, critically, safety. In a small bathroom, we should combine glossy walls with a matte floor.
Walls: Gloss or Satin
For walls, materials with high gloss are preferred. Glossy or polished porcelain stoneware significantly increases illumination. They are also easier to clean (except for dark gloss, where water droplets and limescale are very noticeable).
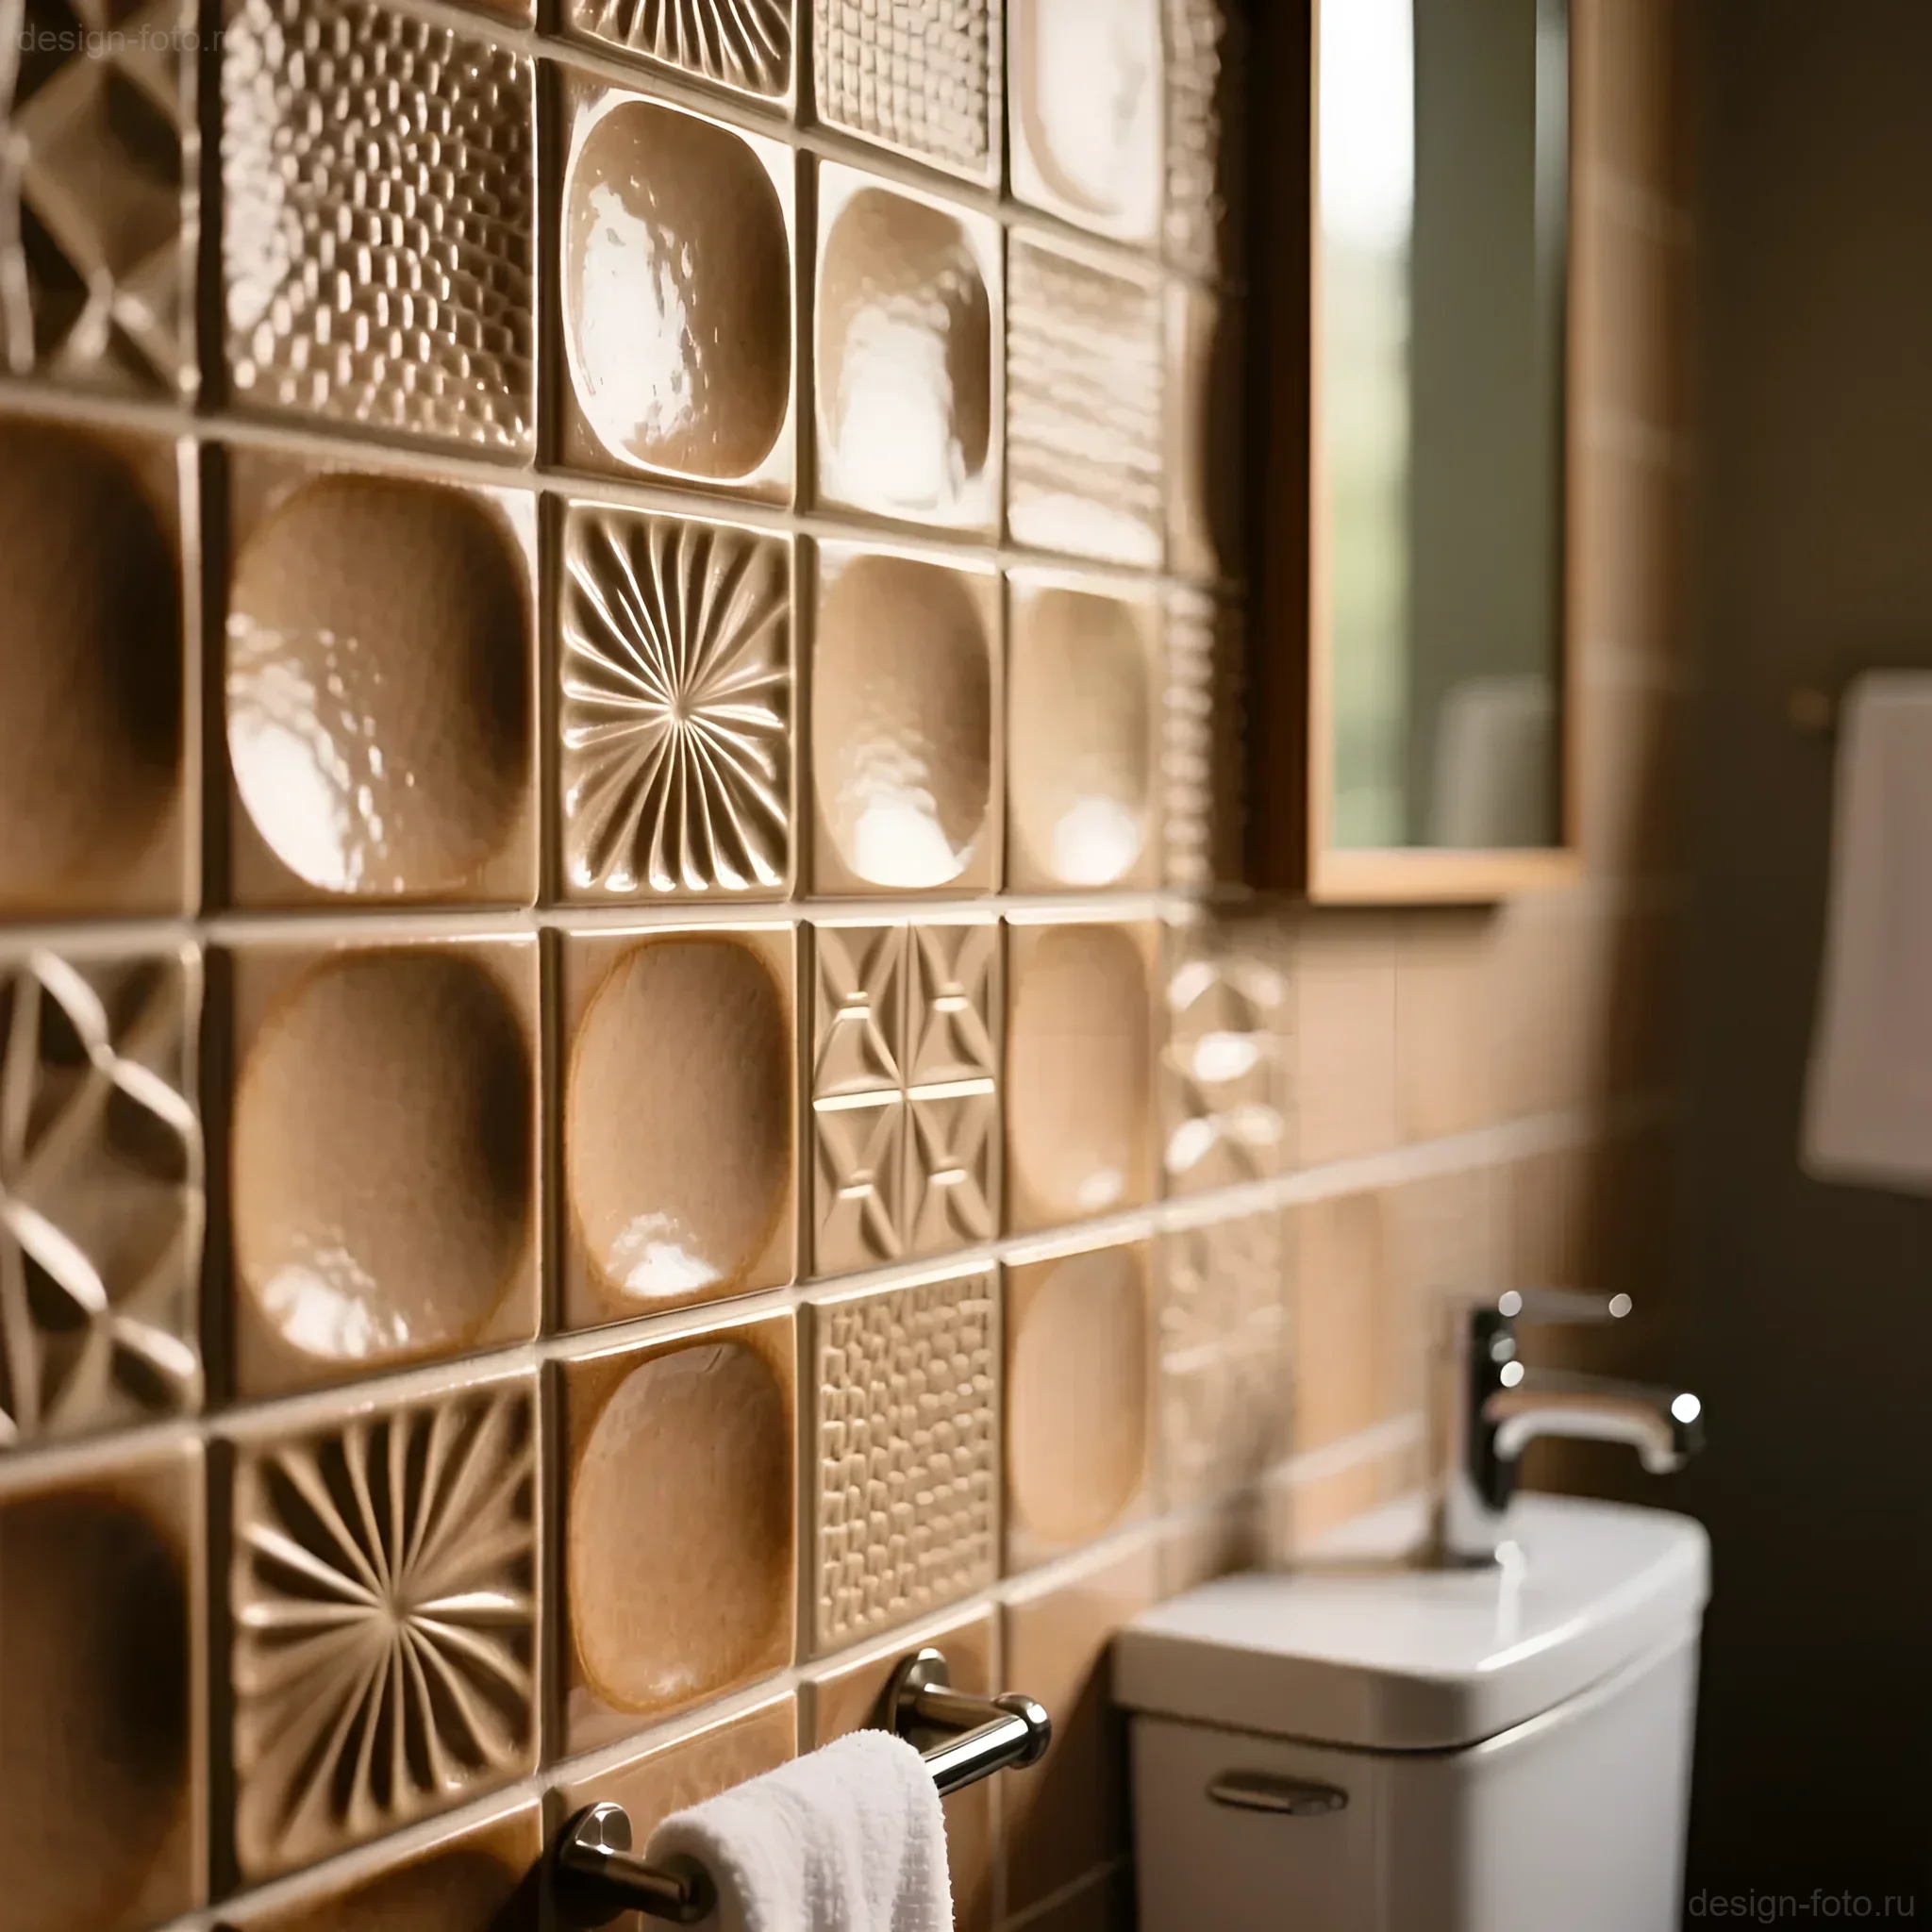
- Using micro-relief: If you want texture, choose tiles with a slight, vertically oriented micro-relief (e.g., a narrow stripe or wave). Vertical lines visually elongate the room upwards.
Floor: Matte and Safe
Always use matte tiles or porcelain stoneware with an anti-slip rating of at least R10 on the floor. This is a safety requirement that is not up for discussion. A matte floor imitating stone or wood looks noble and does not create glare, which can be tiring in a small space.
Be careful with 3D texture: Avoid tiles with deep, pronounced 3D relief. They visually weigh down the walls, accumulate dust and condensation, and require complex cleaning.
Small Bathroom Layout and Tile Selection: Zoning and Accents
In a small bathroom, tile zoning should be as subtle as possible. Sharp transitions in color or format will only emphasize the modest size of the room. However, highlighting functional zones is necessary for ergonomics.
Zoning the Shower or Wet Area
The most effective technique is to use a single tile for the entire room, with a slight change in format or texture in the shower area.
- Example 1 (Format): The entire bathroom is tiled with light-colored 60×60 cm porcelain stoneware. Inside the shower tray (if it’s built-in) or on the shower floor, mosaic of the same color (3×3 cm) with a matte texture is used. This ensures a slope and safety without disrupting color unity.
- Example 2 (Accent): All walls are light gloss. The back wall in the shower is a vertical strip (60–80 cm wide) with a wood or stone imitation, which serves as a visual anchor.
Visually Raising the Ceiling
To make the ceiling appear higher, use one of the following techniques:
- Vertical laying of rectangular tiles (20×60 cm).
- Avoid borders or decorative friezes.
- Tiling the walls not all the way to the ceiling, but up to a height of 200–210 cm, followed by painting the upper part of the wall and ceiling in one light color. This blurs the boundary between the wall and the ceiling.
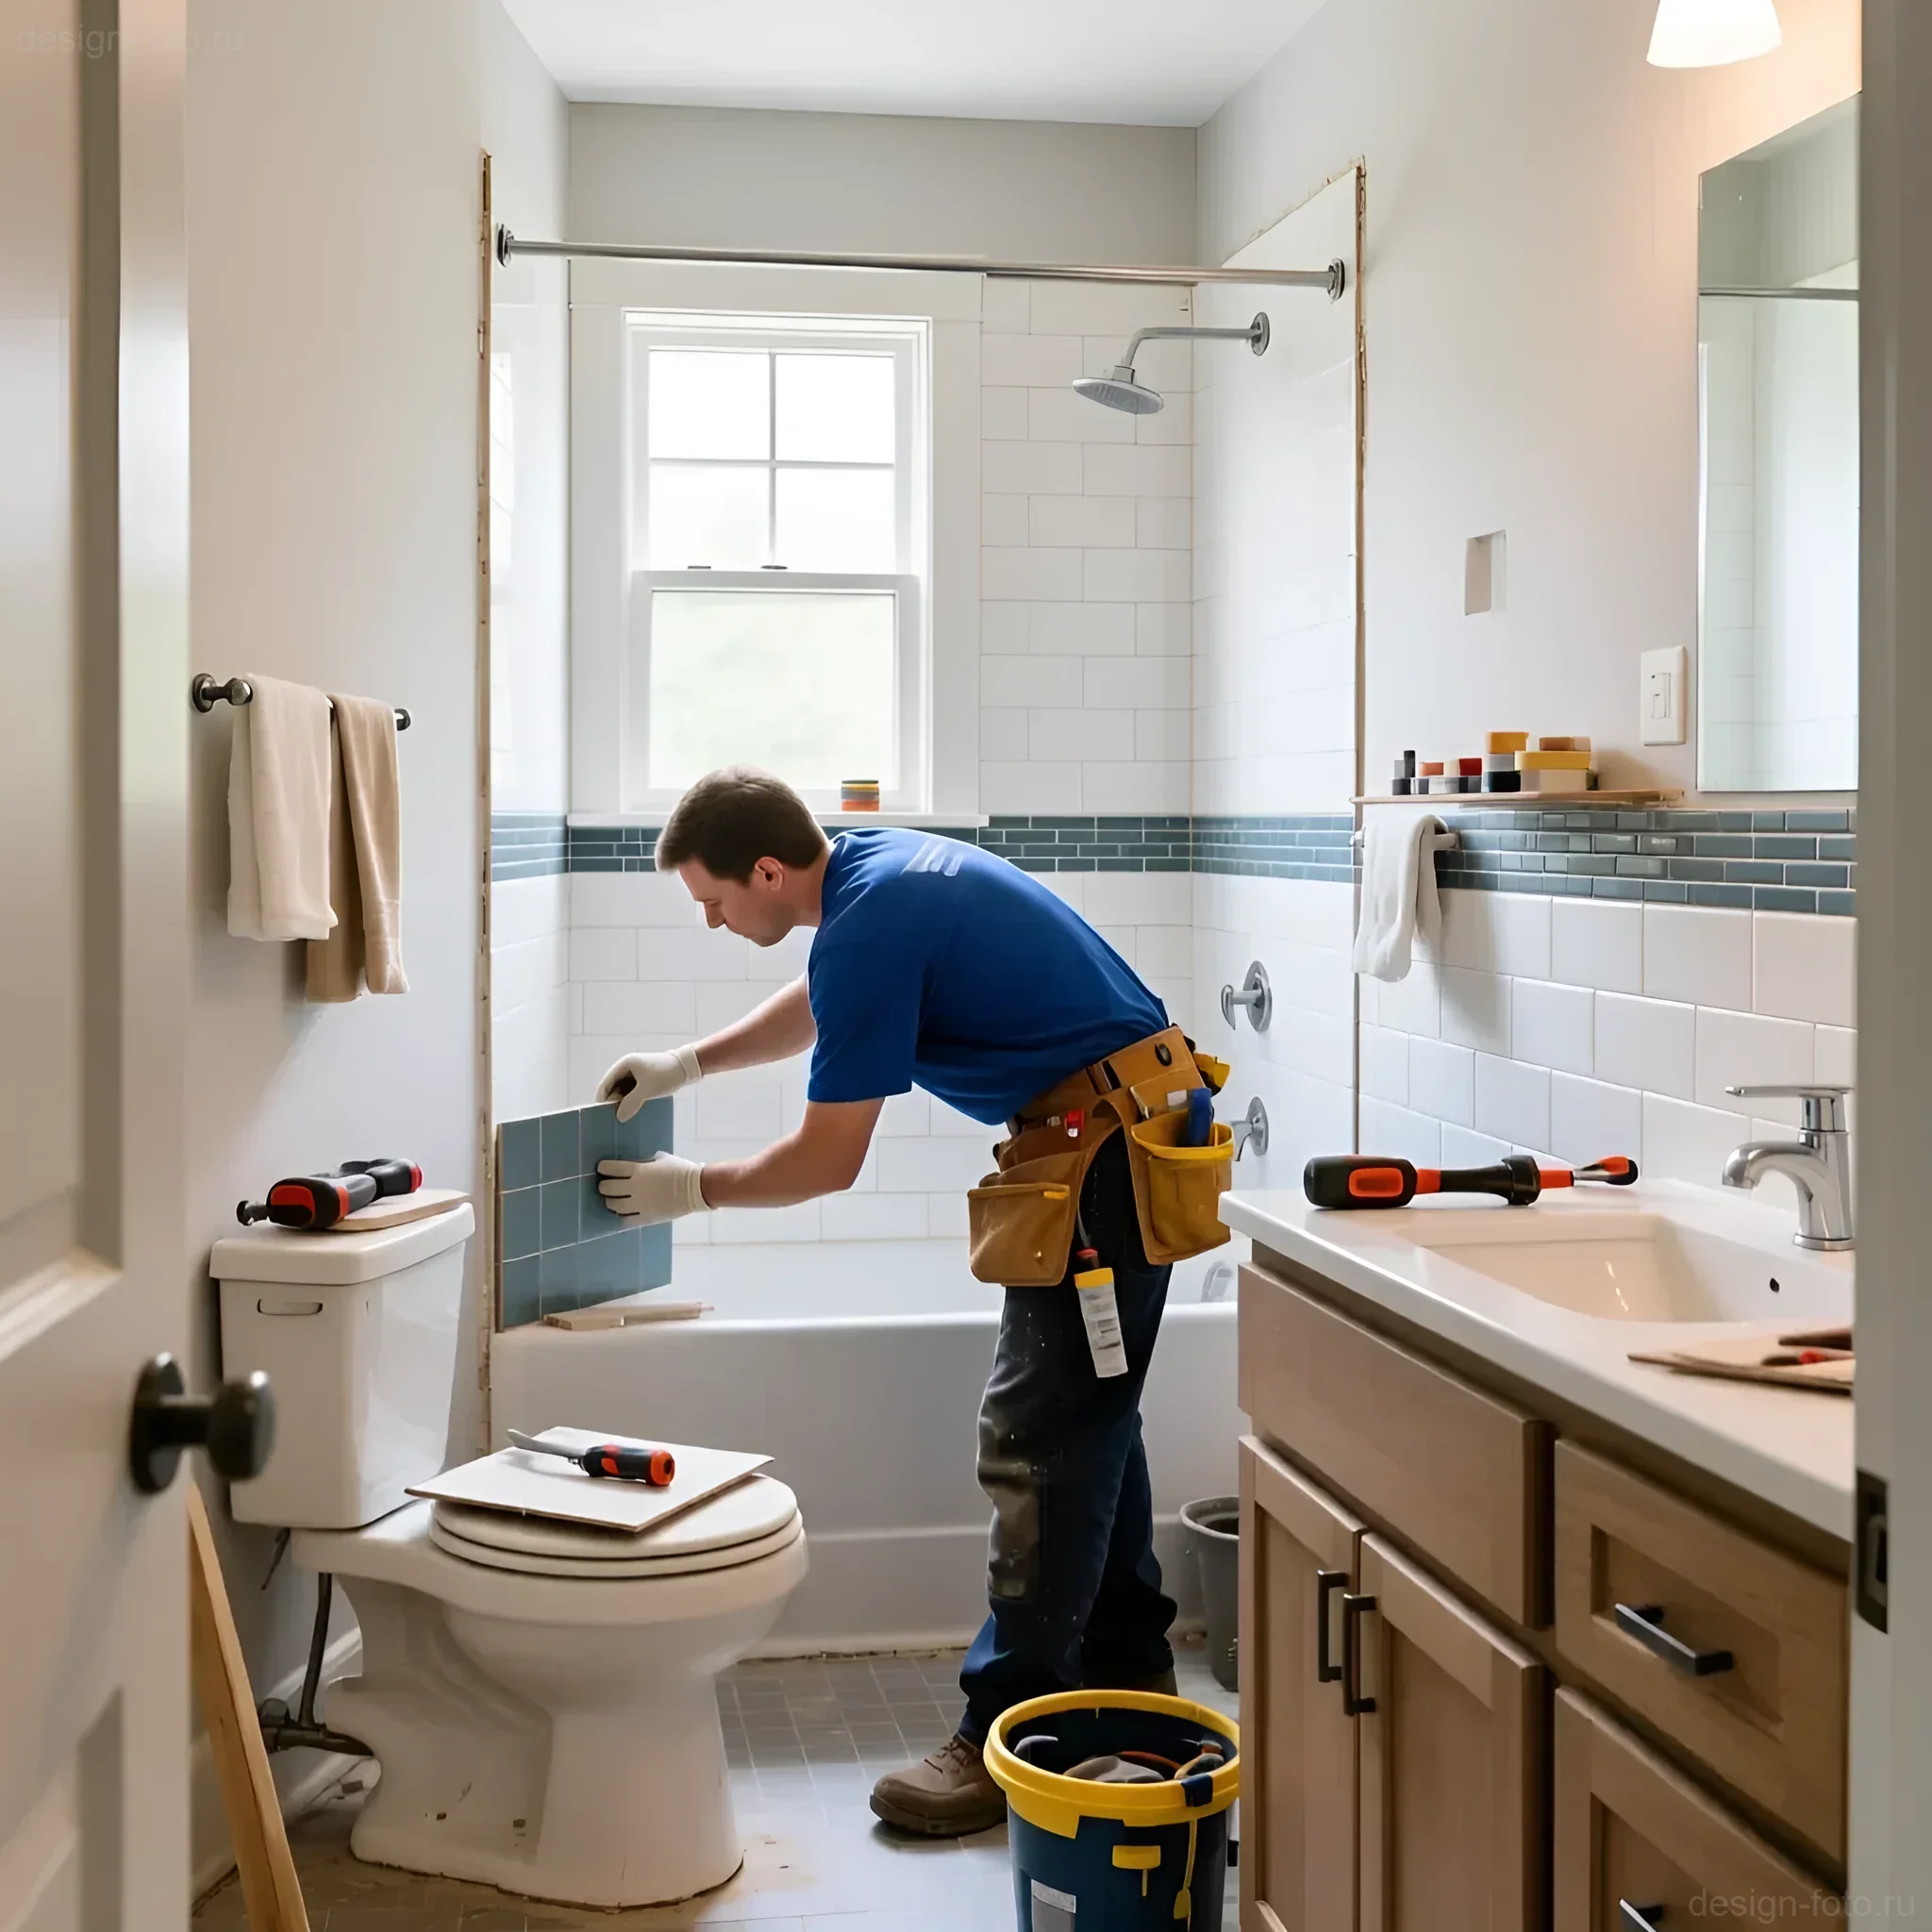
Practical Tips for Laying Tile in a Small Bathroom: Economy and Durability
Tile selection is closely related to its laying technique, especially in a confined space where every millimeter counts.
Calculation and Layout
Before starting work, be sure to perform a detailed tile layout (diagram). The goal is to minimize cuts and avoid narrow strips at the corners.
- Start laying from the center of the most visible wall (usually the one opposite the door) to ensure symmetrical placement of offcuts at the edges.
- If you have chosen a large format, check if a full tile will come too close to the corners. It is optimal for offcuts to be at least 1/3 of the width of a full tile.
Choosing Adhesive and Waterproofing
In small bathrooms with high humidity, quality waterproofing and the right adhesive are critically important. Use two-component compounds in wet areas. When working with large-format porcelain stoneware (over 60×60 cm), an adhesive of category C2 TE S1/S2 is required, which compensates for deformations of the substrate and the tile itself.
Epoxy Grout: An Investment in Cleanliness
For a small bathroom, where humidity and the risk of contamination are high, we strongly recommend using epoxy grout. It is completely waterproof, resistant to mold, does not change color over time, and helps maintain the monolithic, clean look we strive for.
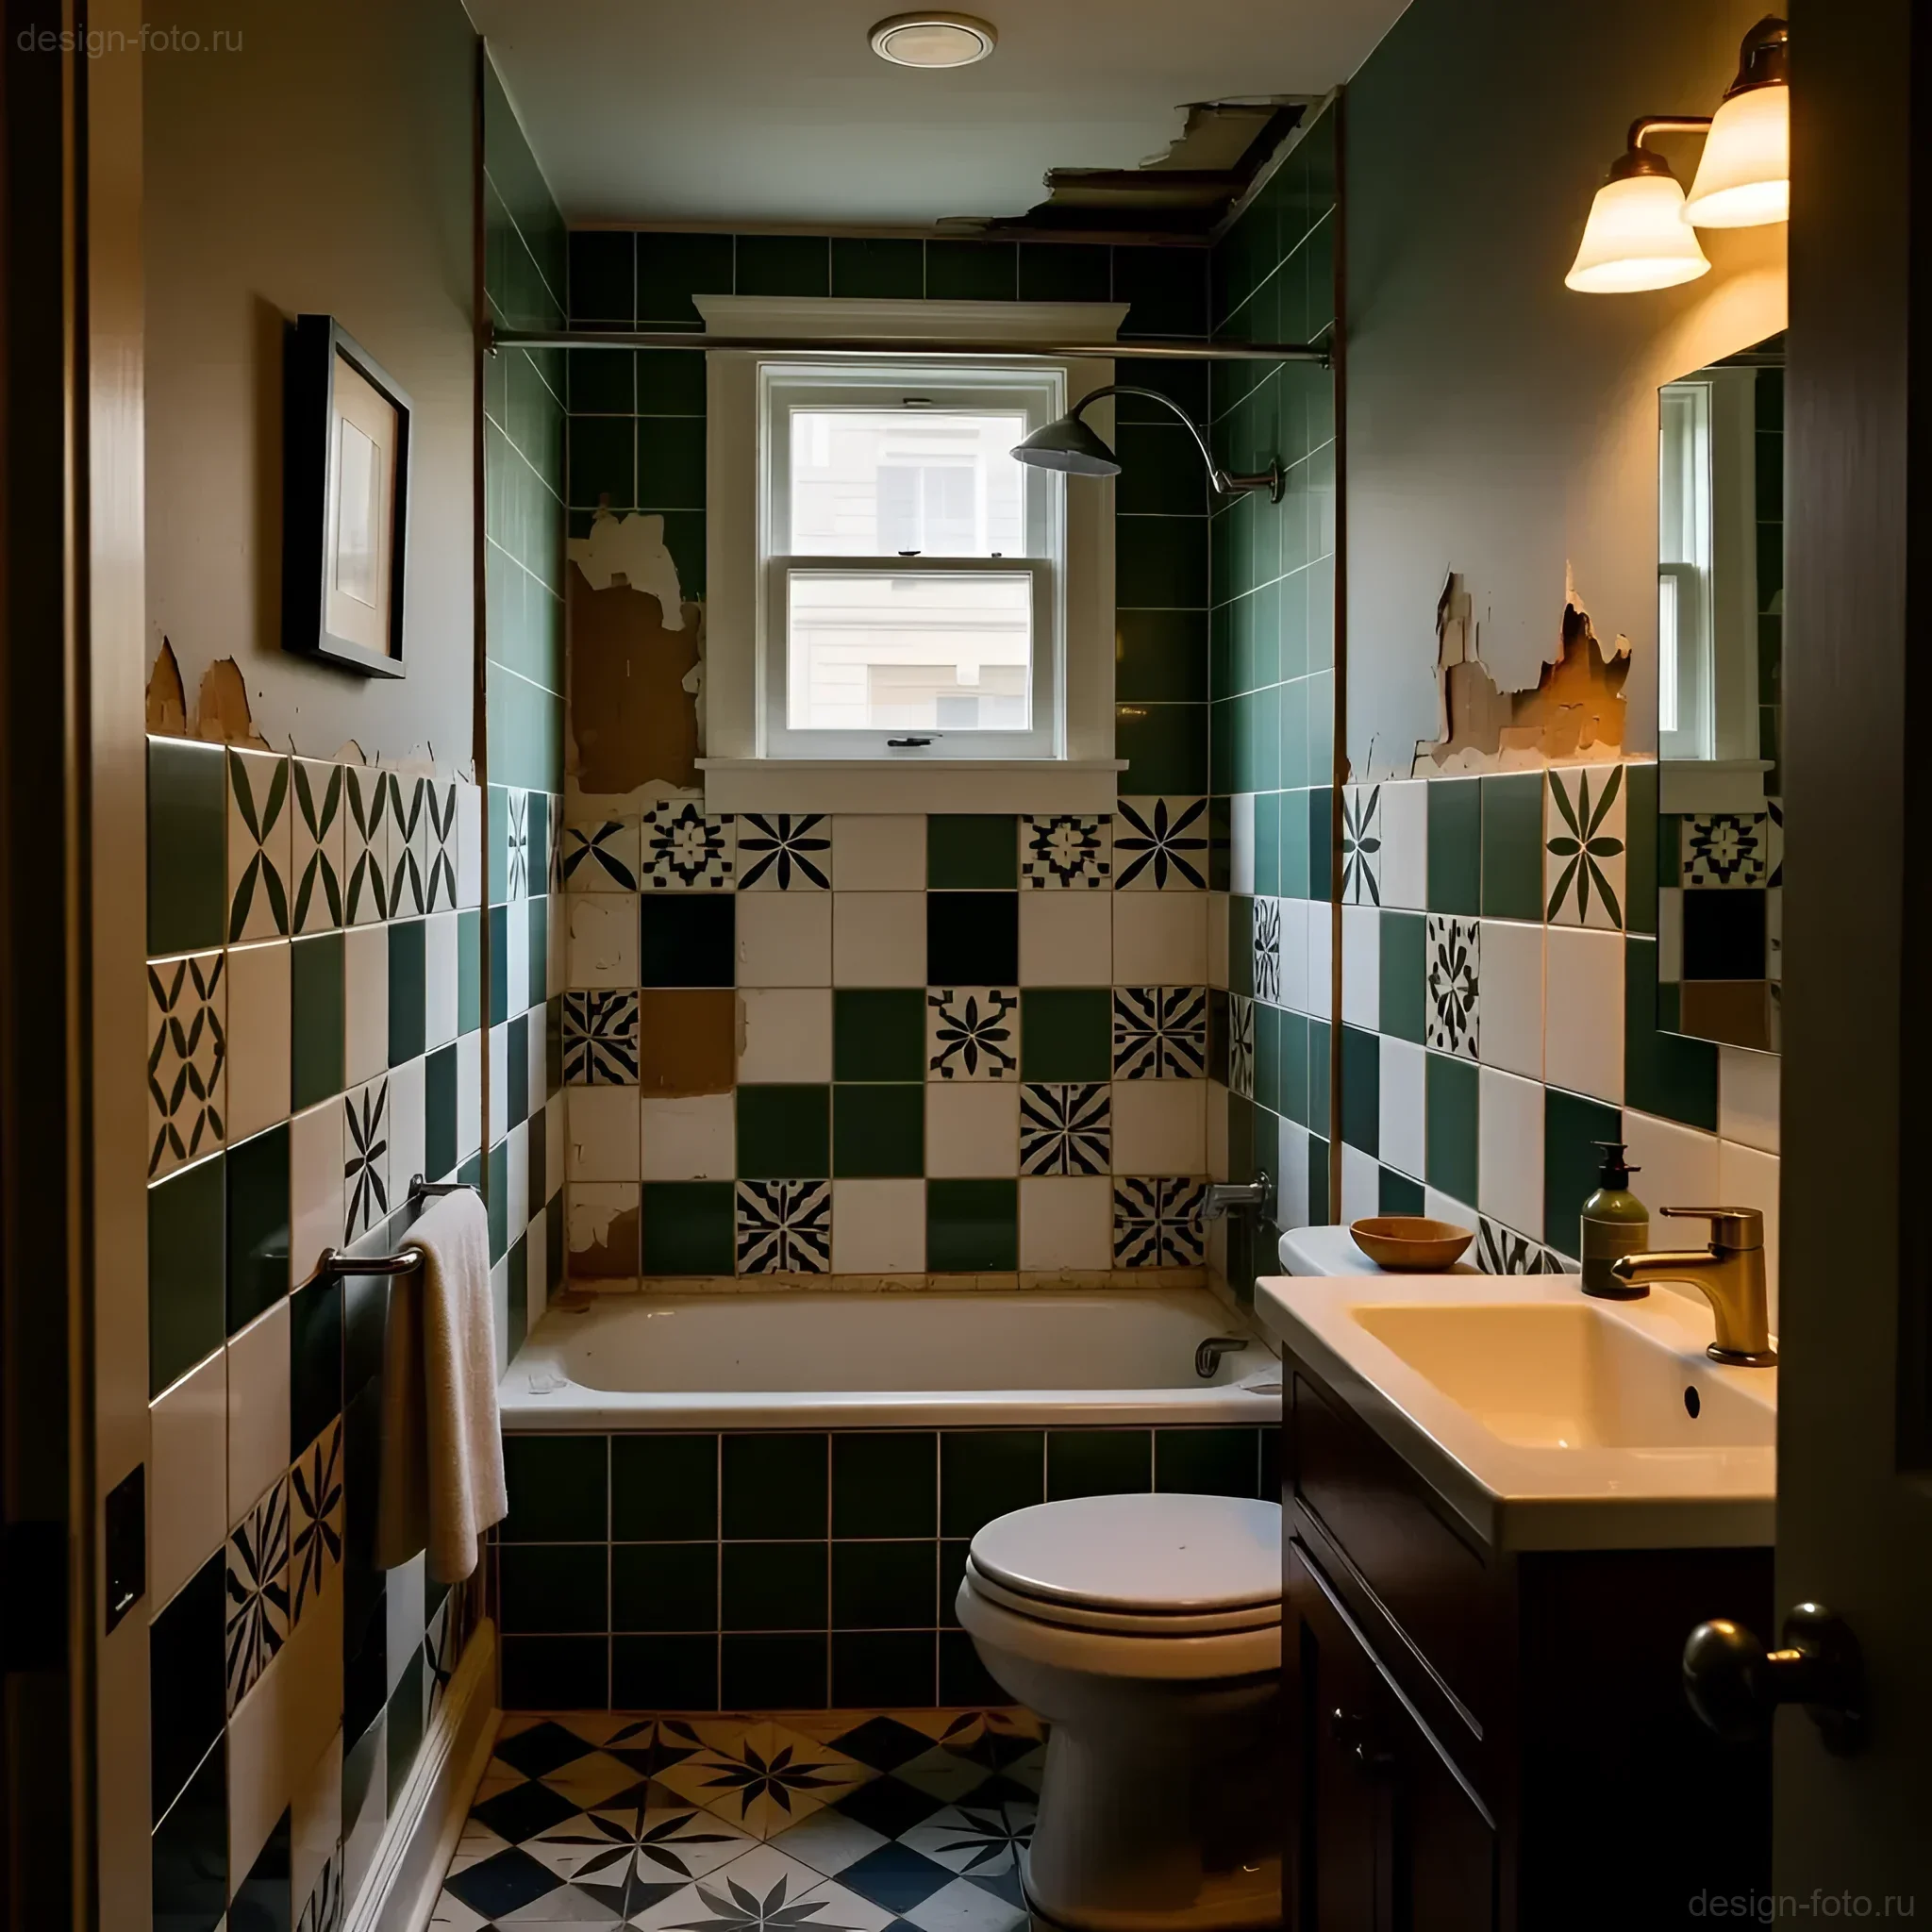
Common Mistakes When Choosing Tile for a Small Bathroom and How to Avoid Them
Many owners make the same mistakes that negate all efforts to expand the space.
- Mistake 1: Excessive active decor. Using a large number of decorative inserts, borders, or tiles with a large, bright pattern. How to avoid: Limit decor to one small vertical strip or one niche.
- Mistake 2: Too many colors. Trying to use tiles of three or more different colors or textures. How to avoid: Stick to the two-color rule: one main (light background) and one additional (for the floor or accent).
- Mistake 3: Dark upper part. Tiling the upper walls with dark tiles. This creates a “hanging” ceiling effect, making the room feel oppressive. How to avoid: Dark shades are only acceptable at the bottom (floor) or on an accent wall (e.g., behind the sink), but not above eye level.
- Mistake 4: Incorrect mosaic size. Using mosaic with a chip size less than 2×2 cm. Too small mosaic creates ripple and visual noise. How to avoid: If you need mosaic, choose chips of 3×3 cm or 5×5 cm, and only in light tones.
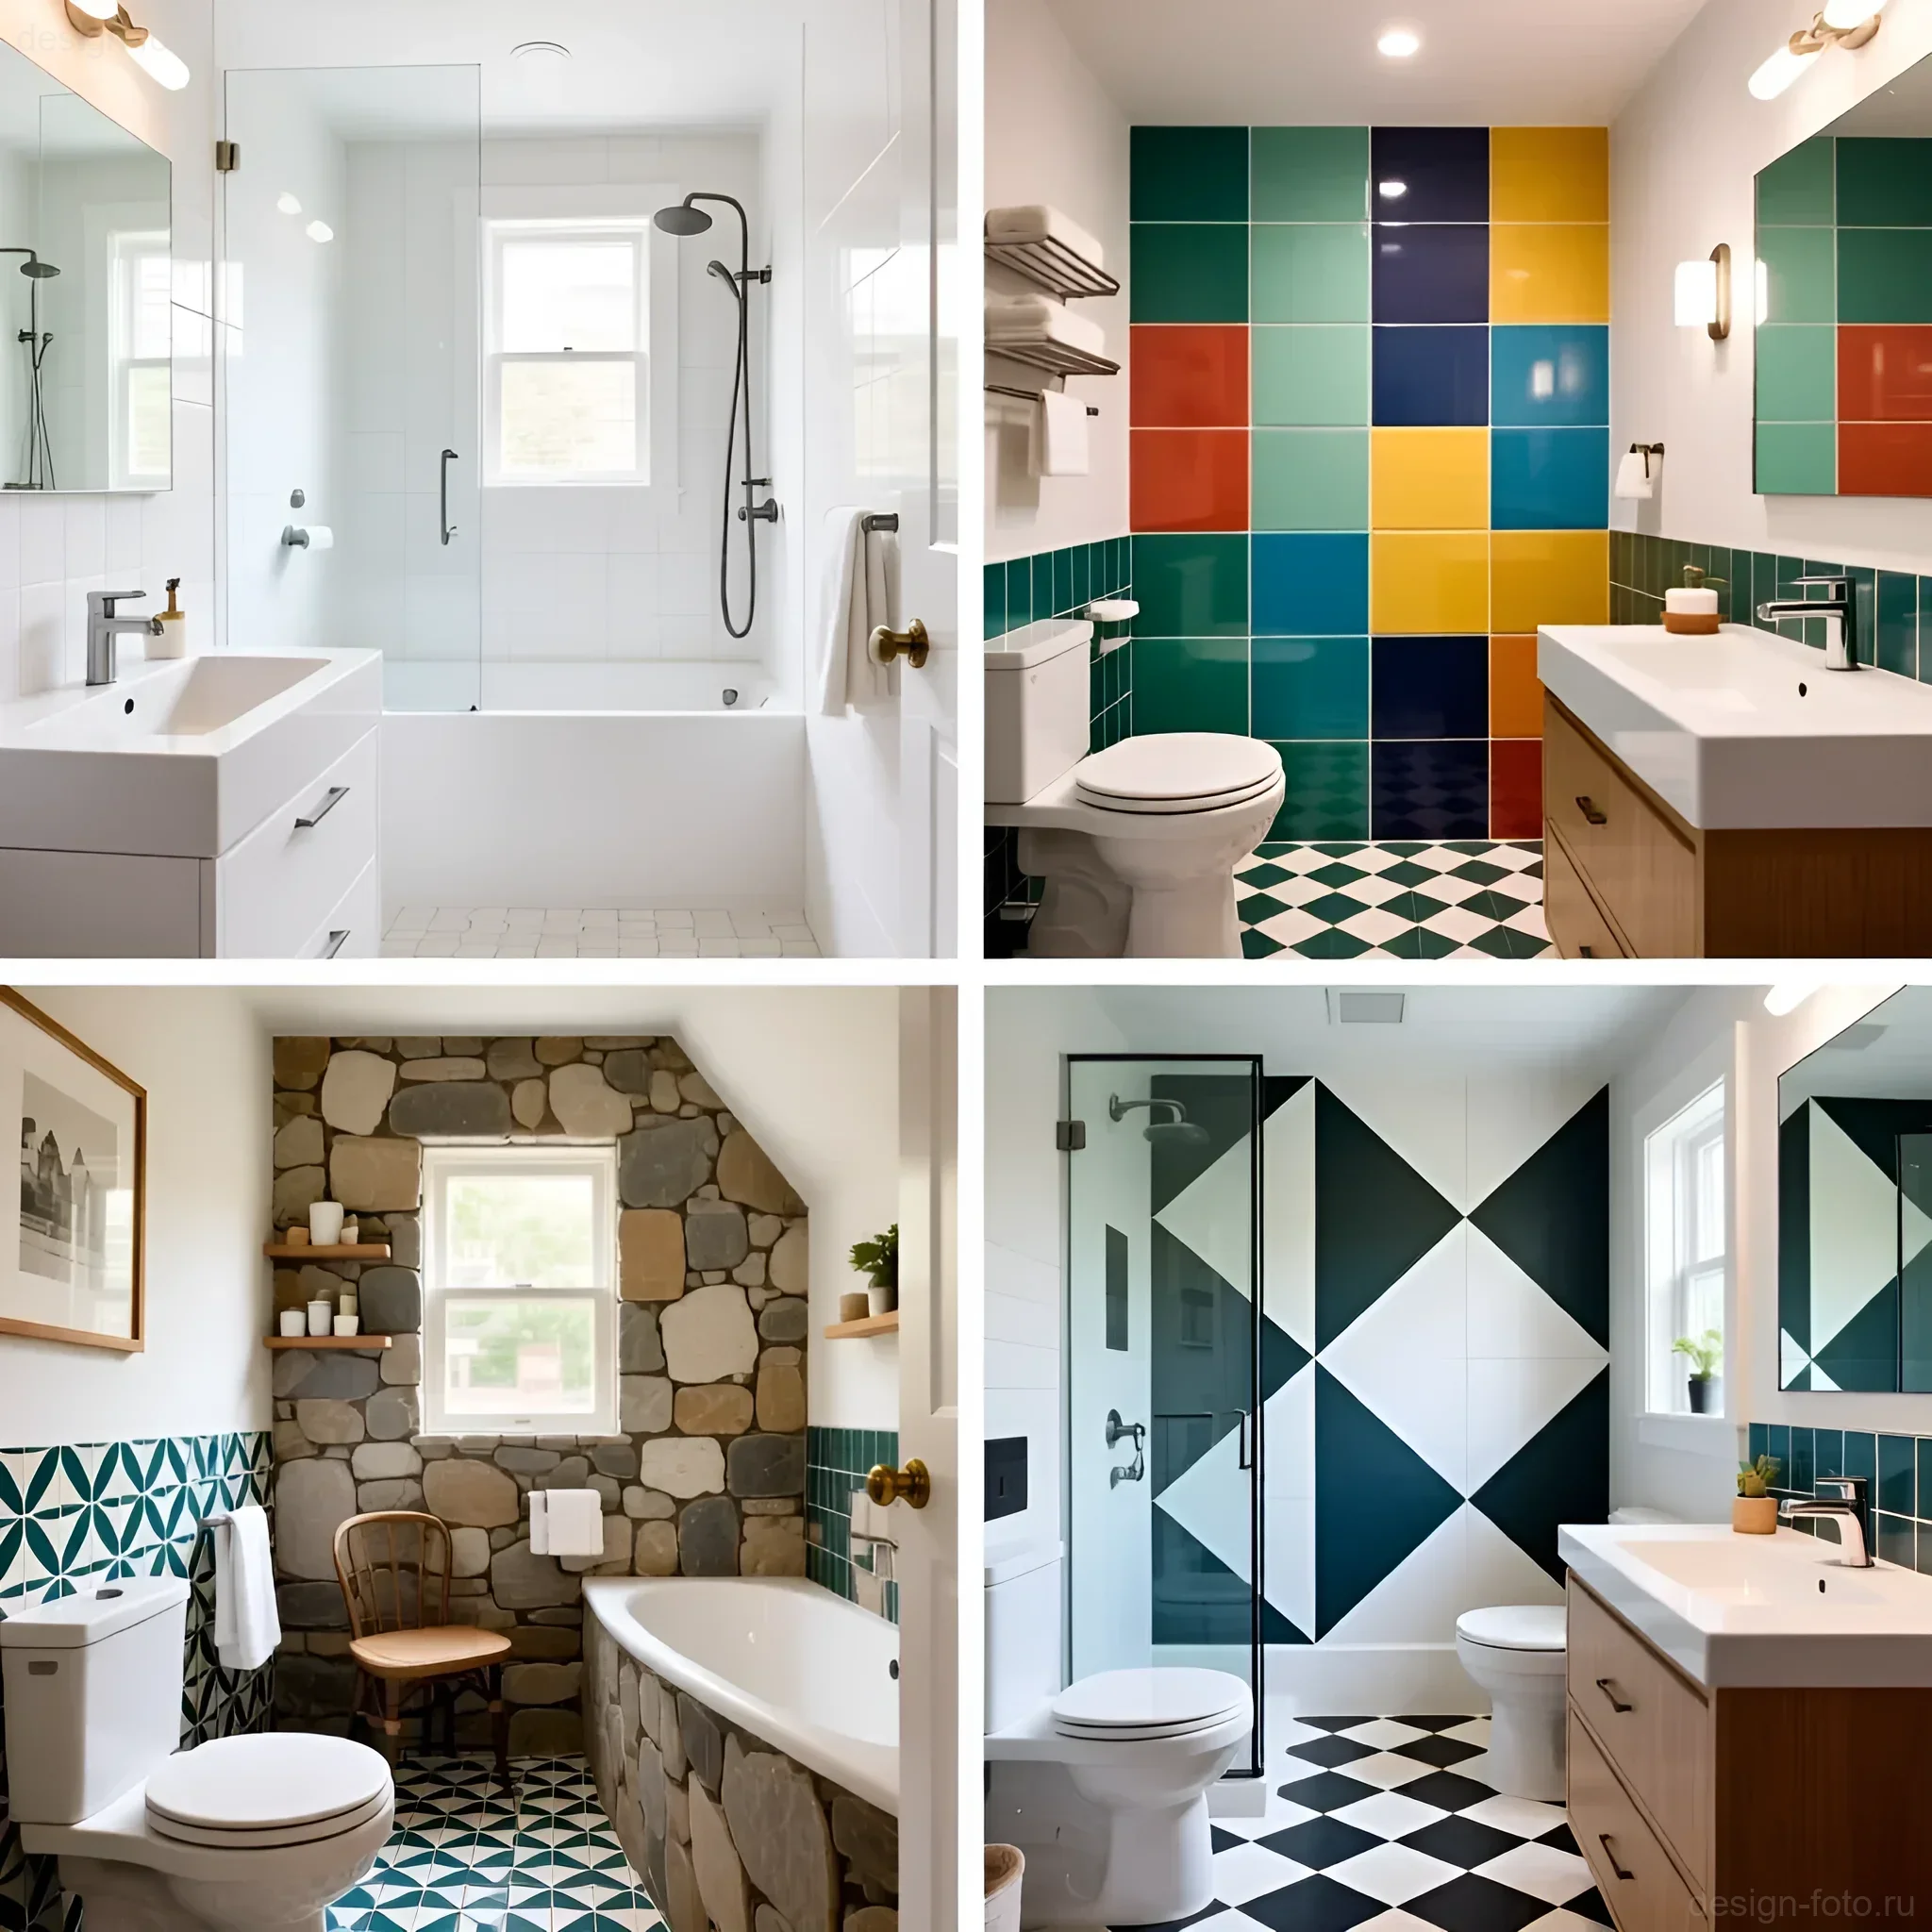
Examples of Successful Solutions: Photos of Small Bathroom Interiors with Tiles
Solution 1: “White Box” (Scandinavian Minimalism)
Walls are tiled with rectified white glossy 30×60 cm tiles, laid horizontally with a 1.5 mm grout joint. Grout is white epoxy. Floor is matte light gray 60×60 cm porcelain stoneware, laid without cuts (if room size allows). Result: a maximally clean, bright volume that appears twice as large.
Solution 2: “Stone Imitation” (Contemporary Style)
Use of porcelain stoneware imitating light beige travertine (without pronounced veins), 40×80 cm format. Tiles are laid vertically on the walls and horizontally on the floor. Due to the minimal number of grout lines and natural texture, the room gains depth and a luxurious look, despite its modest size.
Solution 3: “Geometry Play” (Floor Accent)
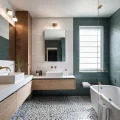
Walls are light, neutral 30×60 cm porcelain stoneware. Floor is accent hexagonal tiles (hexagon) 20×23 cm, in a gray-white palette. The accent on the floor draws attention downwards, distracting from the narrowness of the walls. Important point: the hexagonal floor tile should “creep” onto the wall for 1–2 rows, creating a smooth, indistinct transition.
FAQ: Answering Popular Questions About Tiles for a Small Bathroom
Which Tile is Better to Choose: Glossy or Matte?
Answer: For walls – glossy or semi-glossy, to reflect light maximally and visually enlarge the space. For the floor – exclusively matte, with an anti-slip rating of R10 or higher, to ensure safety.
Is Large Format Tile 60×120 cm Suitable for a Very Small Bathroom (3 sq. m)?
Answer: Yes, it is suitable, but with caveats. If 60×120 cm tiles fit on the longest wall with minimal cutting, they will create a monolithic effect. However, if due to unfavorable geometry you have to make many small cuts (e.g., 10 cm strips), it will be inefficient and expensive. Always make a precise layout drawing.
Can Dark Tiles Be Used in a Small Bathroom?
Answer: Only as a local accent and provided a very high level of illumination. For example, a dark floor and white walls. Tiling all walls with dark tiles will make the room visually cramped and gloomy, and will also highlight any dust and limescale.
Which Laying Type Best Expands Space?
Answer: Horizontal laying of rectangular tiles (with a 1/3 offset or staggered) visually expands walls. If the ceiling is low, use vertical laying.
Interesting Facts About Tiles and Small Bathroom Design
- “Infinite Mirror” Effect: Using tiles that imitate a mirror surface (e.g., polished porcelain stoneware with a high reflection degree) on one of the walls is a radical but very effective way to double the visible volume of the room. However, it requires perfect surface preparation.
- Subway Tile (Metro Tile) was originally developed for tiling New York subway stations in the early 20th century. Its popularity in small bathrooms is due to not only its aesthetics but also its standard sizes, which easily fit into typical modules.
- Rectification and Economy: Rectified tiles, which allow for laying with a minimal grout joint (1–2 mm), were developed to create seamless surfaces. In small spaces, this technology works for you, making the space visually unified and more expensive.
Рекомендуем:
 Grout for tiles: how to choose the color and apply it correctly
Joint filler for tiles: how to choose the color and apply it correctly
Grout for tiles: how to choose the color and apply it correctly
Joint filler for tiles: how to choose the color and apply it correctly
 How to Tile Walls in a Bathroom: A Detailed Guide
 How to Update Old Tiles Without Removing Them: 99 Ways to Transform Your Bathroom and Kitchen
 Bathroom: Tile or Paint. What Will Everyone Face?
 DIY Decorative Stone Wall Installation: Your Guide to Home Transformation
 Interior Design and Pets: How to Combine Aesthetics and Pet Comfort
 How to Make a Brick Wall in an Interior (Imitation)
 Art Deco Colors: Black, Gold, Emerald, Burgundy – Luxury and Practical Tips for Your Interior
 How to Hang Vinyl Wallpaper on a Paper Backing?
 PVC Wall Panels: Cheap and Cheerful. Installation Guide
 Minimalism in Interior Design: The Secret to Style, Ergonomics, and the Line Between Emptiness
 MDF Panel Wall Finishing: Installation Guide
 Nautical Style in Interior Design: How to Create a Coastal Atmosphere in a City Apartment
 Wall Cladding with Wood Paneling: A Step-by-Step Guide
 Betonokontakt: A Comprehensive Guide to Application for Perfect Renovation
 Quelle carrelage choisir pour une petite salle de bain : couleur, taille, texture et secrets pour agrandir l’espace
 Priming Walls Before Wallpapering and Painting: The Ideal Foundation for Renovation
 Internal Wall Insulation: Materials and Technology
 Art Deco Mirrors: Geometry and Luxury That Transform Interiors