Greetings, dear readers of design-foto.ru! Today we will discuss a topic that, unfortunately, is familiar to many homeowners and apartment dwellers – the appearance of mold and mildew on walls. This is not just an aesthetic problem that spoils the look of your cozy nest, but also a serious threat to the health of everyone living in it. As a designer, I encounter this issue regularly, and I can say one thing: you need to act promptly and correctly. In this article, we will break down everything from A to Z: how to recognize an unwelcome guest, how to effectively get rid of it, and, most importantly, how to prevent its return.
Mold on walls: why is it dangerous for health and interior?
Before we move on to control methods, let’s understand why mold is such an unpleasant and dangerous enemy. Mildew, or mold, is a microscopic organism that loves warm and humid places. Its spores are constantly in the air, but they begin to multiply actively when they find suitable conditions. The ideal environment for them is our wall, especially if it has poor ventilation, insulation defects, or is constantly in contact with moisture.
Why is mold so dangerous to humans?
- Allergic reactions: Mold spores are strong allergens. When inhaled, they can cause sneezing, runny nose, watery eyes, coughing, skin rashes, and even asthma attacks. In people prone to allergies, symptoms can be particularly severe.
- Respiratory diseases: Constant inhalation of mold spores can lead to the development or exacerbation of chronic respiratory diseases such as bronchitis, sinusitis, and even pneumonia.
- Toxic effects: Some types of mold produce mycotoxins – poisonous substances that, with prolonged exposure, can harm the liver, nervous system, and immunity. They pose a particular danger to children, the elderly, and individuals with weakened immune systems.
- Material destruction: Mold not only harms health but also destroys building and finishing materials. It can penetrate the structure of wallpaper, paint, plaster, drywall, wood, and in advanced cases, deeper layers of the wall, all the way to the load-bearing structures. This can lead to costly repairs and reduced building strength.
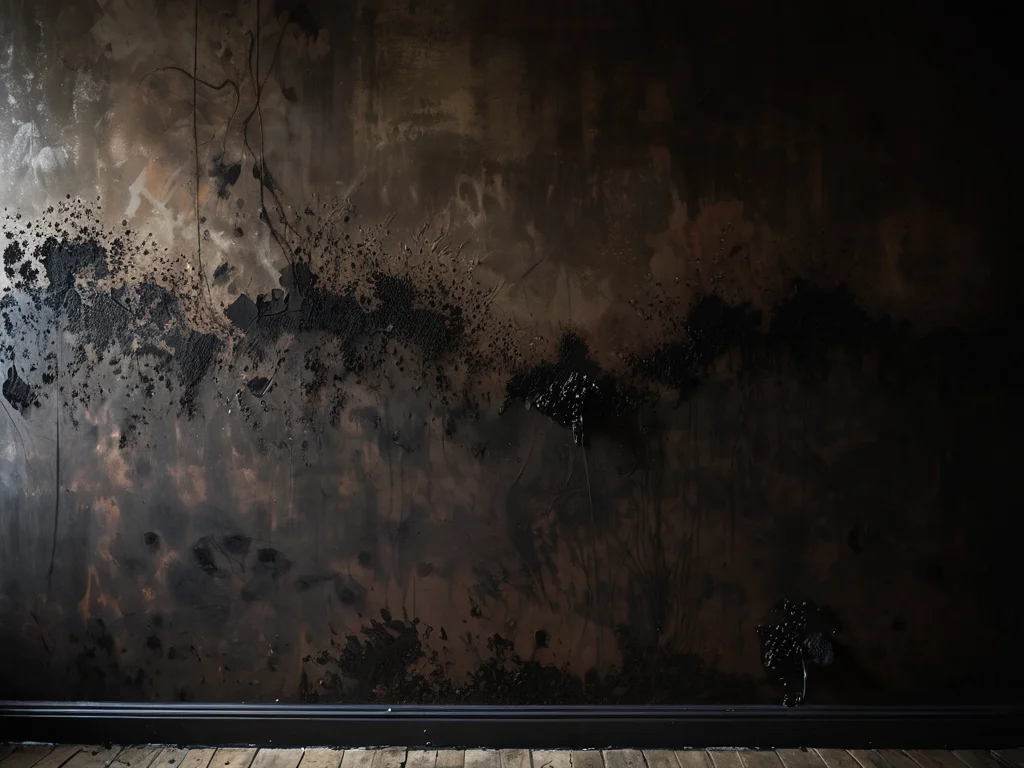
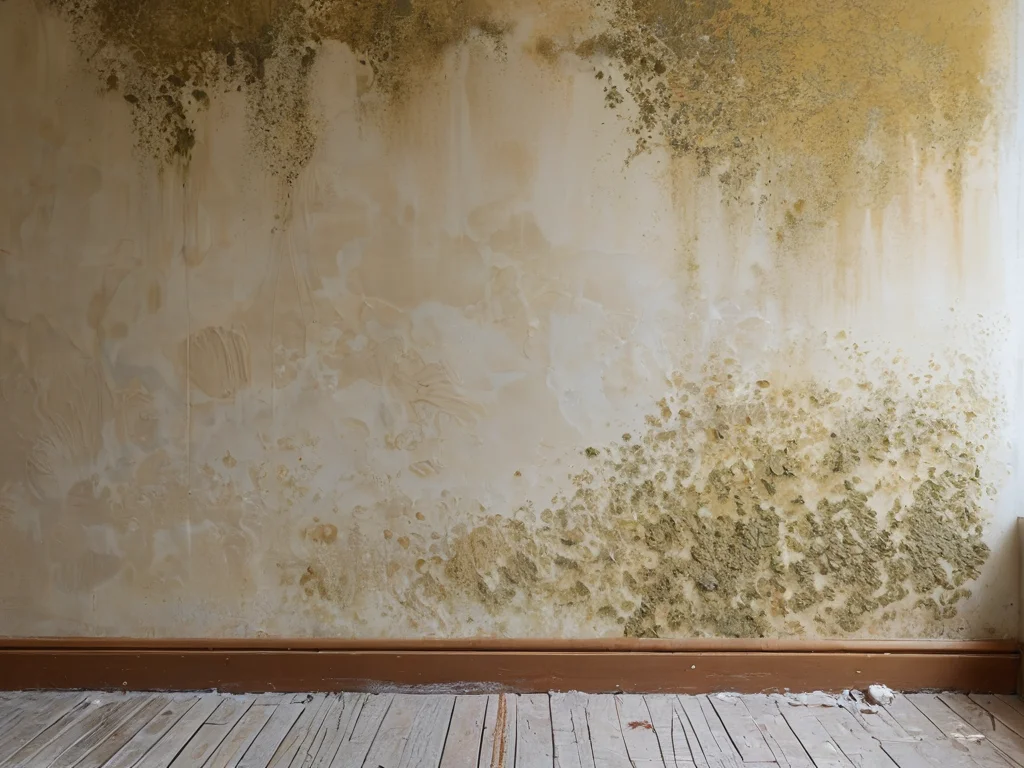
The appearance of the interior, of course, also suffers. Black, green, gray, or bluish spots on the walls, an unpleasant damp smell – all this makes any room unattractive and uncomfortable. It creates a feeling of neglect and sloppiness that is difficult to correct until the root cause is eliminated.
How to recognize mold on walls: early signs and risk zones
It is important to learn to recognize mold at the earliest stages to prevent its widespread propagation. Often, we notice mold only when it is already clearly visible, but there are also more subtle signs.
Early signs of mold appearance:
- Unpleasant odor: One of the earliest and often ignored signs is a characteristic smell of dampness, mustiness, or rot. It can appear even when there are no visible spots yet. Try sniffing in corners, behind furniture, in closets.
- Discoloration of wallpaper or paint: Mold often starts with small spots that may be barely noticeable at first. They can be gray, white, bluish, green, black, or even pinkish. Over time, the spots grow and become darker.
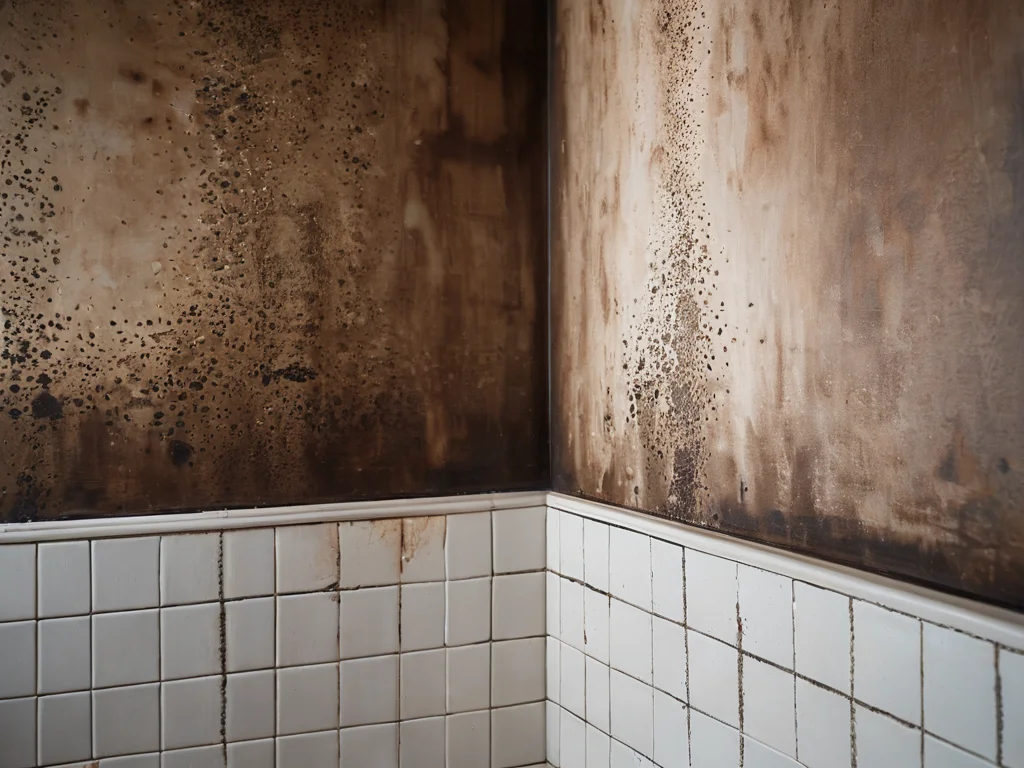
- Appearance of spots and streaks: Characteristic dark spots, dots, or merging streaks may appear on surfaces, especially where there were no previous stains.
- Peeling wallpaper or paint: The moisture that promotes mold growth can also cause finishing materials to peel off the wall. If you see wallpaper bubbling or paint flaking in certain areas, it could be a sign of high humidity and potential mold.
- White or grayish bloom: Sometimes mold looks like a fluffy white or gray bloom, resembling frost. It is often found on surfaces prone to condensation.
Risk zones – places where mold likes to appear most often:
- Room corners: Especially external corners where the wall cools down more.
- Areas behind furniture: If furniture is placed close to the wall, it disrupts air circulation, creating ideal conditions for mold growth.
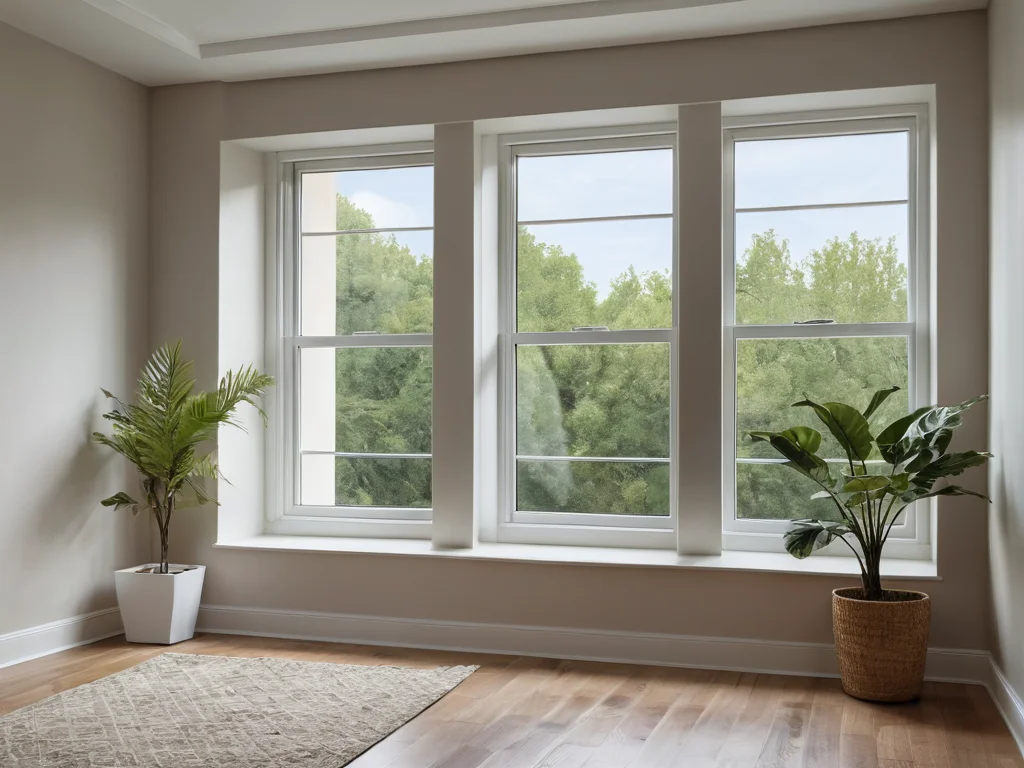
- Areas around windows and doors: Condensation often occurs here, and there may be gaps through which cold air and moisture penetrate.
- Bathrooms and kitchens: These are rooms with high humidity due to water use and cooking.
- Rooms with poor ventilation: Pantries, walk-in closets, rarely used rooms.
- Leaking areas: Areas around pipes, under sinks, on the ceiling after leaks from upstairs neighbors.
- Areas where moisture condenses: Window slopes, wall sections near heating radiators if they cannot cope with the low temperature of external walls.
As a designer, I strongly recommend regularly inspecting these areas, especially after the heating season or during periods of high humidity. It is better to detect the problem at an early stage than to deal with its consequences later.
Removing mold: 5 proven folk and chemical remedies
So, you’ve discovered mold. Now it’s time to start destroying it. There are many remedies, both from the arsenal of folk wisdom and modern chemical preparations. The choice depends on the degree of damage, the type of surface, and your personal preferences.
1. Chlorine-based products (e.g., bleach):
- Mechanism of action: Chlorine is a powerful antiseptic that effectively kills most types of mold and mildew, and also bleaches affected areas.
- Application: Dilute bleach with water in a ratio of 1:1 or 1:2 (depending on concentration). Apply the solution to the affected area using a sponge, cloth, or spray bottle. Leave for 15-30 minutes, then rinse thoroughly with water and dry the surface.
- Pros: Very effective, accessible, cheap, quickly kills mold.
- Cons: Strong chlorine smell, can damage colored surfaces (wallpaper, paint), requires protective equipment (gloves, respirator, goggles), releases harmful fumes. Not recommended for use in living spaces without good ventilation.
2. Vinegar:
- Mechanism of action: Acetic acid kills about 82% of mold species. It is less aggressive than chlorine and does not release such strong fumes.
- Application: Pour undiluted table vinegar (9%) into a spray bottle. Spray onto the affected area. Leave for an hour, then wipe with a damp cloth and let the wall dry. The smell of vinegar dissipates quite quickly.
- Pros: Safer than chlorine, effective against many types of mold, non-toxic, does not cause strong fumes.
- Cons: Has a specific smell (which, however, passes), may not cope with old and deeply ingrained mold.
3. Hydrogen peroxide (3% solution):
- Mechanism of action: Hydrogen peroxide has antifungal, antiviral, and antibacterial properties. It kills mold and helps to bleach the surface.
- Application: Pour a 3% hydrogen peroxide solution into a spray bottle. Spray generously onto the affected area. Leave for 10-15 minutes, then scrub with a brush or cloth and wipe with a clean damp cloth.
- Pros: Effective, non-toxic, no strong smell, a more environmentally friendly option.
- Cons: May discolor some surfaces, works slower than chlorine.
4. Baking soda:
- Mechanism of action: Soda is a mild abrasive that absorbs moisture and odors well, and also has mild antifungal properties.
- Application: Dissolve 1-2 teaspoons of soda in a glass of water. Pour into a spray bottle and spray onto the mold. You can also apply the soda solution with a sponge. Scrub the affected area with a brush, then rinse with water and dry. The remaining soda solution can be left on the surface to prevent mold from reappearing.
- Pros: Absolutely safe, odorless, handles mild mold well and as an auxiliary agent.
- Cons: Weak against severe damage, more of a preventive and auxiliary agent.
5. Specialized antifungal products:
- Mechanism of action: Building material stores offer a wide range of antiseptic and antifungal impregnations, sprays, and solutions. They are specifically designed to combat mold and mildew on various surfaces. Their action is based on the use of active chemical components (e.g., quaternary ammonium compounds, fungicides) that penetrate deep into the material and destroy the mold.
- Application: Always follow the manufacturer’s instructions. Usually, the product is applied to a dry, cleaned surface, left for a certain time, and then, depending on the type of product, either washed off or left on the surface as a protective impregnation.
- Pros: Maximum effectiveness, designed for specific tasks, often have a prolonged effect, some can be used under paint or wallpaper.
- Cons: Generally more expensive than folk remedies, require strict adherence to safety precautions during use.
Important! When working with any chemical products, be sure to use gloves, a respirator, and safety goggles. Ventilate the room well during and after treatment.
How to get rid of mold on walls: a step-by-step guide from A to Z
Getting rid of mold is a process that requires consistency and care. Follow these steps to achieve the best results.
- Room preparation:
- Clear the affected wall area as much as possible. Move furniture, remove pictures, shelves.
- Close the door to the room to prevent mold spores from spreading throughout the apartment.
- Open windows to ensure ventilation, but make sure drafts do not spread spores throughout the house. It is best to use an exhaust fan directed outwards.
- Be sure to use personal protective equipment: rubber gloves, a respirator (preferably FFP2 or FFP3 class), safety goggles.
- Removal of visible mold:
- Choose a suitable product (see previous section). For initial stages, vinegar, hydrogen peroxide, or a soda solution will work. For severe damage, a chlorine-based product or a special preparation may be required.
- Apply the chosen product to the affected area so that it thoroughly penetrates the mold. Do not rub dry mold, as this can cause spores to scatter.
- Let the product work according to the instructions or recommendations (usually from 15 minutes to several hours).
- Thoroughly clean the surface. Use a brush (not metal, to avoid damaging the wall) or a sponge. For heavily affected areas, a scraper may be needed.
- Rinse the treated area with clean water using a cloth or sponge.
- Dry the wall. You can use a heat gun, fan, or simply ventilate the room well.
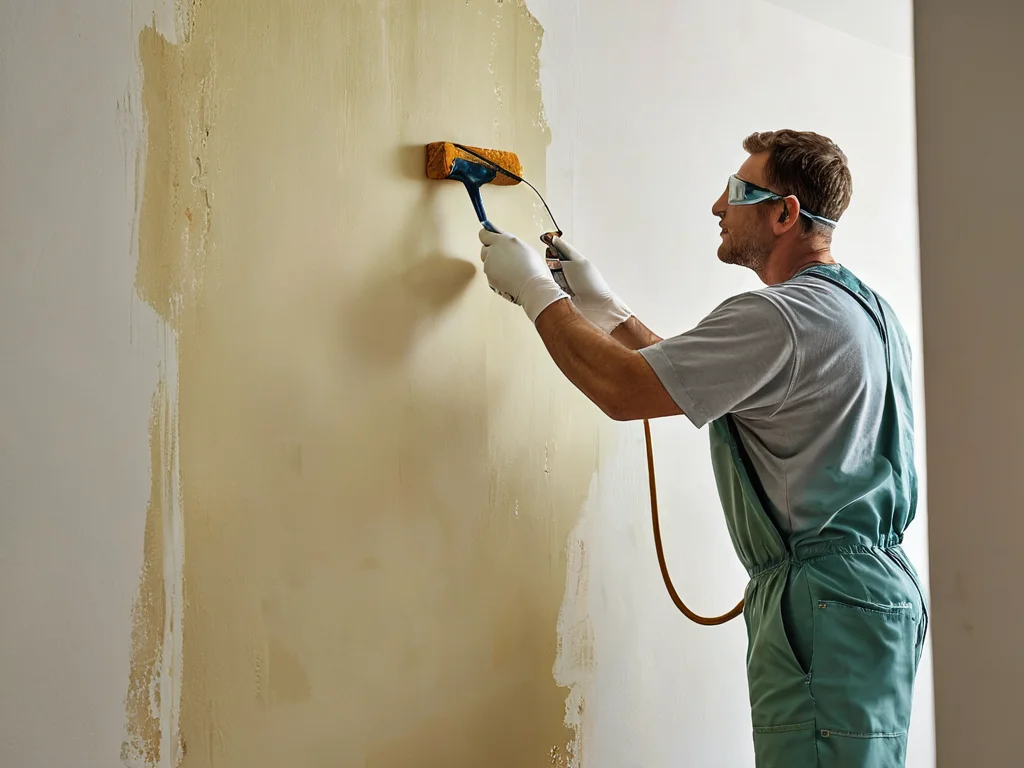
- Treatment of the wall with an antifungal compound:
- After completely removing visible mold and drying the wall, it must be treated with a special antifungal product or antiseptic primer.
- This is done to destroy remaining microscopic spores and prevent the recurrence of mold.
- Apply the product according to the manufacturer’s instructions. Usually, one to two coats are sufficient.
- Let the product dry completely.
- Repair of damaged areas:
- If mold has severely damaged plaster, putty, or wallpaper, they must be removed.
- Clean the wall down to the base.
- If necessary, apply new plaster or putty, ensuring that these materials have antiseptic properties or will be treated with an antifungal primer.
- After the repair materials have dried, prime the wall with an antiseptic primer.
- You can proceed with finishing (painting, wallpapering). Use materials that are moisture-resistant and recommended for high-humidity areas.
Very important: if the mold has affected a large area (more than 1 sq. meter) or penetrated deep into the wall structure (e.g., into insulation or concrete), self-treatment may be ineffective. In such cases, it is best to contact mold remediation specialists.
Choosing finishing materials for walls after mold removal: what is safe?
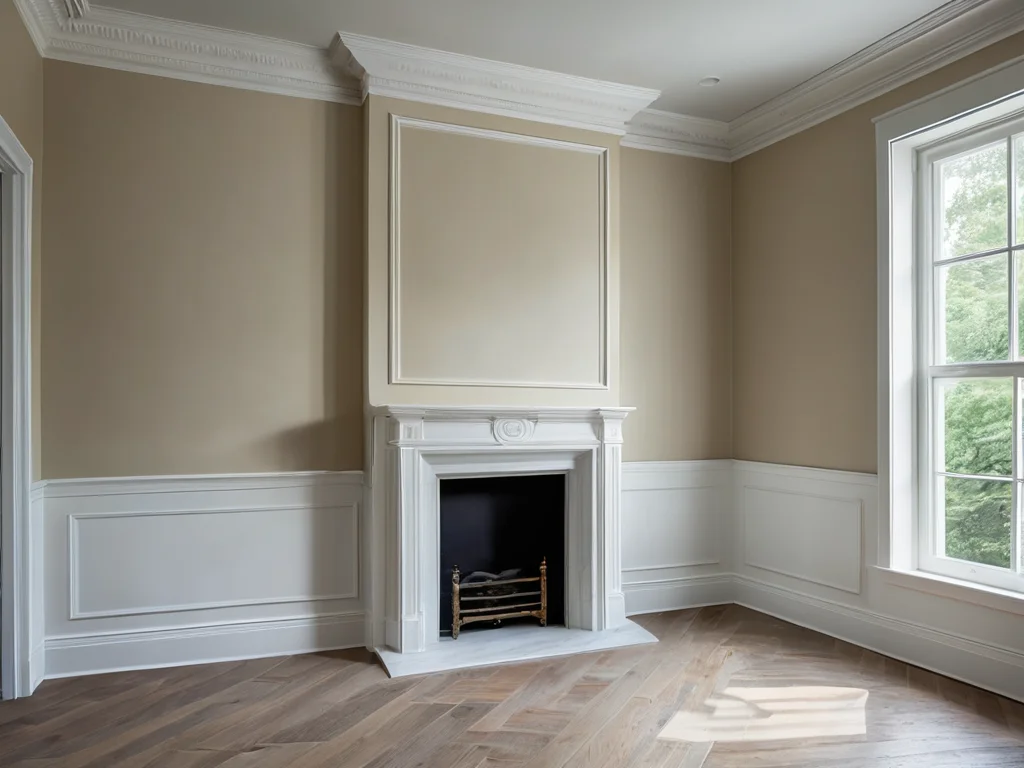
When the walls are cleaned and treated, the question arises: what materials to choose for further finishing to avoid provoking the recurrence of mold?
The key principle is to use moisture-resistant and vapor-permeable materials, as well as antiseptic additives.
- Primers:
- Antiseptic primers: This is your first and most important choice. They penetrate deep into the surface, destroying residual spores, and create a protective barrier. Look for primers labeled “deep penetration” and “antifungal.”
- Quartz primers: They create a stronger and more adhesive surface, which can also help in combating mold.
- Plaster and putty:
- Cement and lime plasters: These materials have natural antiseptic properties and regulate the indoor climate well by removing excess moisture. They are ideal for damp rooms.
- Gypsum putties: Use them with caution. If you choose gypsum putty, be sure to treat it with an antiseptic primer before and after application.
- Additives: There are special antifungal additives that can be mixed with regular plaster or putty.
- Paints:
- Latex and acrylic paints: Choose paints labeled “for damp rooms” or “antifungal.” They form a dense but vapor-permeable film that prevents moisture penetration and mold growth.
- Lime and silicate paints: These paints have natural antiseptic properties and good vapor permeability.
- Avoid: Oil paints or enamels, which create a film that poorly allows air to pass through, which can lead to condensation and, consequently, mold.
- Wallpaper:
- Non-woven wallpaper: They are more durable and vapor-permeable than paper ones. Be sure to use special non-woven adhesive with antifungal additives.
- Vinyl wallpaper: Some types of vinyl wallpaper have special perforations for better air permeability. However, in general, vinyl coatings create a less “breathable” surface, so it is important to prime the wall well before applying them.
- Fiberglass wallpaper: This is an excellent option as it is very durable, environmentally friendly, and breathable. It can be painted many times using antifungal paints.
- Avoid: Paper wallpaper, especially in rooms with high humidity.
Remember: even the best materials will not save you if the root cause of mold is not eliminated (poor ventilation, high humidity). Therefore, choosing materials is the second, albeit very important, step after eliminating the problem and prevention.
Mold prevention on walls: how to prevent mold from reappearing
The best way to combat mold is to prevent it. If you approach prevention correctly, you can forget about this problem for a long time.
1. Humidity control:
- Ensure good ventilation: This is the most important point. Regularly ventilate all rooms, especially the bathroom, kitchen, and toilet. Open windows, use exhaust fans.
- Use dehumidifiers: In rooms with chronically high humidity (e.g., in basements or with improper insulation), household dehumidifiers can be used.
- Monitor heating: Maintain a comfortable temperature in winter. Cold walls lead to condensation.
- Fix leaks: Promptly repair dripping faucets, pipes, check the condition of the roof and walls for moisture penetration.
2. Proper furniture placement:
- Do not place furniture close to walls, especially in corners. Leave a gap of 5-10 cm for air circulation.
- Avoid placing large furniture in cold corners.
3. Use of antiseptic agents:
- During renovation, use primers and paints with antifungal additives.
- Periodically (once every 1-2 years), inspect “risk zones” and treat them with a preventive antiseptic at the slightest sign.
4. Room maintenance:
- After showering or bathing, be sure to wipe down walls and floors, and turn on the exhaust fan.
- Do not dry laundry in living rooms without good ventilation.
- Regularly perform wet cleaning.
5. Check insulation:
- Ensure that walls, floors, and ceilings are well insulated. Pay special attention to external walls and corners.
- Check for “cold bridges” – areas through which heat escapes from the room, forming cold surfaces.
As a designer, I often recommend installing forced ventilation systems or supply valves in windows, especially in modern airtight homes. This ensures a constant supply of fresh air and reduces humidity levels.
Common mistakes in combating mold that only worsen the problem
It seems that combating mold is simple: grab a cloth, a cleaner, and wipe. But this is a common misconception that often leads to the problem returning, and sometimes even worsening.
Mistake #1: Superficial mold removal
- The essence: Wiping visible spots with a damp cloth or sponge without using antiseptics.
- Why it’s bad: This only mechanically removes the top layer of the mold. The mycelium (mold roots) remains in the pores of the material and continues to develop. Moreover, a damp cloth spreads spores over the entire surface, and sometimes to other rooms.
Mistake #2: Dry mold cleaning
- The essence: Trying to scrape or brush off dry mold with a brush or scraper.
- Why it’s bad: Dry mold spores instantly rise into the air and settle on other surfaces, penetrating the respiratory tract. This is extremely dangerous to health.
Mistake #3: Ignoring the cause of mold
- The essence: Mold removed, cosmetic repairs done, but the reason for its appearance was not addressed.
- Why it’s bad: Mold is a symptom. If the cause (high humidity, poor ventilation, leaks) is not eliminated, the mold will return, and possibly in a more aggressive form.
Mistake #4: Using inappropriate products
- The essence: Using aggressive chemicals on delicate surfaces or, conversely, too weak products on neglected areas.
- Why it’s bad: Aggressive products can damage the finish, while weak ones may not kill the mold completely, only slowing its growth. It is important to choose a product that matches the type of surface and the degree of damage.
Mistake #5: Insufficient treatment after removal
- The essence: Visible mold removed, but the wall was not treated with an antiseptic primer or antifungal compound.
- Why it’s bad: Spores remain in the pores and micro-cracks, which will grow again under favorable conditions.
Mistake #6: Neglecting protective measures
- The essence: Refusal to use gloves, mask, and goggles when working with mold.
- Why it’s bad: You are putting your health at risk by inhaling spores and chemical fumes, and you risk skin and eye irritation.
As a designer, I always emphasize: patience and a comprehensive approach are the keys to successfully combating mold. Do not rush, follow the technology, and the result will please you.
Expert advice: how to protect your home from mold forever
Mold is an enemy that can and should be fought. To keep your home healthy and beautiful, listen to the advice of professionals:
- Create a “breathing” interior: Use vapor-permeable finishing materials such as lime or silicate plaster and paints, natural wallpaper. This will allow walls to regulate humidity.
- Ventilation is your best friend: This is not just advice, but a necessity. In modern homes with airtight double-glazed windows, natural ventilation is often insufficient. Consider installing air purifiers, heat recovery ventilators, or at least regular cross-ventilation.
- Control humidity: The ideal humidity level in living spaces is 40-60%. Use hygrometers for monitoring and dehumidifiers or humidifiers as needed.
- Insulation is the key to healthy walls: Quality insulation of the facade, walls, floor, and roof prevents the formation of “cold bridges” and, consequently, condensation and mold.
- Regular inspection: Don’t wait until mold becomes obvious. Periodically inspect “risk zones” – corners, areas behind furniture, bathrooms, windowsills.
- Timely repair of leaks: Any leaks, whether plumbing or roof, must be fixed immediately. Even minor dampness can lead to serious problems.
- Use antiseptics during renovation: With every renovation, especially in damp rooms, use antifungal primers and additives in plaster mixes. This is easier and cheaper than dealing with the consequences.
- Plant care: Overwatering houseplants and lack of drainage can also contribute to increased humidity and mold.
- Don’t ignore odors: A persistent smell of dampness is a sign of a problem, even if there are no visible signs.
- Contact professionals: If you encounter severe mold damage or are unsure of the cause, do not hesitate to contact specialists. This often saves time, money, and nerves.
Remember, your home is your fortress. Caring for its microclimate is as important as its appearance. By following these simple but effective tips, you can create a healthy and comfortable atmosphere in your home for years to come!
Рекомендуем:
 Washable wallpaper for the kitchen: why it’s the best idea for your renovation?
 Internal Wall Insulation: Materials and Technology
 Wall Cladding with Wood Paneling: A Step-by-Step Guide
 How to Update Old Tiles Without Removing Them: 99 Ways to Transform Your Bathroom and Kitchen
 Bathroom: Tile or Paint. What Will Everyone Face?
 Joint filler for tiles: how to choose the color and apply it correctly
Grout for tiles: how to choose the color and apply it correctly
Joint filler for tiles: how to choose the color and apply it correctly
Grout for tiles: how to choose the color and apply it correctly
 DIY Decorative Stone Wall Installation: Your Guide to Home Transformation
 How to Tile Walls in a Bathroom: A Detailed Guide
 How to Make a Brick Wall in an Interior (Imitation)
 PVC Wall Panels: Cheap and Cheerful. Installation Guide
 MDF Panel Wall Finishing: Installation Guide
 Que faire si du champignon ou de la moisissure apparaît sur les murs ?
Comment rénover du vieux carrelage sans le retirer : 99 façons de transformer votre salle de bain et votre cuisine
Isolation des murs par l’intérieur : matériaux et technologie
Revêtement mural en panneaux MDF : guide d’installation
Revêtement mural en lambris : guide étape par étape
Pose de pierre décorative sur le mur par vous-même : votre guide pour transformer votre maison
Salle de bain : carrelage ou peinture. À quoi chacun sera-t-il confronté ?
Comment poser du carrelage mural dans la salle de bain : guide détaillé
Que faire si du champignon ou de la moisissure apparaît sur les murs ?
Comment rénover du vieux carrelage sans le retirer : 99 façons de transformer votre salle de bain et votre cuisine
Isolation des murs par l’intérieur : matériaux et technologie
Revêtement mural en panneaux MDF : guide d’installation
Revêtement mural en lambris : guide étape par étape
Pose de pierre décorative sur le mur par vous-même : votre guide pour transformer votre maison
Salle de bain : carrelage ou peinture. À quoi chacun sera-t-il confronté ?
Comment poser du carrelage mural dans la salle de bain : guide détaillé