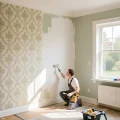
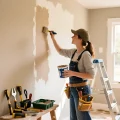
Greetings, friends, to our cozy portal design-foto.ru! Today we will dive into the world of wall leveling, which for many seems complex and unpredictable. But in reality, by understanding the basics and having the right tools, you can achieve a perfect result even without the help of expensive specialists. We’re talking about putty – an indispensable assistant in any renovation. But did you know that there is starting and finishing putty, and each of them performs its unique role? Let’s figure out together what their main differences are, how to use them correctly, and what pitfalls to avoid.
Many, encountering the concept of putty, imagine some kind of universal mass that can solve all surface problems. However, as in any endeavor, there are nuances. The correct choice and application of putty is the key to smooth, even walls that will become an ideal basis for your future decor, whether it’s painting, wallpaper, or decorative plaster. Neglecting these subtleties can lead to disappointment, wasted time, and money.
Putty: Start or Finish? Understanding the Basics for Perfect Walls
To understand the difference between starting and finishing putty, imagine the process of building a house. First, the main structures are erected, the foundation, walls, and ceilings are laid – this is rough, preliminary work. And then come the finishing works: leveling surfaces, painting, wallpapering. Starting putty is analogous to rough work, and finishing putty is to fine work. It helps to eliminate significant defects and prepare the surface for applying the finishing coat.
Main tasks of putty in general:
- Leveling irregularities: eliminating pits, bumps, cracks, chips.
- Creating a smooth surface: preparing walls for painting or thin wallpaper, where every defect will be visible.
- Improving adhesion: creating a flat base for better bonding with finishing materials.
- Protection: in some cases, putty can serve as an additional protective layer.
Of course, the choice between starting and finishing putty depends on the condition of your walls and the result you want to achieve. But it is important to understand that these two types of materials are not interchangeable. Trying to use only one type for all tasks will likely lead to a compromise result that you will not be satisfied with.
Starting Putty: When You Can’t Do Without It and What Effect to Expect
Starting putty, also called leveling putty, is designed to eliminate significant surface defects. If your walls have deep cracks, significant height differences, potholes, or traces of old removed coatings, you simply cannot do without starting putty. Its main feature is a coarse-grained composition and a thick layer that can be applied at once.
When to choose starting putty:
- Significant irregularities: height differences of more than 3-5 mm.
- Deep cracks and potholes: when a regular spatula is not enough.
- Leveling bases: for example, after removing old coatings where glue residue or unevenness remains.
- Concealing utilities: if you need to putty grooves for wiring.
- Eliminating defects in brickwork or concrete slabs.
The effect of starting putty:
- Rough leveling: creating a relatively flat surface, eliminating visible large defects.
- Strengthening: filling voids and cracks, preventing their further spread.
- Preparation for the finishing coat: creating a base onto which finishing putty or another coating will be applied.
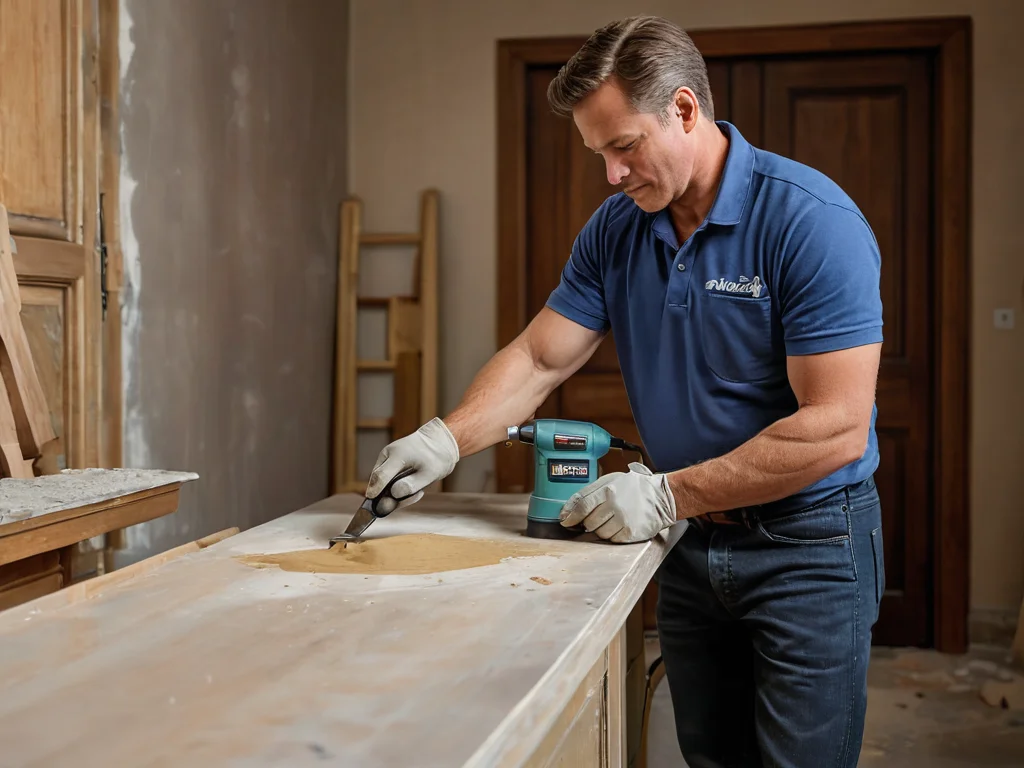
It is important to understand that starting putty itself does not create a perfectly smooth surface. After it dries, the walls may remain rough, with small bumps or scratches. This is absolutely normal, as its main task is to form a strong and even layer that will cover all major problems. It can be applied both manually and with a large spatula or even a rule, especially when working with large areas.
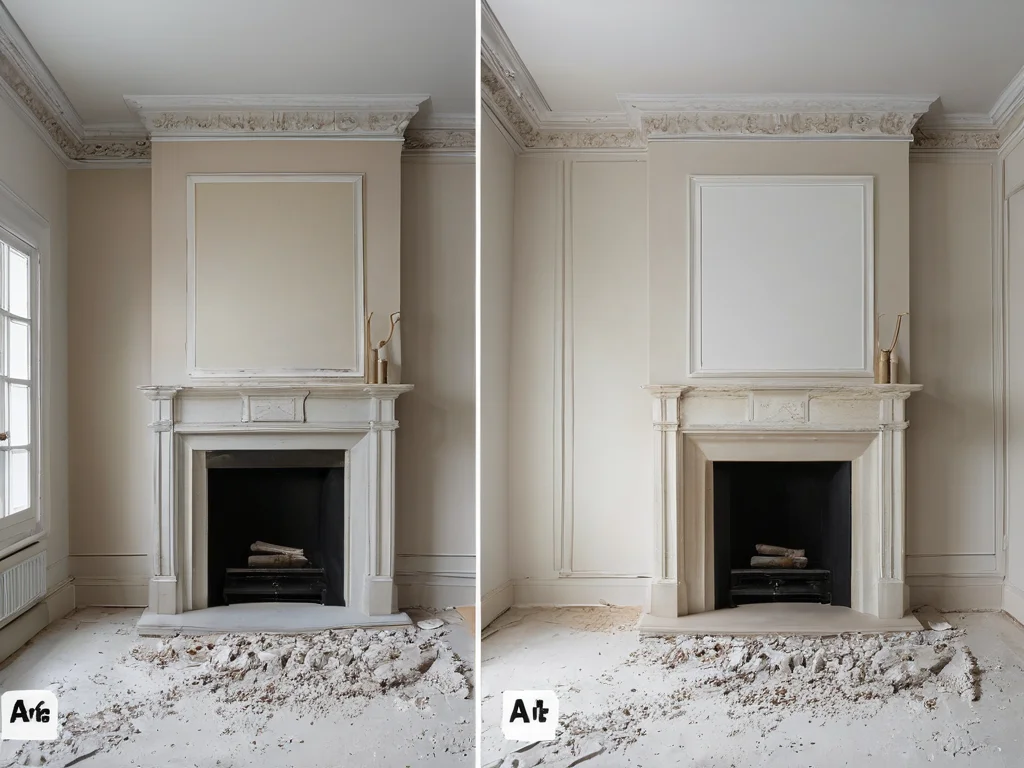
Finishing Putty: Secrets of Smooth Walls After Rough Finishing
When the main irregularities have been eliminated with starting putty, it’s time for the finishing putty. As the name suggests, it is designed for final surface leveling, giving it absolute smoothness and a flawless appearance. Finishing putty has a finer grind, which allows it to be applied in a very thin layer and achieve a surface as smooth as a mirror.
When finishing putty is needed:
- For painting: to achieve perfectly smooth walls where the slightest unevenness will be noticeable.
- For thin wallpaper: vinyl, non-woven, or paper wallpapers, which can show through the defects of the base.
- Final leveling after starting putty: to achieve perfection.
- Filling drywall seams: in combination with special reinforcing tapes.
- Eliminating minor scratches and defects after sanding the starting layer.
Key advantages of finishing putty:
- Perfect smoothness: creates a flawlessly even surface.
- Thin application layer: avoids overlaps and excessive material consumption.
- Easy sanding: due to its fine grind, it sands quickly and effectively.
- Excellent adhesion: bonds well with all types of surfaces.
Finishing putty should be applied in a thin layer, usually from 0.5 to 2 mm. Accuracy and skill with a spatula are important here. Even after applying finishing putty, light sanding may be required to achieve a perfect result. We will discuss this a bit later.
Starting vs. Finishing: Key Differences in Composition, Purpose, and Application
Now that we understand the purpose of each type of putty, let’s systematize their main differences. This will help you make the right choice and avoid mistakes during the renovation phase.
Comparison of starting and finishing putty:
- Composition and grind:
- Starting: coarse-grained, more plastic, contains more filler (e.g., quartz sand).
- Finishing: fine-grained, highly plastic, with minimal filler content.
- Layer thickness:
- Starting: allows applying a layer from 3 mm to 10-15 mm in one pass.
- Finishing: applied in a thin layer, usually from 0.5 mm to 2-3 mm.
- Purpose:
- Starting: rough leveling of significant defects, filling cracks, surface preparation.
- Finishing: final leveling, creating a perfectly smooth surface for painting or thin wallpaper.
- Strength:
- Starting: stronger, as it is designed for higher loads and layer thickness.
- Finishing: less strong, but more elastic.
- Sanding:
- Starting: sands poorly, can leave scratches, requires coarser sandpaper.
- Finishing: easily sands with fine-grit sandpaper to perfect smoothness.
- Consumption:
- Starting: higher consumption, as it is used to fill large volumes.
- Finishing: lower consumption, as it is applied in a thin layer.
Why you can’t use only starting putty:
Even if you apply starting putty in a very thin layer, it will still have a coarser fraction, which will not allow you to achieve perfect smoothness. It will be like trying to paint a wall with paint containing coarse sand – the result will be far from perfect. Moreover, starting putty can be less plastic and more prone to micro-cracking when applied very thinly.
Why you can’t use only finishing putty:
Finishing putty is not designed to eliminate large height differences. If you try to apply it in a thick layer (more than 3-5 mm), it may crack, lose adhesion, and simply peel off from the base. Its main strength lies in a thin, leveling layer.
How to Choose Putty: Gypsum, Cement, or Polymer? Comparing Popular Types
Now that we’ve covered the functions of starting and finishing putty, let’s move on to the materials they are made from. There are three main types on the market: gypsum, cement, and polymer putties. Each has its advantages and disadvantages, as well as areas of application.
1. Gypsum Putties
- Composition: The main component is gypsum, with the addition of polymer fillers and modifiers.
- Advantages:
- Environmental friendliness: gypsum is a natural material that creates a favorable microclimate in the room.
- Plasticity: easy to apply, spreads well on the surface.
- Good vapor permeability: it “breathes,” regulating humidity.
- Fast setting: facilitates the leveling process.
- Easy sanding: gives the surface perfect smoothness.
- Disadvantages:
- Moisture sensitivity: not suitable for damp rooms (bathrooms, kitchens where direct contact with water is possible).
- Low impact strength: less resistant to mechanical damage.
- Application: Ideal for dry living spaces (bedrooms, living rooms, hallways) for painting or wallpaper.
2. Cement Putties
- Composition: The main component is cement, with the addition of sand and polymer additives.
- Advantages:
- High strength: resistant to mechanical loads and abrasion.
- Moisture resistance: withstand moisture well, suitable for damp rooms.
- Durability: not subject to shrinkage or cracking over time.
- Disadvantages:
- Tendency to shrink: can shrink and crack when applied in a thick layer.
- Less plasticity: more stiff, harder to work with.
- Harder to sand: requires more effort during sanding.
- Not vapor-permeable: can hinder natural air exchange.
- Application: Recommended for initial leveling of concrete surfaces, plaster, in bathrooms, kitchens, and on building facades. Most often used as starting putties.
3. Polymer (Acrylic, Latex) Putties
- Composition: Based on polymer dispersion (acrylic, latex) with a fine-grained filler.
- Advantages:
- High elasticity: tolerates base deformation well, does not crack.
- Perfect smoothness: creates a very even surface.
- Moisture resistance: suitable for most rooms.
- Ease of application: easy to apply in a thin layer.
- No shrinkage: does not shrink even with a significant layer.
- Disadvantages:
- High cost: the most expensive of the types presented.
- Chemical odor: some types may have a strong odor during application (but it dissipates quickly).
- Insufficient vapor permeability: can “seal” the wall.
- Application: Ideal for final leveling, repairing small defects, especially where elasticity and a perfect finish are important (e.g., for glossy paint).
General recommendations for selection:
- For dry rooms and final leveling: gypsum or polymer.
- For damp rooms: cement (starting) and polymer (finishing).
- For rough leveling: cement or gypsum starting putties.
- For a perfect finish for painting: polymer or thin-layer gypsum finishing putties.
Important: Gypsum and cement putties cannot be mixed together, as they can react chemically, leading to loss of properties and cracking. It is best to use materials of the same brand and series, especially for the starting and finishing layers.
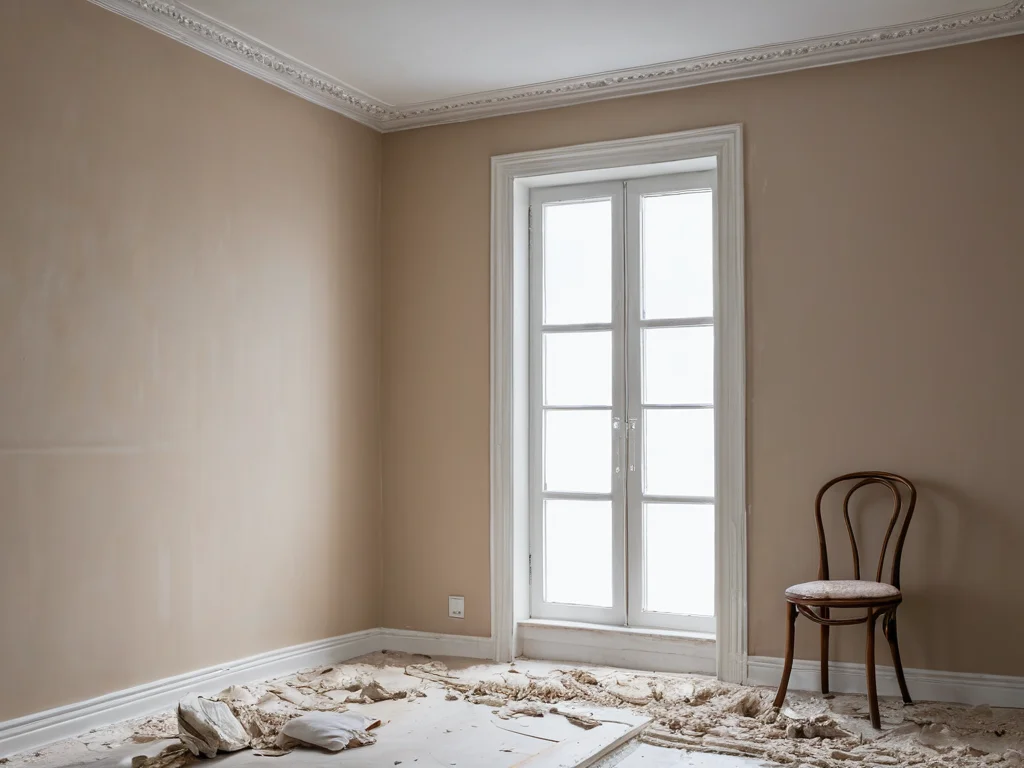
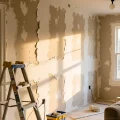
Preparing Walls for Puttying: A Step-by-Step Guide for Beginners
No matter how good the putty is, it won’t yield the expected result if the walls are not properly prepared. This is one of the most critical stages that cannot be ignored. Imagine building a house on sand – it will quickly collapse. Similarly, putty applied to an unprepared surface can peel off or crack.
Wall preparation steps:
- Cleaning from old coatings:
- Remove old wallpaper, paint, whitewash.
- If the paint is holding firmly, it can be left, but be sure to degrease and make notches for better adhesion.
- Remove any peeling elements.
- Removing dust and dirt:
- After mechanical cleaning, wipe the walls with a dry cloth or vacuum them.
- If the walls were contaminated with grease or oil, they need to be degreased with a special solution or soapy water, then thoroughly rinsed with clean water and allowed to dry.
- Filling large defects:
- Large cracks and potholes should be widened (make a V-shaped bevel along the edges) and filled with a thicker solution before puttying so that it holds better.
- If there is peeling plaster, it should be chipped off to a solid base.
- Priming:
- Why is primer needed? Primer penetrates the pores of the material, strengthens the base, evens out water absorption, improves adhesion between the wall and the putty, and also reduces putty consumption, as it will not be absorbed as much by the wall.
- Choosing a primer: For most surfaces, an acrylic deep-penetrating primer is suitable. If you are working with gypsum mixtures, use special primers for gypsum surfaces. For concrete bases, use primers with quartz sand (betonokontakt) for better adhesion.
- Application: Apply primer evenly with a brush, roller, or sprayer. Avoid drips. Allow the primer to dry completely according to the manufacturer’s instructions (usually 2 to 12 hours).
- Installing beacons (if necessary):
- If the walls have very significant unevenness, or you want to achieve perfectly straight corners, you may need plaster beacons. Starting putty (or plaster) is applied between them, leveling the surface according to their level.
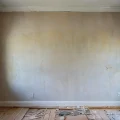
Important note: Putty should only be applied to dry, clean, and primed surfaces. Moisture can lead to its peeling or reduced strength.
5 Common Mistakes When Puttying Walls and How to Avoid Them

Renovation is always a learning process, and no one is immune to mistakes. But by knowing about typical blunders, you can save yourself nerves, time, and money. Here are 5 of the most common mistakes made when working with putty, and how to avoid them.
- Incorrect choice of putty type:
- Mistake: Using only starting putty for final leveling for painting, or vice versa, trying to apply finishing putty in a thick layer to eliminate large defects.
- How to avoid: Understand the purpose of each type of putty (as we discussed above) and choose a material that matches the condition of the walls and the final finish.
- Neglecting surface preparation:
- Mistake: Applying putty to dirty, dusty, unprimed walls, as well as to old, peeling coatings.
- How to avoid: Always thoroughly clean, degrease (if necessary), and prime walls before puttying. This is a critically important step.
- Violating the solution preparation technology:
- Mistake: Adding too much water, which reduces strength, or vice versa, too little water, which makes the solution stiff and difficult to apply. This also includes the incorrect ratio of dry mix components.
- How to avoid: Strictly follow the manufacturer’s instructions on the packaging. Measure water and dry mix precisely. Thoroughly mix the solution until it is a homogeneous consistency without lumps. Let the solution “rest” (settle) for 5-10 minutes, then mix again – this will improve its properties.
- Applying too thick a layer (especially finishing putty):
- Mistake: Trying to level significant unevenness with a single thick layer of putty, especially finishing putty. This leads to cracking, peeling, and increased drying time.
- How to avoid: For large irregularities, use starting putty in several thin layers. Always apply finishing putty in a thin layer (up to 2-3 mm). If a thicker layer is required, it’s better to do it in two passes, allowing the first layer to set slightly.
- Incorrect sanding:
- Mistake: Using sandpaper that is too coarse for finishing putty, which leaves scratches, or vice versa, trying to sand fresh, not fully dried putty, which leads to “smearing” and dust formation.
- How to avoid: For starting putty, use sandpaper with grit P80-P120. For finishing putty, use P150-P240. Sand after the putty has completely dried. Use a sanding screen or a special holder with abrasive. For a perfect result, you can use a sanding machine.
Remember that haste is a poor helper in renovation. It’s better to spend a little more time on each stage than to redo it later.
Secrets of a Perfect Finish: Professional Tips for Applying and Sanding Putty
Now that we know how to prepare walls and what mistakes to avoid, let’s talk about the application and sanding process itself. These are the stages that determine how beautiful and smooth your walls will be.
Tips for applying putty:
- Use the right tools:
- Spatulas: A set of spatulas of different widths is the main tool. Start with a wide one (40-60 cm) for applying the main layer and a narrow one (8-10 cm) for collecting excess and working in corners.
- Rule: For large, flat surfaces when working with starting putty, a rule can be useful.
- Float or sanding screen: for sanding.
- Work from corner to corner:
- Apply putty with even, overlapping strokes.
- Try to apply the layer evenly, avoiding overlaps and gaps.
- When applying with a wide spatula, hold it at a slight angle to the surface.
- Learn to “remove” excess correctly:
- After applying the putty, go over it with a clean spatula, holding it at a sharper angle, to remove excess and smooth transitions.
- This is especially important for finishing putty.
- Take breaks:
- If you are a beginner, it’s better to work in small sections.
- Let the layer set slightly before applying the next one (if necessary).
- Internal and external corners:
- For internal corners, use a narrow spatula and a special corner spatula, moving it from one wall to another.
- For external corners, you can use a rule or a special corner spatula, leveling the surface along its perimeter.
Secrets of perfect sanding:
- Correct abrasive selection:
- As mentioned, for finishing putty, use fine-grit sandpaper (P150-P240) or a sanding screen.
- Movement:
- Sand in circular motions, applying light, even pressure.
- Use a sanding float or a special holder for sandpaper to ensure a flat surface.
- Lighting:
- Dust extractor lamp or spotlight: Turn on bright light and move the lamp along the wall at different angles. This will help reveal even the slightest irregularities, bumps, and dents that will need to be re-puttied and sanded again.
- Cleanliness:
- Periodically clean the sandpaper or screen of dust so it doesn’t “smear” and works effectively.
- After sanding, thoroughly remove all dust from the surface.
- Final priming:
- After sanding and dust removal, be sure to prime the walls again. This will prepare the surface for painting or wallpapering, improve adhesion, and prevent dust from showing through the top coat.
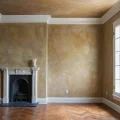
By following these simple but important tips, you can achieve a professional result, creating perfectly smooth and even walls that will serve as a beautiful canvas for your future interior. Good luck with your renovation endeavors!
Рекомендуем:
 How to Repair Cracks and Holes in Walls Before Finishing: A Complete Guide
 Sanding Walls After Puttying: A Perfect Surface with Your Own Hands
 DIY Venetian Plaster: Is It Possible?
 How to Update Old Tiles Without Removing Them: 99 Ways to Transform Your Bathroom and Kitchen
 Wall Cladding with Wood Paneling: A Step-by-Step Guide
 Priming Walls Before Wallpapering and Painting: The Ideal Foundation for Renovation
 Betonokontakt: A Comprehensive Guide to Application for Perfect Renovation
 Bark Beetle Decorative Plaster: Application Technology
 DIY Decorative Stone Wall Installation: Your Guide to Home Transformation
 New wallpaper over old: is it possible and when should you try it?
 Liquid Wallpaper: Pros, Cons, and Application Technology
 How to Hang Wallpaper Without Seams: The Technique for Perfect Joints
 How to Hang Vinyl Wallpaper on a Paper Backing?
 Washable wallpaper for the kitchen: why it’s the best idea for your renovation?
 Grout for tiles: how to choose the color and apply it correctly
Joint filler for tiles: how to choose the color and apply it correctly
Grout for tiles: how to choose the color and apply it correctly
Joint filler for tiles: how to choose the color and apply it correctly
 PVC Wall Panels: Cheap and Cheerful. Installation Guide
 MDF Panel Wall Finishing: Installation Guide
 Bathroom: Tile or Paint. What Will Everyone Face?
 Internal Wall Insulation: Materials and Technology