Greetings, dear readers of design-foto.ru! Today we will talk about a material that can transform any room, making it stylish, cozy, and modern – MDF wall panels. This is a versatile solution that is suitable for both living rooms and commercial spaces. But how to choose, calculate, and most importantly, install these panels correctly so that the result pleases for many years? Let’s figure it out together!
MDF Panel Wall Finishing: What You Need to Know Before Buying?
MDF panels are a modern finishing material made from medium-density fiberboard. Their production process involves pressing wood fibers under high pressure and temperature using binders. Thanks to this method, MDF panels have high strength, moisture resistance (especially with proper treatment), and environmental friendliness. They are excellent for creating smooth and even surfaces, as well as for imitating various textures – from natural wood to stone and leather. Before you go shopping, it’s important to understand what key characteristics to consider.
First, it’s the type of MDF panels. They come in sheet, slat, and tile forms. Sheet panels are the largest, ideal for quickly finishing large areas and creating seamless surfaces. Slat panels are installed similarly to clapboard, forming a beautiful relief. Tile panels allow for creating various patterns and compositions. Your choice will depend on the desired aesthetic effect and the complexity of the work.
Second, pay attention to the coating. The most popular panels are covered with veneer (imitating natural wood), laminate (durable and wear-resistant coating), PVC film (wide selection of colors and textures, moisture-resistant), or enamel (smooth, glossy or matte surface, resistant to abrasion). Each coating has its advantages and operational features, so the choice should be based on the purpose of the room and your preferences.
Third, the formaldehyde emission class. MDF panels, like many wood materials, can emit formaldehyde. For residential premises, E1 or E0 class panels are preferred – they are considered the safest. Be sure to clarify this information with the manufacturer or seller.
And, of course, quality. Inspect the panels for chips, scratches, and deformations. Make sure the coating is even and free of defects. Purchase panels from trusted manufacturers and reputable stores to avoid counterfeits and low-quality goods.
MDF Panels for Walls: 10 Inspiring Ideas for Your Interior
MDF panels are not just a finishing material; they are a tool for implementing bold design solutions. They can become an accent wall, completely transform a room, or add a unique touch to your interior. Here are 10 ideas to inspire you:
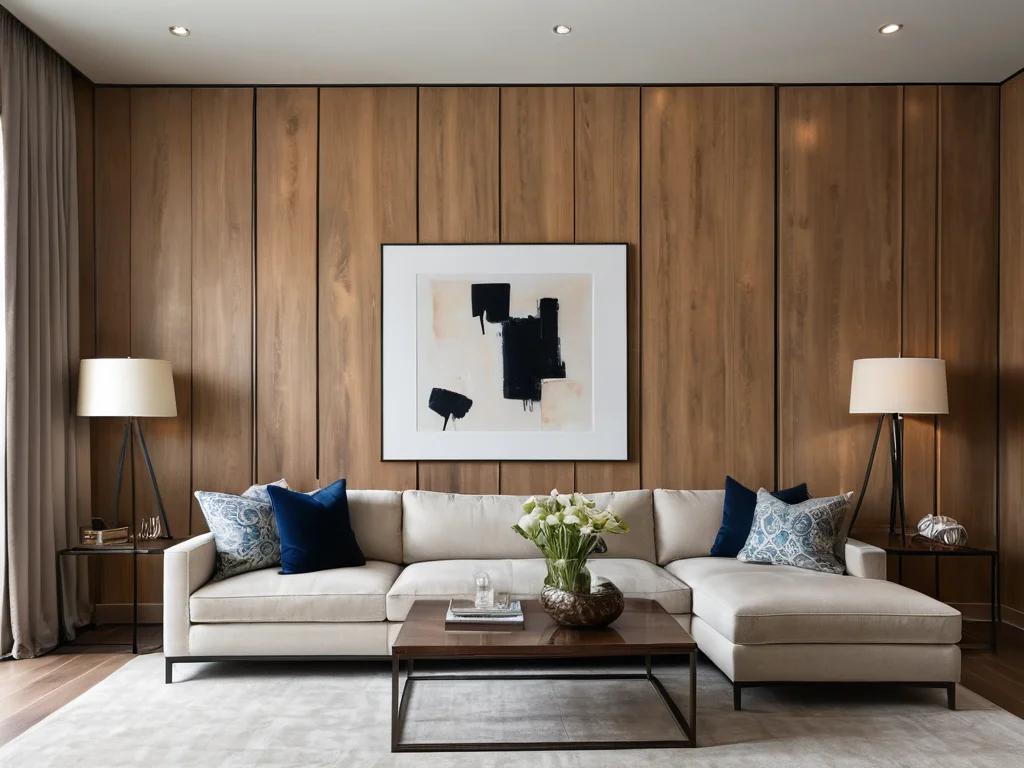
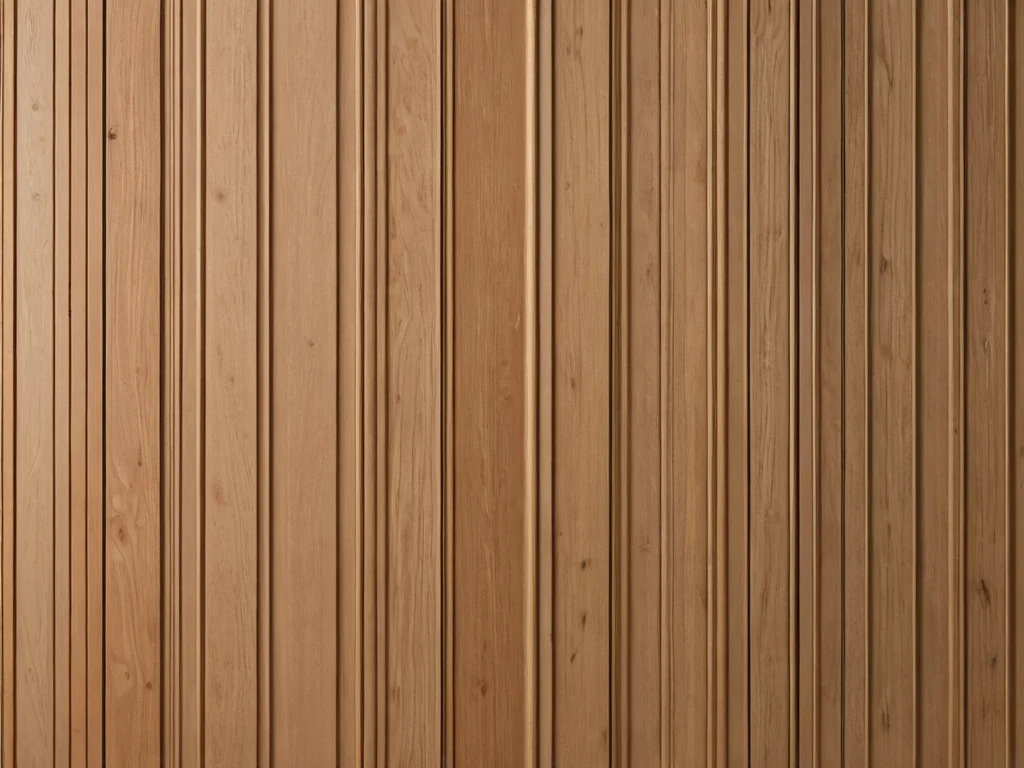
- Imitation of Natural Wood: A classic that never goes out of style. Panels resembling oak, walnut, wenge, or exotic wood species will create an atmosphere of warmth, coziness, and natural beauty. They look especially impressive in living rooms, bedrooms, and studies.
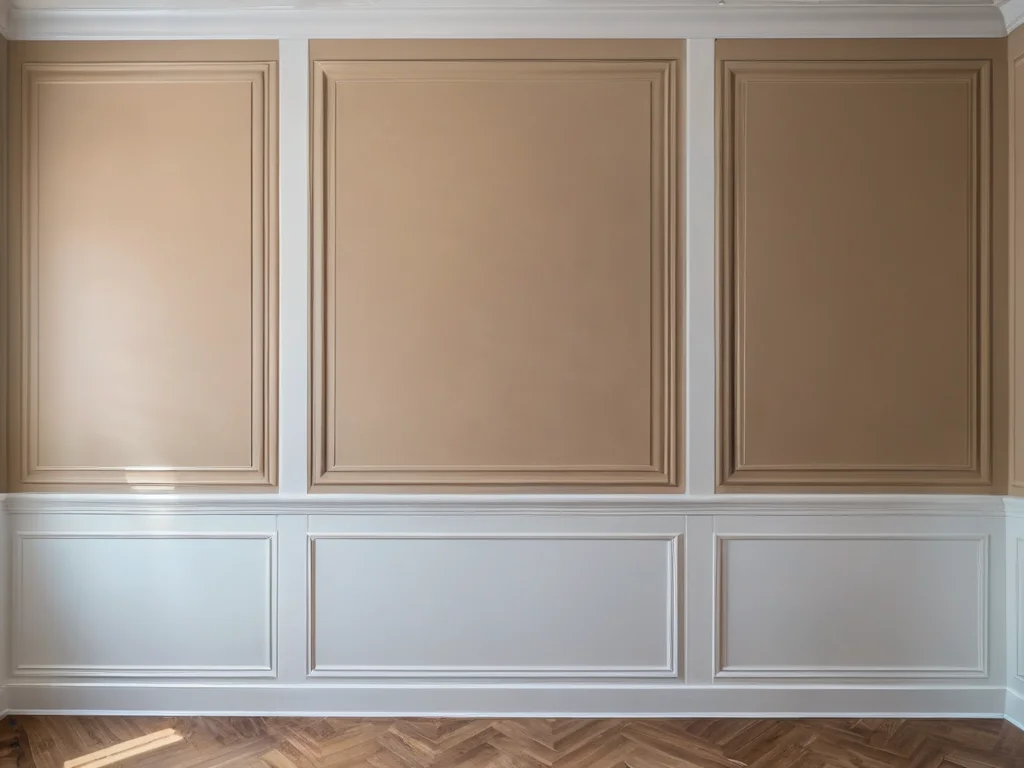
- 3D Wall Panels: These panels have a volumetric relief that creates an interesting play of light and shadow. They can imitate geometric patterns, waves, floral motifs, or even abstract shapes. Ideal for creating an accent wall in a living room or hallway.
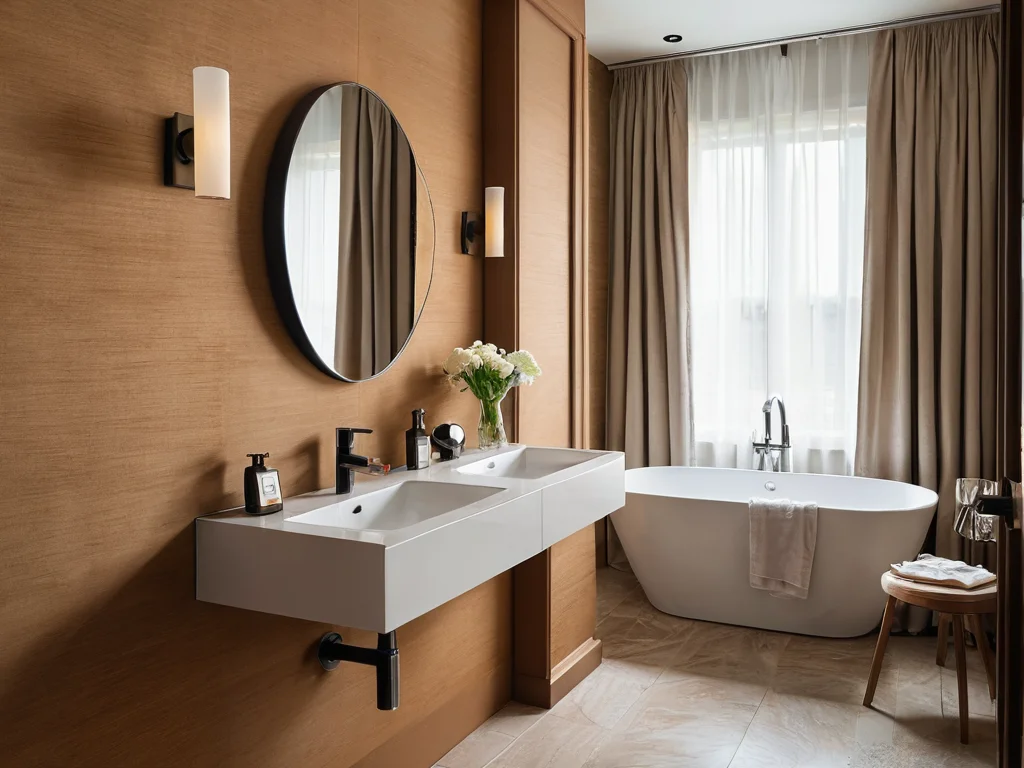
- Panels with Textile Texture: An excellent way to add softness and luxury to an interior. Such panels can imitate velvet, leather, or linen, creating a sense of richness and coziness. They look good in bedrooms and relaxation areas.
- Stone or Brick Imitations: If you love loft or industrial style, panels imitating stone or brick will be a great solution. They are lightweight, easy to install, and require no special maintenance, unlike their natural counterparts.
- Concrete-look Panels: For modern interiors in loft, minimalism, or high-tech styles. They give the space an industrial charm and a sense of spaciousness.
- Colored Panels: Don’t be afraid to experiment with color! Bright or pastel panels can become the central element of your interior, adding individuality and mood.
- Combination of Different Textures and Colors: Create a unique composition by combining panels with different finishes. For example, smooth glossy panels with textured wood or contrasting colors.
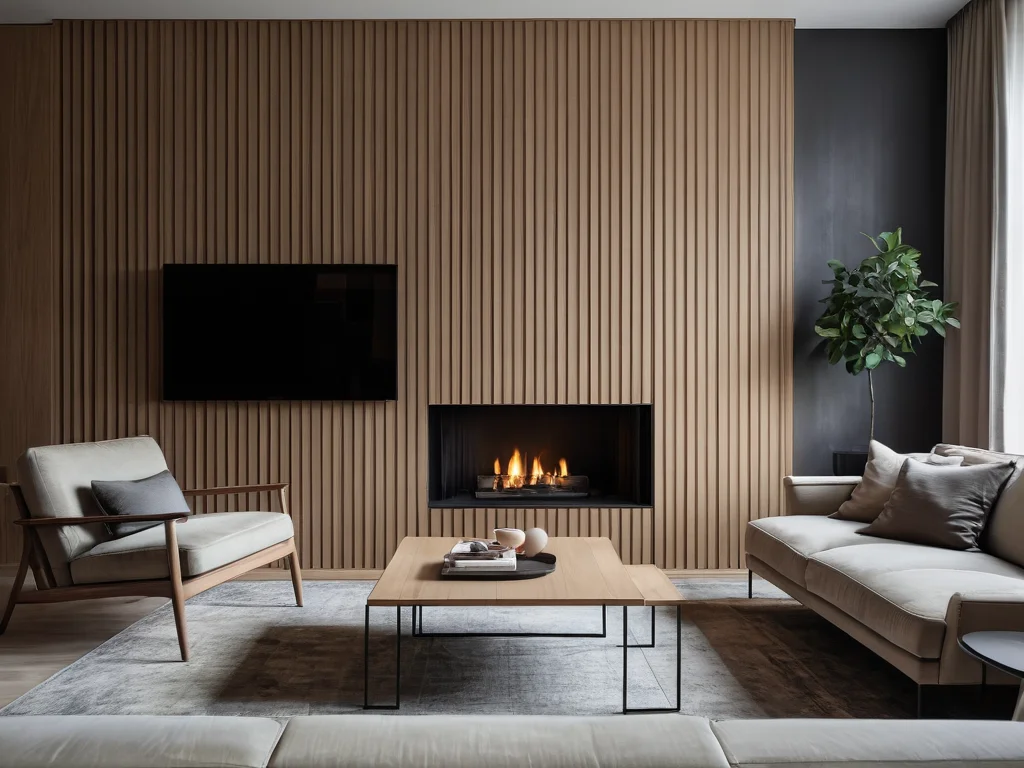
- Decorative Slats: MDF slats are a separate trend. They can be used to create vertical or horizontal accents, zone space, or decorate a headboard.
- Panels for a Children’s Room: Choose bright, safe panels with patterns or imitations of natural materials. They will add color and coziness to a child’s room.
- Moisture-resistant Panels for Bathrooms and Kitchens: Modern MDF panels with enhanced moisture-resistant coating can be used even in rooms with high humidity. This is a stylish and practical alternative to tiles.
Choosing MDF Panels for Walls: Comparing Types, Colors, and Textures
As mentioned earlier, MDF panels come in different types, and choosing the right type is the first step to a successful renovation. Let’s take a closer look at the main differences:
- Sheet MDF Panels:
- Description: These are large sheets, typically 1.22×2.44 m or 1.22×2.80 m. The thickness can vary from 3 to 12 mm.
- Advantages: Minimal seams, quick installation, smooth surface, possibility of creating seamless finishes.
- Disadvantages: Require careful transportation and storage as they can bend. More complex cutting.
- When to Use: For finishing large walls, creating partitions, cladding ceilings.
- Slat MDF Panels:
- Description: Narrow long planks that are installed butt-jointed or with a special tongue-and-groove connection.
- Advantages: Easy installation, possibility of creating interesting vertical or horizontal patterns, good ventilation (when installed on a frame).
- Disadvantages: More seams than sheet panels.
- When to Use: For finishing walls in corridors, children’s rooms, for creating accent elements.
- Tile MDF Panels:
- Description: Square or rectangular tiles that allow for creating mosaic or geometric patterns.
- Advantages: Ability to create unique designs, ease of replacing damaged tiles.
- Disadvantages: Many seams, which may require more careful finishing.
- When to Use: For decorative purposes, creating panels, accent zones.
Colors and textures are a matter of your taste and interior style. Today, manufacturers offer a huge selection:
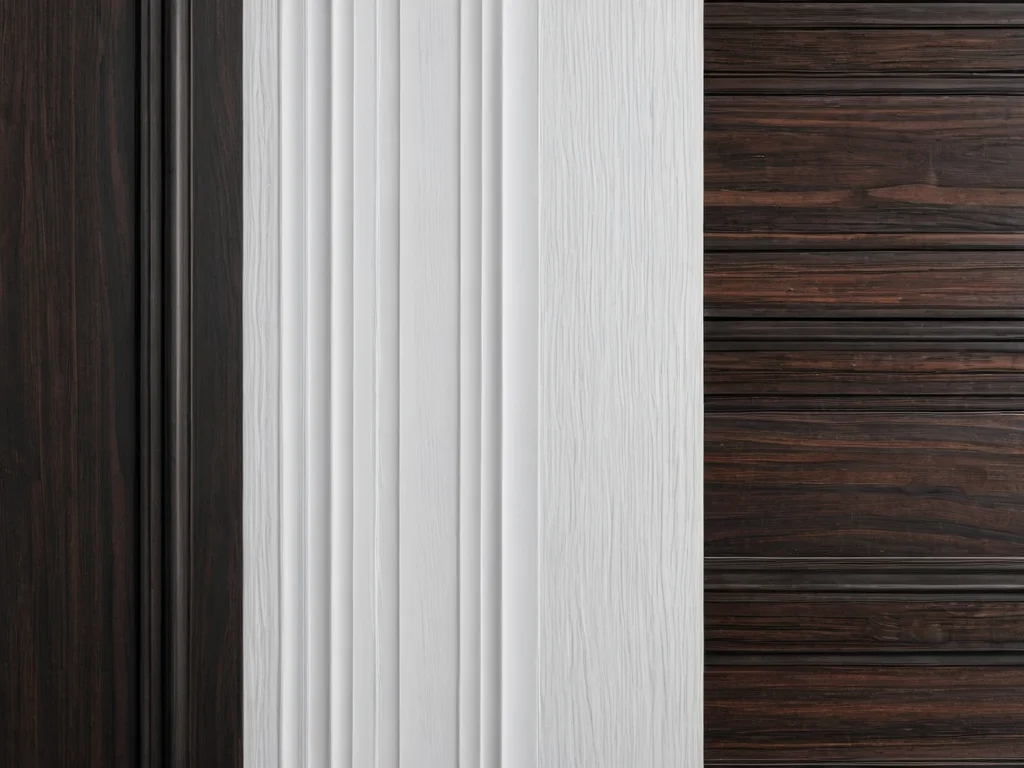
- Wood-look: from light woods (pine, birch) to dark ones (wenge, walnut, mahogany). Pay attention to the surface type – matte, glossy, with pronounced texture.
- Solid colors: white, gray, beige, black, as well as bright colors. The coating can be matte or glossy.
- Imitation of stone, concrete, leather, textile: add a special charm and realism to the interior.
- 3D panels: with geometric, abstract, or natural patterns.
Designer Tip: If you are choosing panels that imitate natural wood, place them next to samples of other materials (furniture, textiles) to ensure the harmony of the shades.
How to Calculate the Quantity of MDF Panels for Walls: A Detailed Guide
Correct calculation is the key to not having to buy more material or, conversely, throwing away excess. The calculation process is quite simple but requires attention.
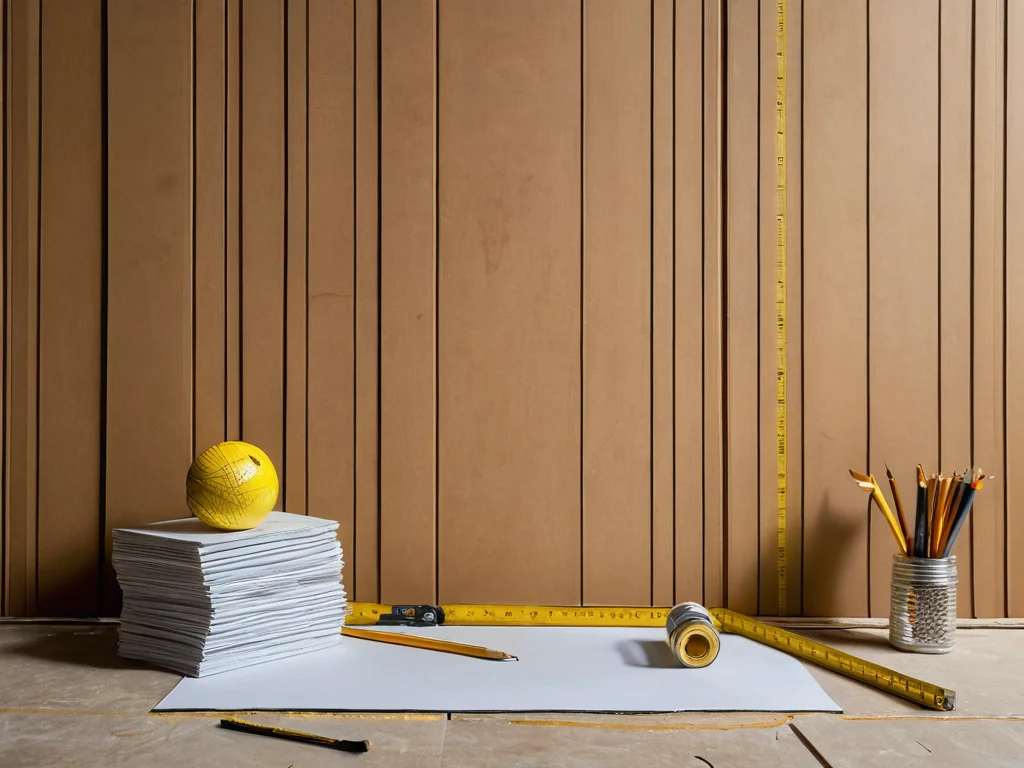
Step 1: Measure the Wall Area
For each wall:
- Measure the length (L) and height (H) in meters.
- Calculate the area of each wall using the formula: S = L × H.
- Sum the areas of all walls you will be finishing.
Step 2: Subtract the Area of Windows and Doors
- Measure the length and width of each window and doorway.
- Calculate the area of each window and doorway using the formula: S = L × H.
- Sum the areas of all windows and doors.
- Subtract this sum from the total wall area. This will give you the net area for finishing.
Step 3: Consider the Type of Panels and Installation Method
- Sheet Panels: Calculation is based on area. Suppose you have an MDF sheet of 1.22 x 2.44 m. Its area is 2.98 sq.m. Divide your net area by the area of one sheet to find out how many sheets you will need.
- Slat Panels: Calculation is done by piece or linear meter. You need to know the width of one slat. Divide the length of each wall by the width of the slat to find out how many slats will fit on one wall. Keep in mind that when installing with a quarter overlap or using a connecting profile, the consumption may increase.
Step 4: Add a Reserve
- Always include a reserve of material for cutting errors, defects, or future repairs. For sheet panels, a 10-15% reserve is recommended; for slat panels, 5-10%.
Example Calculation for Sheet Panels:
Suppose you need to clad a wall 5 meters long and 2.7 meters high. The wall area = 5 m × 2.7 m = 13.5 sq.m.
You have windows and doors with a total area of 3 sq.m.
Net area for finishing = 13.5 sq.m. – 3 sq.m. = 10.5 sq.m.
Area of one MDF sheet = 1.22 m × 2.44 m = 2.98 sq.m.
Number of sheets without reserve = 10.5 sq.m. / 2.98 sq.m. ≈ 3.52 sheets. Round up to 4 sheets.
Add a 10% reserve: 4 sheets × 1.10 = 4.4 sheets. Round up to 5 sheets.
Important: When cutting sheet panels, try to optimize the process by arranging the elements to minimize waste. This is especially important when working with patterns or textures that need to match at the seams.
Installing MDF Panels on Walls: A Step-by-Step Guide for Beginners
Installing MDF panels is a task that can be handled independently if you follow the instructions and are attentive. We will cover the most common and reliable method – installation on a frame.
Stage 1: Wall Preparation
- Cleaning: Walls must be clean, dry, and even. Remove old wallpaper, paint, and dirt.
- Leveling: If the walls have significant irregularities (more than 5 mm over 2 meters), they should be leveled with plaster or drywall. Minor imperfections can be hidden by the frame.
- Waterproofing (if necessary): In damp rooms (bathroom, kitchen), it is recommended to treat the walls with a waterproofing compound.
- Priming: Treat the walls with a deep-penetrating primer for better adhesion and to prevent mold.
Stage 2: Frame Installation
- Material: For the frame, wooden battens of 20×40 mm or 30×40 mm, or metal profiles for drywall are typically used. Wooden battens are preferable for MDF panels.
- Frame Spacing: The spacing of the battens should be such that each panel has a secure fastening. Usually, this is 40-60 cm. If you are using heavy panels or plan to hang shelves, the frame spacing should be reduced to 30-40 cm.
- Fastening: Start installing the frame from the corners of the room. Use a level to ensure the battens are strictly vertical (or horizontal, depending on the panel orientation). Fasten the battens to the wall using dowel nails or screws.
- Leveling: Use a long rule or a straight batten to check the evenness of the frame. If necessary, place pieces of wood or plastic under the battens.
- Horizontal Frame: If the panels will be installed horizontally, the frame should be vertical, and vice versa.
Stage 3: MDF Panel Installation
- Start from the Corner: Place the first panel in the corner of the room. Ensure it is installed strictly vertically (use a level).
- Fastening: Fasten the panels to the frame using screws, nails, or special clips. If the panels have a tongue-and-groove connection, the screws are driven into the groove so that the heads are hidden by the next panel.
- Joining: Insert the next panel into the groove of the previous one. Ensure the joint is tight and without gaps.
- Cutting: If necessary, panels can be easily cut with a jigsaw or handsaw. For a straight cut, use a guide.
- Working Around Obstacles: If there are outlets, switches, or pipes in the way, carefully cut out the openings in the panels before installation.
- Last Panel: The last panel may need to be trimmed in width.
Stage 4: Finishing Touches
- Corners: Corners are finished using special corner profiles (internal or external), which are attached with liquid nails or screws.
- Seams: If you used panels without a tongue-and-groove connection, the seams can be masked with decorative slats or moldings.
- Lighting and Electricals: Install outlets, switches, and light fixtures.
Tip: Before installation, allow the panels to acclimatize in the room for 24-48 hours to avoid deformation due to temperature and humidity changes.
How to Fasten MDF Panels: All Installation Methods (Frame, Glue, Screws)
The choice of fastening method for MDF panels depends on the type of panels, the condition of the walls, and your preferences. Let’s consider the main options:
1. Installation on a Frame
- Description: The most common and versatile method. A frame is created from wooden battens or metal profiles, to which the panels are then attached.
- Advantages:
- Allows hiding wall imperfections.
- Provides ventilation between the panel and the wall (important for preventing mold).
- Allows for easy routing of utilities (electrical wiring, pipes) behind the panels.
- Suitable for all types of MDF panels.
- Disadvantages: Reduces the usable area of the room by the thickness of the battens (usually 2-4 cm).
- Fastening Panels to the Frame:
- Screws: The most reliable method. Screws are driven into the panel’s groove (hidden installation) or into the face side (with subsequent masking by plugs).
- Clips (Klyaymery): Special metal brackets that are inserted into the panel’s groove and fastened to the frame with screws. They ensure hidden installation.
- Nails: Finishing nails can also be used, but they are less reliable than screws and require care.
2. Installation with Glue
- Description: Panels are glued directly to a smooth and prepared wall.
- Advantages:
- Does not reduce the usable area of the room.
- Faster installation compared to a frame (if the walls are perfectly smooth).
- Creates a monolithic surface.
- Disadvantages:
- Requires perfectly smooth walls.
- Impossibility of routing utilities behind the panels.
- Difficulty of removal.
- Not suitable for damp rooms unless the walls have appropriate protection.
- Types of Glue: Special adhesives for wall panels, liquid nails, or mounting foam are used. The adhesive is applied point-wise or in a continuous strip around the perimeter and in the center of the panel.
- Mandatory: With this installation method, the first panels must be fixed while the glue dries (using props, masking tape).
3. Installation with Screws (without frame, on even walls)
- Description: This method is mainly used for lightweight and thin panels (e.g., PVC panels) on perfectly smooth walls.
- Advantages: Speed, material savings (no frame needed).
- Disadvantages: Requires perfectly smooth walls. Screws are visible on the face side (masked with plugs). Does not provide ventilation.
- Features: Screws are driven directly into the panel after pre-drilling a hole.
What to Choose?
- The ideal option for most cases is installation on a frame. It is versatile, reliable, and allows for the best results, even if the walls are not perfect.
- Installation with glue is a good choice if you are confident in the evenness of the walls and want to save space.
- Direct installation with screws is more of an exception, suitable for specific cases.
Important Note: Regardless of the chosen method, always follow the recommendations of the panel and adhesive manufacturer.
Common Mistakes When Finishing Walls with MDF Panels and How to Avoid Them
Even a material as easy to work with as MDF panels can cause trouble if mistakes are made during preparation or installation. Let’s look at the most common blunders and learn how to avoid them.
- Mistake 1: Incorrect Material Calculation.
- Consequences: Shortage of panels, needing to buy more from a different batch (the shade may differ), or excess that will have to be stored.
- How to Avoid: Carefully measure the area, account for all cutouts (windows, doors), and be sure to add a 10-15% reserve. When working with sheet panels, plan the cutting to minimize waste.
- Mistake 2: Installation on Unprepared Walls.
- Consequences: If the walls are uneven, the panels may deform, and gaps will appear between them. Mold and mildew if the walls are damp.
- How to Avoid: Clean walls of old coatings, level them with plaster or drywall if necessary. Prime the walls, and in damp rooms, apply waterproofing.
- Mistake 3: Incorrect Frame Installation.
- Consequences: A crookedly installed frame will lead to unevenly installed panels. Too large a spacing between battens can cause panels to sag under their own weight or under load.
- How to Avoid: Use a level when installing each batten. Observe the recommended spacing (40-60 cm).
- Mistake 4: Using Incorrect Fasteners.
- Consequences: Panels may sag, fasteners may not hold.
- How to Avoid: Use screws of appropriate length (so they securely enter the frame), clips, or furniture nails. For gluing, use only specialized adhesives.
- Mistake 5: Incorrect Panel Joining.
- Consequences: Formation of gaps, unaesthetic appearance.
- How to Avoid: Carefully insert panels into the grooves, using a rubber mallet with a protective block if necessary to tightly join the elements.
- Mistake 6: Ignoring Thermal Expansion.
- Consequences: Panel deformation with changes in temperature and humidity, especially if installation was done in cold conditions.
- How to Avoid: Before installation, let the panels rest in the room for 24-48 hours. Leave small gaps (2-3 mm) between the panels and the ceiling/floor, which will later be covered by baseboards.
- Mistake 7: Careless Cutting.
- Consequences: Chips, torn edges that spoil the appearance.
- How to Avoid: Use a sharp tool (jigsaw with a clean blade, hacksaw for metal). If necessary, tape the cutting line with masking tape to prevent chipping.
Tip: Don’t rush! Thorough preparation and careful execution are the keys to an excellent result.
Caring for MDF Panel Walls: Extending Service Life and Preserving Beauty
MDF panels are a fairly unpretentious material, but proper care will help preserve their original appearance for many years. Follow these simple recommendations:
- Regular Cleaning: Wipe the panels with a soft dry or slightly damp cloth to remove dust. Avoid abrasive materials and stiff brushes that can scratch the surface.
- Damp Cleaning: To remove more stubborn stains, use a soft sponge dampened with water and a neutral detergent (e.g., dish soap or special cleaners for laminated surfaces). After damp cleaning, be sure to wipe the surface with a dry clean cloth to avoid streaks.
- Avoid Harsh Cleaning Agents: Never use solvents, alcohol-based liquids, acetone, cleaners with abrasive particles, or scouring powders – they can damage the panel coating.
- Protect from Excessive Moisture: Although some MDF panels have a moisture-resistant coating, constant exposure to water is contraindicated. Do not allow moisture to accumulate on the surface, especially at the seams.
- Protection from Mechanical Damage: Try not to hit the panels with sharp objects, and do not place heavy furniture on them in a way that scratches the surface.
- Care for Textured Panels: For 3D panels with pronounced relief, use a soft brush or a vacuum cleaner with a brush attachment to remove dust from the indentations.
- Repairing Minor Scratches: Small scratches on glossy or matte surfaces can often be masked with special furniture polishes or markers that match the color of the coating.
- Specialized Products: For laminated panels, you can use special laminate care sprays that add shine and protect the surface.
Remember: The more carefully you treat your MDF panels, the longer they will delight you with their beauty and practicality. Proper selection, careful installation, and simple care are the three pillars on which the durability and attractiveness of MDF-paneled walls rest.
I hope this detailed article has helped you understand all the nuances of MDF panel wall finishing. Now you are armed with knowledge and ready to create the perfect interior with your own hands! Good luck with your endeavors!
Рекомендуем:
 PVC Wall Panels: Cheap and Cheerful. Installation Guide
 Wall Cladding with Wood Paneling: A Step-by-Step Guide
 Internal Wall Insulation: Materials and Technology
 Revêtement mural en panneaux MDF : guide d’installation
 How to Update Old Tiles Without Removing Them: 99 Ways to Transform Your Bathroom and Kitchen
 DIY Decorative Stone Wall Installation: Your Guide to Home Transformation
 How to Make a Brick Wall in an Interior (Imitation)
Revestimiento de paredes con paneles de MDF: guía de instalación
How to Make a Brick Wall in an Interior (Imitation)
Revestimiento de paredes con paneles de MDF: guía de instalación
 Washable wallpaper for the kitchen: why it’s the best idea for your renovation?
 Grout for tiles: how to choose the color and apply it correctly
Wandverkleidung mit MDF-Paneelen: Montageanleitung
Joint filler for tiles: how to choose the color and apply it correctly
Paneles de PVC para paredes: baratos y efectivos. Guía de instalación
Grout for tiles: how to choose the color and apply it correctly
Wandverkleidung mit MDF-Paneelen: Montageanleitung
Joint filler for tiles: how to choose the color and apply it correctly
Paneles de PVC para paredes: baratos y efectivos. Guía de instalación
 Bathroom: Tile or Paint. What Will Everyone Face?
تشطيب الجدران بألواح MDF: دليل التركيب
Bathroom: Tile or Paint. What Will Everyone Face?
تشطيب الجدران بألواح MDF: دليل التركيب
 How to Tile Walls in a Bathroom: A Detailed Guide
 What to do if mold or mildew appears on the walls?
Panneaux PVC pour murs : bon marché et efficace. Guide d’installation
Revêtement mural en lambris : guide étape par étape
Comment rénover du vieux carrelage sans le retirer : 99 façons de transformer votre salle de bain et votre cuisine
What to do if mold or mildew appears on the walls?
Panneaux PVC pour murs : bon marché et efficace. Guide d’installation
Revêtement mural en lambris : guide étape par étape
Comment rénover du vieux carrelage sans le retirer : 99 façons de transformer votre salle de bain et votre cuisine