Layout and zoning are not just about rearranging furniture or building walls. They are a fundamental architectural process that determines how comfortable, logical, and functional your living or working space will be. As professionals, we view layout as a strategy and zoning as a tactic to maximize the efficiency of every square meter while adhering to the principles of ergonomics and aesthetics. A well-thought-out project always begins with an analysis of the client’s needs and a thorough calculation of movement paths, insolation, and engineering communications.
Layout and Zoning in Interior Design: Fundamentals of Effective Space
Before starting with drawings, it’s essential to clearly distinguish between concepts. Layout (or redevelopment) involves working with load-bearing and non-load-bearing walls, doorways, and the functional arrangement of key zones. This process requires approval from regulatory bodies and strict adherence to building codes (SNiP). Zoning is a tool that allows for the division of an existing or designed space into sub-zones using design techniques, furniture, lighting, and decorative structures.
The main goal of these processes is to achieve maximum functionality while maintaining visual integrity. In practice, this means that:
- Traffic must be free: movement paths between key points (e.g., from the apartment entrance to the kitchen) should not intersect relaxation or work zones.
- Ergonomics must be observed: all objects and surfaces should be placed at a comfortable height and distance.
- Privacy must be ensured: personal zones (bedroom, study) should be isolated from public areas (living room, hallway).
Planning should begin with the creation of a detailed technical brief (TB), which includes not only the number of rooms but also their usage scenarios: how often you entertain guests, whether you work from home, how much storage space you need, etc. This will help avoid costly mistakes during the construction phase.
Key Principles of Effective Layout: From Idea to Implementation
A professional approach to layout is based on several immutable rules that we use to create truly comfortable interiors.
1. Movement Path Analysis (Traffic Analysis)
One of the most important stages. Mentally or graphically analyze how residents will move around the apartment. Passages should have a minimum width: 900 mm for main corridors and 600 mm for passages between furniture (e.g., between a dining table and a wall). Avoid “through” living rooms where the sofa group becomes part of a transit route – this immediately reduces comfort.
2. The Principle of “Wet” and “Dry” Zoning
According to building codes, areas with water supply (“wet” zones – kitchen, bathrooms) cannot be located above the living rooms of the neighbors below. This critically limits redevelopment possibilities. During design, we always try to keep or minimally shift bathrooms and kitchens within their existing boundaries, using corridors or non-residential spaces for expansion.
3. The Working Triangle Rule (for Kitchens)
Regardless of the kitchen size, its layout should optimize the interaction of three key zones: the refrigerator (storage), the sink (preparation), and the stovetop (cooking). The sum of the sides of this triangle should ideally not exceed 6.5 meters. This ensures maximum efficiency and reduces fatigue.
4. Consideration of Insolation and Lighting
Living rooms (bedrooms, living rooms) should have natural light. When planning, we always orient bedrooms to the east (for morning light) or north (for even, not too hot light), and public areas to the south or west. Zoning should consider window placement so that no functional zone is left without access to light.
Stylistic Approaches to Zoning: How to Combine Aesthetics and Functionality
The chosen interior style dictates which zoning methods will be appropriate and effective. Different styles prefer either open or closed spaces.
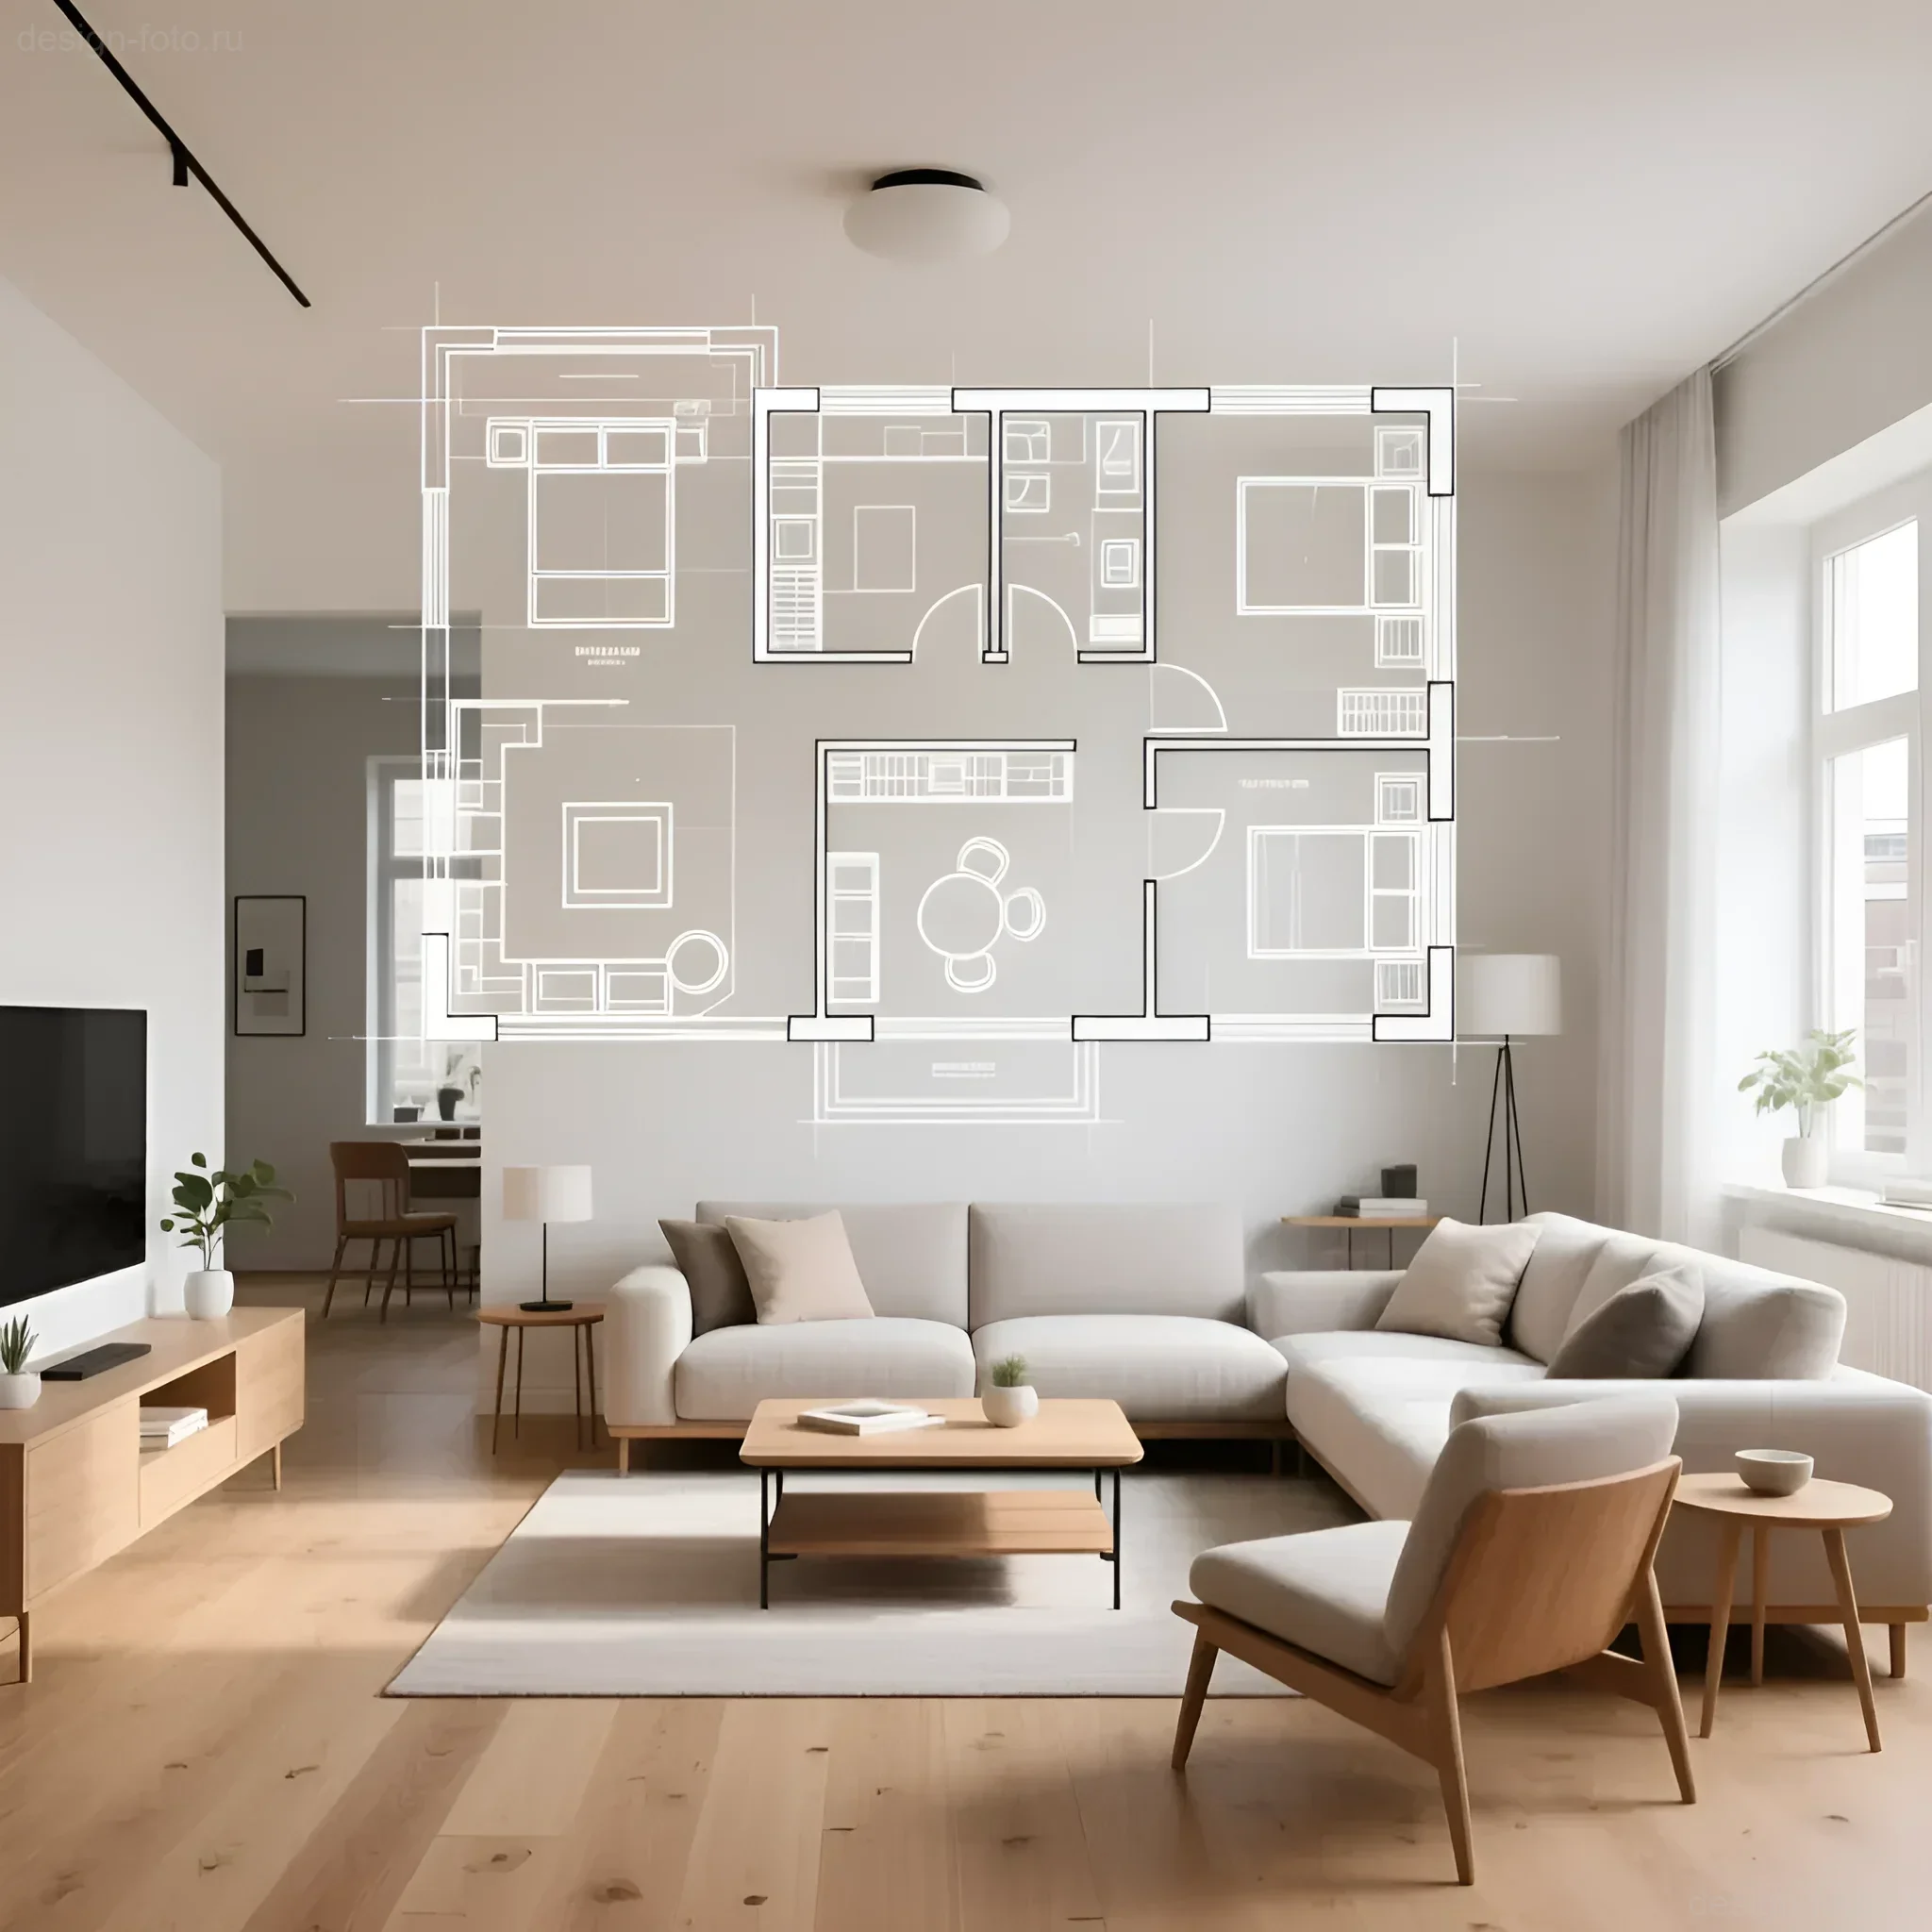
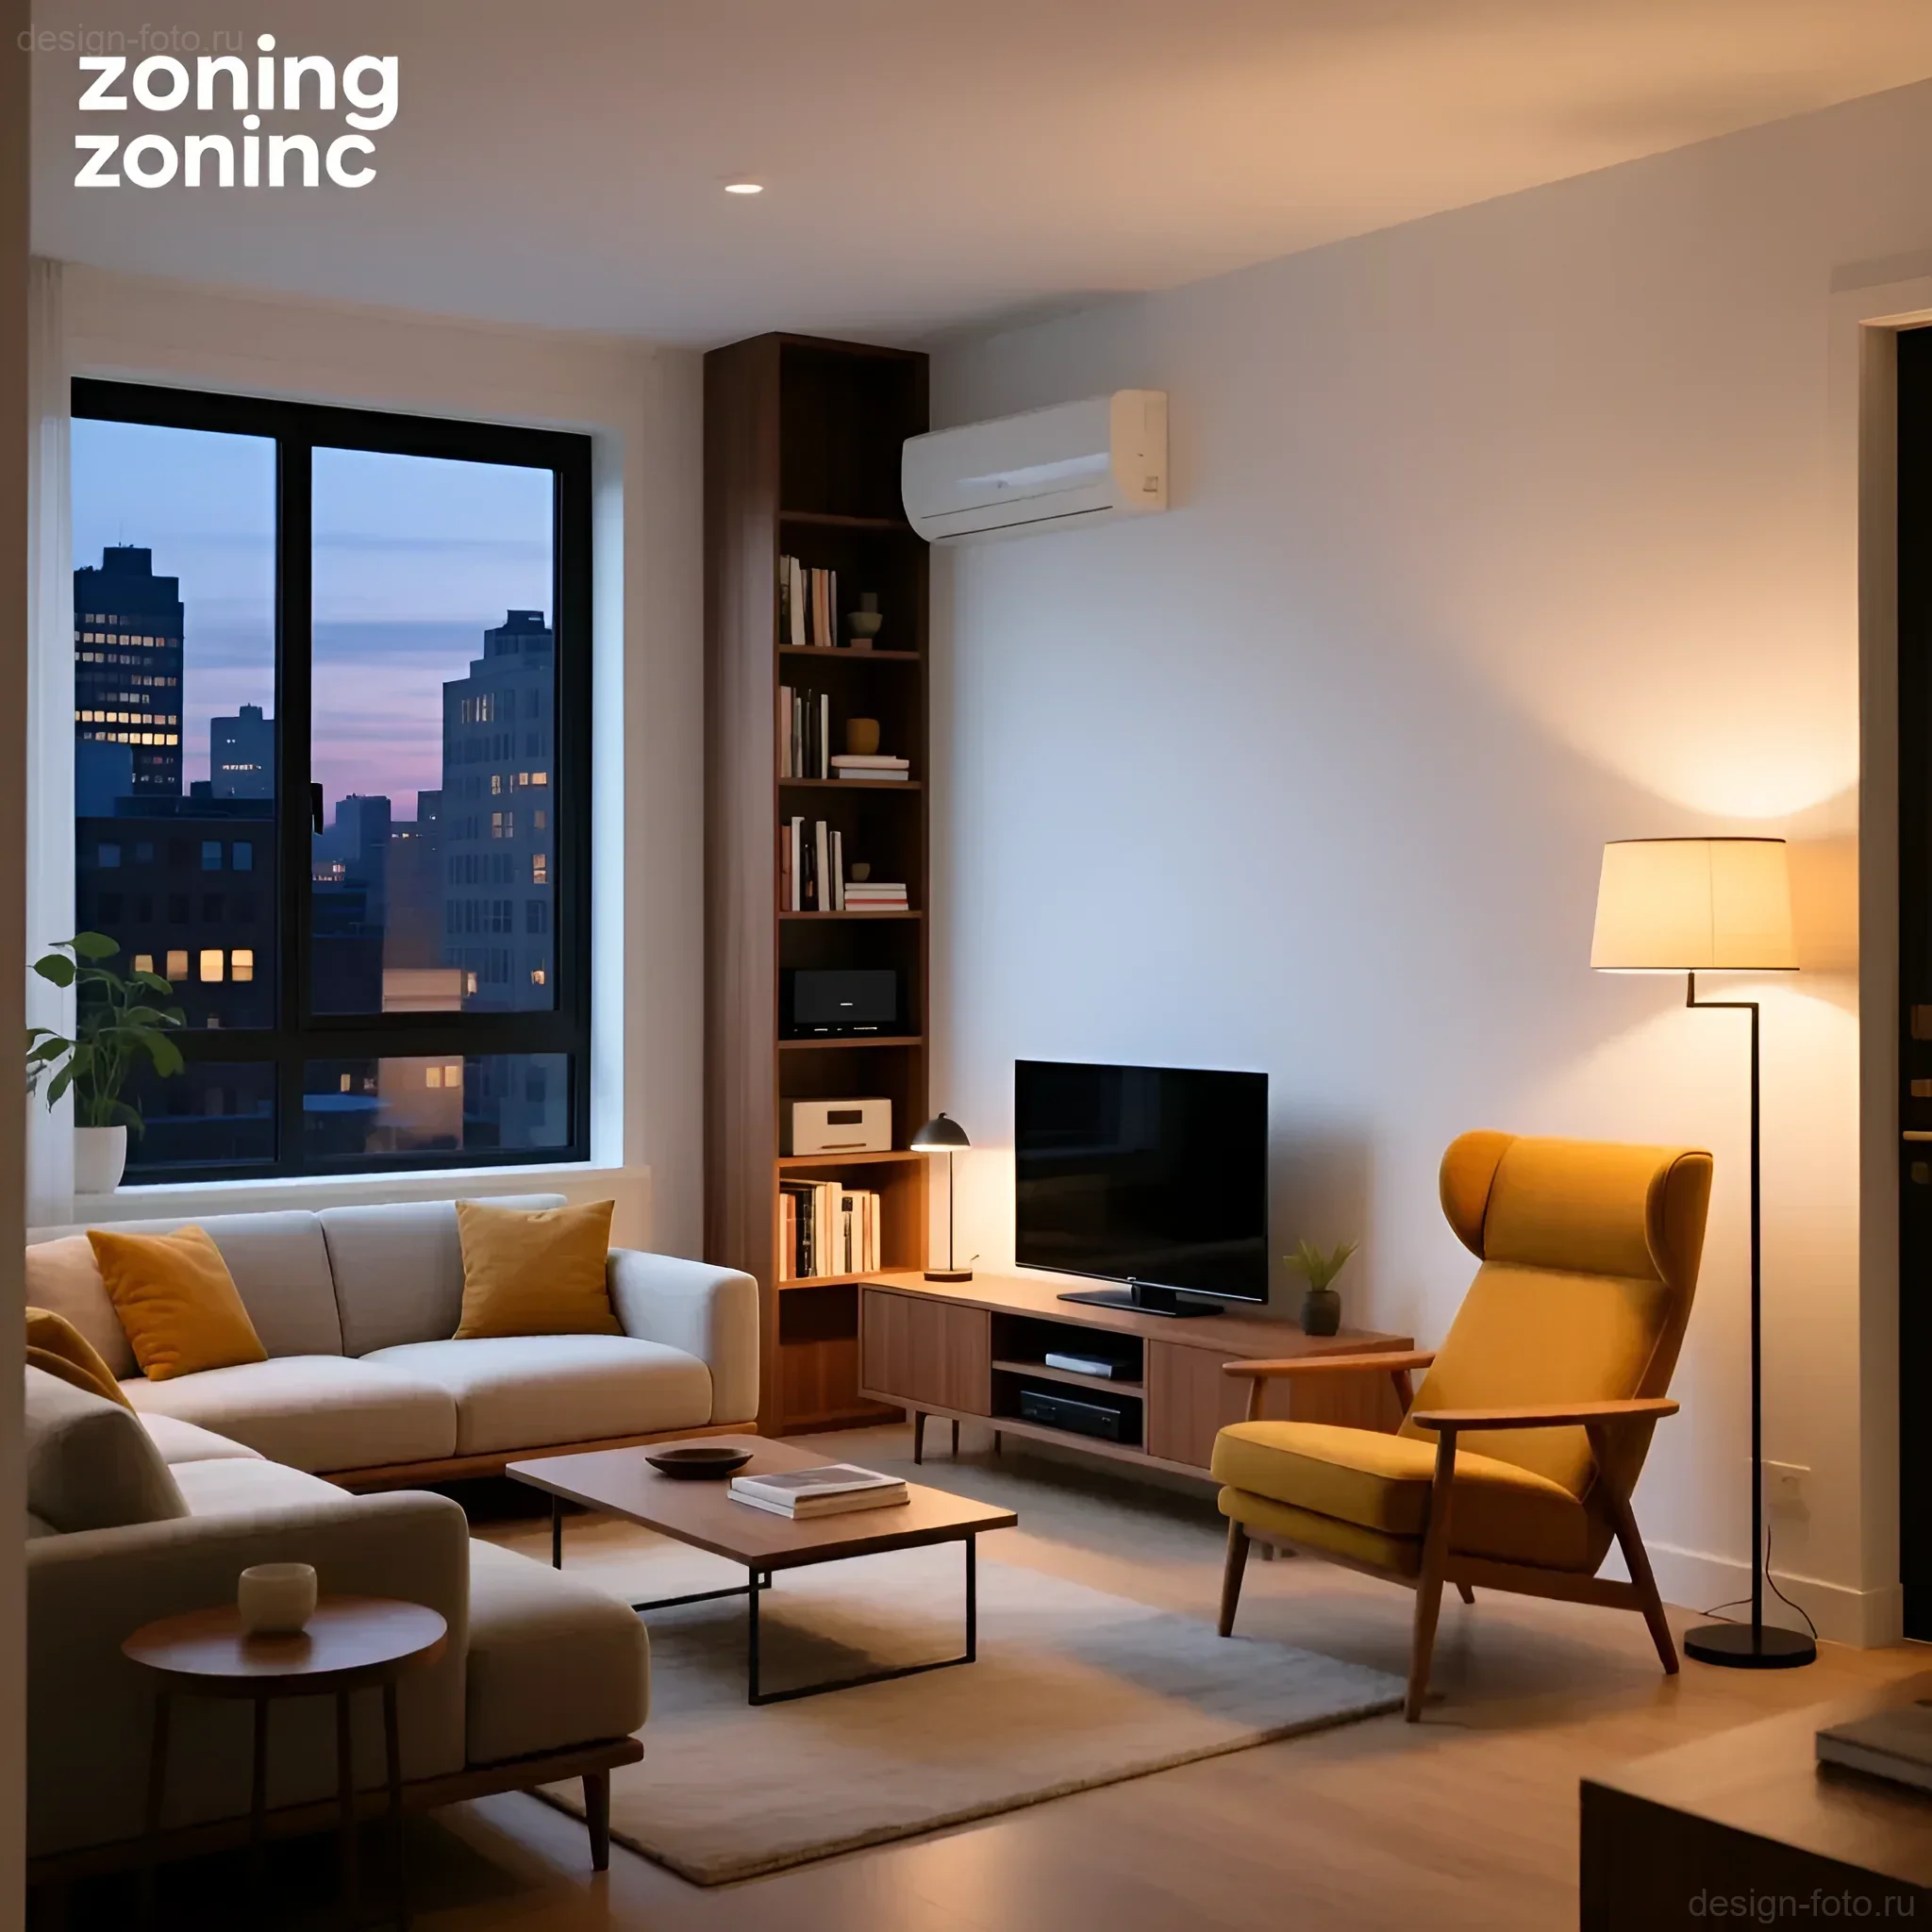
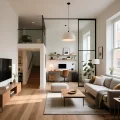
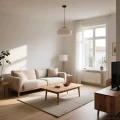
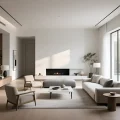
Scandinavian Style and Minimalism: Open Layout and Soft Zoning
These styles lean towards maximum volume and light. Here, zoning is done using soft, unobtrusive methods:
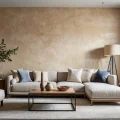
- Island Furniture: A sofa placed across the room or a kitchen island clearly divides the space without physical barriers.
- Color and Texture: Using different shades of the same color for walls and floors in adjacent zones. For example, light gray porcelain stoneware in the kitchen-dining area transitions to light wood flooring in the living room.
- Low Partitions: Using low shelving units (up to 120 cm high) or consoles that maintain visual connection but define a boundary.
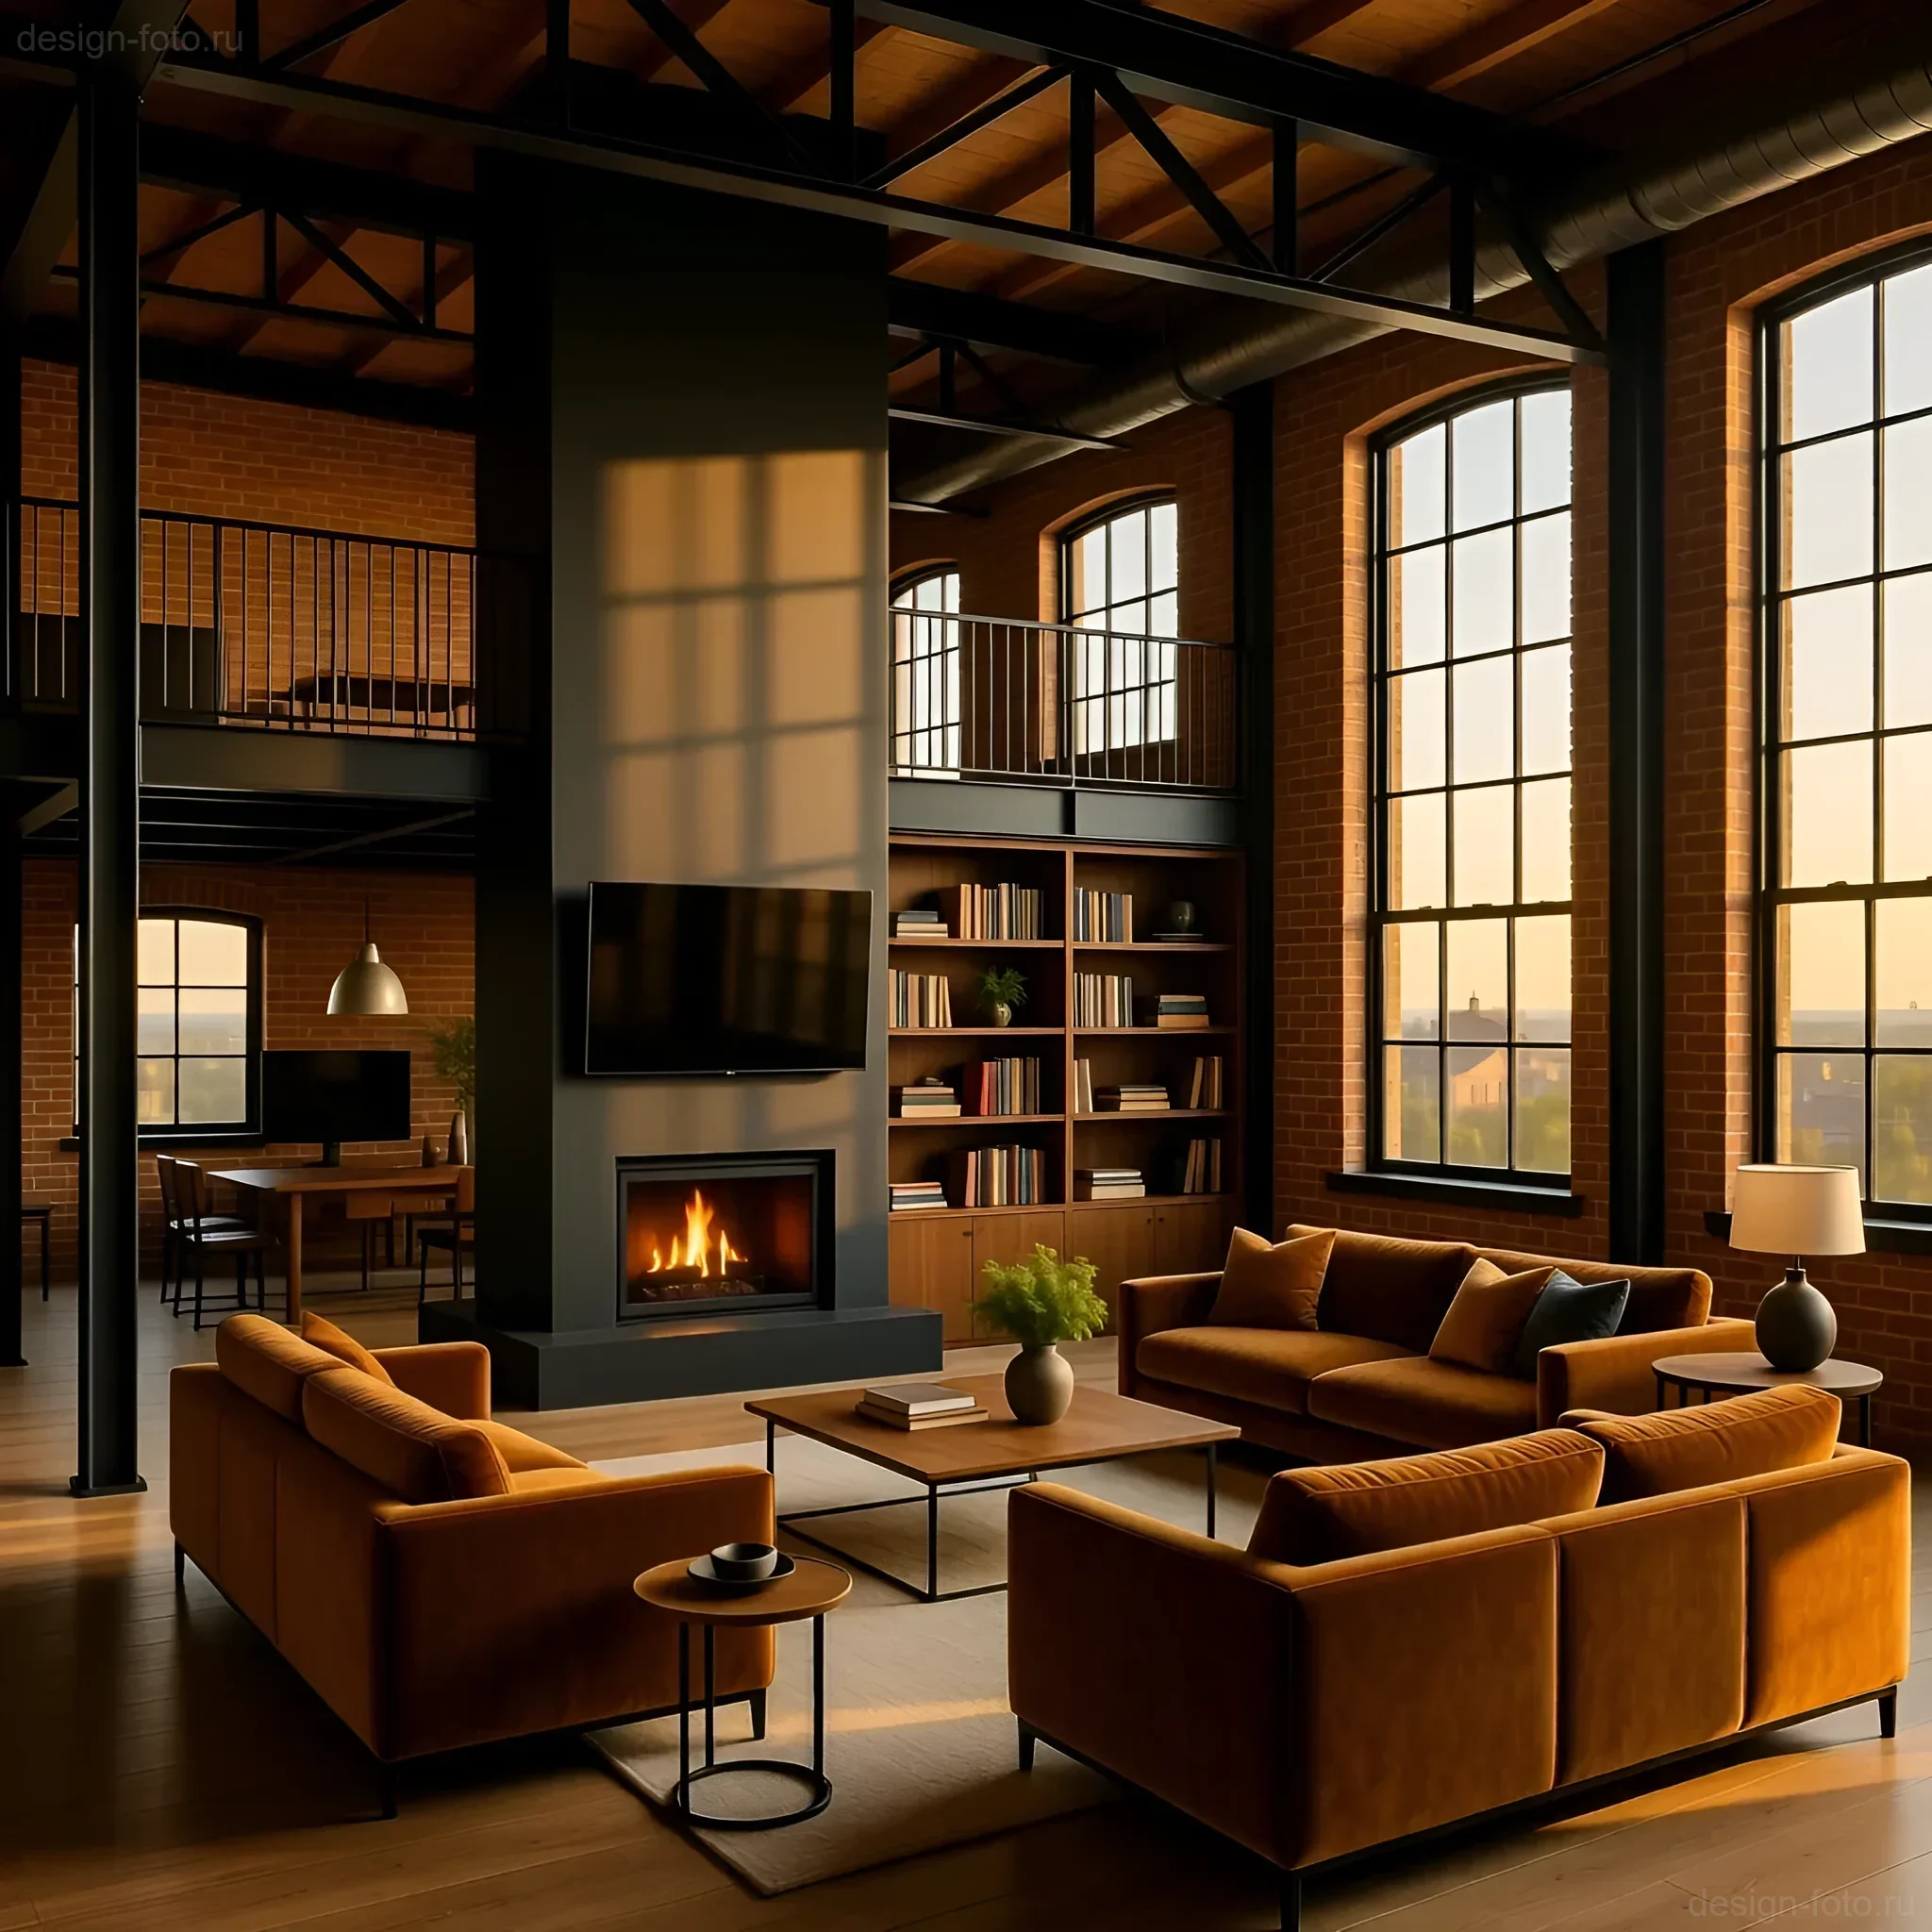
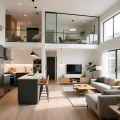
Loft and Industrial Style: Mobility and Glass Structures
Loft often implies a large, open space from the start. Zoning here should be dynamic and flexible:
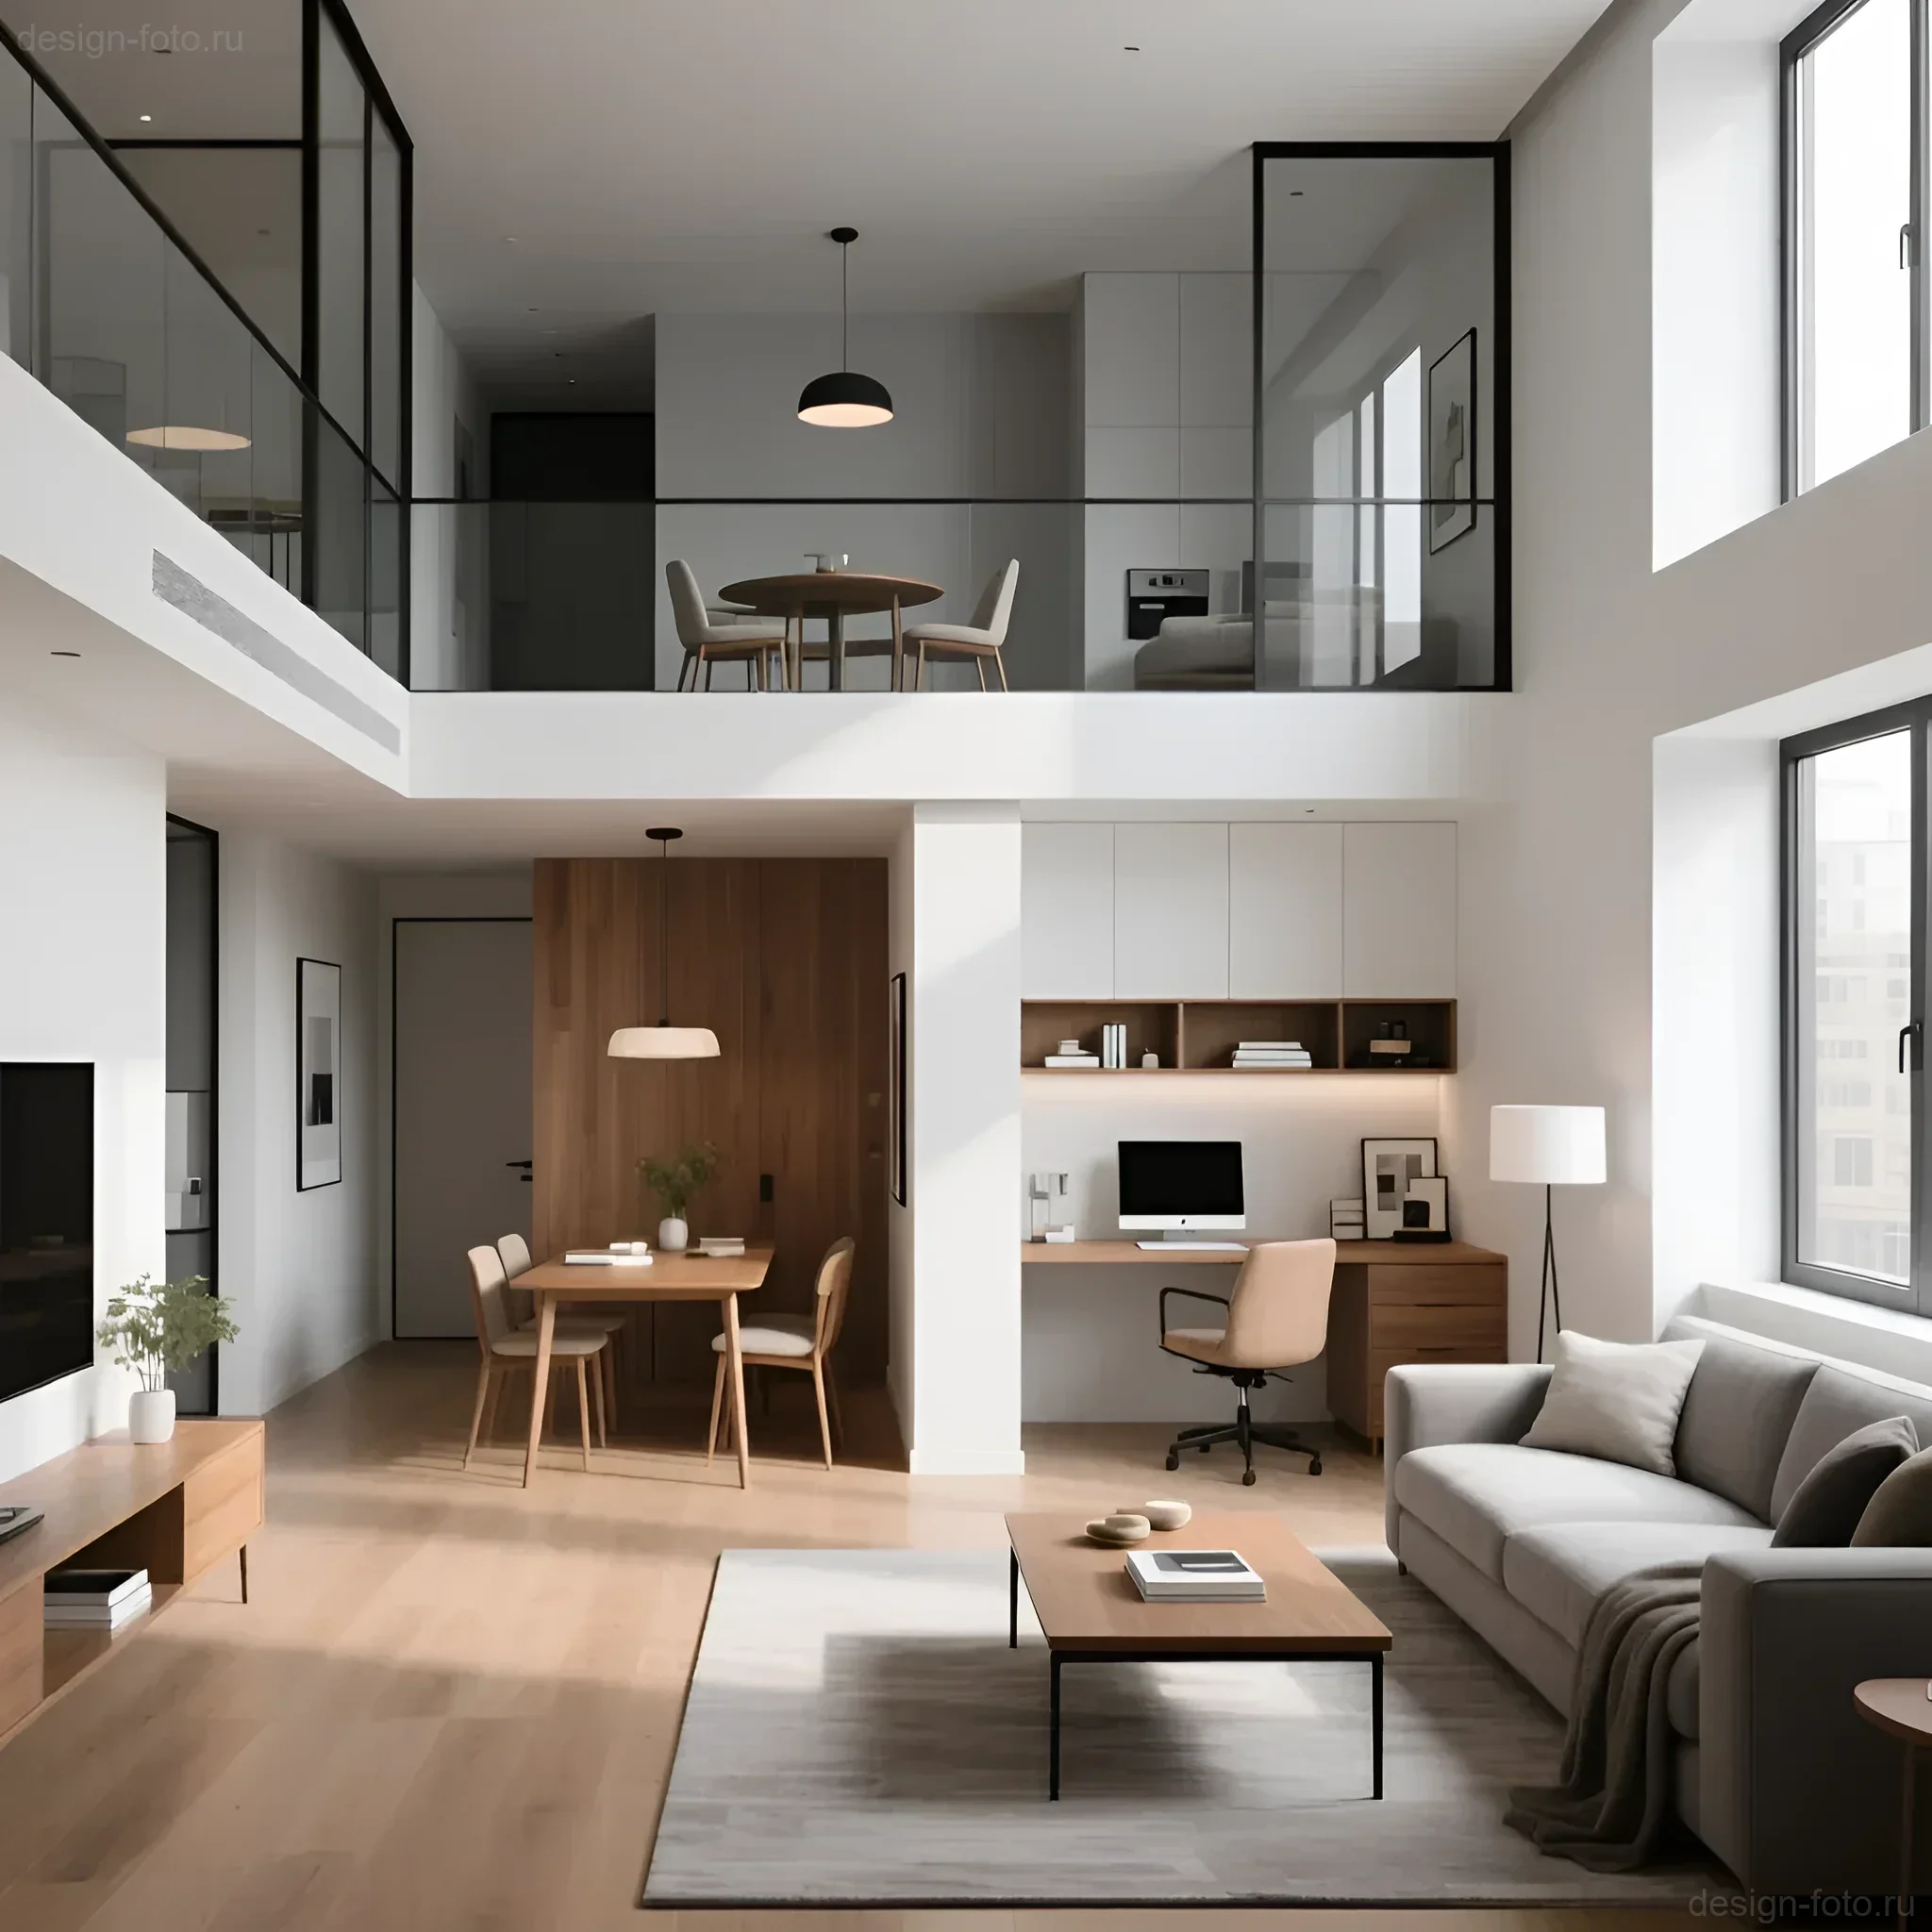
- Glass Partitions: Metal frames with glass (often in a “French window” style) allow for the division of zones (e.g., bedroom and living room) without losing natural light and the sense of volume.
- High Ceilings: Zoning can be done vertically – through mezzanines or podiums.
- Textural Contrast: The kitchen area can be highlighted with brutal brickwork, while the relaxation area can have smooth concrete or plastered walls.
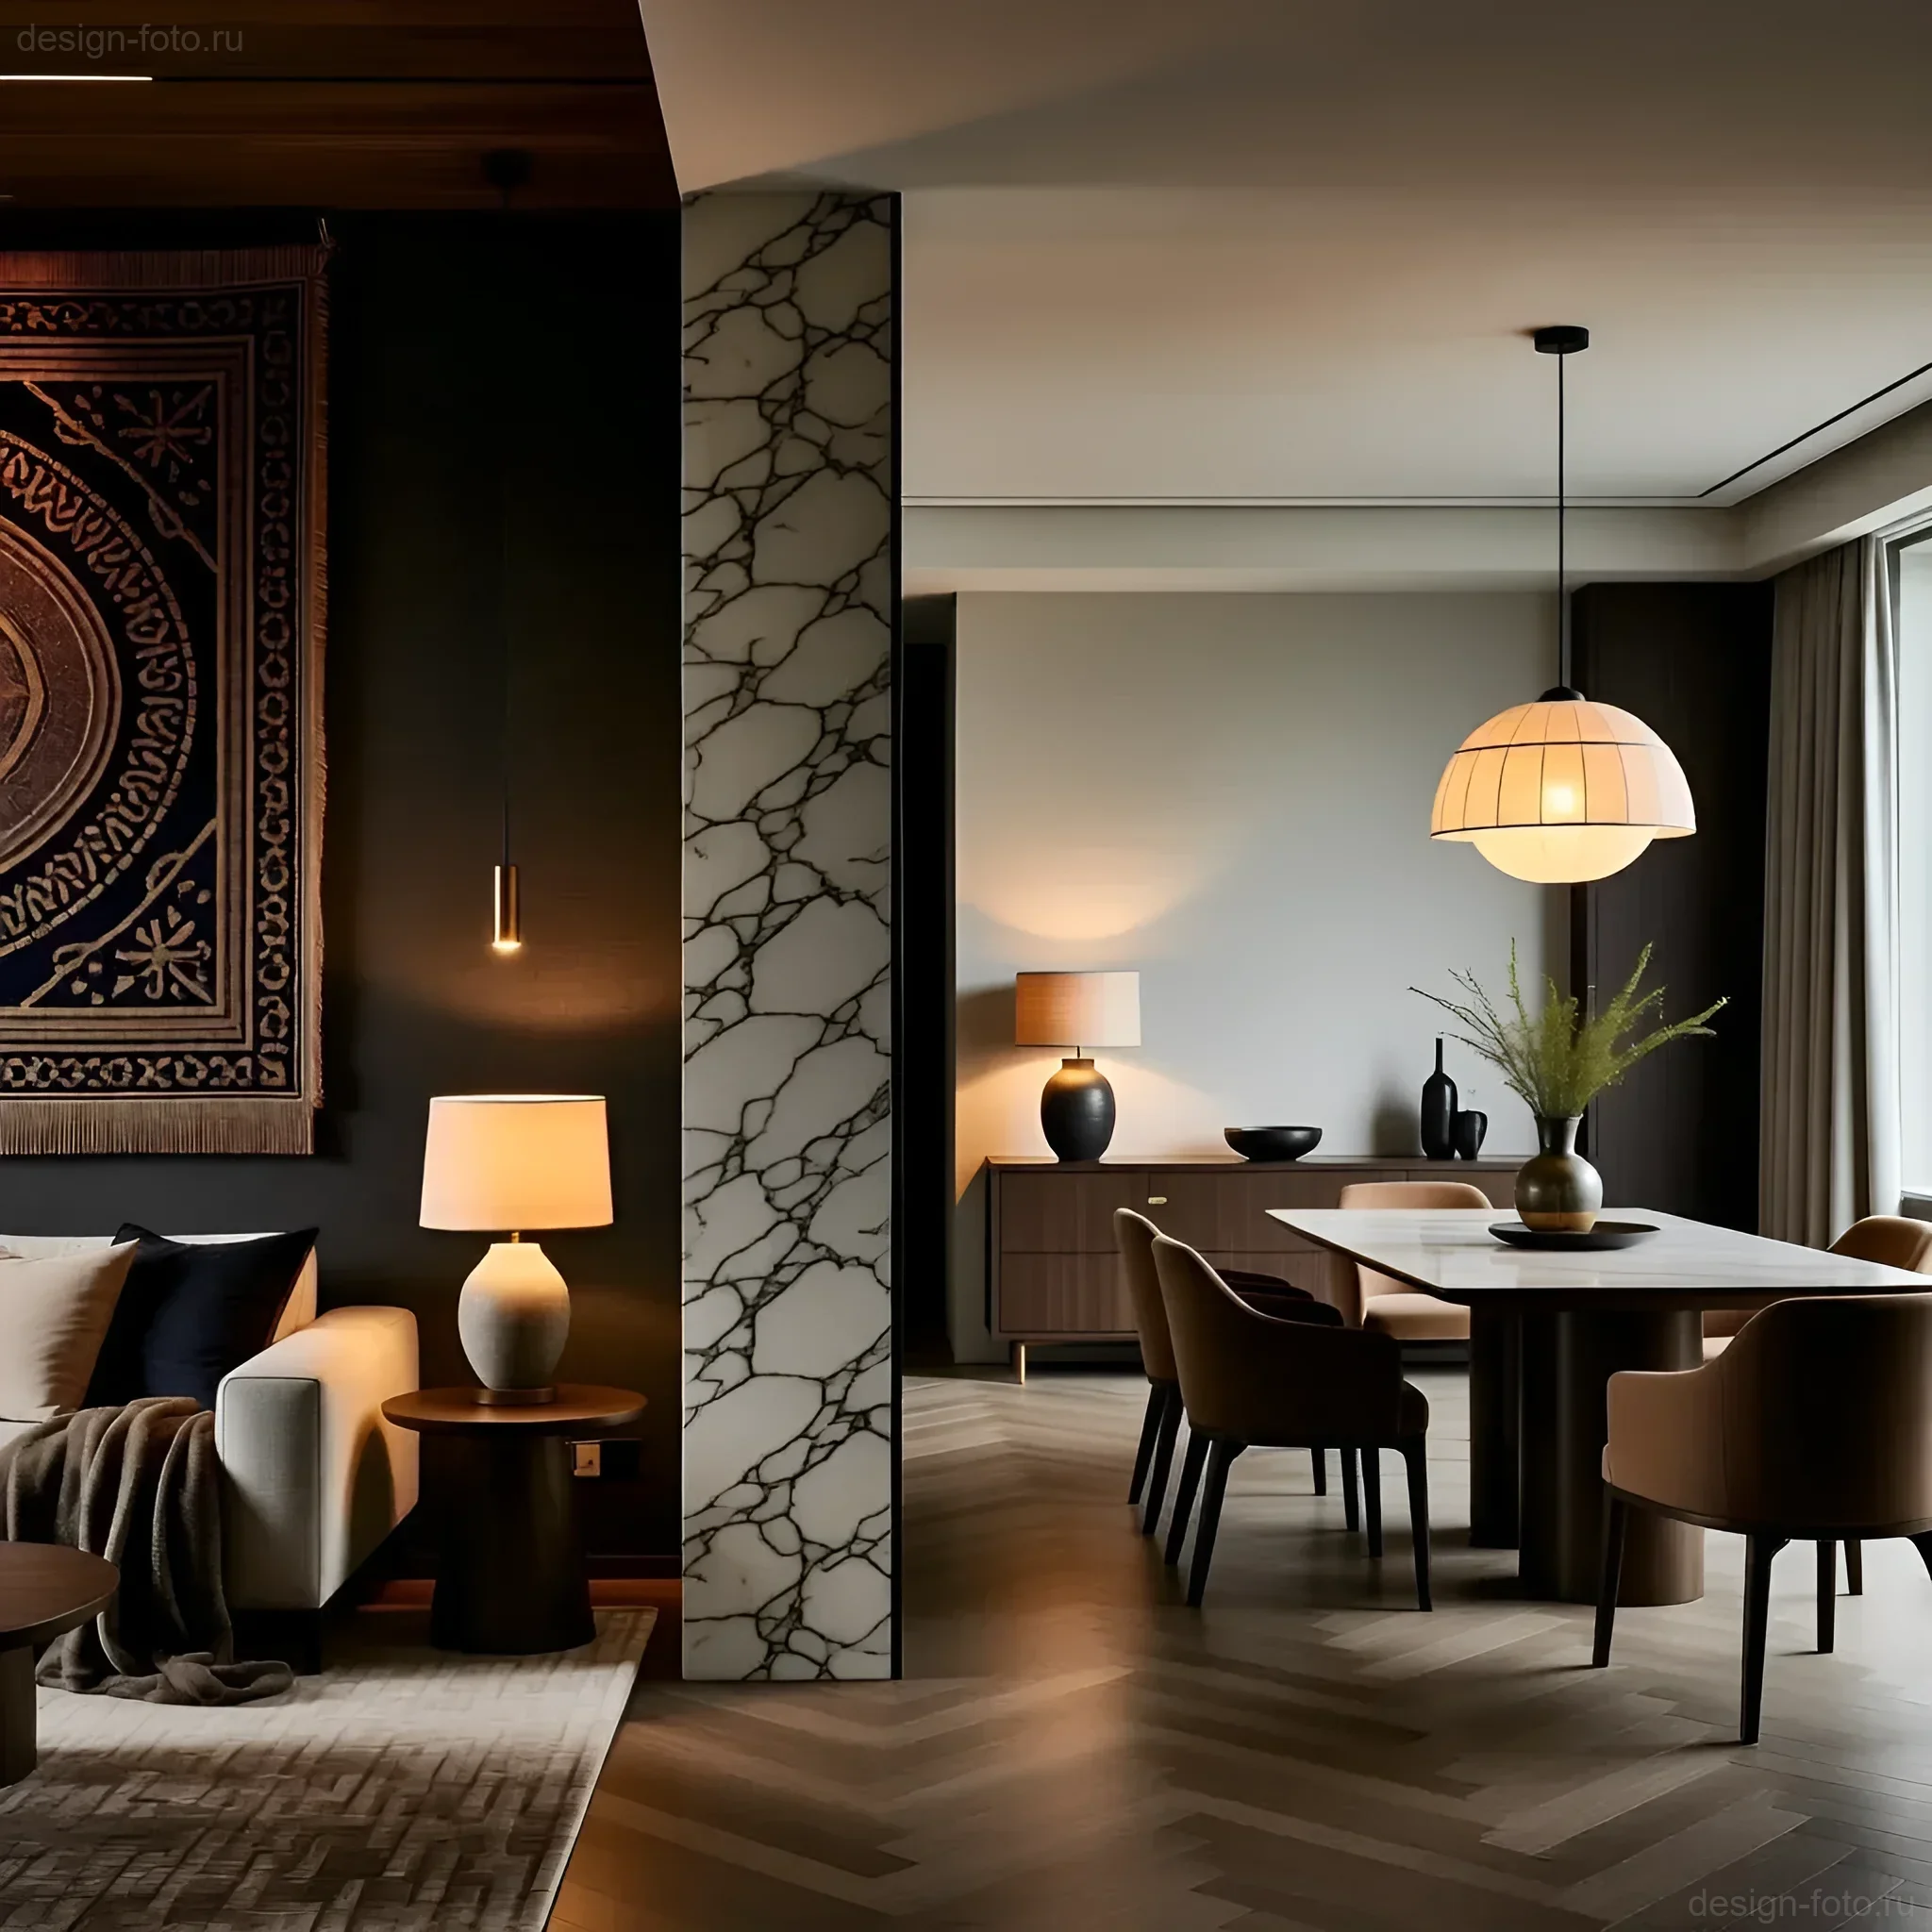
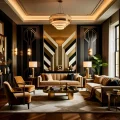
Classic and Art Deco: Clear and Symmetrical Zoning
These styles require more strict, symmetrical, and often closed zoning. Each function must have its clearly defined place. Here, load-bearing walls, double sliding doors are used, and the centers of each zone are emphasized by symmetrically placed furniture and central chandeliers.
Materials and Techniques for Visual Zoning: Floor, Walls, and Light
Zoning can be physical (partitions) or visual (design techniques). In modern projects, we often combine both approaches for maximum flexibility.
1. Floor Coverings as Dividers
The transition from one type of floor covering to another is the most effective and durable way to zone. It is important to ensure a smooth and safe joint.
- Kitchen/Living Room: Porcelain stoneware (practical, moisture-resistant) in the kitchen work area, transitioning to parquet or laminate in the living room. The ideal transition should be made without a threshold, on the same level, using cork expansion joint.
- Hallway/Living Area: Using large-format porcelain stoneware in the entrance area for protection against dirt, which then transitions to a warmer material.
- Podiums: Raising the floor by 10–20 cm (especially relevant for separating the sleeping area in studios or a workspace in an office). Storage systems or utilities are often hidden under the podium.
2. Lighting Scenarios and Accent Lighting
Light is the most powerful tool for visual zoning, which can be changed with the press of a button.
- General Area: Uniform ambient light (recessed fixtures, track lighting systems).
- Functional Zone: Clearly directed task lighting. For example, pendant lights over the dining table that visually “cut off” this zone from the rest of the living room, or bright lighting for the kitchen work surface (at least 500 lux).
- Relaxation Zone: Soft, diffused light (floor lamps, wall sconces, dimmable sources).
3. Decorative and Functional Partitions
If a solid wall is not required, we use lightweight structures:
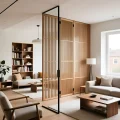
- Slats (Lamellas): Wooden or metal vertical slats, spaced a small distance apart (5–10 cm). They allow light and air to pass through but create a sense of boundary. Ideal for separating the hallway from the living room.
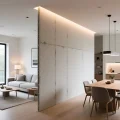
- Sliding Systems: Glass or frosted partitions that allow for instant transformation of an open studio into an isolated room (e.g., for sleeping at night).
- Shelving and Wardrobes: A wardrobe 600 mm deep, placed across the room, can simultaneously serve as a storage system and a reliable boundary between the bedroom and the dressing room.
Practical Zoning Schemes for Typical Rooms: Living Room, Kitchen, Bedroom
Let’s consider specific examples where layout and zoning principles are crucial for comfort.
Zoning a Kitchen-Living Room (Euro-Two-Room Apartment)
In a combined space, clear separation is needed so that kitchen odors and noise do not interfere with relaxation in the living room.
- Kitchen Unit: Located along one wall or in a U-shape. A powerful exhaust hood with ducting is mandatory, not a recirculating type.
- Bar Counter/Island: Serves as a physical buffer between zones. The island should have a minimum passage of 1000 mm on both sides.
- Dining Area: Often located between the kitchen and the living room. Highlighted by pendant lights hanging at a height of 75–85 cm above the table.
- Living Room: The sofa group is positioned facing the media zone and with its back to the kitchen, which is a key visual separation technique.
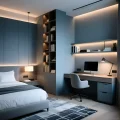
Zoning a Bedroom: Rest and Work/Storage
Even in a small bedroom, it is often necessary to allocate space for work or a wardrobe.
- Sleeping Area: Should be as isolated as possible. The bed is the center of the composition, often with a soft headboard.
- Dressing Room: If space allows (minimum 1.2 x 1.5 m), it is better to allocate it as a separate compartment using a sliding system or drywall partition. If the dressing room is open, it can be separated by curtains made of dense fabric, which visually soften the boundary.
- Workspace: A desk (minimum 60 cm deep) is best placed near a window, but not in the direct line of sight from the bed. Separation can be achieved using a low shelving unit or a contrasting wall/niche.
Zoning a Multifunctional Study
If a study combines work, a library, and a guest bedroom, flexible solutions must be used:
- Folding/Wall Beds: A Murphy bed or a sofa bed allows for instant transformation of the zone’s purpose.
- Visual Accents: The work desk is highlighted by bright directional lighting, and the reading area by a comfortable armchair and floor lamp.
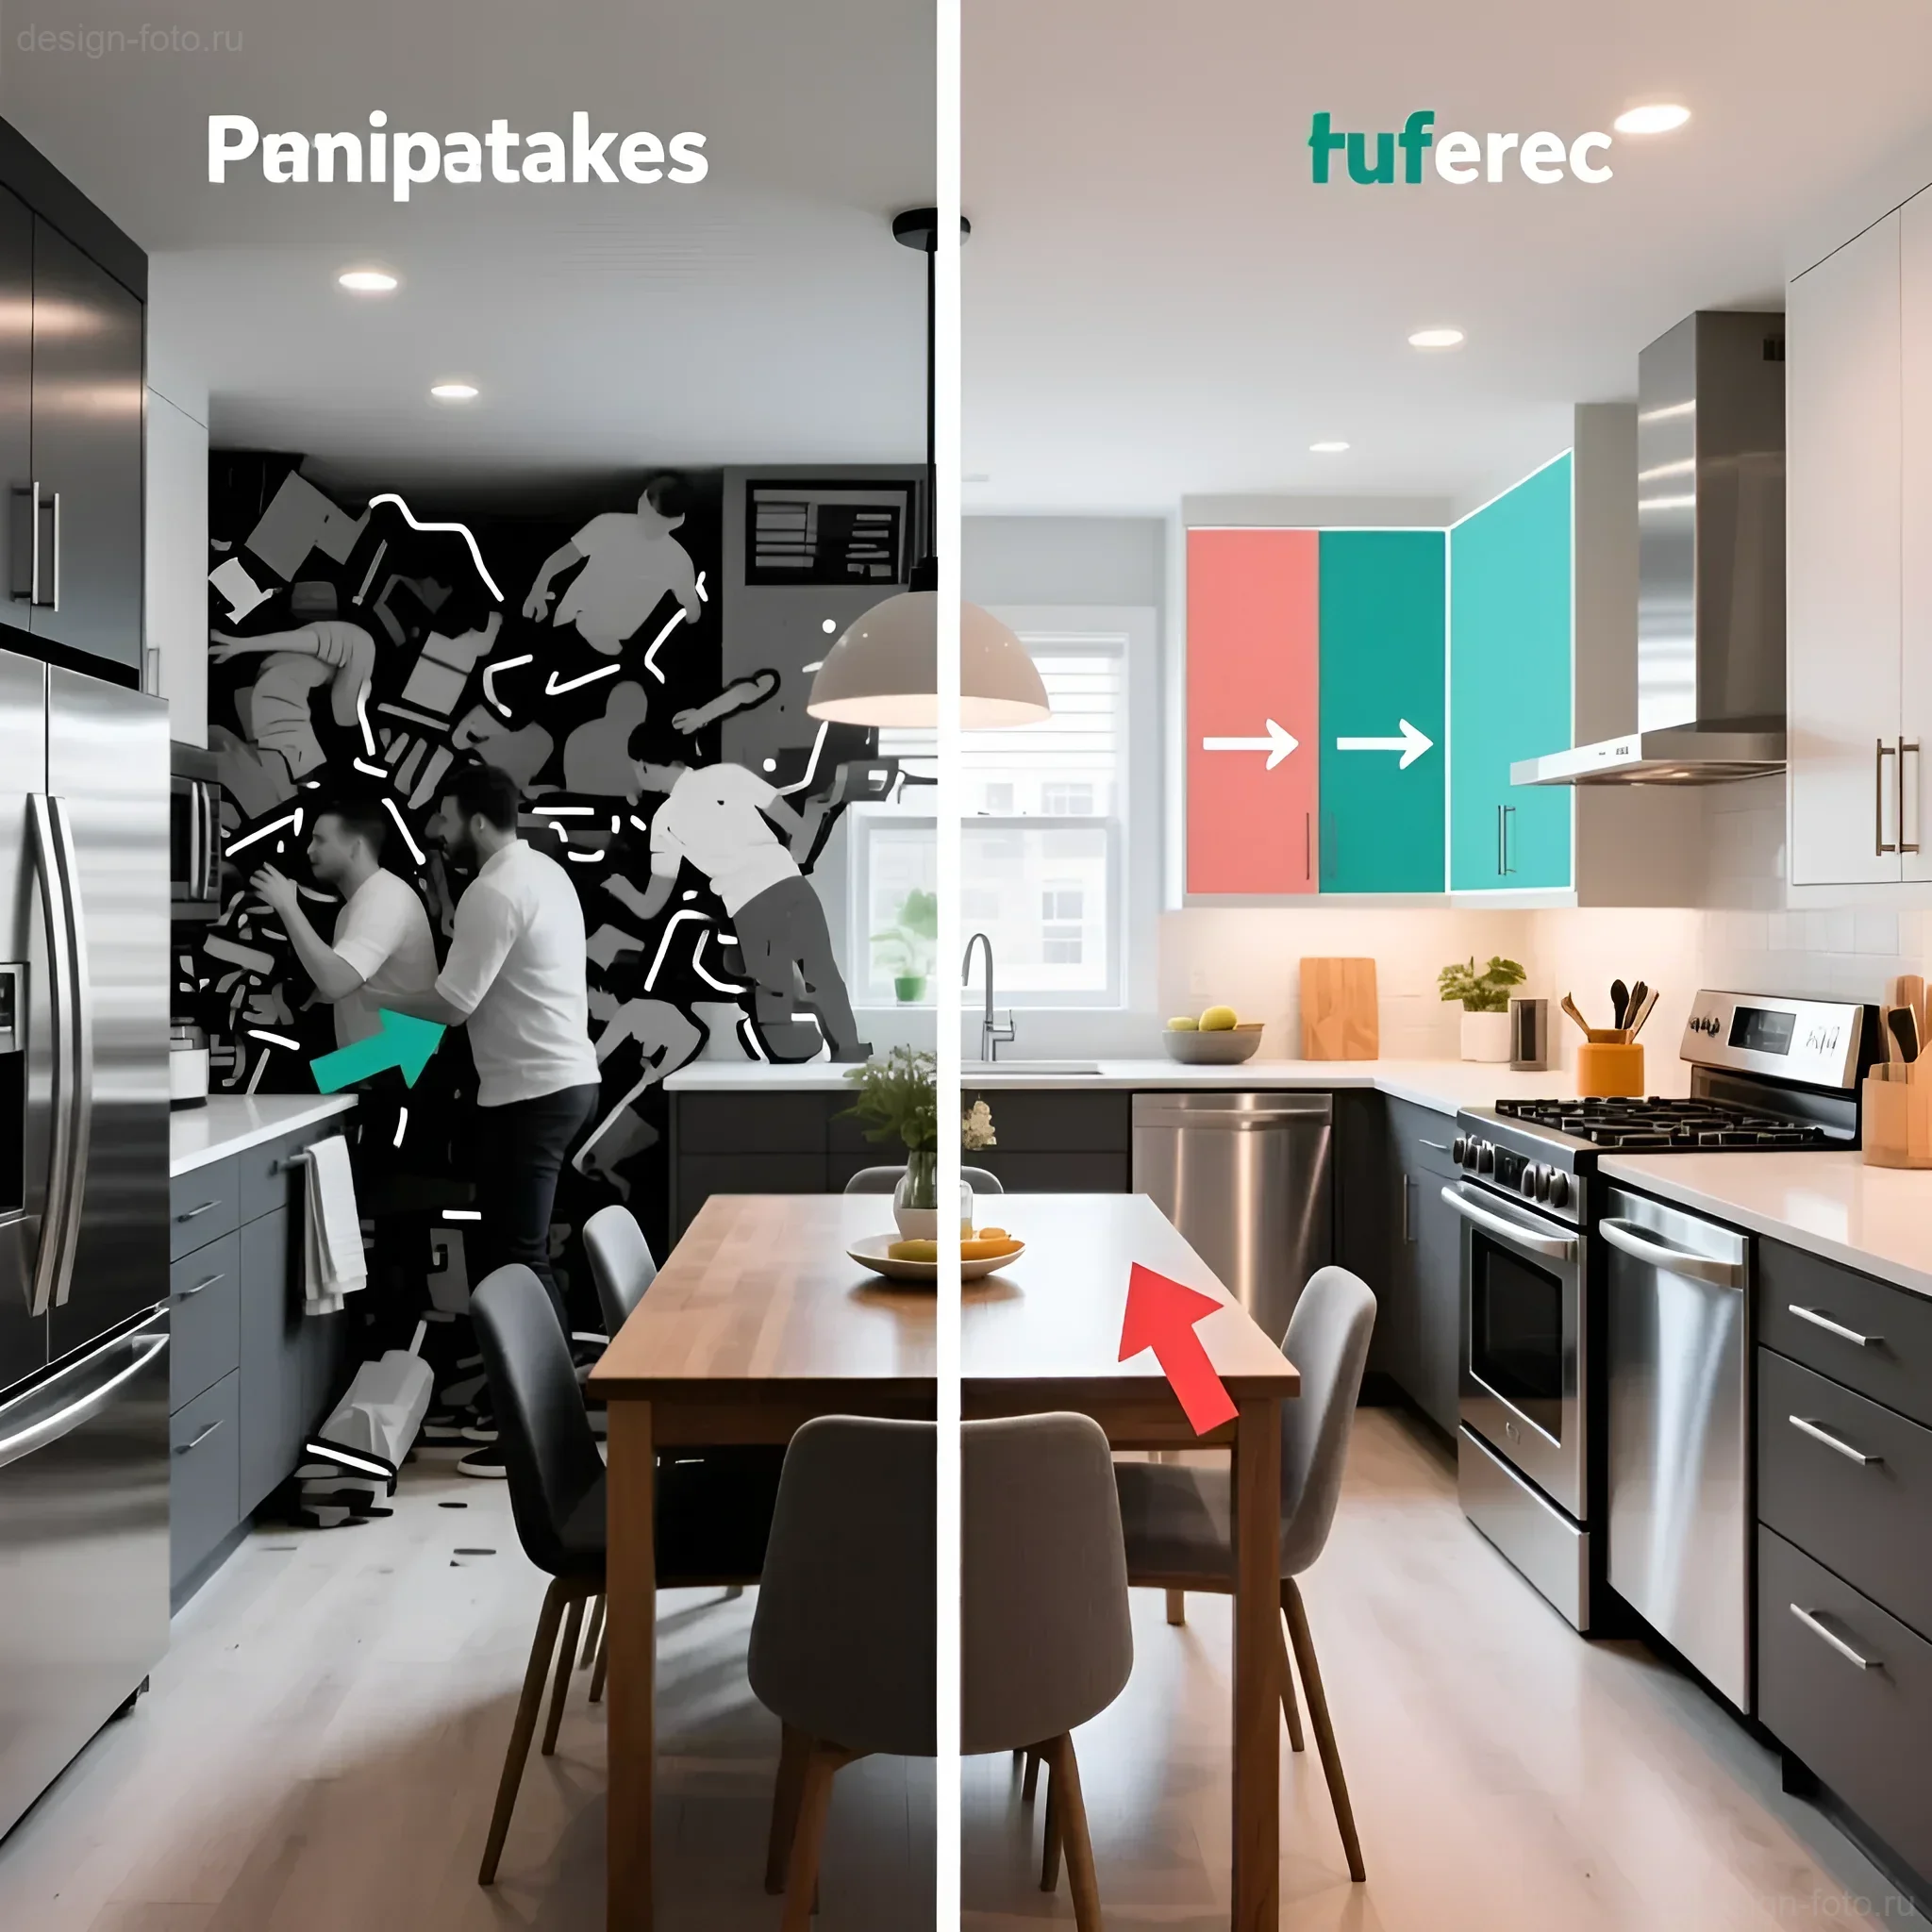
Common Layout and Zoning Mistakes and How to Avoid Them: Expert Checklist
Even small miscalculations during the planning stage can lead to chronic discomfort. Here are the most common mistakes to avoid:
Mistake 1: Ignoring Furniture Scale
Many clients draw layouts without considering the actual furniture dimensions. A 2000 mm sofa on a drawing may seem compact, but in a small room, it “eats up” all the space.
- Solution: Always use actual dimensions (including open doors and extended drawers). The minimum depth of a sliding wardrobe is 650 mm, a standard dining table is 800×1200 mm. Draw furniture on the plan at a scale of 1:50.
Mistake 2: “Cutting Up” Space with Corridors
An excessive number of narrow and long corridors is an inefficient use of area that could be allocated to living rooms or storage.
- Solution: Try to integrate corridors into public areas (hallway, living room) or use them to create built-in storage systems.
Mistake 3: Incorrect Door Placement
Doors that open into a passageway or block access to switches/furniture create constant inconvenience.
- Solution: The door should open inward into the room, towards the nearest wall. If space is critically limited, consider hidden doors or sliding systems that save up to 1 sq.m of usable area.
Mistake 4: Insufficient Storage Systems
Lack of well-thought-out storage (especially in the hallway and bathroom) leads to clutter in living areas.
- Solution: Allocate space for a pantry or laundry room. Use vertical storage up to the ceiling. Built-in wardrobes integrated into walls do not visually “steal” space.
Successful Cases: Examples of Ideal Layout and Zoning in Real Interiors

Let’s look at how layout principles transform typical apartments.
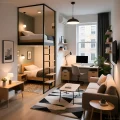
Case 1: Transforming a “Studio” into a Functional “Euro-Two-Room Apartment” (38 sq.m)
Initial Problem: Large room 20 sq.m, small kitchen 8 sq.m, long corridor.
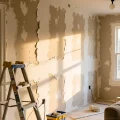
Layout Solution:
- Demolition of the wall between the kitchen and the room (if it’s non-load-bearing). Creation of a combined Kitchen-Living Room space (28 sq.m).
- Allocation of a sleeping area (bedroom) using a sliding glass partition in the farthest, most illuminated part of the former room. Bedroom area – 9 sq.m (minimum allowable).
- The remaining space (19 sq.m) is zoned into a kitchen working triangle and a relaxation area with a sofa, separated by a bar counter.
- In the corridor (by shortening it), a deep built-in wardrobe for seasonal storage is placed.
Result: Two full-fledged functional zones (bedroom and public area) are obtained, each with its own lighting scenario and privacy.
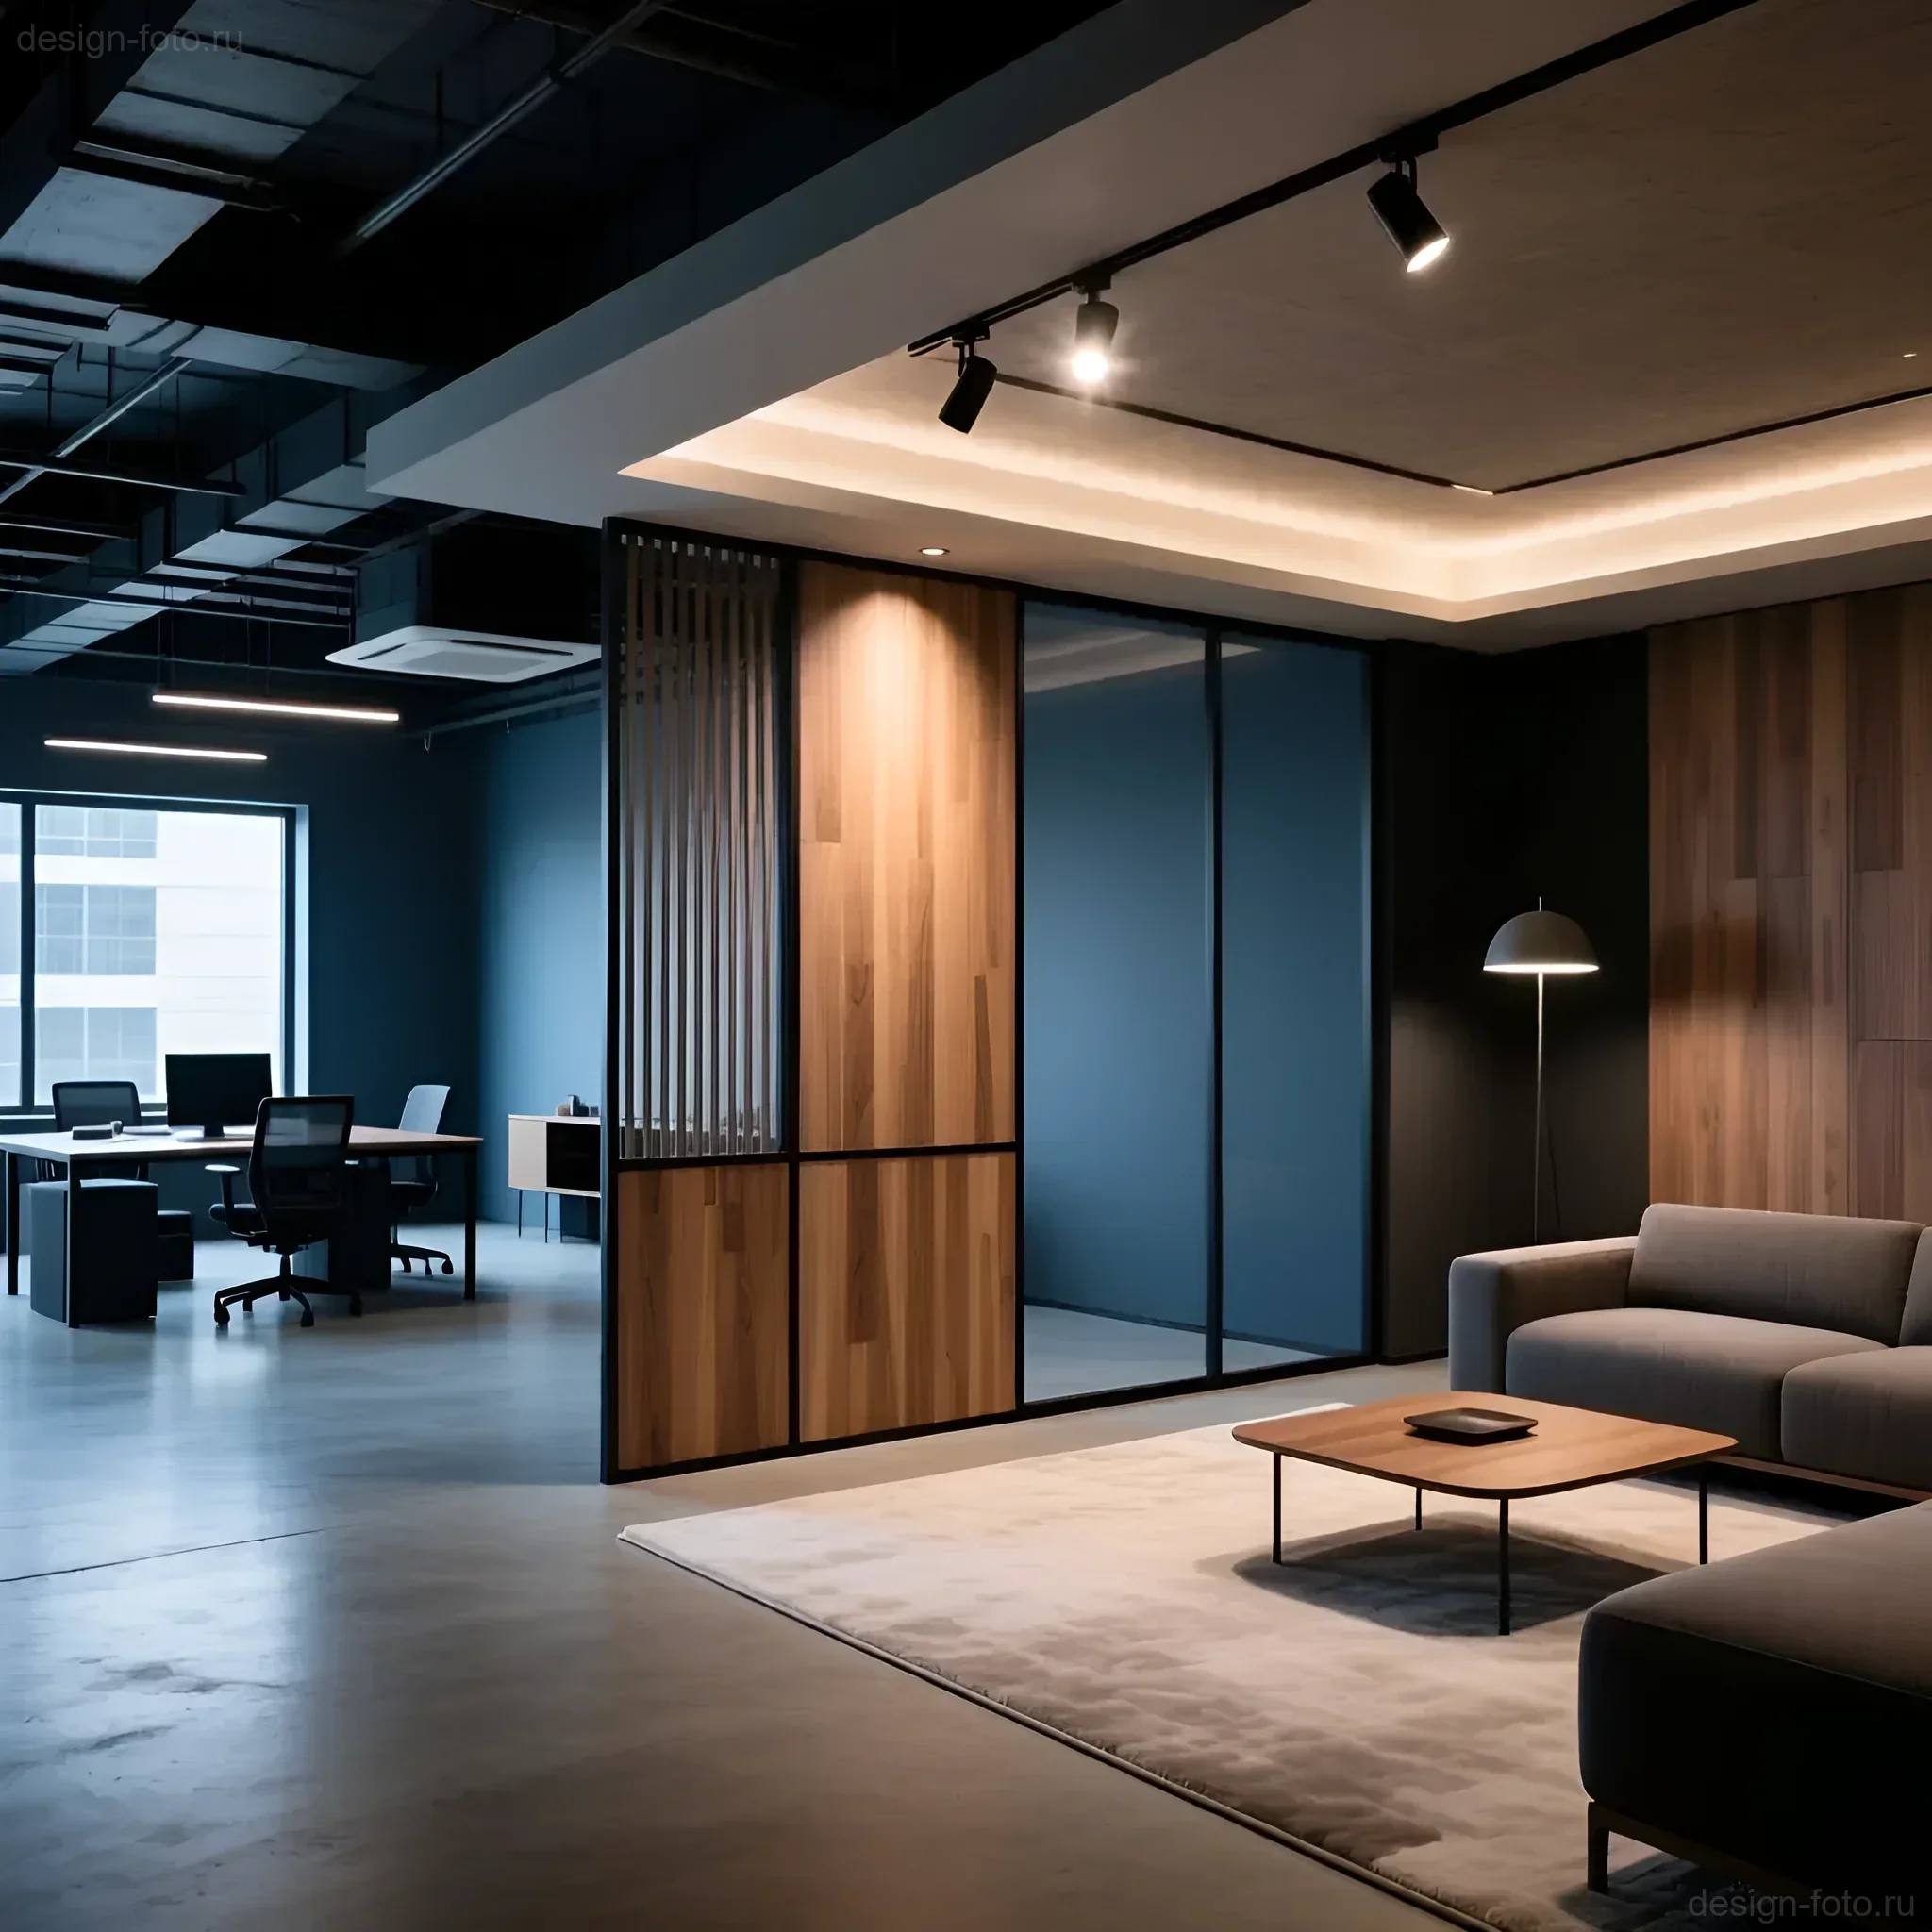
Case 2: Zoning an Office in a Living Room (50 sq.m)
Initial Problem: Large living room, but no space for private work.
Zoning Solution:
- Allocation of a corner in the living room (3×2 m) for a home office.
- Installation of a partition made of vertical wooden slats (lamellas) spaced 10 cm apart. This provides visual isolation but preserves natural light.
- Inside the office – a narrow desk (50 cm deep) and an ergonomic chair.
- Zoning with light: in the office – track lighting with a high color rendering index, in the living room – soft diffused light.
Result: Clear separation of functions without building solid walls, which helps maintain the sense of volume.
Frequently Asked Questions about Layout and Zoning (FAQ)
1. Does zoning always require approval?
Expert Answer: No. Approval is only required for redevelopment, i.e., for the demolition or construction of load-bearing (non-load-bearing) walls, relocation of “wet” zones, changes to the configuration of external walls or openings. Visual zoning (furniture, podiums, color, light, light decorative partitions) does not require approval.
2. What is the minimum podium height for effective zoning?
Expert Answer: For purely visual zoning, 5–10 cm is sufficient. If the podium is used to hide utilities or create pull-out storage systems, its height should be at least 20–30 cm. It is important to remember that a podium “eats up” ceiling height, so it is undesirable in rooms with ceilings lower than 2.7 meters.
3. Can a balcony be combined with a living room?
Expert Answer: Demolishing the windowsill block (part of the wall) and combining the balcony with the room is considered redevelopment and requires approval. In most cases, it is forbidden to demolish load-bearing walls, as well as to move central heating radiators to the balcony. It is permissible to remove the window-door unit and install panoramic glazing, after thoroughly insulating the balcony according to all thermal insulation standards. This is a zoning technique that expands the room but requires strict adherence to building thermal envelope regulations.
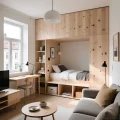
4. How to zone a children’s room for two children of different ages?
Expert Answer: In such cases, physical zoning is necessary. Use bunk beds or loft beds to save space. Divide the room with a shelving unit or wardrobe so that each child has their own private space for sleeping and studying. Each zone should have its own task lighting source (desk lamp, wall lamp), independent of the main chandelier.
5. What is the minimum distance between a kitchen island and the cabinets?
Expert Answer: For comfortable work and the ability to open drawers simultaneously from both sides (e.g., at the island and at the main cabinets), the passage should be at least 1000 mm. If the kitchen has high traffic or two people work there, it is recommended to increase this distance to 1200 mm.
Рекомендуем:
 Zoning a Small Apartment: 50+ Expert Ideas for Studios and One-Bedroom Units
 Ideal Studio Layout: How to Divide Zones Without Walls and Save Space
 Bedroom and Workspace Zoning: Comfort, Ergonomics, and Productivity
 Budget Zoning: How to Create Comfort in a Rented Apartment Without Renovation
 Functional Zoning of a Kitchen-Living Room: A Practical Guide from an Architect
 Zoning a One-Room Apartment for a Family: Practical Solutions and Ergonomics
 Mobile Zoning: Screens, Shelving, and Curtains for a Flexible Living Room
 How to Maintain Perfect Order in a Minimalist Interior: A Practical Guide
 Drywall Partitions for Zoning: Functionality, Installation, and Ergonomics
 Which Tile to Choose for a Small Bathroom: Color, Size, Texture, and Space-Expanding Secrets
 Minimalism in Interior Design: The Secret to Style, Ergonomics, and the Line Between Emptiness
 Internal Wall Insulation: Materials and Technology
 Art Deco Colors: Black, Gold, Emerald, Burgundy – Luxury and Practical Tips for Your Interior
 Wall Putty for Wallpaper: How Many Coats Are Needed and How to Apply?
 Bark Beetle Decorative Plaster: Application Technology
 Washable wallpaper for the kitchen: why it’s the best idea for your renovation?
 PVC Wall Panels: Cheap and Cheerful. Installation Guide
 How to Hang Vinyl Wallpaper on a Paper Backing?
 Sanding Walls After Puttying: A Perfect Surface with Your Own Hands
 How to Properly Plaster Walls for Painting: Perfect Smoothness