
Greetings, dear readers of design-foto.ru! Today we will talk about what seems like a simple, but in reality, a rather tricky aspect of renovation – wallpapering walls behind a heating radiator. At first glance, it might not seem that difficult, but believe me from experience: it is precisely in such seemingly insignificant details that hidden pitfalls lie, which can spoil the overall impression of the entire renovation. Let’s figure out why this task requires a special approach, what materials to choose, and how to handle it as carefully as possible so that your interior looks flawless.
How to Wallpaper Behind a Radiator: Why It’s More Difficult Than It Seems?
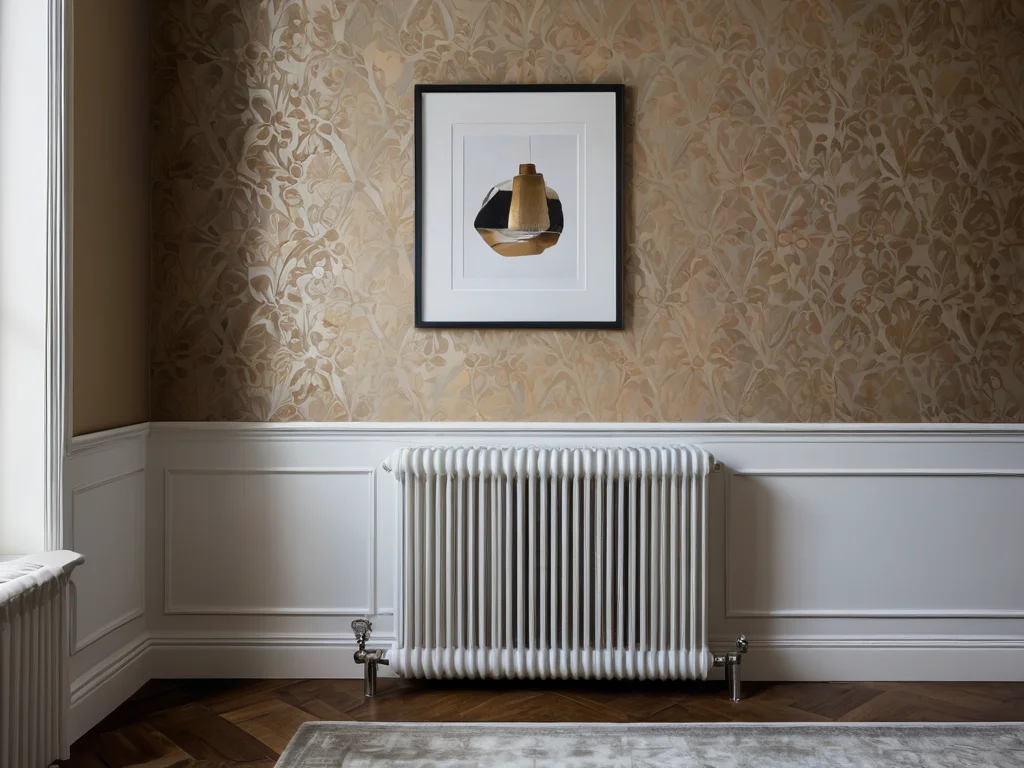
Many people believe that behind a radiator, especially if it’s massive and bulky, the wall is practically invisible, and therefore one doesn’t need to bother too much with the quality of wallpapering. However, this is a common misconception. Firstly, even if you don’t plan to look behind the radiator often, sloppy work will be noticeable upon closer inspection, especially if you live in an apartment with high ceilings or simply love details. Secondly, heating radiators are not just a blank wall. It’s an area with increased heat output, which can affect the adhesive and even the wallpaper itself. Thirdly, the design of radiators, especially old cast-iron ones, is often complex, with many fins and pipes, making access to the wall limited and inconvenient. This requires not only patience but also special tools and techniques. Furthermore, if the radiator is adjacent to an external wall, there might be condensation, which also affects the adhesion of the wallpaper. And, of course, let’s not forget about the dust that accumulates behind the radiator and the need to ensure ventilation to prevent mold. All these factors make the process of wallpapering behind a radiator more labor-intensive than it seems at first glance.
What Wallpaper is Suitable for Wallpapering Behind a Radiator: Choosing Practical Options
Choosing the right wallpaper is half the battle when working in such difficult areas. Not all wallpapers tolerate temperature fluctuations and increased humidity that can occur behind a radiator equally well. Here are a few recommendations based on practical experience:
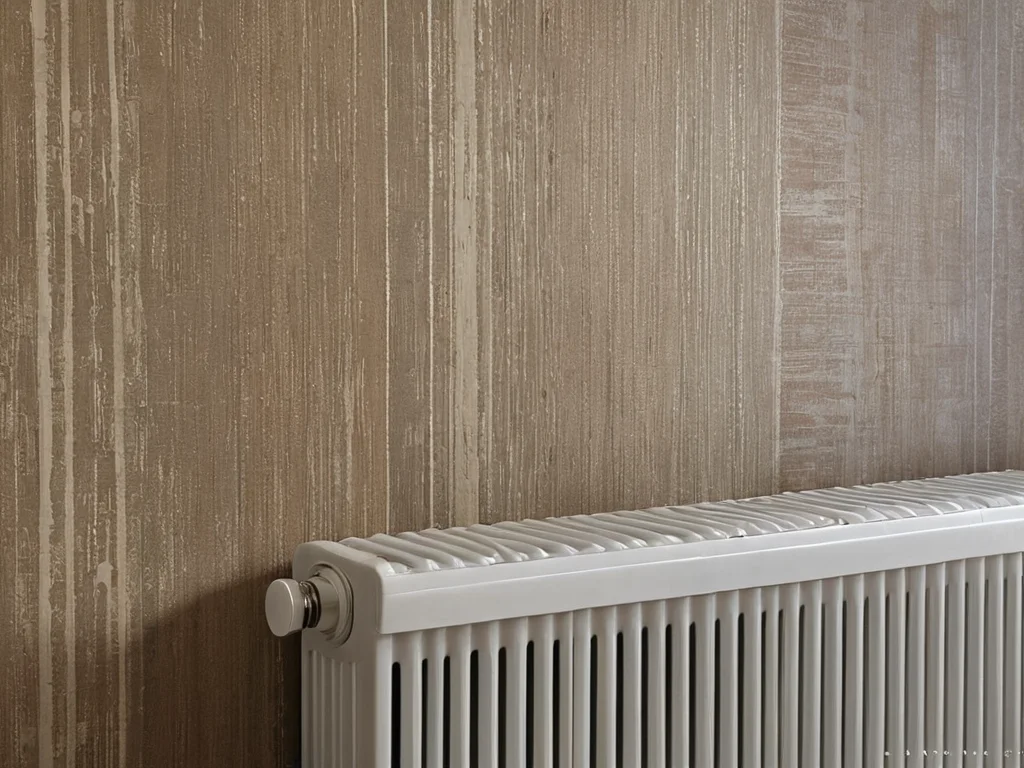
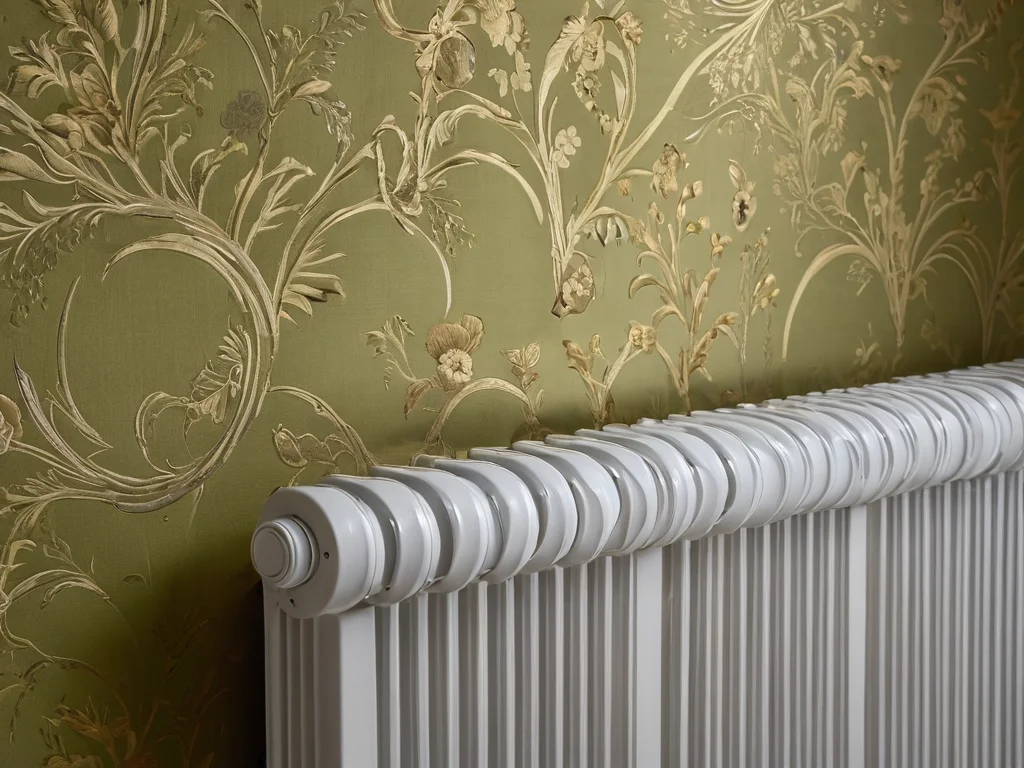
- Vinyl wallpaper on a non-woven backing: This is perhaps one of the most optimal options. Vinyl is quite dense, resistant to abrasion and moisture, and the non-woven backing ensures dimensional stability and ease of application. They are not as susceptible to deformation from heat as paper ones. It’s important to choose wallpaper with good breathability so that the wall underneath can “breathe”.
- Non-woven wallpaper: Non-woven wallpaper itself behaves well under temperature fluctuations. It is dense, hides minor wall imperfections, and is resistant to mechanical damage. Plus, it’s easy to apply, as the adhesive is applied directly to the wall, simplifying work in hard-to-reach areas.
- Fiberglass wallpaper: This is a very strong and durable material. Fiberglass wallpaper is not afraid of moisture, temperature fluctuations, or mechanical stress. It creates a strong base for further painting. Painted fiberglass wallpaper does not attract dust as much as some other types of coverings, and it’s easier to clean. This is an excellent choice for areas with high traffic or heavy use.
- Paintable wallpaper: This is a versatile solution. It has a dense structure, hides defects well, and allows you to choose the optimal degree of gloss or matte finish. After painting, such wallpaper becomes even more resistant to moisture and mechanical damage. Choose acrylic or latex-based paints that allow for wet cleaning.
What to Avoid?
- Paper wallpaper: They are most susceptible to deformation from heat and moisture. Under the influence of hot air and possible condensation, they can peel, bubble, or change color.
- Textile and natural wallpaper: Materials like silk, linen, or jute can attract dust, are difficult to clean, and can be sensitive to temperature and humidity fluctuations.
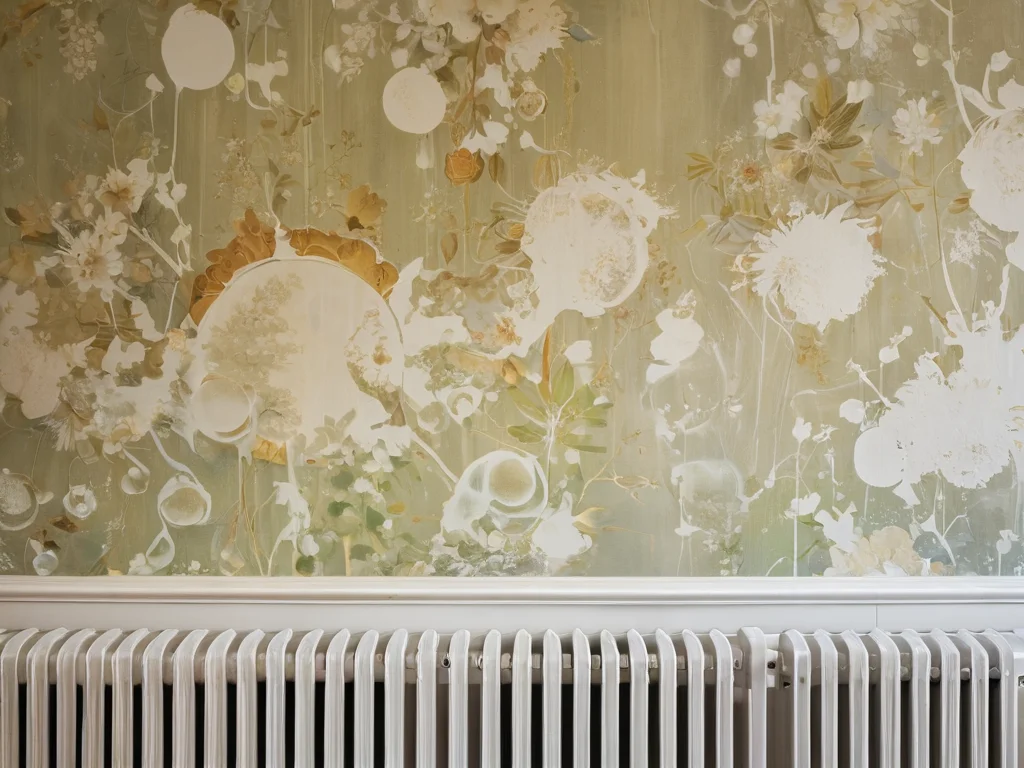
- Wallpaper with a large, complex pattern: Behind a radiator, where you have to work with fitting and cutting, complex patterns can cause more difficulties and errors than plain or textured coverings.
When choosing, always pay attention to the markings on the roll. Some manufacturers indicate the degree of resistance to moisture and light, as well as breathability. For the area behind the radiator, an option with good breathability and high moisture resistance would be ideal.
Tools and Materials: What You’ll Need for Working Behind a Radiator?
Working behind a radiator requires not only the right choice of wallpaper but also the availability of appropriate tools. A standard set may not be sufficient due to limited space and the specifics of the surface. Here’s what you’ll definitely need:
- Wallpaper: Chosen by you, according to the previous section.
- Wallpaper adhesive: Suitable for your type of wallpaper. For vinyl, non-woven, or fiberglass wallpaper, it’s best to use special dispersion adhesives that have increased moisture resistance and good adhesion.
- Bucket for adhesive: Preferably with a lid to prevent the adhesive from drying out.
- Roller or brush for adhesive: For applying adhesive to the wallpaper (if it’s paper-based or vinyl on paper) or to the wall (for non-woven). For hard-to-reach areas, a small roller with a long handle or a special corner brush will be useful.
- Wallpaper spatula or plastic scraper: For smoothing wallpaper and removing air bubbles. It’s better to use a plastic one to avoid damaging the wallpaper.
- Sharp utility knife or blade: For trimming wallpaper. Replace the blade as soon as it loses its sharpness – a dull blade tears wallpaper, it doesn’t cut.
- Measuring tape and pencil: For accurate measurements.
- Level (preferably laser): To check the straightness of the wallpapering, although this can be difficult behind a radiator.
- Stepladder or stable platform: For comfortable work at height.
- Vacuum cleaner or broom with a brush: For cleaning the wall of dust and old coatings.
- Spatula for removing old wallpaper: If necessary.
- Primer: To improve adhesion and equalize wall absorbency.
- Clean cloth or sponge: For removing excess adhesive.
- Small flexible spatula or rubber squeegee: Ideal for smoothing wallpaper around pipes and in corners.
- Extension pole for roller or brush: Can be very useful for reaching distant areas behind the radiator.
- Hot glue gun with a thin nozzle (optional): For carefully adhering wallpaper edges to pipes or radiator elements where regular adhesive might drip.
Don’t forget to protect the floor and furniture from adhesive drips. You can use plastic sheeting or old newspapers.
Step-by-Step Instructions: How to Prepare the Wall and Wallpaper Behind a Radiator
Preparation is a key stage that cannot be ignored, especially in such a specific location. The result will depend on how well you prepare the wall.
Step 1: Removing the Radiator (If Possible)
Ideally, for a perfect result, the heating radiator should be removed. This will provide full access to the wall, allow for careful preparation, and wallpapering without seams or cuts around the pipes. However, if you have no experience in plumbing or the radiator is part of a central heating system, this option may not be possible or too risky. In such cases, you will have to work with the radiator installed. If removal is possible, make sure to shut off the water supply and drain any remaining water, then carefully remove the radiator. Remember safety and, if in doubt, hire a specialist.
Step 2: Preparing the Wall Surface
Regardless of whether you removed the radiator or not, the wall surface behind it needs preparation:
- Cleaning: Thoroughly clean the wall of dust, dirt, old wallpaper, paint residue, or plaster. Use a vacuum cleaner, brush, spatula. A lot of dust often accumulates in the area behind the radiator, so this step is especially important.
- Priming: After cleaning, apply primer to the wall. Primer improves the adhesion of wallpaper adhesive, evens out the wall’s absorbency, and prevents mold. Let the primer dry completely.
- Repairing defects: If there are cracks, chips, or unevenness, fill them with putty and sand them after drying.
Step 3: Measuring and Cutting Wallpaper
Measurements are taken considering that the wallpaper will need to be carefully bent around the pipes and tucked behind the radiator edges. Measure the height from the baseboard (or the bottom of the wall) to the top of the radiator, as well as the width of the area to be wallpapered. Add a margin for folding of about 5-10 cm on each side so that the wallpaper goes behind the radiator edges or under the radiator if possible. It’s better to make the strip slightly longer than to try to patch small pieces later.
Step 4: Applying Adhesive
If you are using non-woven wallpaper, apply adhesive directly to the wall, including the area behind the radiator. If the wallpaper is vinyl on paper or paper, apply adhesive to the wallpaper strip. Try to apply adhesive evenly, without gaps, especially in hard-to-reach areas. A narrow roller or brush can be used for this.
Step 5: Applying Wallpaper
Carefully apply the wallpaper strip to the wall. Start from the visible edge and gradually move behind the radiator. Use a plastic spatula or rubber squeegee to smooth the wallpaper, pushing air out from the center to the edges. Work slowly and carefully, especially around the pipes.
Step 6: Working Around Pipes and Radiator Elements
This is the most critical stage. We will discuss it in detail in the next section.
Step 7: Removing Excess Adhesive
Using a clean damp sponge or cloth, carefully remove any excess adhesive that may have squeezed out at the seams or around the pipes.
Step 8: Final Touches
Once the entire area behind the radiator is wallpapered, check for any air bubbles. If necessary, carefully prick them with a thin needle and smooth them out. If you removed the radiator, reinstall it after the wallpaper has completely dried.
Master’s Secrets: How to Neatly Work Around Pipes and Radiator Elements
Working behind a radiator is a real test of neatness and patience. Here are a few professional tricks that will help you tackle this task:
- Use specialized tools: Flexible spatulas, narrow rollers, corner brushes – these are your best assistants. They allow you to reach the most difficult spots and carefully press the wallpaper.
- Pre-cutting: To work around pipes, make several diagonal cuts on the wallpaper where they intersect with the pipe. Then, carefully smooth the wallpaper starting from the center of the cut and trim the excess with a sharp knife.
- “Envelope” technique: If a pipe goes through a strip of wallpaper, you can make a cut from the edge of the strip to the center of the pipe, and then fold the edges of the wallpaper inward, forming an “envelope” around the pipe. After that, carefully press the wallpaper and trim the excess.
- Seam adhesive: In places where the wallpaper meets pipes or radiator fins, you can use special seam adhesive or a thin layer of hot glue (if the wallpaper material allows) to ensure a secure bond. But be very careful with hot glue not to melt the wallpaper.
- Work in small sections: Don’t try to apply the entire strip at once. Smooth it in parts, especially in difficult areas.
- Patience and neatness: This is key. Don’t rush. If something doesn’t work out the first time, it’s better to carefully remove the strip and try again than to ruin everything.
- Use a template: For complex radiators, you can pre-cut a template from paper or film to understand exactly how to cut the wallpaper.
- Distract attention: If you can’t achieve a perfect seam, consider making this area less noticeable. For example, you can use wallpaper with a texture that hides minor flaws, or place a decorative element in this spot (but be careful not to obstruct heat output).
- Allowance for folding: Always leave a small margin of wallpaper that can be neatly tucked behind the pipe or under the radiator element. Excess can always be trimmed, but it cannot be added.
Common Mistakes When Wallpapering Behind a Radiator and How to Avoid Them
Even the most experienced craftsmen can make mistakes when working in such difficult areas. It’s important to know about them in advance to avoid them.
- Incorrect wallpaper choice: Using paper wallpaper, which can deform from heat and moisture, is the most common mistake. Also, avoid choosing overly thin wallpaper that doesn’t hide wall imperfections and tears easily.
- Poor wall preparation: If the wall is not cleaned of dust and old coatings, the adhesive will not hold well, and the wallpaper will start to peel. Primer is your best friend in this case.
- Insufficient adhesive: In hard-to-reach areas, adhesive is often economized, forgetting that maximum adhesion is required precisely there. This leads to wallpaper peeling.
- Air bubbles: If the wallpaper was not smoothed well, air will remain underneath. Over time, these bubbles can enlarge, especially under the influence of heat.
- Torn edges: Using a dull knife or incorrect trimming technique around pipes and corners leads to messy, torn edges that spoil the overall look.
- Incorrect pattern matching: If you chose patterned wallpaper, poor matching behind the radiator will be very noticeable.
- Ignoring temperature and humidity regimes: Wallpaper applied in a humid environment or during sharp temperature fluctuations may lose its properties faster.
- Insufficient access: Trying to wallpaper a wall behind a radiator without ensuring proper access leads to haste and mistakes. If possible, it’s better to remove the radiator.
- Forgetting about ventilation: By sealing all gaps with wallpaper, you can disrupt natural air circulation, which promotes mold growth.
The main rule is not to rush and to carefully complete each stage of the work. If you doubt your abilities, it’s better to hire a specialist than to redo it later.
Alternative Solutions: What to Use Instead of Wallpaper Behind a Radiator?
If wallpapering behind a radiator seems too difficult for you, or you want a more practical and durable solution, there are several excellent alternatives:
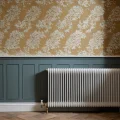
- Painting: Painting the wall behind the radiator is one of the simplest and most practical options. Choose washable paint that is resistant to abrasion and moisture. This can be acrylic, latex, or silicone paint. Advantages: ease of application, durability, ability to refresh the color. It’s important to choose paint suitable for humid environments if there’s a risk of condensation.
- Decorative plaster: Applying decorative plaster, such as Venetian, textured, or microcement, can create an impressive and very durable layer. Such coatings tolerate moisture well and are easy to clean.
- Tiles: For areas with high humidity or where maximum durability is required, tiles can be used. This can be ceramic tiles, porcelain stoneware, or mosaics. Tiles are completely resistant to moisture and temperature fluctuations, and are also easy to clean.
- Galvanized or metal panels: This is a more modern and industrial solution. Special metal panels can give the interior a unique look and are very practical.
- Special self-adhesive films: There are moisture-resistant and heat-resistant self-adhesive films that can be a good solution. It’s important to choose a quality film that won’t peel off due to temperature fluctuations.
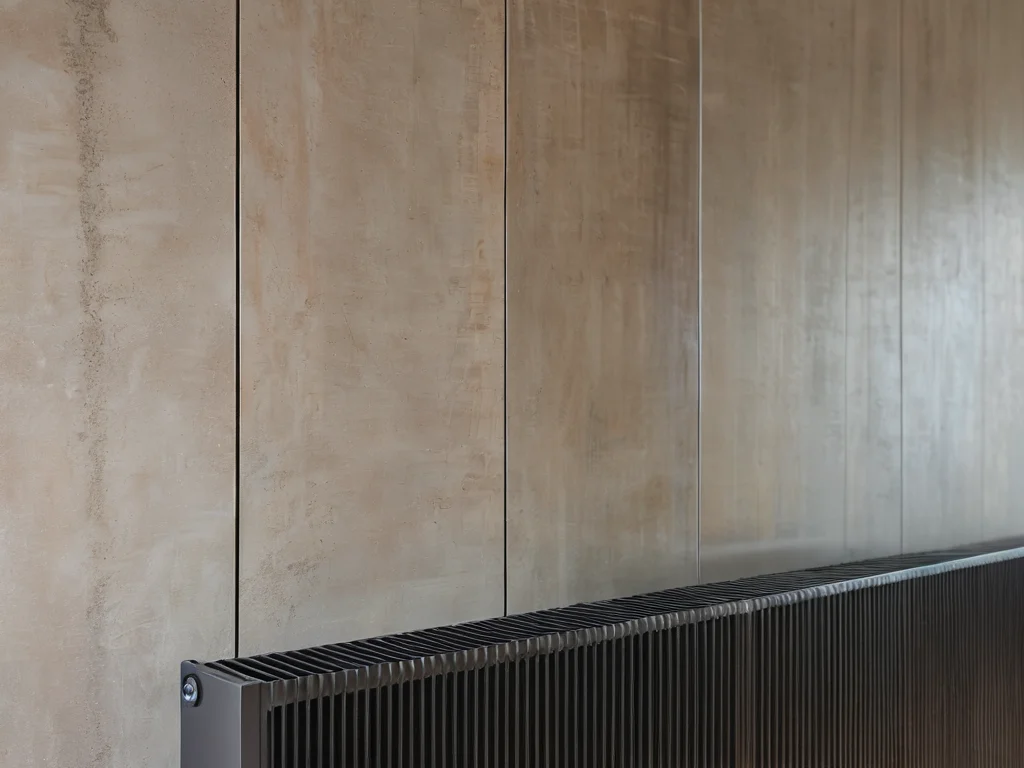
- Installing a protective screen: Instead of wallpapering, you can install a decorative screen for the radiator. This can be a metal, wood, or MDF grille. The screen will not only protect the wall but can also become a decorative element, and improve heat distribution in the room.
When choosing an alternative solution, always consider the overall interior style and functionality. Painting and tiles are the most common and reliable options for most cases.
Designer Tips: How to Make the Area Behind the Radiator Part of the Interior
The area behind the radiator is not a “black hole” in your interior that needs to be somehow masked. On the contrary, it’s an opportunity to be creative and make this area even more interesting. Here are a few design techniques:
- Match wallpaper to the tone: If you want the wall behind the radiator to be as inconspicuous as possible, choose wallpaper that exactly matches the color and texture of the main wall covering.
- Use an accent wall: Conversely, you can make the area behind the radiator an accent. This could be a bright color, an unusual pattern, or texture that stands out against the rest of the interior. But be careful that this accent doesn’t look out of place.
- Decorate after wallpapering: If you’ve chosen neutral wallpaper, try adding decorative elements. These could be narrow moldings that visually highlight this area, or even a small shelf for a couple of photo frames or plants (provided it doesn’t interfere with heat output).
- Lighting: A small directional spotlight, installed to illuminate the area behind the radiator, can create an interesting effect and make this area more attractive.
- Attention to detail: Even if you’ve wallpapered neatly, but it still looks “raw,” think about the details. For example, you can carefully paint or cover the wall ends visible on the sides of the radiator with decorative elements.
- Hidden utilities: If you’re doing a major renovation, consider using decorative panels or drywall structures that completely hide the radiator and pipes, leaving a smooth wall for wallpapering.
- Contrast with the radiator: If you have a modern designer radiator, its color and shape can become part of the overall design. The wallpaper behind it can either harmonize with it or create a contrast, emphasizing its uniqueness.
- Combining materials: You can combine wallpaper with tiles or decorative plaster. For example, the main part of the wall is wallpapered, and the area behind the radiator is finished with moisture-resistant tiles.
The main thing is not to be afraid to experiment and approach every corner of your home with love and attention. Even such a seemingly inconspicuous corner as the area behind the radiator can become an expressive element of your interior if you approach its design with imagination and expertise. I hope these tips will help you in your renovation!
Рекомендуем:
 How to Hang Vinyl Wallpaper on a Paper Backing?
 DIY Decorative Stone Wall Installation: Your Guide to Home Transformation
 Washable wallpaper for the kitchen: why it’s the best idea for your renovation?
 How to Tile Walls in a Bathroom: A Detailed Guide
 Wall Cladding with Wood Paneling: A Step-by-Step Guide
 Wallpapering Corners: Master Secrets
 Internal Wall Insulation: Materials and Technology
 How to Make a Brick Wall in an Interior (Imitation)
 How to Update Old Tiles Without Removing Them: 99 Ways to Transform Your Bathroom and Kitchen
 Grout for tiles: how to choose the color and apply it correctly
Joint filler for tiles: how to choose the color and apply it correctly
Grout for tiles: how to choose the color and apply it correctly
Joint filler for tiles: how to choose the color and apply it correctly
 What to do if mold or mildew appears on the walls?
 PVC Wall Panels: Cheap and Cheerful. Installation Guide
 Bathroom: Tile or Paint. What Will Everyone Face?
 MDF Panel Wall Finishing: Installation Guide
 The Ideal Mattress in Ukraine: Choosing with mebeltops for Healthy Sleep
 Comment poser du papier peint derrière un radiateur de chauffage
Pose de pierre décorative sur le mur par vous-même : votre guide pour transformer votre maison
Comment poser du papier peint vinyle sur support papier ?
Isolation des murs par l’intérieur : matériaux et technologie
Comment poser du papier peint derrière un radiateur de chauffage
Pose de pierre décorative sur le mur par vous-même : votre guide pour transformer votre maison
Comment poser du papier peint vinyle sur support papier ?
Isolation des murs par l’intérieur : matériaux et technologie