
Hello, dear readers of design-foto.ru! My name is [Ваше Имя], and I am a designer with many years of experience. Today, we will talk about something important – plaster. When it comes to leveling walls, we often face a choice: gypsum or cement? Both materials do an excellent job, but have their own characteristics that make them more suitable for some conditions and completely unacceptable for others. Confused? Let’s figure it out together and learn to make the right choice for your home.
nnnnnnnnGypsum vs Cement Plaster: Confused about the choice? Let’s figure out what’s what!
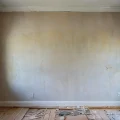
nnnnRenovation is always an exciting, but sometimes challenging adventure. One of the first steps on the path to perfect walls is choosing the finishing coating, and here plaster plays a key role. It’s not just a mixture that is applied to the wall; it is the foundation that forms the future look of your interior, protects the walls and creates a comfortable microclimate. Before rushing to the store for the first pack you see, it is important to understand the difference between the two main “players” in this field – gypsum and cement plaster.
nnnnGypsum plaster is, one might say, the “intellectual” of the world of finishing materials. It is created on the basis of gypsum, which is a natural mineral. This material has a number of unique properties that make it an ideal choice for living spaces where comfort and a healthy microclimate are important. Gypsum “breathes”, regulates humidity in the room, and, importantly, is very plastic and easy to work with.
nnnnCement plaster, on the other hand, is “strength”. Its basis is cement, which makes it incredibly strong, durable and resistant to moisture and mechanical stress. Cement mixtures are often used in rooms with high humidity, on building facades, and where a particularly strong base is required.
nnnnSo, we have two different materials with different characters and areas of application. To make an informed choice, we need to delve deeper into their features, advantages and disadvantages.
nnnnWhat is gypsum plaster and where is its place in your home?
nnnn
Gypsum plaster is a versatile material that has become a real salvation for many who have faced the need to level walls in living spaces. Its main advantage is, of course, gypsum. This natural mineral has unique properties that make it ideal for creating a healthy and comfortable microclimate in your home.
nnnnMain characteristics and advantages of gypsum plaster:
nnnn- n
- Environmental friendliness: Gypsum is a natural, environmentally friendly material. It does not release harmful substances, is hypoallergenic and safe for health, which is especially important for children’s rooms and bedrooms. nnnn
- Vapor permeability (“breathable walls”): Gypsum plaster perfectly passes steam. This means that the walls can “breathe”, naturally regulating humidity in the room. In summer, such walls help maintain coolness, and in winter – retain heat. This also prevents the formation of condensate and the development of mold. nnnn
- Plasticity and ease of application: The mixture based on gypsum is very plastic, lies well on the wall, does not crack during uniform drying (with proper technology), and allows you to create perfectly smooth surfaces even for beginners. It is easily sanded, which simplifies the process of preparing for finishing. nnnn
- High adhesion: Gypsum plaster adheres perfectly to most surfaces – concrete, brick, drywall, old paint (provided it is firmly held). nnnn
- Fast drying: Compared to cement mixtures, gypsum plaster dries relatively quickly, which speeds up the repair process. nnnn
- Temperature regulation: Gypsum is able to accumulate heat and give it off, helping to maintain a comfortable temperature in the room. nnnn
- Sound insulation: Gypsum plaster contributes to some absorption of sound, making your home quieter. n
Where is it best to use gypsum plaster:
nnnn- n
- Living rooms: bedrooms, living rooms, children’s rooms, offices. This is an ideal choice for creating a cozy and healthy atmosphere. nnnn
- Dry rooms: gypsum plaster is perfectly suitable for finishing walls in rooms with normal humidity. nnnn
- Interior work: gypsum plaster is intended exclusively for interior decoration. nnnn
- For painting and wallpaper: an ideally smooth surface created by gypsum plaster is an excellent base for subsequent painting or wallpapering. nnnn
- Decorative elements: thanks to its plasticity, gypsum plaster is suitable for creating various decorative reliefs and patterns. n
Important to remember:
nnnnAlthough gypsum plaster has many advantages, it also has its limitations. The main one is unsuitability for rooms with high humidity (for example, shower cabins, bathrooms without good ventilation) and for outdoor work. High humidity can lead to the destruction of gypsum. It is also worth avoiding the use of gypsum plaster in unheated rooms where there are possible sharp temperature fluctuations and freezing.
nnnnCement plaster: an indestructible base for any walls. When can’t you do without it?
nnnn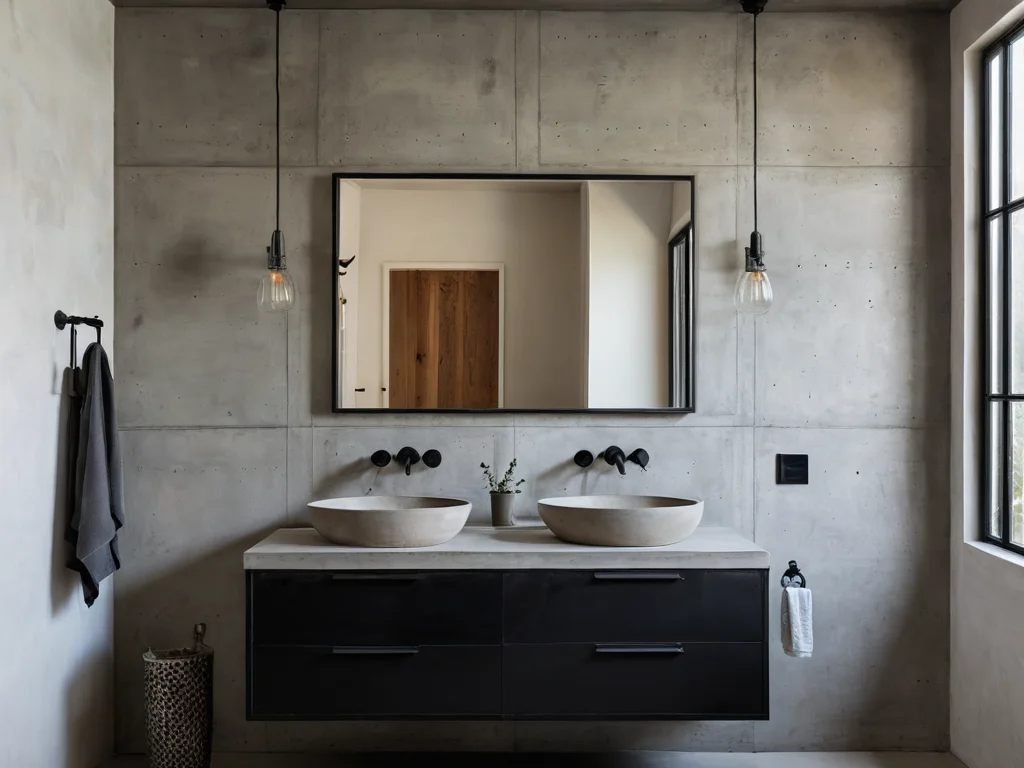
If gypsum plaster is about comfort and microclimate, then cement plaster is about strength, reliability and versatility. Its basis is cement, one of the oldest and most proven building materials, famous for its durability and resistance to external influences.
nnnnMain characteristics and advantages of cement plaster:
nnnn- n
- High strength and durability: Cement mixtures create a very hard and resistant to mechanical damage surface. This makes them an ideal choice for places with high traffic or where the walls are subjected to loads. nnnn
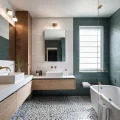
- Moisture resistance: Cement plaster perfectly tolerates high humidity and direct contact with water. This makes it indispensable for bathrooms, kitchens, bathrooms, swimming pools, as well as for outdoor work. nnnn
- Frost resistance: Most cement plasters are resistant to low temperatures and freeze-thaw cycles, allowing them to be used for finishing building facades. nnnn
- Versatility: Cement plasters can be used practically on any surfaces and in any conditions, both inside and outside premises. nnnn
- Resistance to aggressive environments: The cement base is more resistant to chemical influences than gypsum. nnnn
- Non-combustibility: Cement mixtures are a non-combustible material, which increases fire safety. n
Where is it best to use cement plaster:
nnnn- n
- Bathrooms and toilets: Here, cement plaster is practically the only option due to high humidity. It creates a reliable waterproofing base. nnnn
- Kitchens: Especially the working area near the stove and sink, where splashes and grease may get. nnnn
- Basements, garages, technical rooms: In places where strength and resistance to temperature fluctuations are important. nnnn
- Outdoor work: Building facades, socles, balconies. Cement plasters perfectly protect the walls from atmospheric influences. nnnn
- Rooms with high traffic: Corridors, stairwells. nnnn
- As a base for heavy finishing materials: For example, under tiles in very wet areas or under natural stone. nnnn
- When leveling very uneven surfaces: Cement mixtures often have a thicker layer of application, which allows you to hide significant defects in the walls. n
Features of cement plaster:
nnnnCement plaster, despite its strength, has a number of features that you need to consider. It is less plastic than gypsum, and when it dries quickly, it can shrink and crack, especially when applied in a thick layer. It is more difficult to sand, and it does not have such a “breathing” effect as gypsum. In addition, cement plaster gives the walls a more “cold” look, and to achieve perfect smoothness under painting, additional puttying is often required.
nnnnComparing parameters: gypsum or cement – which plaster is better for you?
nnnn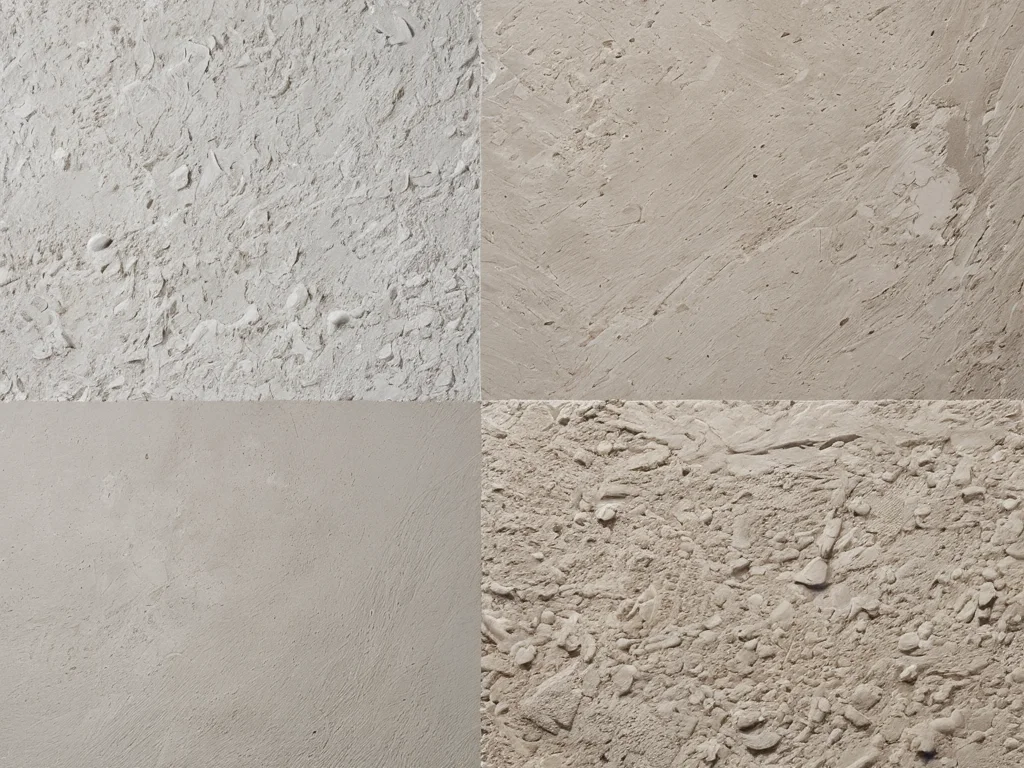
So, we got acquainted with both materials in more detail. Now let’s visually compare them according to key parameters so that you can make an informed decision about which plaster is right for your case.
nnnnComparative table: Gypsum vs Cement Plaster
nnnnParameter | Gypsum Plaster | Cement Plaster
nnnnMain component | Gypsum | Cement
nnnnPurpose | Interior work, living rooms | Interior and exterior work, any rooms, facades
nnnnHumidity | Not recommended for wet rooms | Ideal for wet rooms, waterproof
nnnnStrength | Average, but sufficient for most living areas | High, resistant to mechanical damage
nnnnEnvironmental friendliness | Very high, natural material | Good, but gypsum is more “alive”
nnnnVapor permeability (“breathing”) | High, regulates humidity | Low
nnnnPlasticity and ease of application | High, easy to work with, minimal cracking | Average, requires skills, prone to cracking with improper application
nnnnDrying time | Relatively fast | Slower, depends on conditions
nnnnSanding | Easily sanded, gives a smooth surface | Difficult to sand, requires more effort
nnnnProcessing slopes and corners | Easier to form even corners and slopes | Requires greater accuracy
nnnnTemperature regime | Not for unheated rooms | Resistant to temperature fluctuations, suitable for outdoor work
nnnnRepair and finishing | Ideal base for painting and wallpaper | May require additional puttying under painting, excellent base for tiles
nnnnCost | Usually slightly higher than simple cement mixtures | Various, depends on composition and manufacturer, but often more affordable
nnnnWhen to choose gypsum plaster:
nnnn- n
- You are doing repairs in the bedroom, living room, children’s room or office. nnnn
- Your goal is to create a maximally healthy and comfortable microclimate. nnnn
- You are planning to paint the walls or glue wallpaper, and you need a perfectly smooth surface. nnnn
- You are a beginner in repair and appreciate simplicity and plasticity of the material. nnnn
- You do not face high humidity or sharp temperature fluctuations. n
When to choose cement plaster:
nnnn- n
- You are doing repairs in the bathroom, toilet, kitchen or on the balcony. nnnn
- You are planning to finish the facade of the house or socle. nnnn
- You need a maximally strong and wear-resistant surface. nnnn
- The walls have very large irregularities that need to be hidden with a thick layer. nnnn
- You are planning to lay tiles on the walls in wet areas. nnnn
- You work in unheated rooms or where there are possible temperature fluctuations. n
Hybrid solutions:
nnnnIt should be noted that there are also combined mixtures, for example, gypsum-cement plasters. They combine some of the advantages of both materials: increased moisture resistance compared to pure gypsum and better plasticity compared to pure cement. Such mixtures can be a good compromise option for rooms with moderate humidity, for example, in corridors or kitchens.
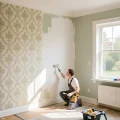
nnnnPreparation of walls and application: step-by-step instruction for an ideal result
nnnnRegardless of the type of plaster you choose, quality foundation preparation is 80% of success. Do not neglect this stage, and your repair will delight you for many years.
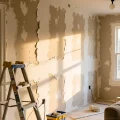
nnnnStep 1: Assessment of the condition of the walls
nnnnCarefully inspect the walls. Remove old wallpaper, paint (if it is peeling off), dust, dirt, greasy stains. Check the walls for cracks, voids, fungus or mold. If necessary, carry out repairs: seal cracks, remove mold with special tools.
nnnnStep 2: Priming
nnnnWhy prime? Primer penetrates deeply into the pores of the base, strengthens it, improves adhesion (adhesion) of the plaster to the wall, reduces the absorbency of the base (which is important for cement mixtures so that water does not go away too quickly) and prevents staining.
nnnn- n
- For gypsum plaster: Use special primers for gypsum mixtures. They create a more rough surface, improving adhesion. nnnn
- For cement plaster: Apply cement or universal primers. For highly absorbent bases (gas concrete, foam concrete), several layers of primer or special deep penetration primers may be required. n
Apply the primer with a roller or brush, let it dry completely according to the manufacturer’s instructions (usually from 2 to 12 hours).
nnnnStep 3: Installation of beacons (for perfectly level walls)
nnnnIf you need absolutely level vertical and horizontal surfaces, install beacons. These are special metal or plastic rails that are attached to the wall with gypsum plaster or a special glue based on gypsum. The distance between the beacons should be slightly less than the length of your rule (tool for leveling plaster).
nnnn- n
- Important: Install the beacons strictly according to the level. The correctness of their installation depends on the levelness of the entire surface. n
Step 4: Preparing the solution
nnnn- n
- Gypsum plaster: Use only a clean container and tool. Strictly follow the proportions of water indicated on the package. Do not add water again to the solution that has already begun to set – it will lose its properties. nnnn
- Cement plaster: Just like with gypsum, follow the proportions. Cement mixtures often require more thorough mixing, sometimes using a construction mixer. n
Advice: Do not mix too much solution at once, especially if you are a beginner. It is better to do this in small portions that you can use before the start of setting.
nnnnStep 5: Applying the plaster
nnnn- n
- Gypsum plaster: Apply the mixture with a trowel or spatula from bottom to top, evenly distributing it over the surface. If beacons are installed, lay the mixture between them, then level it with a rule, moving it in a zigzag motion along the beacons. nnnn
- Cement plaster: It is also applied with a trowel or spatula. For achieving a more rough texture, which holds subsequent layers well, you can use a trowel or a special comb. n
Layer thickness: Follow the manufacturer’s recommendations for maximum and minimum layer thickness. A layer that is too thin may be unstable, a layer that is too thick may cause cracks or delamination.
nnnnStep 6: Leveling and troweling
nnnn- n
- Gypsum plaster: After the first layer dries (approximately 40-60 minutes, depending on conditions), you can walk over the surface with a trowel or a special cycler to achieve perfect smoothness. If there are small irregularities, they can be easily sanded with sandpaper or sanding mesh. nnnn
- Cement plaster: It is leveled with a rule. After slight drying (when the solution stops easily denting), the surface can be troweled with a damp sponge trowel to remove traces of the rule and give a smoother texture. n
Step 7: Finishing
nnnnAfter the plaster is completely dry (for gypsum, this is usually 1-2 days, for cement – up to a week, depending on the layer thickness and conditions), you can start finishing: painting, wallpapering, tiling.
nnnnCommon mistakes when working with gypsum and cement plaster: how to avoid them?
nnnn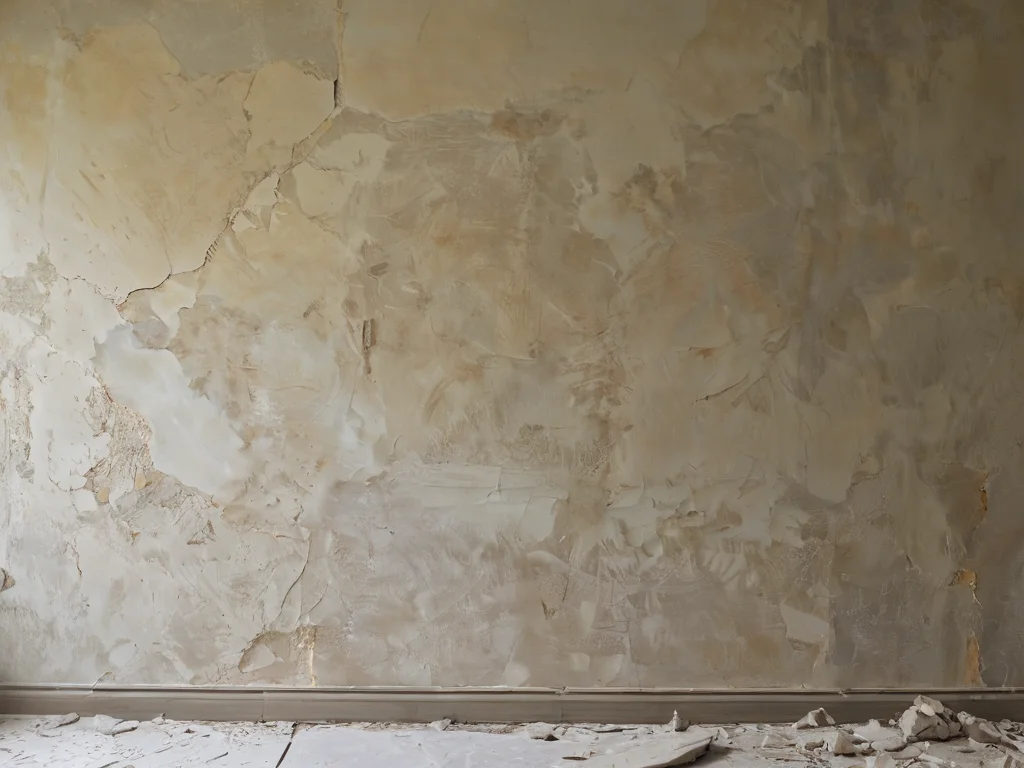
Even with the best materials, you can encounter problems if you do not know about common mistakes. Let’s look at what pitfalls you may encounter on the way and how to avoid them.
nnnnMistakes when working with gypsum plaster:
nnnn- n
- Working in wet rooms: The most common and critical mistake. Gypsum plaster in the bathroom without proper waterproofing or in the shower cabin will quickly collapse. Solution: Use cement mixtures or special moisture-resistant compositions for wet areas. nnnn
- Applying too thick a layer at once: Gypsum may lose plasticity, crack or delaminate if applied in a layer of more than 2-3 cm (depending on the manufacturer). Solution: Apply the plaster in several layers, observing the recommendations for thickness for each. nnnn
- Using dirty tools or containers: Impurities can reduce the quality and strength of the solution. Solution: Always use clean tools and containers. nnnn
- Re-adding water to the setting solution: This kills the plasticity and strength of the mixture. Solution: Mix exactly as much solution as you can use. nnnn
- Ignoring priming: Without priming, the plaster may not adhere well to the base, and with uneven absorption – crack. Solution: Be sure to prime the walls before applying any type of plaster. nnnn
- Too early sanding: Gypsum plaster can only be sanded after it has completely set, otherwise you can damage the surface. Solution: Wait for the time specified by the manufacturer before sanding. n
Mistakes when working with cement plaster:
nnnn- n
- Working in very dry and hot conditions without wetting: Cement mixture sets too quickly, water evaporates, which leads to cracks and a decrease in strength. Solution: Wet the base well before applying, apply several layers of primer if necessary. In hot weather, work in the morning or evening, and periodically moisten the applied layer. nnnn
- Insufficient or excessive amount of water when mixing: Deviation from the proportions leads to loss of strength or too rapid setting. Solution: Strictly follow the manufacturer’s instructions. nnnn
- Applying too thick a layer without reinforcement: Cement plaster applied in a layer of more than 3-5 cm without using a reinforcing mesh can crack and delaminate. Solution: Use a reinforcing mesh for large thicknesses or apply the plaster in several layers with intermediate reinforcement. nnnn
- Lack of leveling with a rule: If you do not level the layer of plaster with a rule, the surface will be uneven. Solution: Use a rule to remove excess and level the layer. nnnn
- Incorrect troweling: Too early or too late troweling can spoil the surface. Solution: Wait for the optimal state when the plaster is still plastic, but no longer sticks to the tool. nnnn
- Lack of priming for finishing: After drying, the cement surface may be dusty and chalky. Solution: Be sure to prime the walls before painting or wallpapering. n
Secrets of masters: 5 non-obvious tips for choosing and applying plaster
nnnn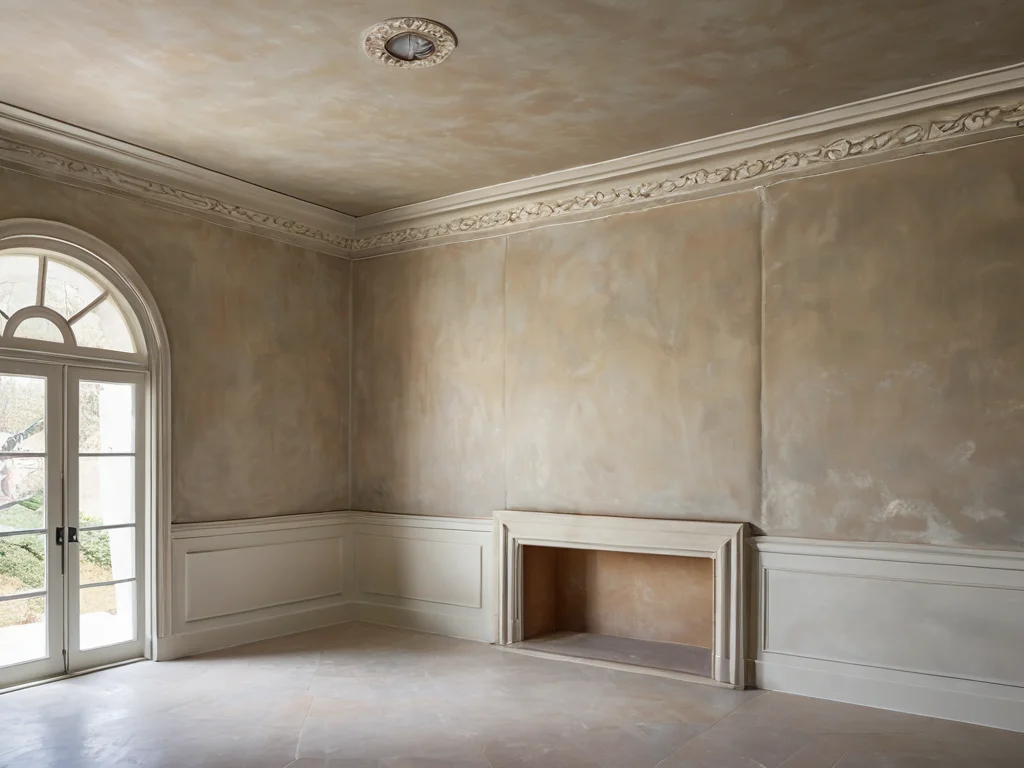
Everyone who has ever done repairs knows: there are secrets that are passed down from one master to another. They help to make the work easier, faster and better. I share with you five such non-obvious, but very useful tips.
nnnn- n
- Don’t be afraid to mix: In some cases (for example, when leveling very large differences, when you need to apply a thick layer, but there is a risk of cracks), experienced craftsmen sometimes use mixed compositions. For example, they add a little lime to the cement plaster for plasticity or use special plasticizers. For gypsum plaster, you can add a little perlite or vermiculite to improve thermal and sound insulation properties. Important: Do this only after consulting a specialist or if you are sure of your actions, as this may affect the properties of the material. nnnn
- Pay attention to “additives”: Modern manufacturers release plasters with various additives: antifungal, frost-resistant, with increased elasticity. Always read the composition and choose mixtures optimized for your tasks. For example, for the kitchen or bathroom, look for compositions with antifungal components. nnnn
- Use reinforcing mesh, even if it seems unnecessary: Especially this applies to cement plasters when applying thick layers or on problematic areas (for example, joints
Рекомендуем:
 Starting and Finishing Putty: What’s the Difference and How to Use It
 DIY Venetian Plaster: Is It Possible?
 How to Repair Cracks and Holes in Walls Before Finishing: A Complete Guide
 Bark Beetle Decorative Plaster: Application Technology
 Wall Cladding with Wood Paneling: A Step-by-Step Guide
 How to Update Old Tiles Without Removing Them: 99 Ways to Transform Your Bathroom and Kitchen
 DIY Decorative Stone Wall Installation: Your Guide to Home Transformation
 Betonokontakt: A Comprehensive Guide to Application for Perfect Renovation
 Washable wallpaper for the kitchen: why it’s the best idea for your renovation?
 Priming Walls Before Wallpapering and Painting: The Ideal Foundation for Renovation
 What to do if mold or mildew appears on the walls?
 Internal Wall Insulation: Materials and Technology
 How to Hang Vinyl Wallpaper on a Paper Backing?
 Liquid Wallpaper: Pros, Cons, and Application Technology
 Sanding Walls After Puttying: A Perfect Surface with Your Own Hands
 Joint filler for tiles: how to choose the color and apply it correctly
Grout for tiles: how to choose the color and apply it correctly
Joint filler for tiles: how to choose the color and apply it correctly
Grout for tiles: how to choose the color and apply it correctly
 How to Make a Brick Wall in an Interior (Imitation)
 MDF Panel Wall Finishing: Installation Guide
 Bathroom: Tile or Paint. What Will Everyone Face?