
Drywall partitions (GKL) are not just a way to divide space; they are a high-tech tool in the hands of an architect and designer. In modern interiors, where layout flexibility, project speed, and transformation possibilities are valued, GKL structures become the cornerstone of functional zoning. We will consider GKL not as a temporary measure, but as a full-fledged architectural solution requiring precise calculations, adherence to technologies, and a deep understanding of ergonomics.
Drywall Partitions in Interiors: What They Are and Why They Are Relevant for Zoning
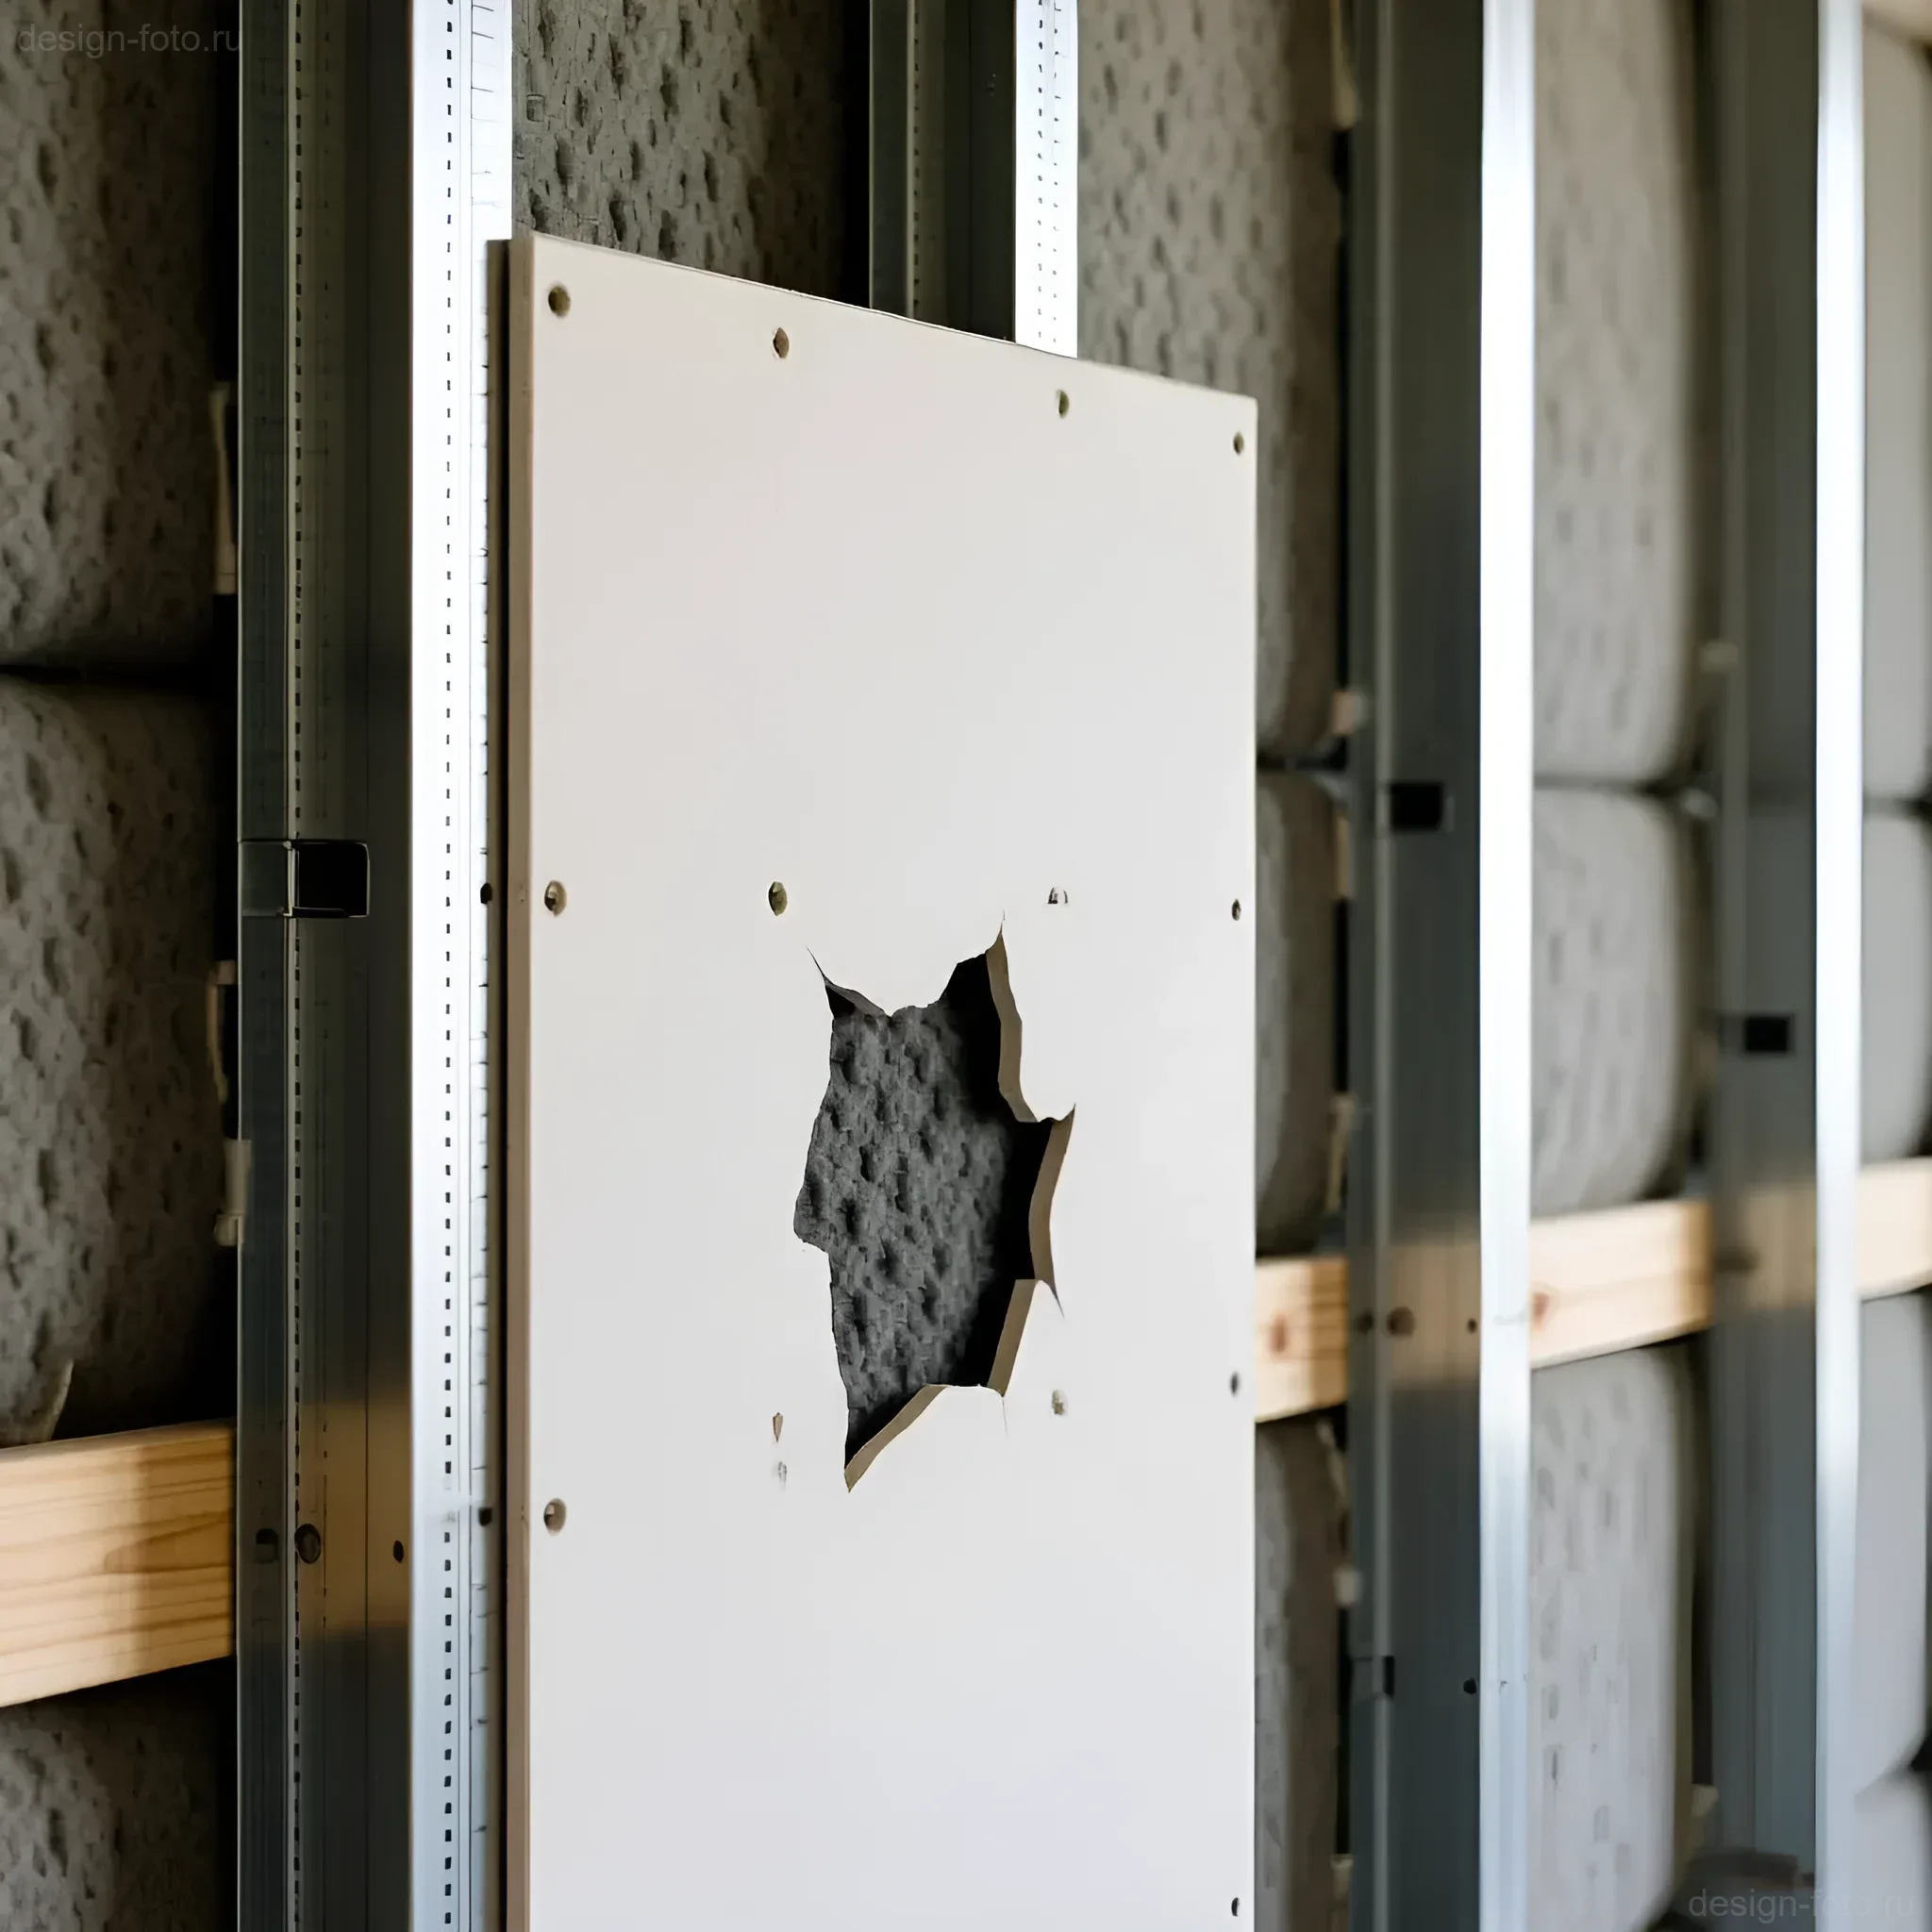
A drywall partition is a non-load-bearing structure consisting of a metal frame (made of galvanized profiles) and sheathed with GKL, GKLV (moisture-resistant), or GKLO (fire-resistant) sheets. Inside the frame, sound-insulating material and utilities are typically located.
The relevance of GKL for zoning is due to several factors that are critically important for modern design:
- Speed and Cleanliness of Installation: Unlike brickwork or foam blocks, installing a GKL partition takes minimal time and does not require “wet” processes, except for final puttying.
- Form-Shaping: Drywall allows for the creation of curved, multi-level, and decorative structures (arches, niches, shelves), which is impossible or extremely expensive when using traditional materials.
- Cost-Effectiveness: The cost of materials and labor for erecting a GKL partition is significantly lower than for a capital wall.
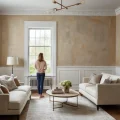
Functional Zoning: GKL partitions are ideal for dividing open spaces (studios, lofts) into functional zones—for example, separating a bedroom from a living room, creating a home office, or a dressing room. At the same time, the thickness of such a partition (standard 100 mm) minimally “eats up” usable floor space.
Advantages and Disadvantages of Drywall Structures: An Honest Analysis
As professionals, we must evaluate the material objectively, considering its strengths and weaknesses in the context of long-term use.
Advantages of GKL Partitions for Zoning
1. Architectural Flexibility and Adaptability:
- Ease of Integrating Utilities: Electrical wiring, heating pipes, or ventilation ducts can be easily routed within the frame.
- Minimal Weight: GKL does not create significant loads on load-bearing structures and floors, which is important in old buildings or when working with attics.
- Perfect Surface: GKL provides a smooth surface ready for finishing, minimizing leveling costs.
2. Environmental Friendliness and Safety:
- Drywall is an environmentally friendly material that does not emit harmful substances.
- When using GKLO, high fire resistance of the structure is ensured.
Disadvantages and Technical Limitations
1. Limited Load-Bearing Capacity:
This is the most serious drawback. GKL is not designed for mounting heavy objects. A standard GKL sheet (12.5 mm) can support up to 5 kg per fastening point (using special “Molly” type anchors).
- Solution: When planning mounting points for TVs, heavy shelves, or wall cabinets (e.g., in a kitchen or bathroom), it is necessary to install backing elements during the frame installation stage—wooden blocks, plywood 18–21 mm thick, or reinforced metal profiles that will bear the load.
2. Moisture Sensitivity:
Standard GKL (gray) quickly deteriorates under the influence of water. In rooms with high humidity (bathrooms, kitchens), always use moisture-resistant GKLV (green).
3. Vulnerability to Mechanical Damage:
Drywall can be easily punctured or damaged. For high-traffic areas or children’s rooms, double-layer sheathing or special impact-resistant sheets (e.g., GVL – gypsum fiberboard) are recommended.
Interior Styles and Drywall: From Loft to Minimalism
Despite its technological nature, drywall is a versatile tool that can be integrated into almost any style if used correctly.
Minimalism and Scandinavian Style
In these styles, GKL is used to create perfectly flat, smooth surfaces and hidden elements. With GKL, you can:
- Create hidden niches for storage or lighting, replacing bulky cabinets.
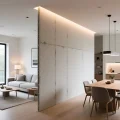
- Organize invisible doors that blend seamlessly with the wall (Invisible Door technology).
- Conceal curtain cornices (niche with a shadow gap) and ventilation systems.
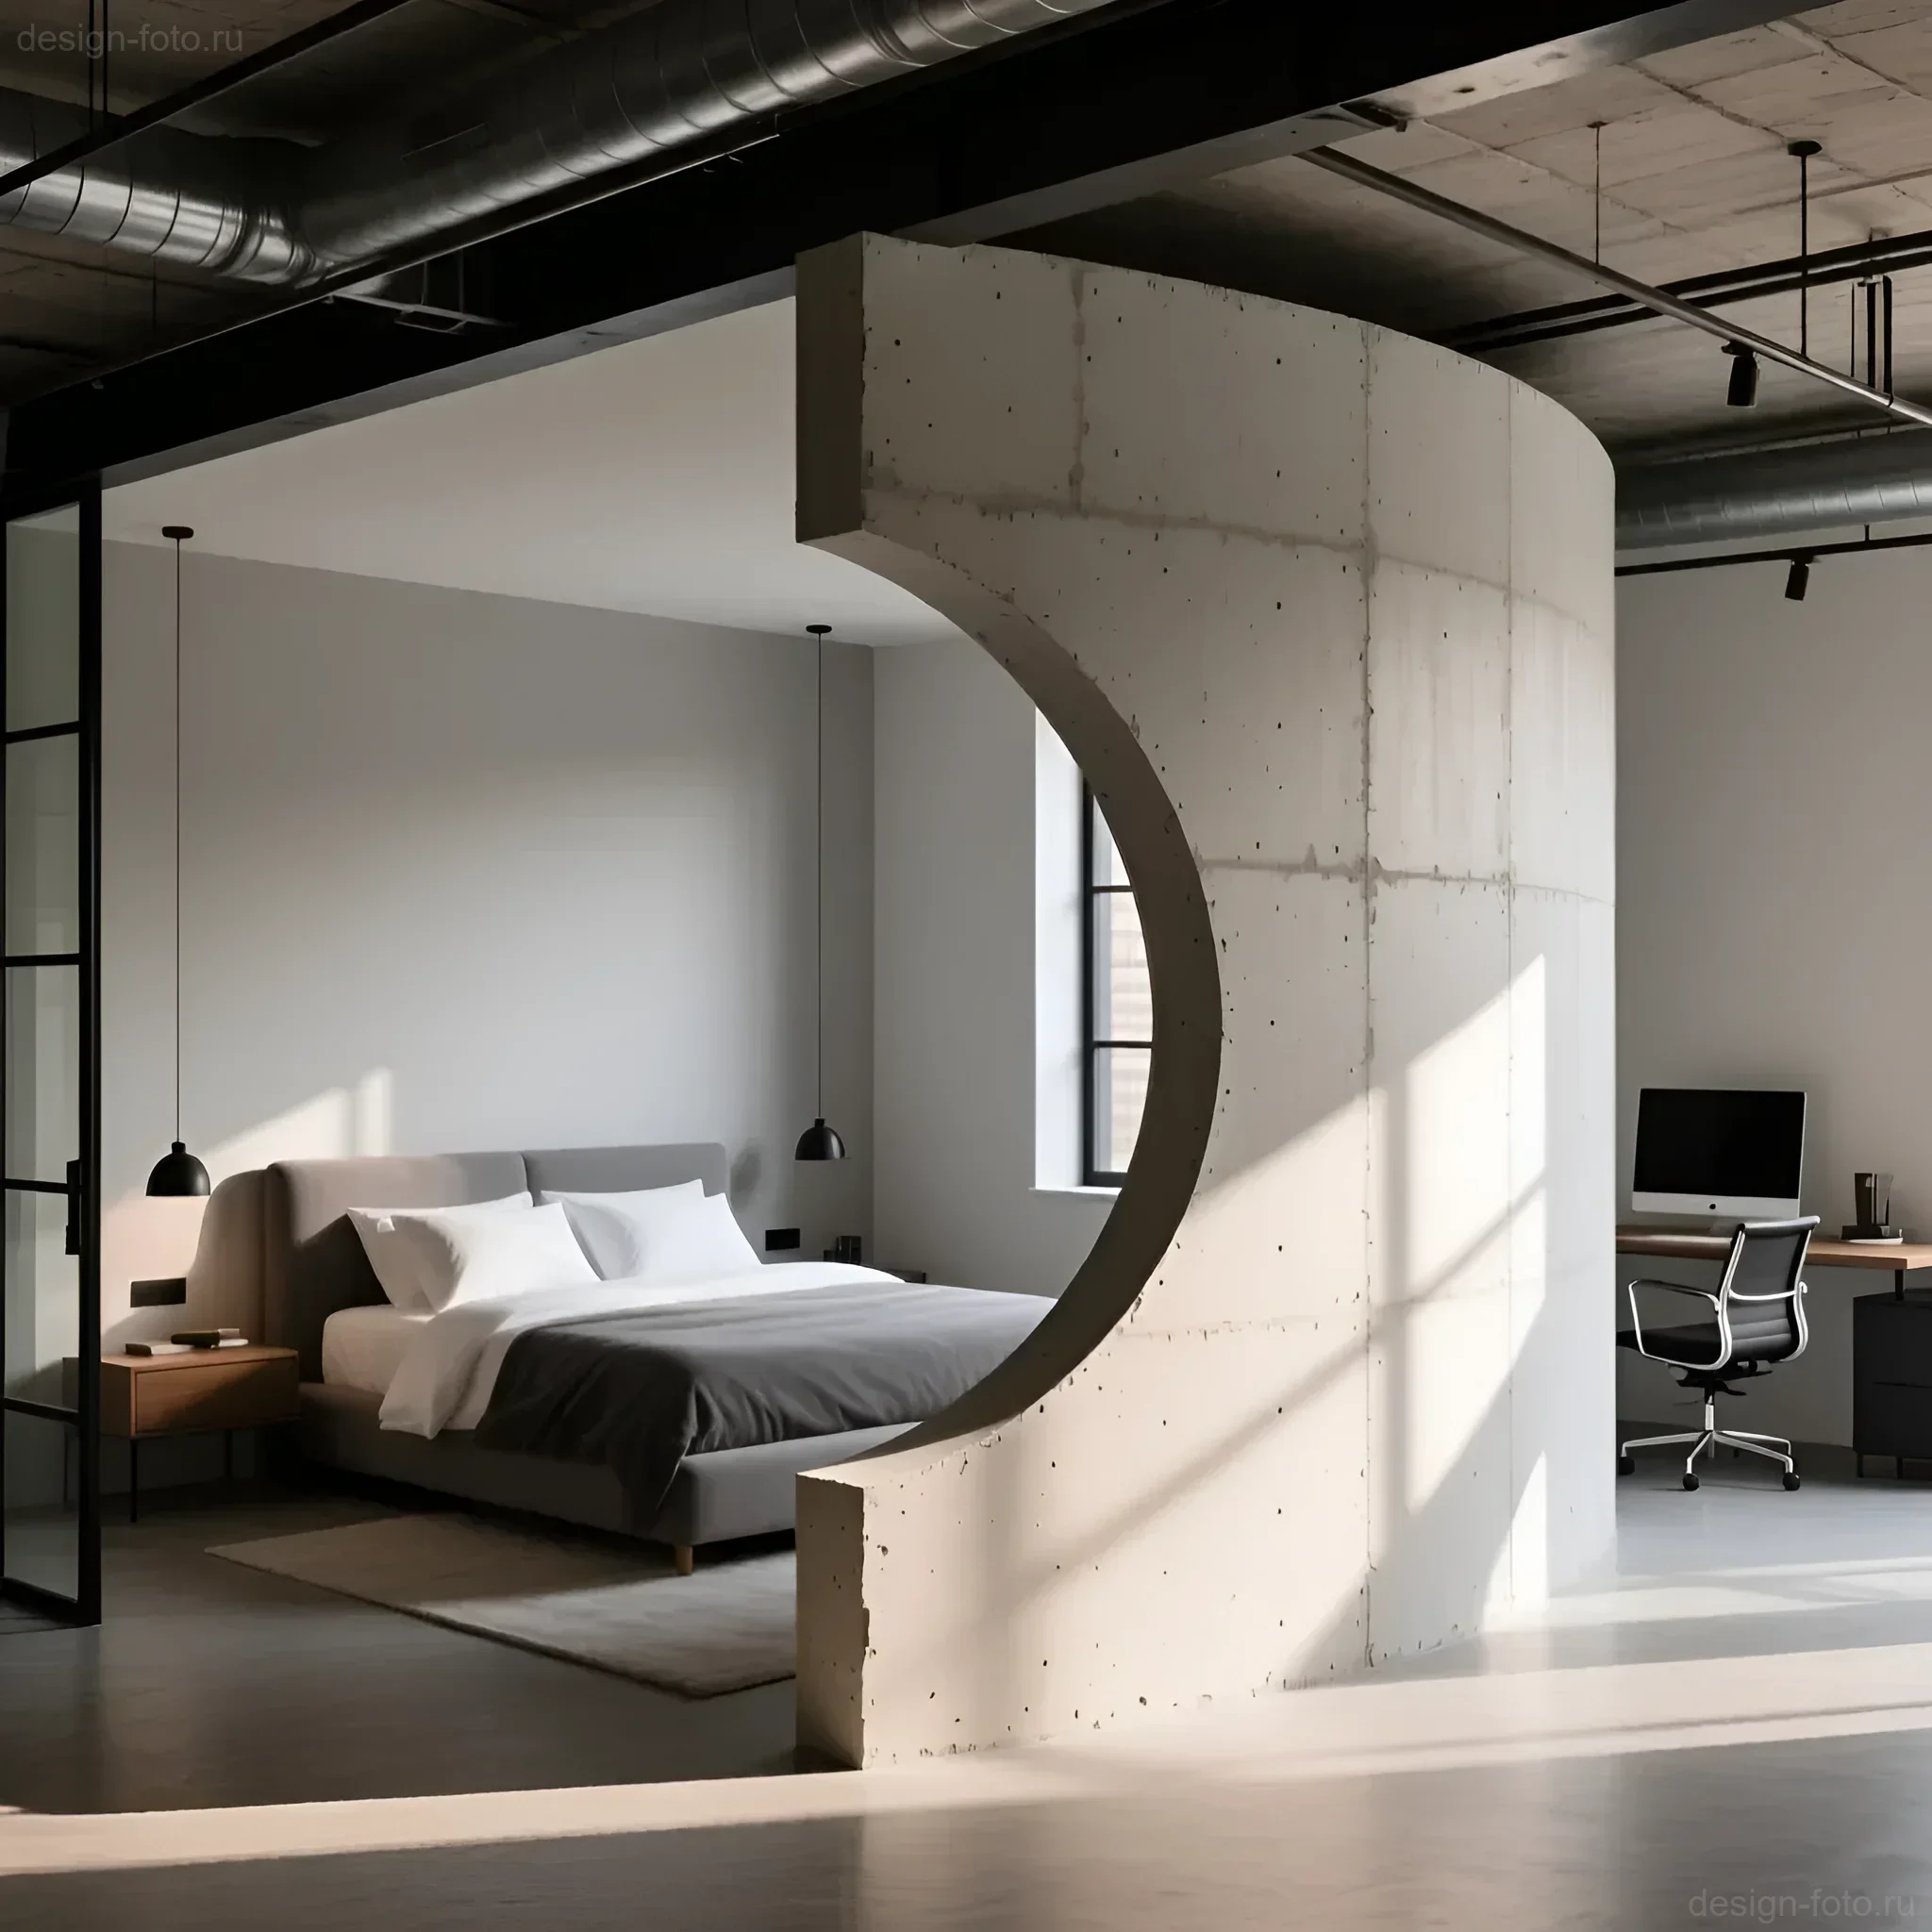
Loft and Industrial Style
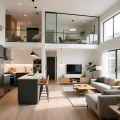
Although loft is often associated with brick and concrete, GKL is indispensable for zoning in large open spaces. GKL can be used to create “boxes” for bathrooms or sleeping areas that do not reach the ceiling (partial zoning), maintaining a sense of volume. The finish in this case can imitate concrete, microcement, or be painted in dark, matte tones.
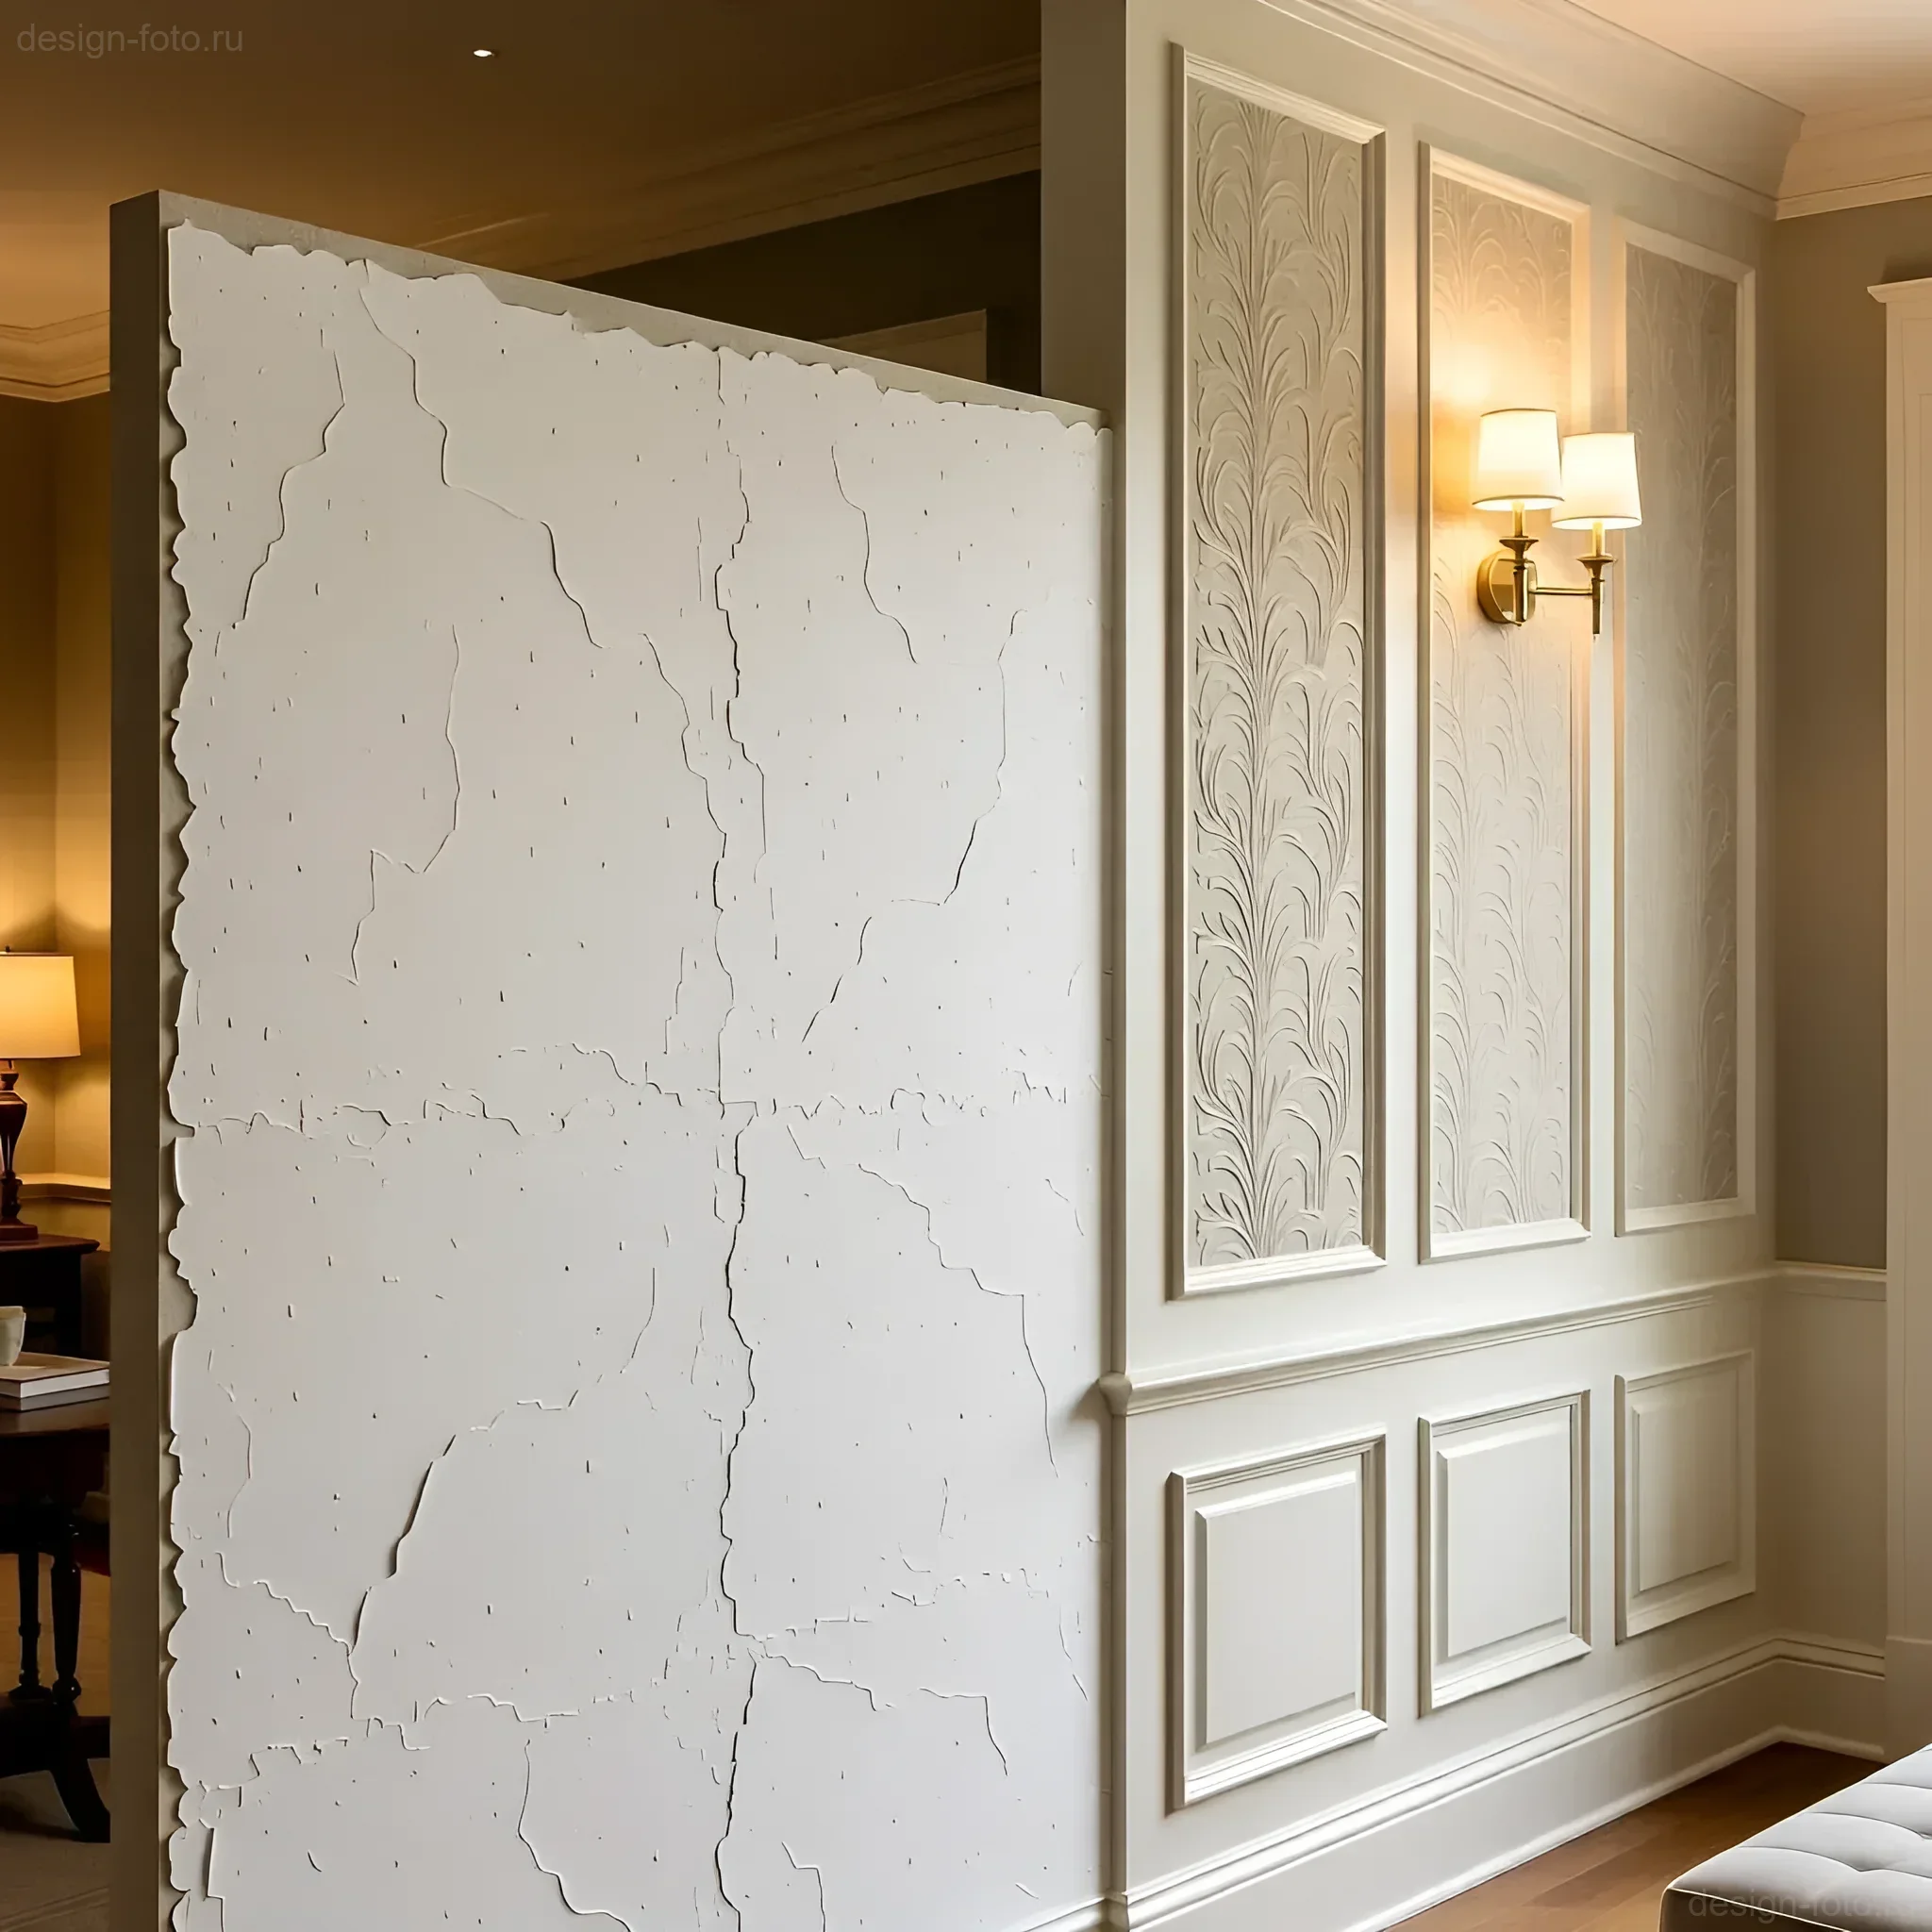
Neoclassicism and Art Deco
In these styles, GKL allows for the creation of complex architectural elements that add depth to the interior:
- Coffered ceilings and multi-level structures with hidden lighting.
- Decorative niches for displaying collections, sculptures, or fireplaces.
- Walls imitating boiserie or pilasters, achieved through applied moldings on a perfectly smooth GKL surface.
Choosing Materials and Finishing Drywall Partitions

The choice of components directly affects the durability, sound insulation, and functionality of the partition. It is unacceptable to save on the frame and fasteners.
1. Profiles and Frame
Use only galvanized profiles with a metal thickness of at least 0.55–0.6 mm. Thinner metal (0.4 mm) is unstable, “plays,” and leads to cracking of seams in the finish.
- PN (UD) profiles: Guide profiles, attached to the floor and ceiling.
- PS (CD) profiles: Stud profiles, vertical elements. Standard installation spacing is 600 mm. If heavy objects are to be mounted or the partition is over 3 m high, the spacing is reduced to 400 mm.
- Sizes: For a standard interior partition, profiles of 75×50 mm or 100×50 mm are recommended. This provides sufficient space for sound insulation and utilities.
2. Choosing GKL Sheets
The standard sheet thickness for walls is 12.5 mm.
- Single-layer sheathing: Permissible for non-critical, decorative structures or temporary zoning.
- Double-layer sheathing: Recommended for all residential premises. Two layers of GKL significantly increase the rigidity of the structure, improve sound insulation, and increase load-bearing capacity.
3. Finishing
Preparing GKL for finishing requires special attention to the seams. Use reinforcing tape (paper or fiberglass mesh) and specialized joint compounds (e.g., KNAUF Fugenfüller or Uniflot). Only perfect seam filling guarantees that micro-cracks will not appear on the wall after a year.
Finishing Options:
- Painting: The most popular and economical option. Requires ideal full surface puttying (continuous puttying).
- Wallpaper: Hides minor preparation defects but is less durable.
- Decorative Panels: Wood, MDF, or acoustic panels. Mounted directly onto GKL, often with additional adhesive.
Layout Solutions: How to Competently Zone Space with GKL
Competent zoning with GKL is always a balance between privacy and the feeling of open space. It is important not just to divide, but to create logical functional zones.
1. Studio Spaces (Open Space)
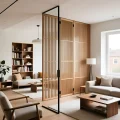
In studios, GKL is used to create translucent or partial partitions that do not fully isolate but visually define boundaries.
- Partition with Open Niches: A drywall wall that has through shelves or decorative openings in its upper part. It separates the kitchen from the living room but allows light to pass through.
- Low Partition (Barrier): A GKL wall 1200–1400 mm high, which can serve as a base for a bar counter or console, separating the entrance area from the living space.
2. Creating Hidden Zones and Dressing Rooms
GKL is ideal for forming a dressing room, which requires minimal space (from 1.5 m²). Use 50 mm profiles for maximum space saving, sheathing them with two layers of GKL.
3. Ergonomics in Bathrooms
In bathrooms, GKLV is used to create installation systems and false walls that conceal risers and drains. The standard depth for toilet installation is 150–200 mm. This allows for a flat surface and simultaneously provides access to the maintenance hatch.
Golden Rule of Zoning: Design partitions so that they do not disrupt natural traffic flow. Corners should be rounded or recessed if it is a high-traffic area.
Practical Guide: Installation and Sound Insulation of Drywall Partitions

The quality of a partition depends 90% on adherence to installation technology and the choice of sound insulation materials.
Stage 1: Frame Installation
1. Marking: Precise determination of the partition’s position on the floor, walls, and ceiling using a laser level or plumb bob. Maintaining verticality and parallelism is critical.
2. Damping Tape: Sealing (damping) tape must be applied under all PN guide profiles (attached to load-bearing structures). This prevents the transfer of structural noise from load-bearing walls and floors to the partition frame.
3. Fastening: Profiles are attached to the base with anchors at a spacing of no more than 600 mm. PS stud profiles are installed “back to” the probable load (e.g., to the TV mounting location).
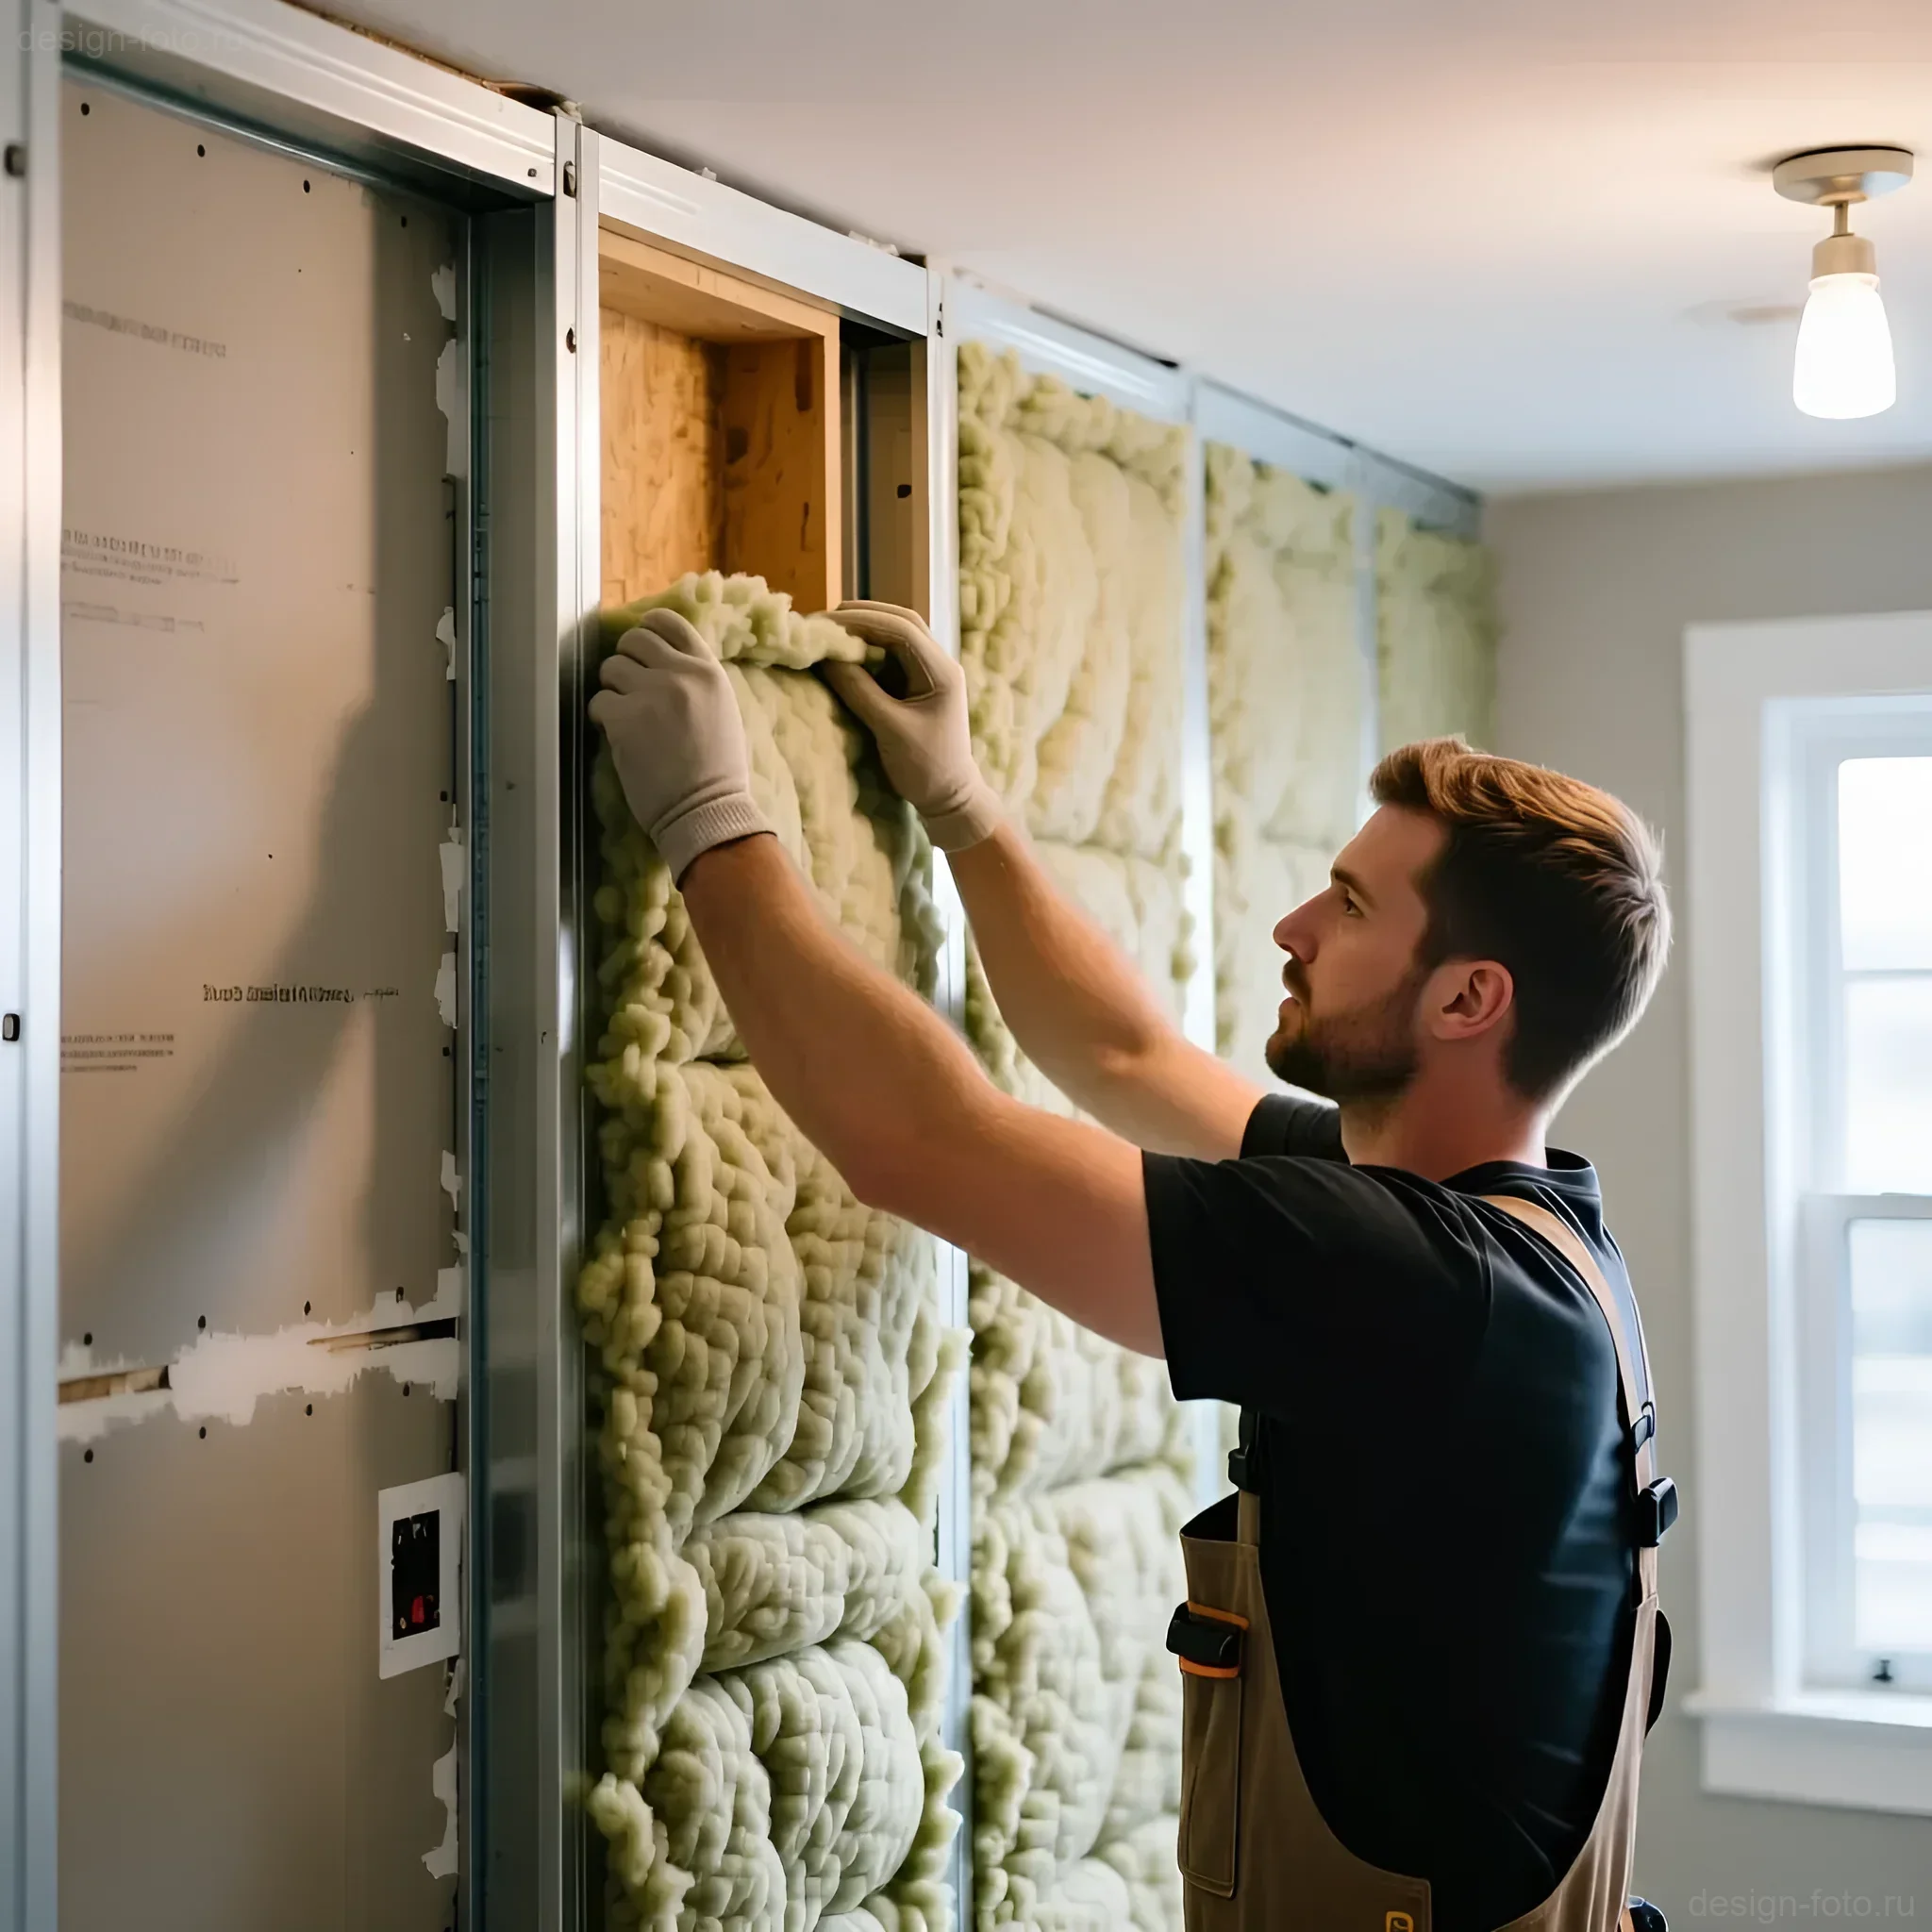
Stage 2: Sound Insulation
Without quality sound insulation, a GKL partition only performs a visual function. A standard partition (100 mm) should have an airborne sound insulation index (Rw) of at least 45 dB.
Materials and Density:
- Use mineral wool based on basalt or fiberglass.
- Recommended density: 40–60 kg/m³. Lighter wool will not provide adequate insulation.
- Layer thickness: Should fill the entire internal space of the frame (e.g., 50 mm or 75 mm).
Important Detail: When installing electrical wiring, avoid through-holes in the sound insulation material. All sockets and switches on opposite sides of the partition should be offset from each other to avoid creating acoustic bridges.
Stage 3: Sheathing and Seam Filling
1. Sheathing: GKL sheets are attached with self-tapping screws at a spacing of 250 mm. Screws should be countersunk into the sheet but not tear the cardboard. In double-layer sheathing, the seams of the second layer should be offset relative to the seams of the first layer (brickwork principle).
2. Seam Filling: Reinforcing tape and specialized joint compound are used. After drying, the seams are sanded, and the entire surface is primed before final puttying.
Typical Mistakes in Designing and Installing GKL Partitions

Many problems with drywall structures arise not from the material’s properties but from violations of technology and miscalculations during the design phase.
Mistake 1: Ignoring Temperature and Humidity Conditions
GKL installation should only be performed after all “wet” work (screed, plastering) is completed and at a stable temperature. If GKL is installed in a damp room, it absorbs moisture, and upon subsequent drying, it deforms, leading to cracks at the joints.
Mistake 2: Insufficient Reinforcement for Heavy Zones
The designer must know in advance where the TV (even a 40-inch one), heavy light fixtures, or shelves will be hung. If backing elements (18 mm plywood) are not installed in the frame, subsequent installation of heavy equipment becomes extremely problematic, requiring partition opening and repair.
Mistake 3: Absence of Damping Tape
As mentioned, damping tape is not a luxury but a necessity for sound insulation. Without it, the frame becomes an ideal conductor of vibrations and impact noise from adjacent rooms or floors.
Mistake 4: Incorrect Calculation of Partition Thickness for Utilities
If you plan to run 50 mm diameter sewer pipes or a large ventilation duct inside the partition, a 50×50 mm profile will be insufficient. You need to use a 75×50 mm or 100×50 mm profile so that the pipes do not press against the GKL sheets and create bulges.
Mistake 5: Improper Seam Filling
Using regular finishing putty instead of specialized joint compound, as well as omitting reinforcing tape, will guaranteed lead to cracks within the first year of operation, especially at the joints with walls and ceiling.
Inspiring Examples: Best Interior Solutions with Drywall Walls
Drywall allows for the creation of not just walls, but multifunctional architectural objects that solve several problems at once: zoning, storage, lighting, and decor.
1. Media Wall with Integrated Storage
In the living room, a GKL partition can serve as a central element. Create a niche for the TV and vertical narrow niches on the sides that serve as hidden shelves for books or decor. The depth of the niches (150–200 mm) is sufficient for placing equipment and creating the effect of a recessed screen. Add hidden LED backlighting around the perimeter to emphasize the geometry.
2. Curved Partitions in the Hallway
Instead of sharp corners that visually narrow the space, use curved GKL structures. A curved partition separating the hallway from the main space looks softer, improves traffic ergonomics, and adds dynamism to the interior. Special arched profiles and damp GKL sheets, which are bent according to a template, are used to create radii.
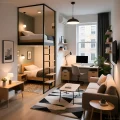
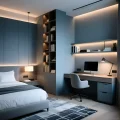
3. Bedroom Zoning with Headboard Function
In studio apartments, a GKL partition is installed behind the bed, not reaching the ceiling (height 2200–2400 mm). This structure serves as a headboard and simultaneously separates the sleeping area from the office or living room. The back of the partition can be equipped as a workspace or console. This solution preserves natural light and air circulation but provides visual privacy.
4. Built-in Shelving and Niches
Instead of buying modular furniture, create built-in shelving from GKL. The frame must be reinforced (e.g., double studs every 300 mm), and the shelves should be made of thick plywood or MDF, clad with GKL. This allows for a monolithic effect and integrates the shelving into the overall room architecture. Shelf depth for books is typically 250–300 mm.
***
FAQ: Frequently Asked Questions About GKL Zoning
1. Can kitchen cabinets be hung on a drywall partition?
Yes, but only if horizontal backing elements made of timber (50×50 mm) or thick moisture-resistant plywood (18–21 mm) were installed in the frame during installation at the mounting points of the upper row of cabinets. Without backing, only very light decorative elements can be hung.
2. How to ensure maximum sound insulation?
Use double-layer GKL sheathing on both sides, fill the frame with high-density mineral wool (50–60 kg/m³), and always use damping tape. For critical zones (home theater, bedroom), consider a “floating” frame or the use of vibration isolators for profiles.
3. What is the maximum height of a GKL partition?
Standard KNAUF systems allow for partitions up to 6.5 meters high. However, for heights over 3.5 meters, reinforced stud profiles (e.g., 100×50 mm) must be used, and the stud spacing reduced to 300–400 mm, as well as double-layer sheathing. The higher the partition, the stiffer the frame must be to avoid vibration and deformation.
4. Can tiles be laid on drywall?
Yes, but only on moisture-resistant GKLV (green) and only after thorough waterproofing of the surface (using special mastics). The tiles should not be too heavy. Use elastic tile adhesive.
Рекомендуем:
 Internal Wall Insulation: Materials and Technology
 Aligning Walls with Drywall Adhesive: When This Method is Your Salvation?
 Budget Zoning: How to Create Comfort in a Rented Apartment Without Renovation
 PVC Wall Panels: Cheap and Cheerful. Installation Guide
 Mobile Zoning: Screens, Shelving, and Curtains for a Flexible Living Room
 MDF Panel Wall Finishing: Installation Guide
 How to Seal Drywall Seams to Prevent Cracks
 Wall Cladding with Wood Paneling: A Step-by-Step Guide
 Gipskarton-Trennwände zur Zonierung: Funktionalität, Montage und Ergonomie
 Bedroom and Workspace Zoning: Comfort, Ergonomics, and Productivity
Tabiques de cartón yeso para zonificación: funcionalidad, instalación y ergonomía
Bedroom and Workspace Zoning: Comfort, Ergonomics, and Productivity
Tabiques de cartón yeso para zonificación: funcionalidad, instalación y ergonomía
 Functional Zoning of a Kitchen-Living Room: A Practical Guide from an Architect
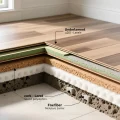 Laminate Underlay: Cork, Coniferous, or Polystyrene – Detailed Analysis and Choice
 How to Properly Plaster Walls for Painting: Perfect Smoothness
 Wall Putty for Wallpaper: How Many Coats Are Needed and How to Apply?
 Bark Beetle Decorative Plaster: Application Technology
 Gypsum or Cement Plaster: What and Where to Use?
 How to Repair Cracks and Holes in Walls Before Finishing: A Complete Guide
 Starting and Finishing Putty: What’s the Difference and How to Use It
Cloisons en plaques de plâtre pour la séparation d’espaces : fonctionnalité, montage et ergonomie
Starting and Finishing Putty: What’s the Difference and How to Use It
Cloisons en plaques de plâtre pour la séparation d’espaces : fonctionnalité, montage et ergonomie