
Hello, dear readers of design-foto.ru! We often focus on finishing materials – paint, wallpaper, tiles – but we undeservedly forget about the foundation of success: primers. Today, we will talk about one of the most powerful and, perhaps, the most specific assistants in construction and renovation – the “Betonokontakt” primer. This is not just a liquid for strengthening; it is a true adhesion bridge that allows you to tile over old paint or plaster smooth monolithic concrete. If you are planning a complex renovation where you need to bond absolutely incompatible materials, this article will be your detailed, practical guide.
“Betonokontakt” Primer: Your Reliable Renovation Assistant – A Complete Home Guide
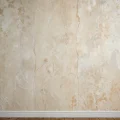
In the world of renovation, there are surfaces that seem absolutely hopeless for further finishing. Smooth, glass-like monolithic concrete; old but firmly adhering oil paint; dense ceramic tiles that are a shame to remove. In such cases, standard deep-penetrating primers are powerless. They only work with absorbent, porous bases. But for dense and smooth surfaces, a fundamentally different approach is needed – and this is where “Betonokontakt” comes into play.
The task of this primer is not to strengthen the structure (although it does that too), but to create physical and chemical adhesion where there is none. We will look at how to choose the right composition, how to avoid the most common mistakes during application, and most importantly, where this primer is truly necessary to ensure your renovation lasts for decades.
What is “Betonokontakt” Primer and Why is it Needed? Understanding the Basics
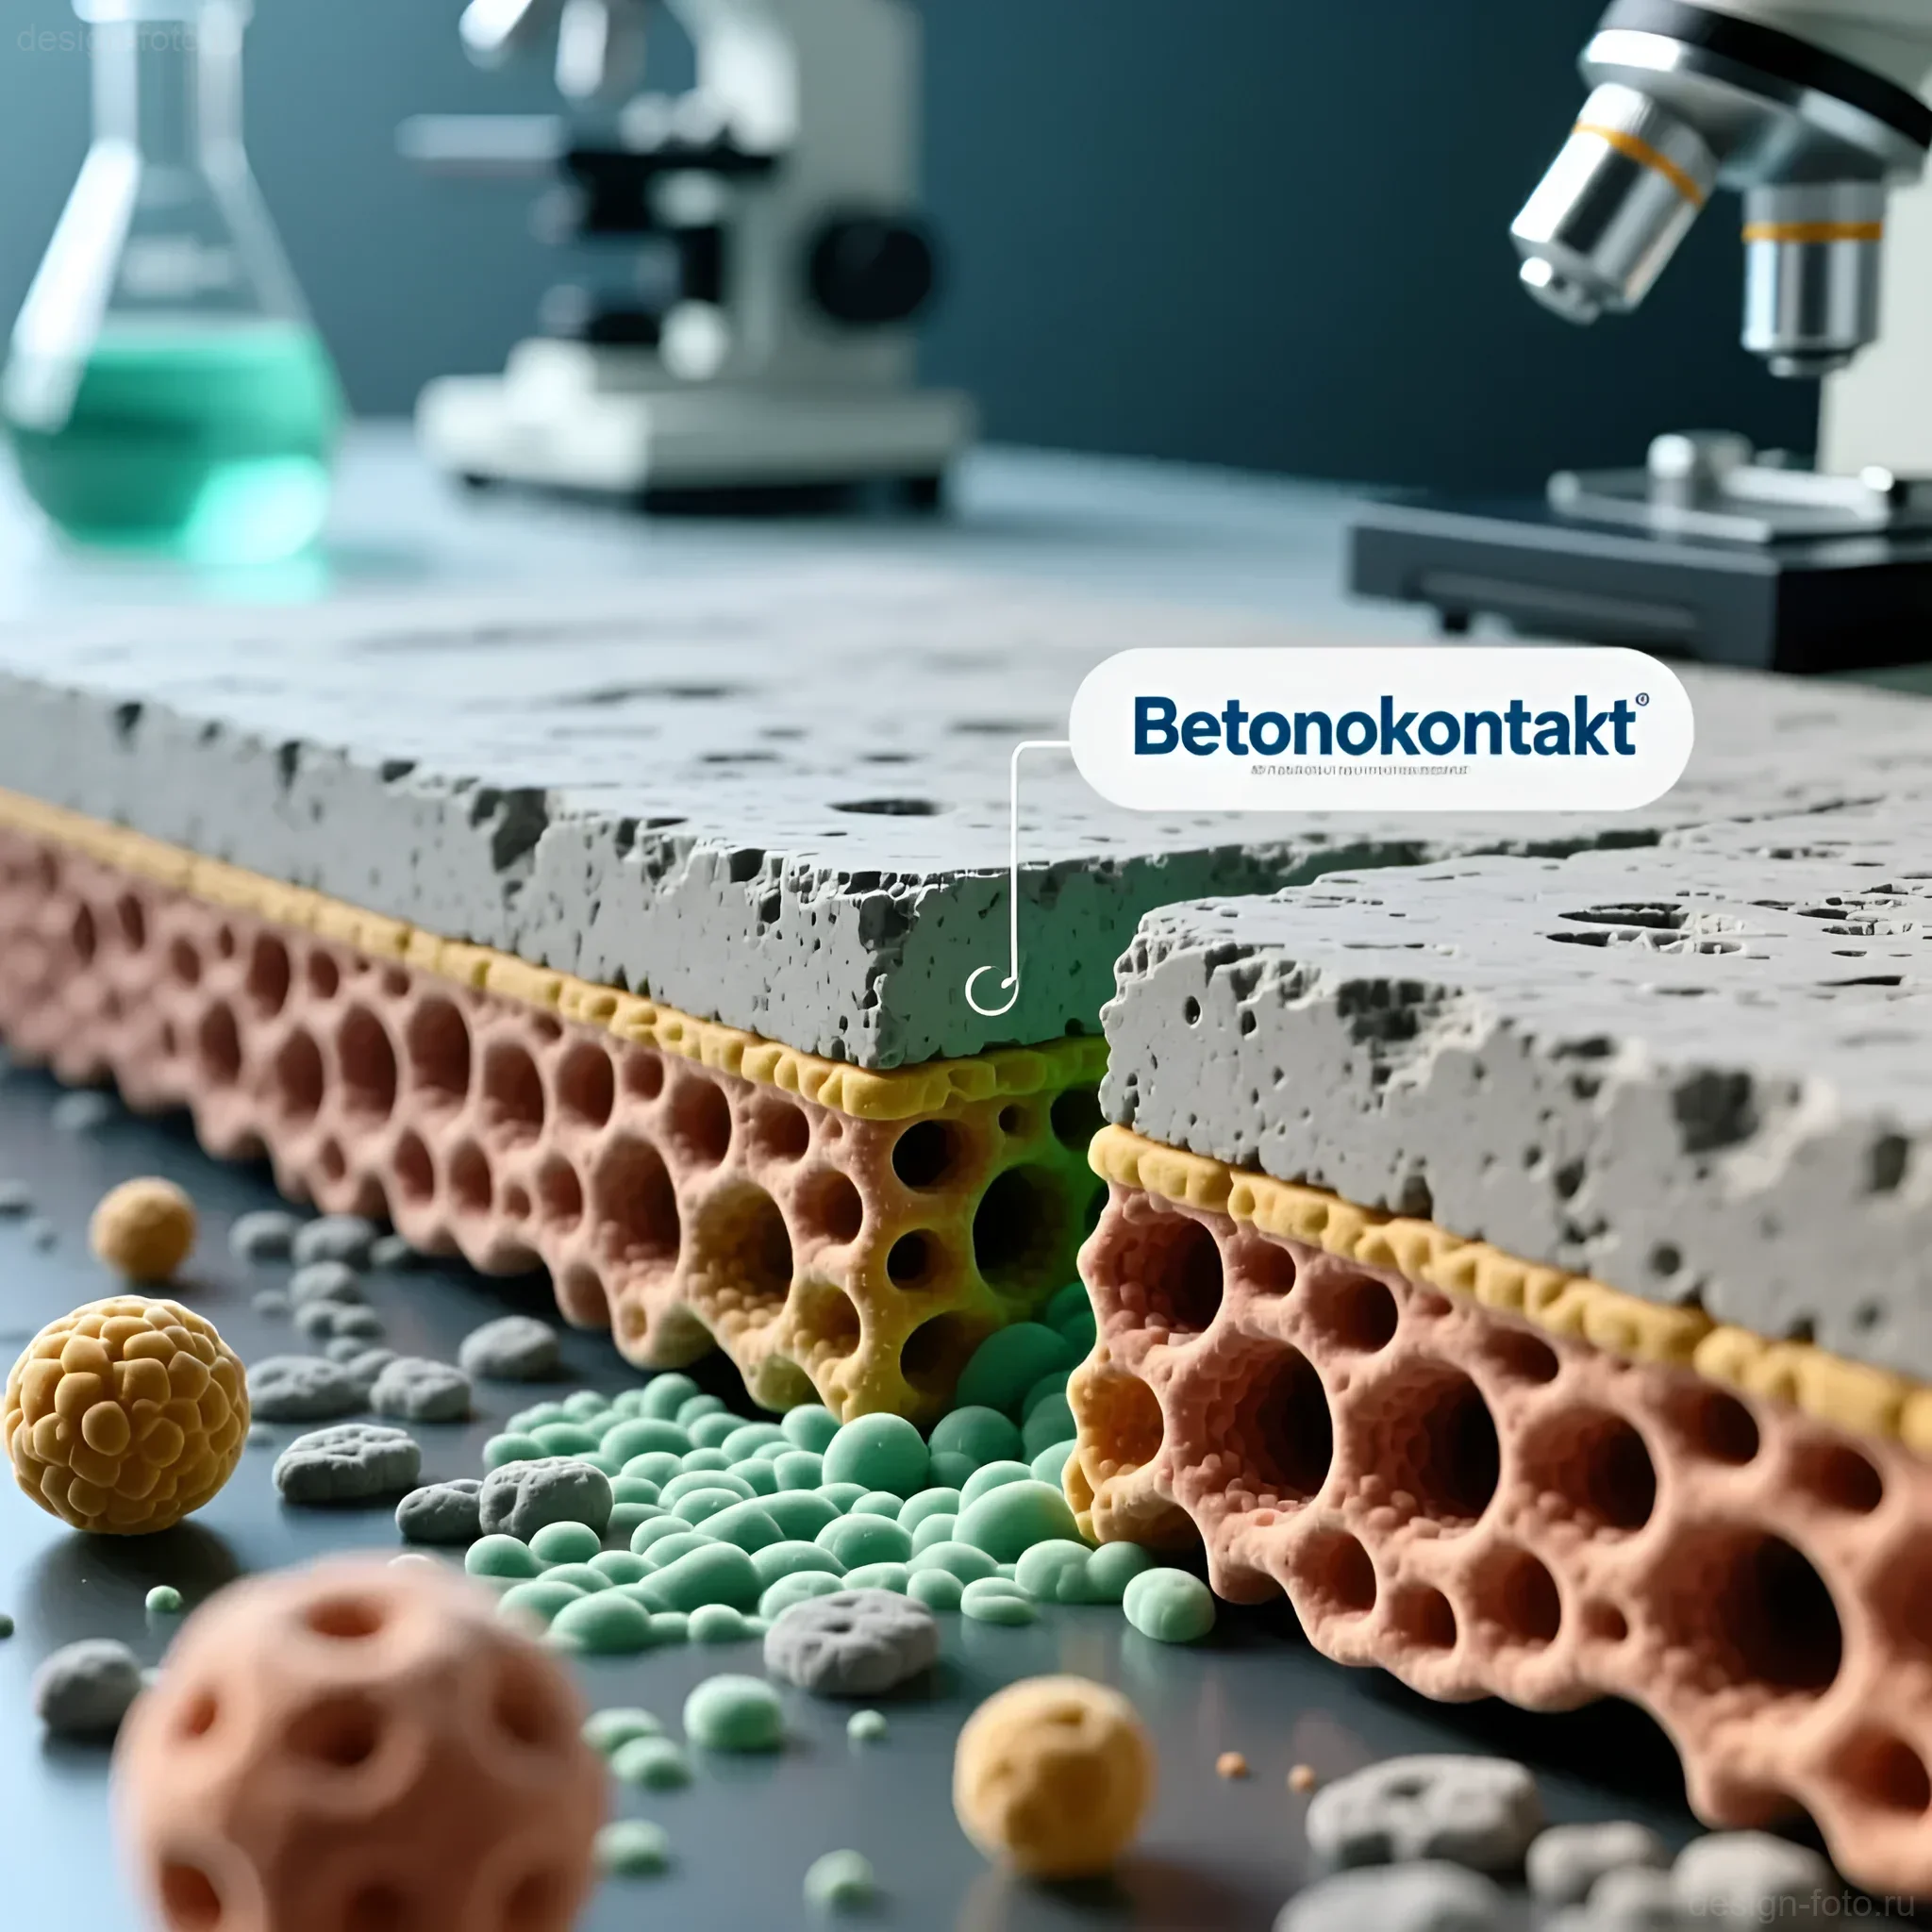
First, let’s understand what lies behind this resonant name. “Betonokontakt” (often abbreviated as BK) is a special adhesion primer created on the basis of acrylic dispersion with the mandatory addition of a coarse-grained filler, most commonly quartz sand.
Composition and Principle of Action
Unlike ordinary primers that penetrate the base and bind dust, “Betonokontakt” works on the principle of a “rough bridge”:
- Acrylic Dispersion: This is the binder that ensures chemical adhesion to the smooth surface. It polymerizes upon drying, forming a strong film.
- Quartz Sand (Filler): This is the key element. It is the small, sharp sand grains, evenly distributed in the acrylic film, that create the very roughness. After drying, the surface becomes similar to very coarse sandpaper.
- Pigments (Usually pink or red): Added for application quality control. You can always see where you have already primed and where you haven’t.
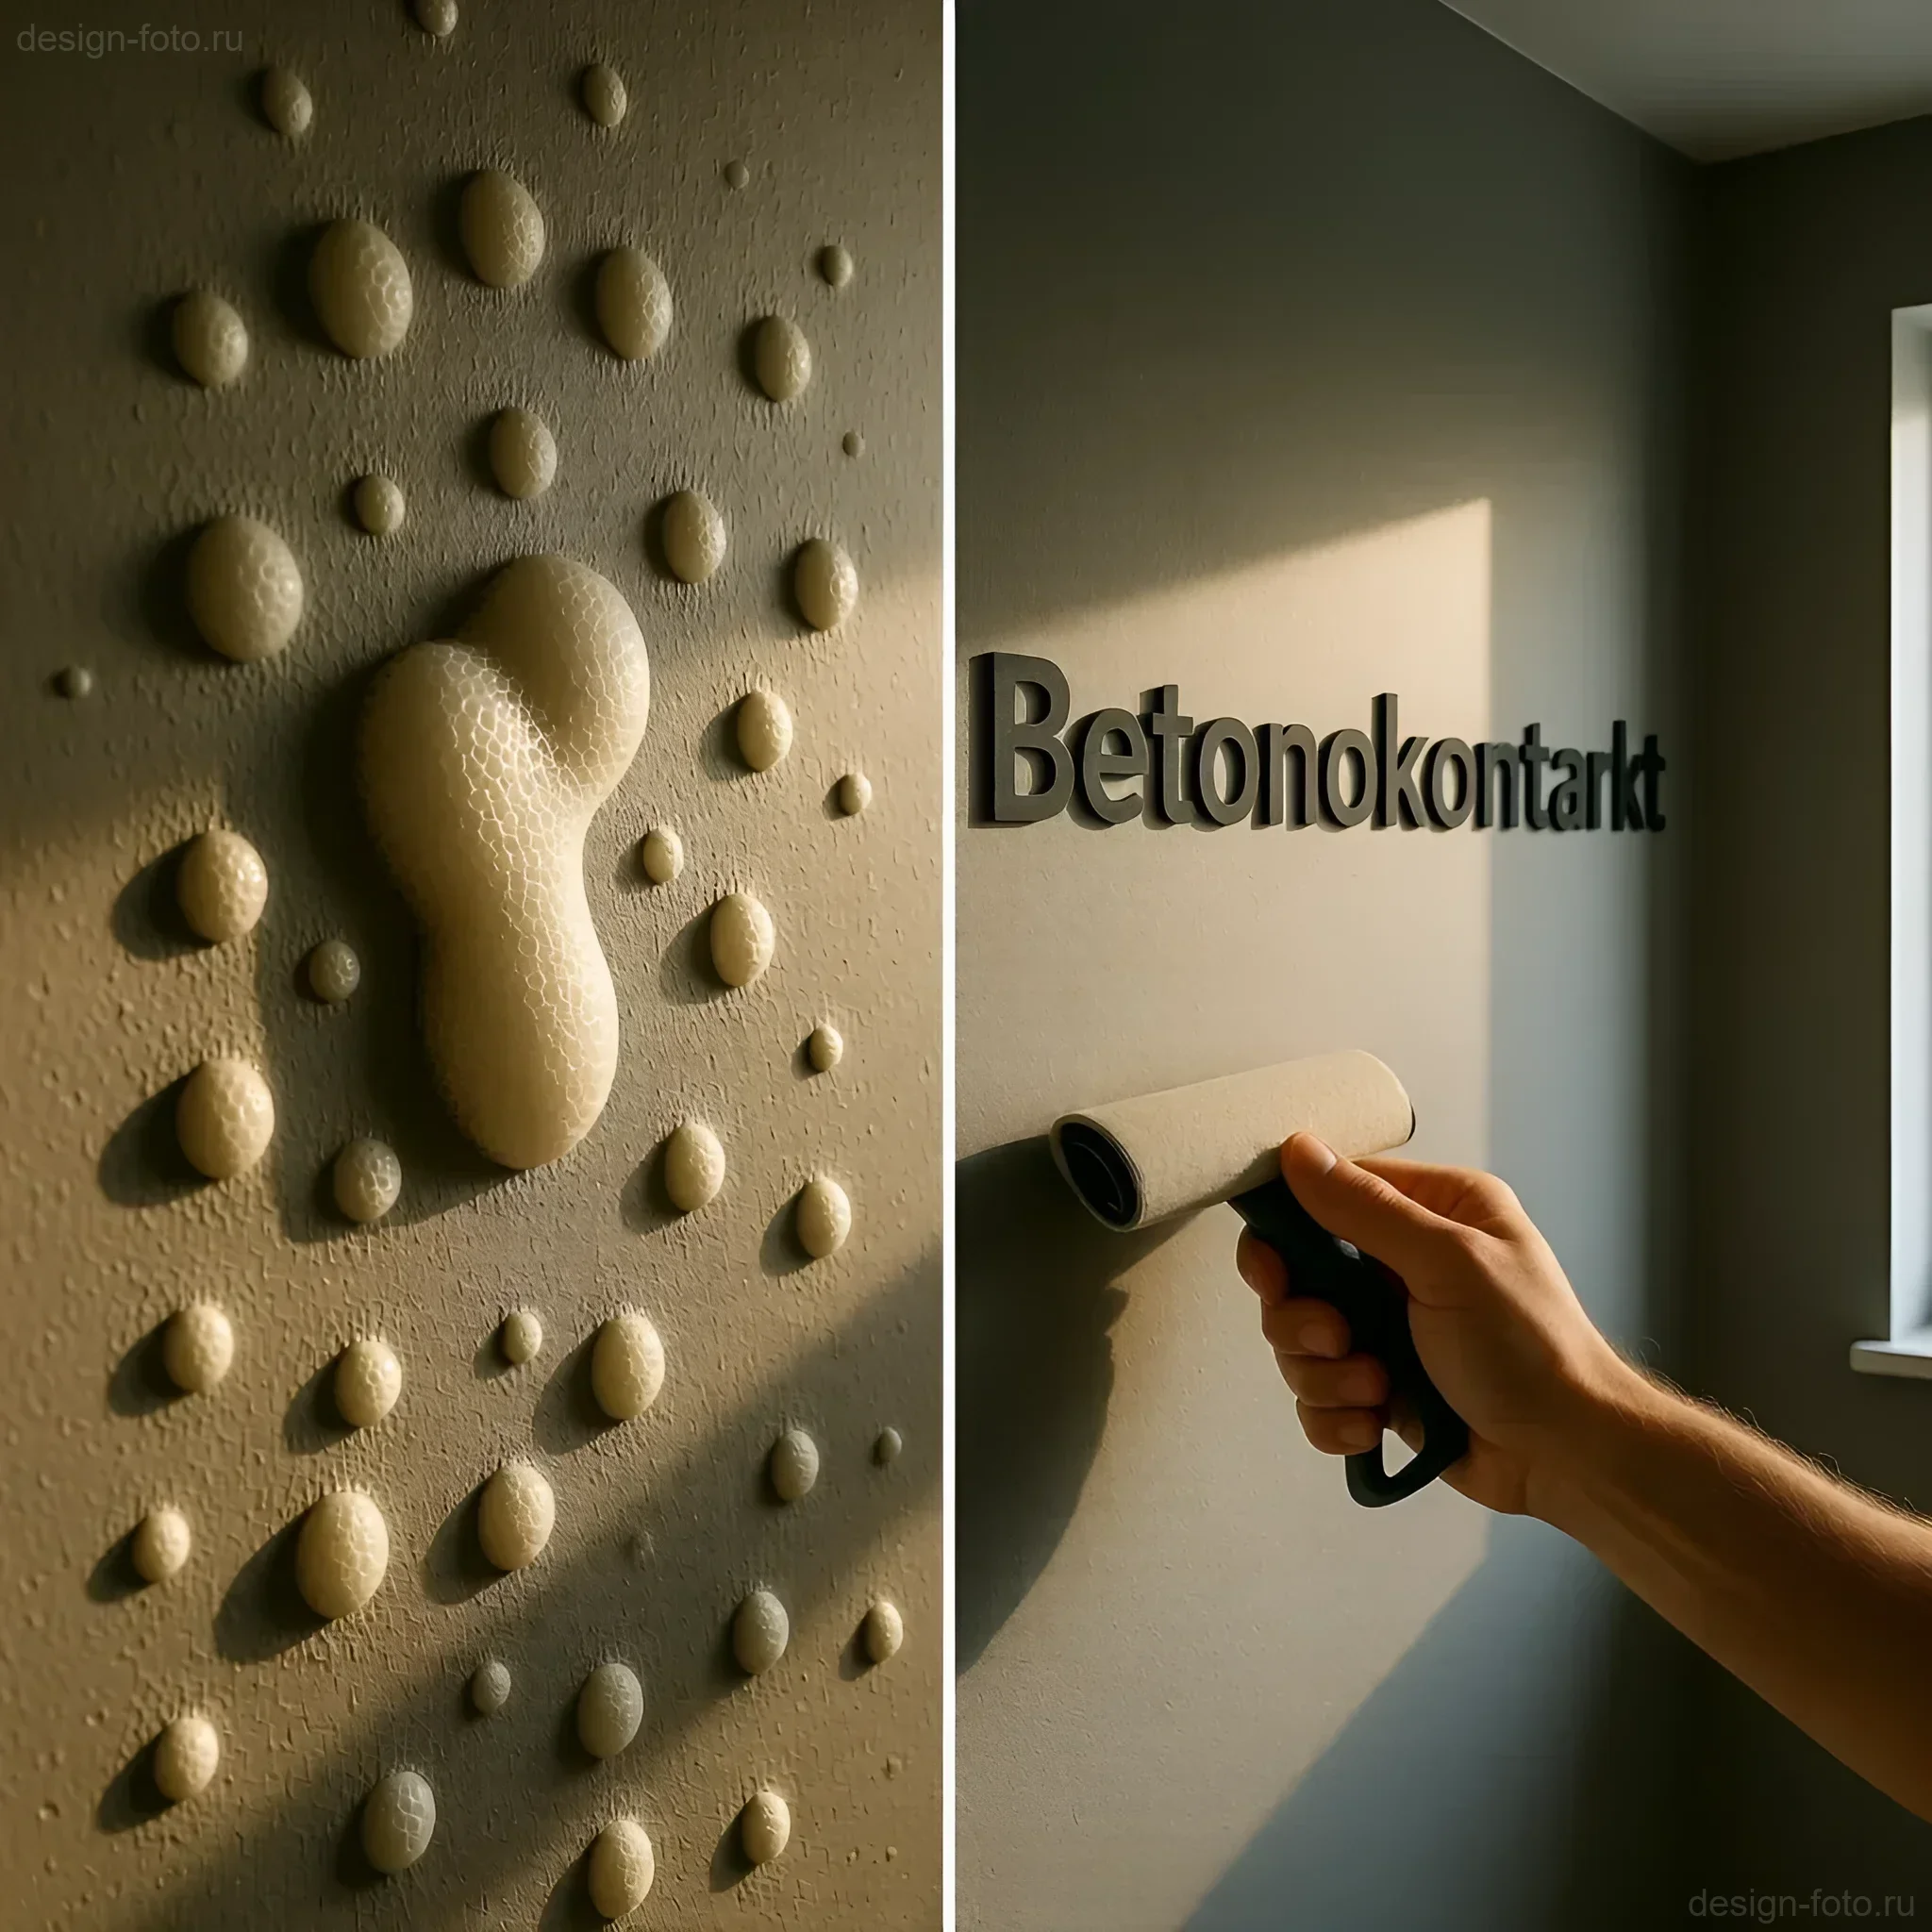
Why is this needed? When you apply plaster, putty, or tile adhesive to a smooth monolith (e.g., after formwork), these materials have no way to “grip.” They will only hold by their own adhesion to the surface, which can lead to delamination under load or temperature fluctuations. “Betonokontakt” creates thousands of microscopic support points into which the plaster mixture penetrates, providing mechanical grip that is almost impossible to detach.
Remember: the main task of BK is to ensure maximum adhesion between a low-absorbent base and a heavy finishing material.
When is “Betonokontakt” the Best Choice? Comparison with Other Primer Types
Many renovation novices believe that the more expensive the primer, the better. This is not true. Using “Betonokontakt” where a deep-penetrating primer (DPP) is sufficient is an unnecessary expense and complicates the process. BK is indispensable only in specific situations.
Comparison of Primer Types
To help you navigate, let’s look at how BK differs from two other popular types of primers:
| Primer Type | Main Purpose | Surface Type | Mechanism of Action |
|---|---|---|---|
| Deep-Penetrating Primer (DPP) | Strengthening loose and dusty bases, reducing absorbency. | Drywall, brick, aerated concrete, old plaster. | Penetrates inside, polymerizes, binds particles. |
| Universal Primer | Improving adhesion and reducing paint/adhesive consumption. | Putty, cement screeds. | Creates a thin film on the surface. |
| “Betonokontakt” | Ensuring adhesion on smooth, non-absorbent bases. | Monolithic concrete, old tiles, oil paint, glass. | Creates a physically rough layer (adhesion bridge). |
Specific Scenarios Where BK is Indispensable
If you notice that the surface does not absorb water (drops remain on it), or it is too smooth, your choice is “Betonokontakt”.
Here are the main areas of application where BK shows maximum effectiveness:
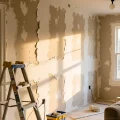
- Monolithic Concrete. This is the most common case. After formwork removal, the concrete wall is perfectly smooth and covered with cement milk. Attempting to plaster such a wall without BK will inevitably lead to delamination.
- Surfaces treated with oil paint. If the old oil paint is holding firmly, but you want to hang wallpaper or apply decorative plaster, removing it is tedious. Applying BK allows you to work over the paint, creating a reliable grip.
- Tile or ceramic tiles. You’ve decided to update the bathroom but don’t want to remove the old tiles? BK allows you to apply new tiles directly over the old ones or use decorative plaster.
- Dense cement screeds or self-leveling floors. Before applying thick layers of self-leveling compound or gluing parquet onto a very dense base.
- Complex surfaces. This includes moisture-resistant drywall (GKLV) in high-load areas, as well as surfaces treated with polymer compounds.
Practical tip: If you are unsure whether the base is absorbent, perform a simple test. Wet a small area with water. If the water is quickly absorbed, use DPP. If the water rolls off or remains on the surface for more than 30 seconds – use “Betonokontakt”.
How to Properly Apply “Betonokontakt”: A Step-by-Step Guide for Perfect Results
The quality of adhesion provided by “Betonokontakt” directly depends on the correctness of its application. This is not a material that can be applied carelessly. The process requires attention to detail, especially during the preparation stage.
Step 1: Base Preparation – 90% of Success
The base must be as clean, dry, and degreased as possible. If you are working on old tiles or paint, this step is critically important.
- Dust Removal. Use a brush and a powerful vacuum cleaner. Any dust remaining on the surface will act as a separating layer, and the primer will adhere to the dust, not the base.
- Removal of Grease and Dirt. If you are working in a kitchen or bathroom where grease deposits or soap residue may have accumulated, the surface must be degreased. Use a solvent (white spirit) or special cleaning agents, then wipe with clean water and let it dry.
- Removal of Peeling Elements. Anything that is not holding well (loose pieces of old plaster, bubbling paint) must be removed mechanically. BK does not fix crumbling layers.
Step 2: Preparing the Primer Itself
“Betonokontakt” is a suspension where quartz sand tends to settle at the bottom of the can. If you apply the material without mixing, you will only apply the acrylic liquid, and the sand will remain at the bottom. The adhesion effect will be zero.
- Mixing. Use a construction mixer or a drill with a special attachment. Mix thoroughly until a homogeneous mass is obtained, where the sand is evenly distributed and does not settle for 10-15 minutes.
- Dilution (if necessary). Most manufacturers allow dilution with clean water (no more than 5% by volume) if the material is too thick or if you are working in hot weather. However, in most cases, professionals recommend using it undiluted for maximum adhesion layer thickness.
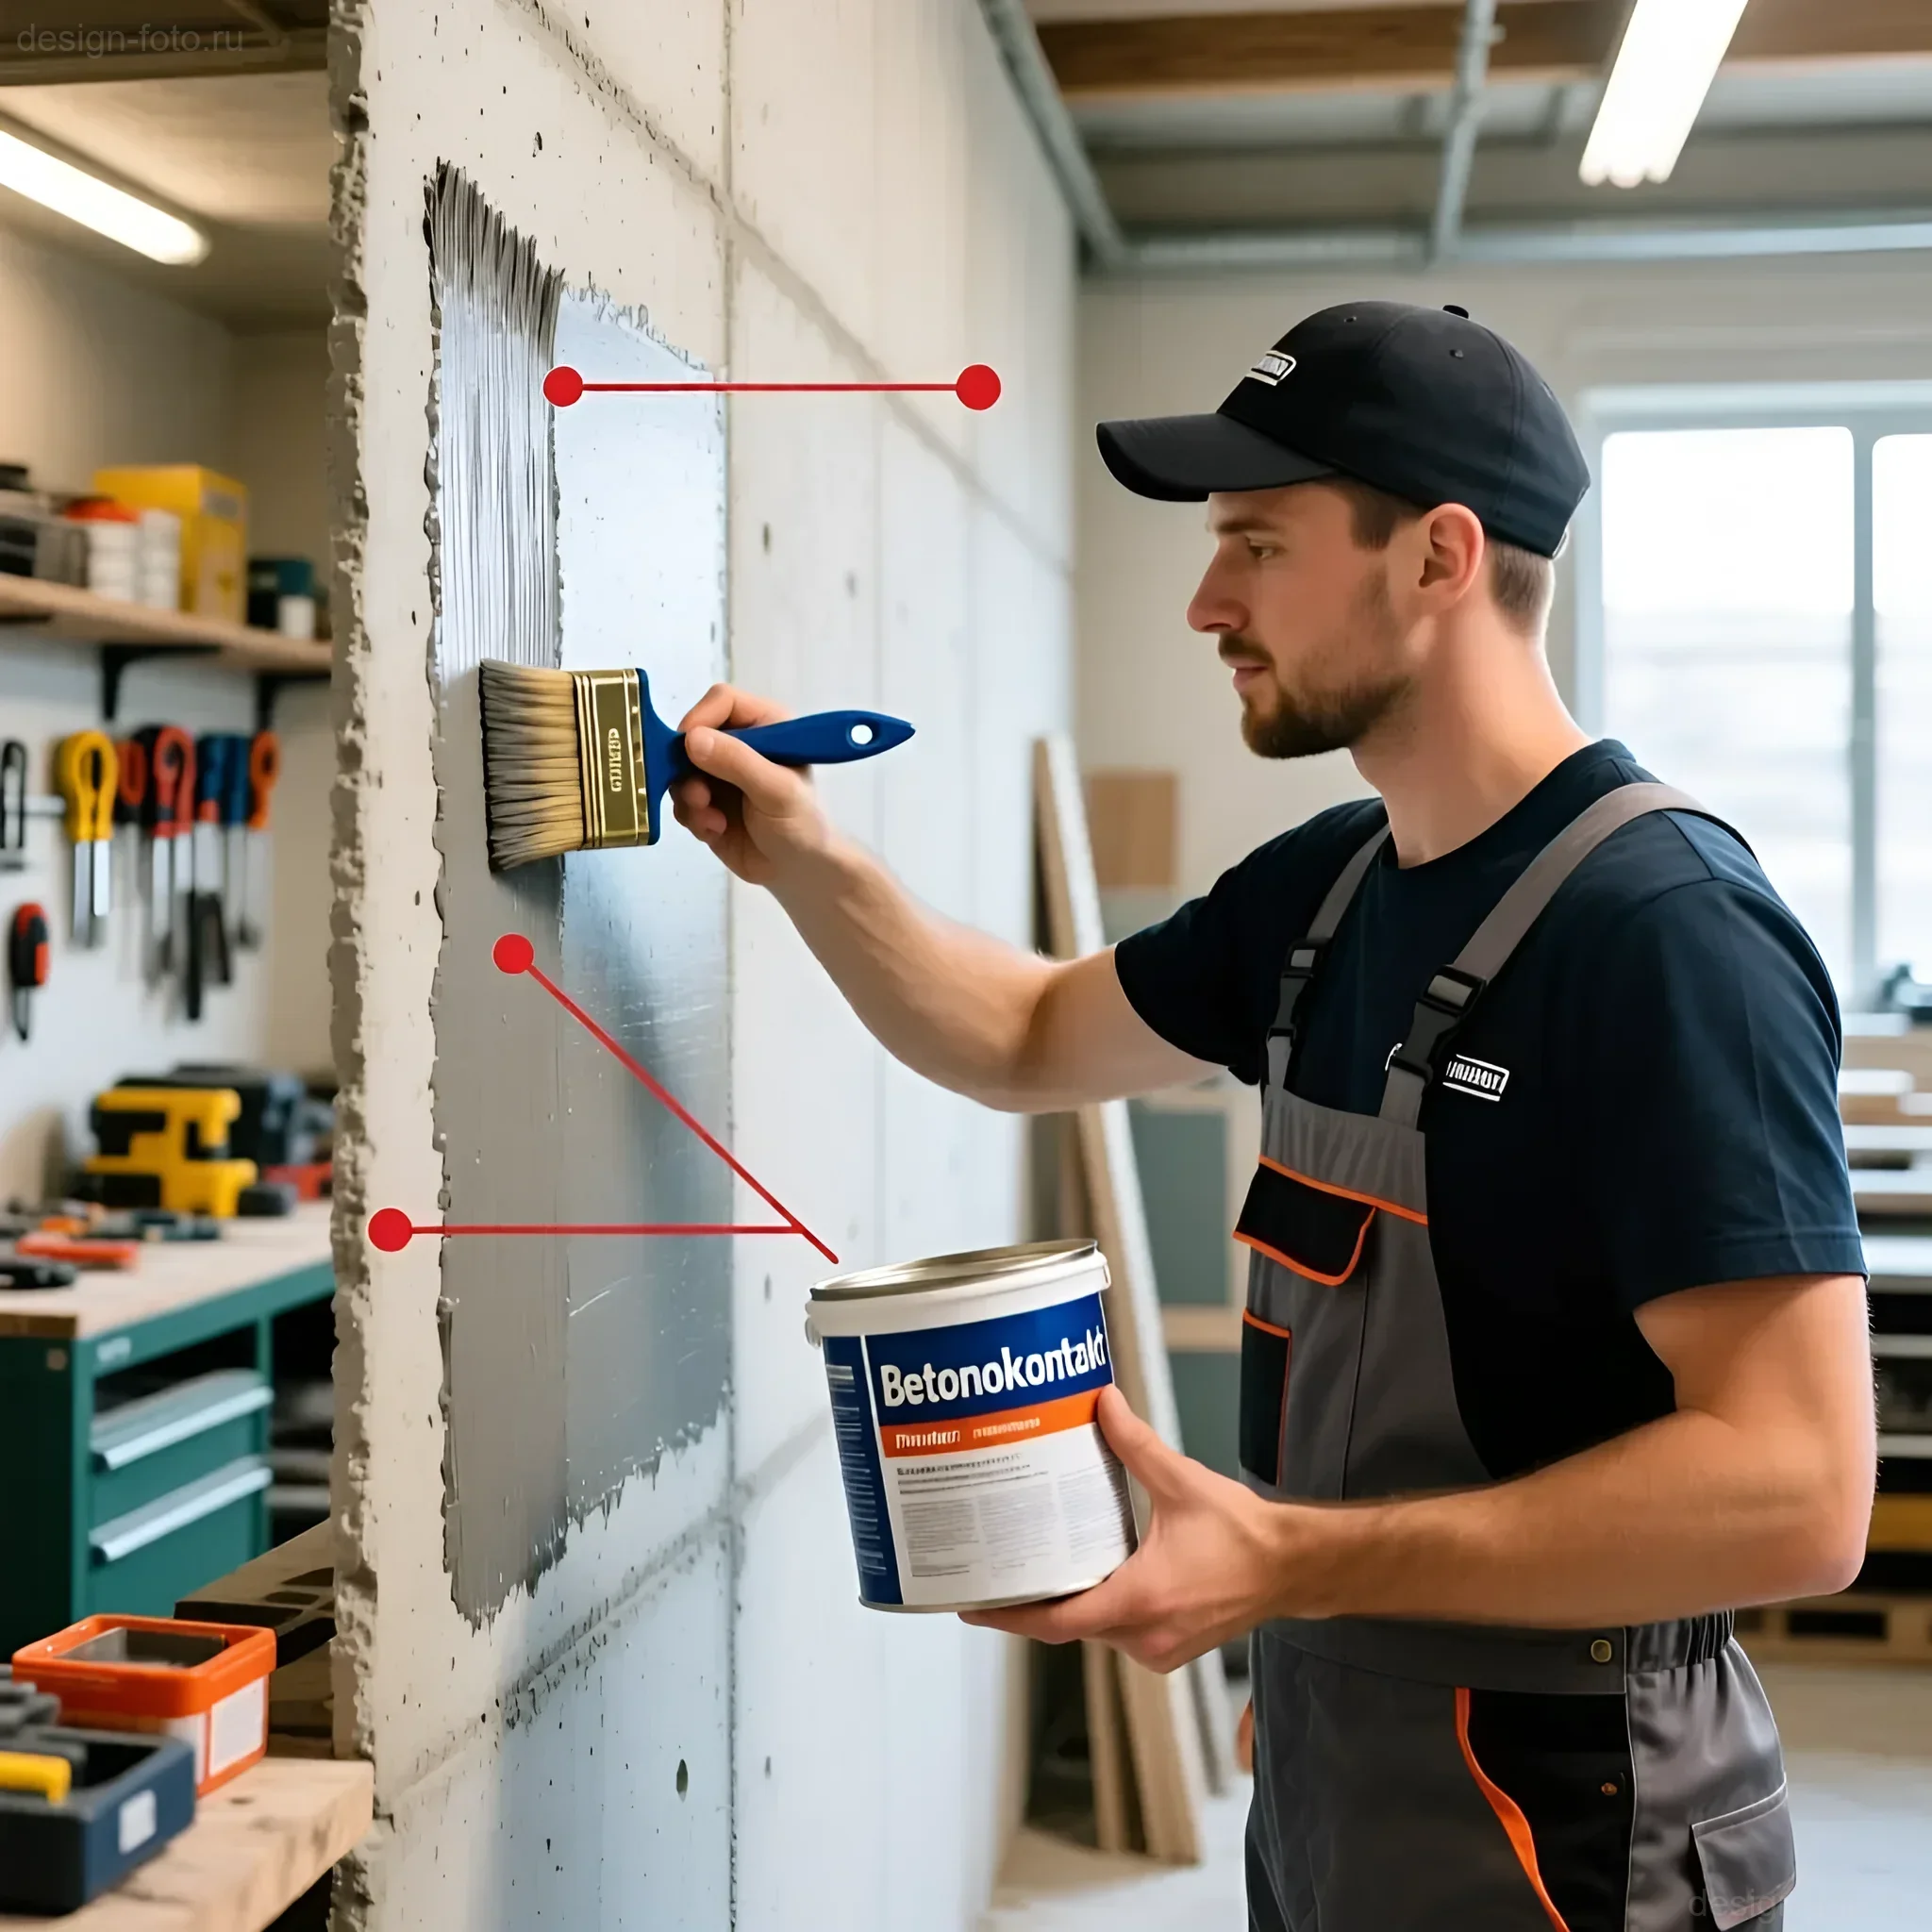
Step 3: Application
A brush or roller is suitable for applying BK. The choice depends on the area and texture of the surface.
- Tool. For large, flat surfaces, use a roller with medium or long pile. A brush is useful for corners, joints, and complex areas.
- Application Technique. Apply the material in an even layer. The goal is to cover the entire surface so that after drying, it is completely rough and has a uniform color (thanks to the pigment). The “cross-hatch” technique is often recommended to ensure no skips.
- Layer Thickness. The layer should be sufficient to fix the quartz grains, but not excessive. Too thick a layer can lead to cracking upon drying.
Step 4: Drying and Quality Control
The drying time for “Betonokontakt” is usually from 3 to 12 hours, but this depends on the humidity and temperature in the room. Before proceeding with further work, ensure that the primer is completely dry and has polymerized.
- Check. The surface should become matte, rough to the touch, and not stick to your hands. If you run your palm over it, the sand should not crumble (this indicates that the acrylic dispersion has bound it well).
- Optimal Conditions. The room temperature should be between +5°C and +30°C. Avoid drafts and direct sunlight during drying.
Important: After applying and drying BK, finishing work (plastering, tiling) should be carried out within 1-2 weeks. If the surface becomes dusty, the adhesion effect may decrease.
“Betonokontakt” in Interiors: Examples of Use in Different Rooms and with Different Materials
As a professional designer, I can confirm that “Betonokontakt” is a tool that allows us to realize the boldest ideas without resorting to expensive and destructive demolition. Let’s look at a few practical examples.
1. Kitchen: Tiling Without Demolition
If you want to update your kitchen backsplash, but the old tiles are holding firmly, BK is the ideal solution. Prime the old tiles (after degreasing them), wait for it to dry, and then apply new tile adhesive. This saves time, money, and the stress associated with construction waste removal.
Alternative option: Applying decorative Venetian plaster or microcement directly onto old tiles. BK will provide the necessary grip for these heavy and dense finishing coatings.
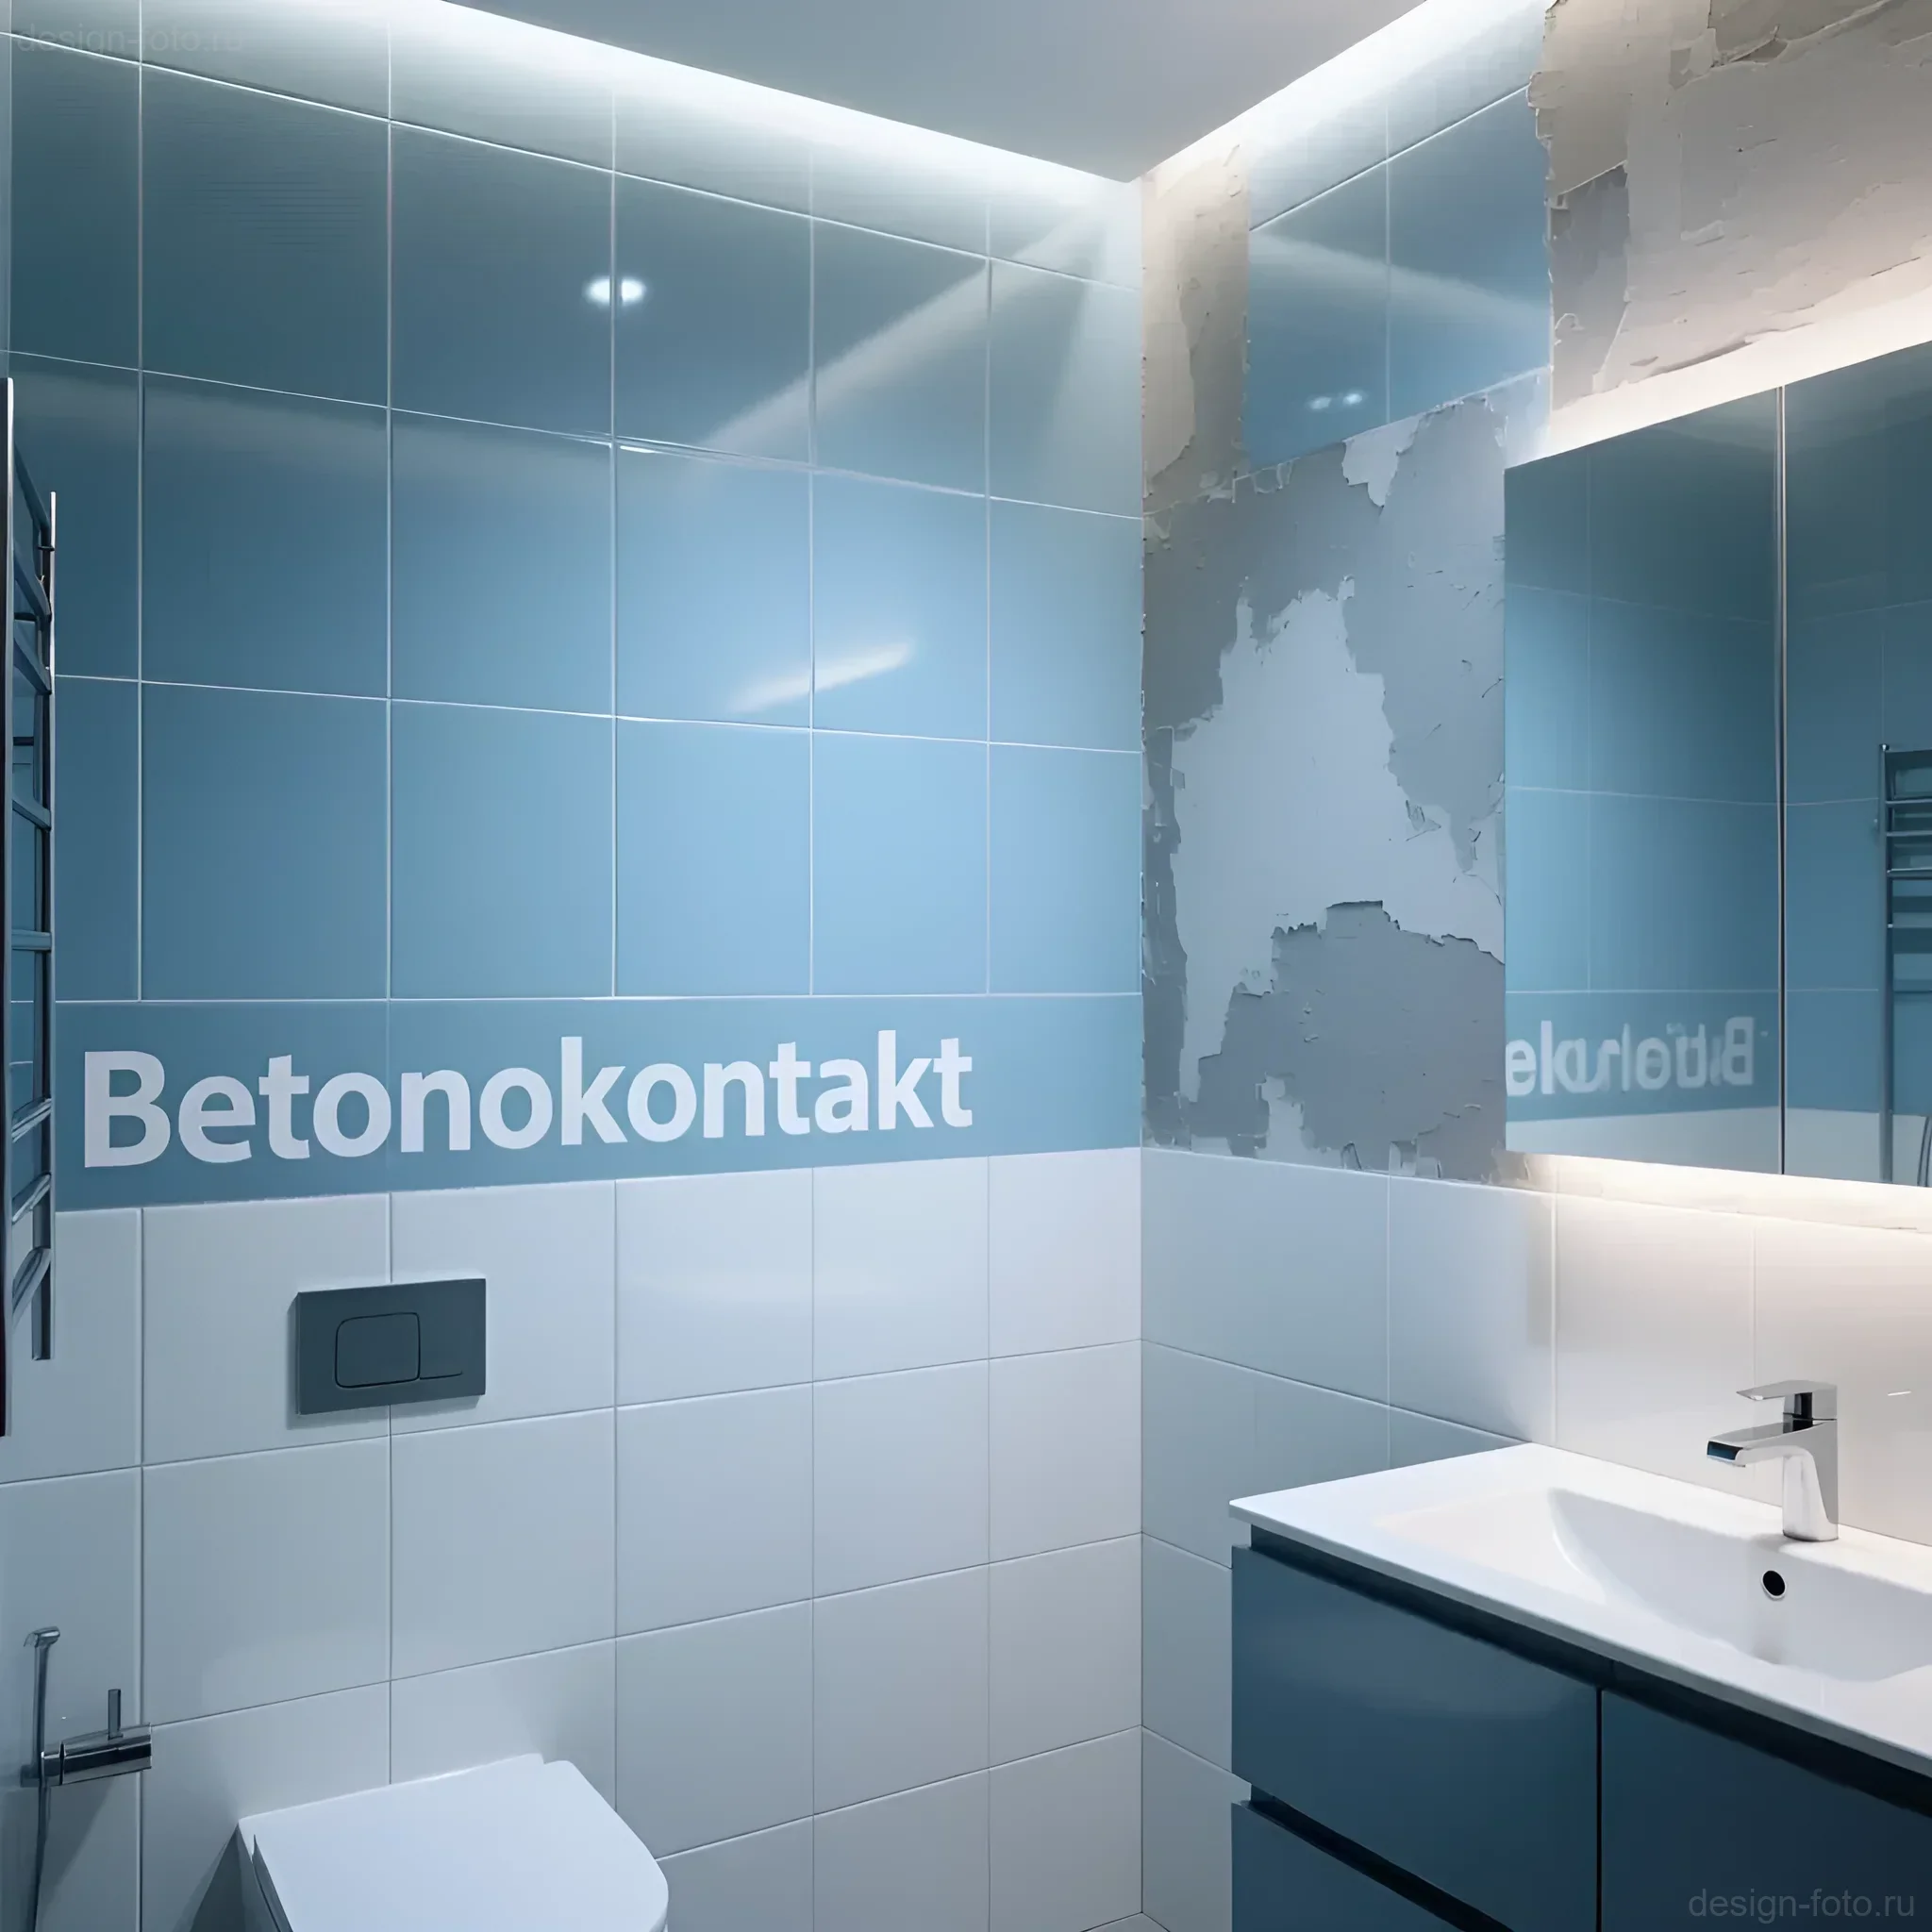
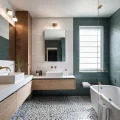
2. Bathroom: Battling Monolith and Humidity
In modern new buildings, bathroom walls are often made of dense monolithic concrete. Before applying waterproofing and subsequent tiling, the use of “Betonokontakt” is mandatory. This ensures that the tile adhesive will not detach due to high humidity and temperature fluctuations.
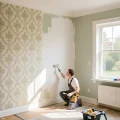
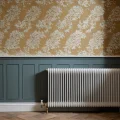
3. Living Rooms: Working Over Old Paint
In old houses, walls painted with oil or alkyd paint are common. If you want to apply finishing putty or non-woven wallpaper:
- Clean and degrease the painted surface.
- Apply BK.
- After drying, work as on a regular wall. The adhesion layer will prevent the putty from sliding off or cracking.
4. Floors: Preparation for Self-Leveling Compounds
When leveling floors in old buildings or working with very dense cement screeds, BK is used to prevent delamination of the self-leveling compound. This is especially important if the thickness of the leveling layer exceeds 5 mm. The primer ensures monolithic adhesion between the old and new layers.
Designer’s tip: If you are working with smooth, low-absorbent, but not perfectly even surfaces (e.g., old mosaic tiles), choose “Betonokontakt” with a coarser fraction of quartz sand. The larger the grain, the better the mechanical grip, which is especially important when applying thick layers of plaster.
Typical Mistakes When Working with “Betonokontakt” and How to Avoid Them: Professional Tips

Despite its apparent simplicity, working with BK is often accompanied by mistakes that negate the entire effect. Typically, these mistakes are related to neglecting instructions or trying to “save money.”.
Mistake 1: Insufficient Mixing
Problem: If the primer is not mixed, you are mainly applying acrylic liquid to the wall. All the quartz filler remains at the bottom of the bucket. As a result, the surface remains smooth, and the adhesion bridge is not formed.
How to avoid: Use a mixer. Mix for 5-7 minutes, even if the can was just opened. If you take a break from work, mix the material again before resuming application.
Mistake 2: Application on a Dusty or Greasy Surface
Problem: The primer adheres to dust or a grease film, not to the wall itself. Later, when applying heavy plaster, the entire BK film will delaminate along with the finishing material.
How to avoid: Clean the surface thoroughly. If it’s a kitchen or bathroom, be sure to use a degreaser. Do not work in a room where parallel work with drywall or sanding is taking place, as this creates a lot of dust.
Mistake 3: Applying Too Thin a Layer
Problem: A thin layer cannot hold all the sand fraction and does not create sufficient film thickness. Adhesion capacity is reduced.
How to avoid: Observe the consumption rate indicated by the manufacturer (usually 250–350 g/m²). Apply the material so that the color is uniform and saturated. If after drying you see bare spots or the surface is not sufficiently rough, apply a second, thinner layer.
Mistake 4: Low Temperature and High Humidity
Problem: Acrylic dispersions polymerize poorly at low temperatures (below +5°C) and high humidity. This can significantly increase drying time and reduce the final adhesion strength.
How to avoid: Ensure optimal conditions. Work at temperatures between +10°C and +25°C. If the room is cold, use a heat gun to raise the temperature, but do not direct it directly at the freshly primed wall.
Mistake 5: Delaying Finishing Work
Problem: If “Betonokontakt” is applied, but finishing work begins a month or two later, construction and household dust settles on the surface, reducing adhesion. As a result, you have to prime again.
How to avoid: Plan your work so that after BK dries, you start plastering within 3–14 days. If the surface becomes dusty, it should be carefully wiped with a dry brush or vacuumed (without using water!).
FAQ: Most Popular Questions About “Betonokontakt” Primer
As a designer and consultant, I regularly answer the same questions about working with this specific material. Here are the most frequent ones.
1. Can “Betonokontakt” be used to prime drywall?
Theoretically yes, but it’s not necessary. Drywall is an absorbent base. A regular universal primer or DPP is sufficient for it. Using BK on drywall will lead to an unjustified consumption of material and complicate the puttying process, as the quartz sand will scratch the spatula and create excessive roughness, which will then need to be leveled.
2. Is it mandatory to use it under plaster?
Yes, if the base is monolithic concrete, old paint, or a very dense cement. If you are plastering over brick, aerated concrete, or old, loose but cleaned plaster, a deep-penetrating primer is sufficient. BK is only needed for low-absorbent and smooth surfaces.
3. What to do if the primer freezes?
Most high-quality acrylic “Betonokontakt” primers can withstand several freeze/thaw cycles, but with reservations. If the primer freezes, it should be slowly thawed at room temperature (do not use heating devices!) and thoroughly mixed. If after mixing it does not regain a homogeneous consistency (e.g., becomes lumpy or separates), it is best not to use it, as the structure of the acrylic dispersion has been compromised.
4. What is the material consumption?
Consumption varies greatly depending on the manufacturer and sand fraction, as well as the absorbency of the base. On average, consumption is 250–350 grams per square meter. On very dense monoliths, consumption may be closer to the lower limit, and on slightly absorbent surfaces – to the upper limit.
5. Does “Betonokontakt” have an odor?
As a rule, high-quality BK based on acrylic dispersion has practically no odor, as they are water-based. A slight odor may be present during application, but it dissipates quickly. If the primer has a sharp, acrid smell, it may indicate a low-quality binder or the presence of aggressive additives.
6. Do I need to prime with BK before final puttying?
No. “Betonokontakt” is designed for applying heavy materials (plaster, tile adhesive). After you apply plaster, it is already an absorbent base. Before final puttying or painting, the plaster should be treated with a regular deep-penetrating primer.
Interesting Facts About “Betonokontakt” Primer: From Creation History to Modern Technologies
To conclude our guide, let’s look at this material a bit more broadly. “Betonokontakt” is not just a name; it has become a generic term for a class of adhesion primers.
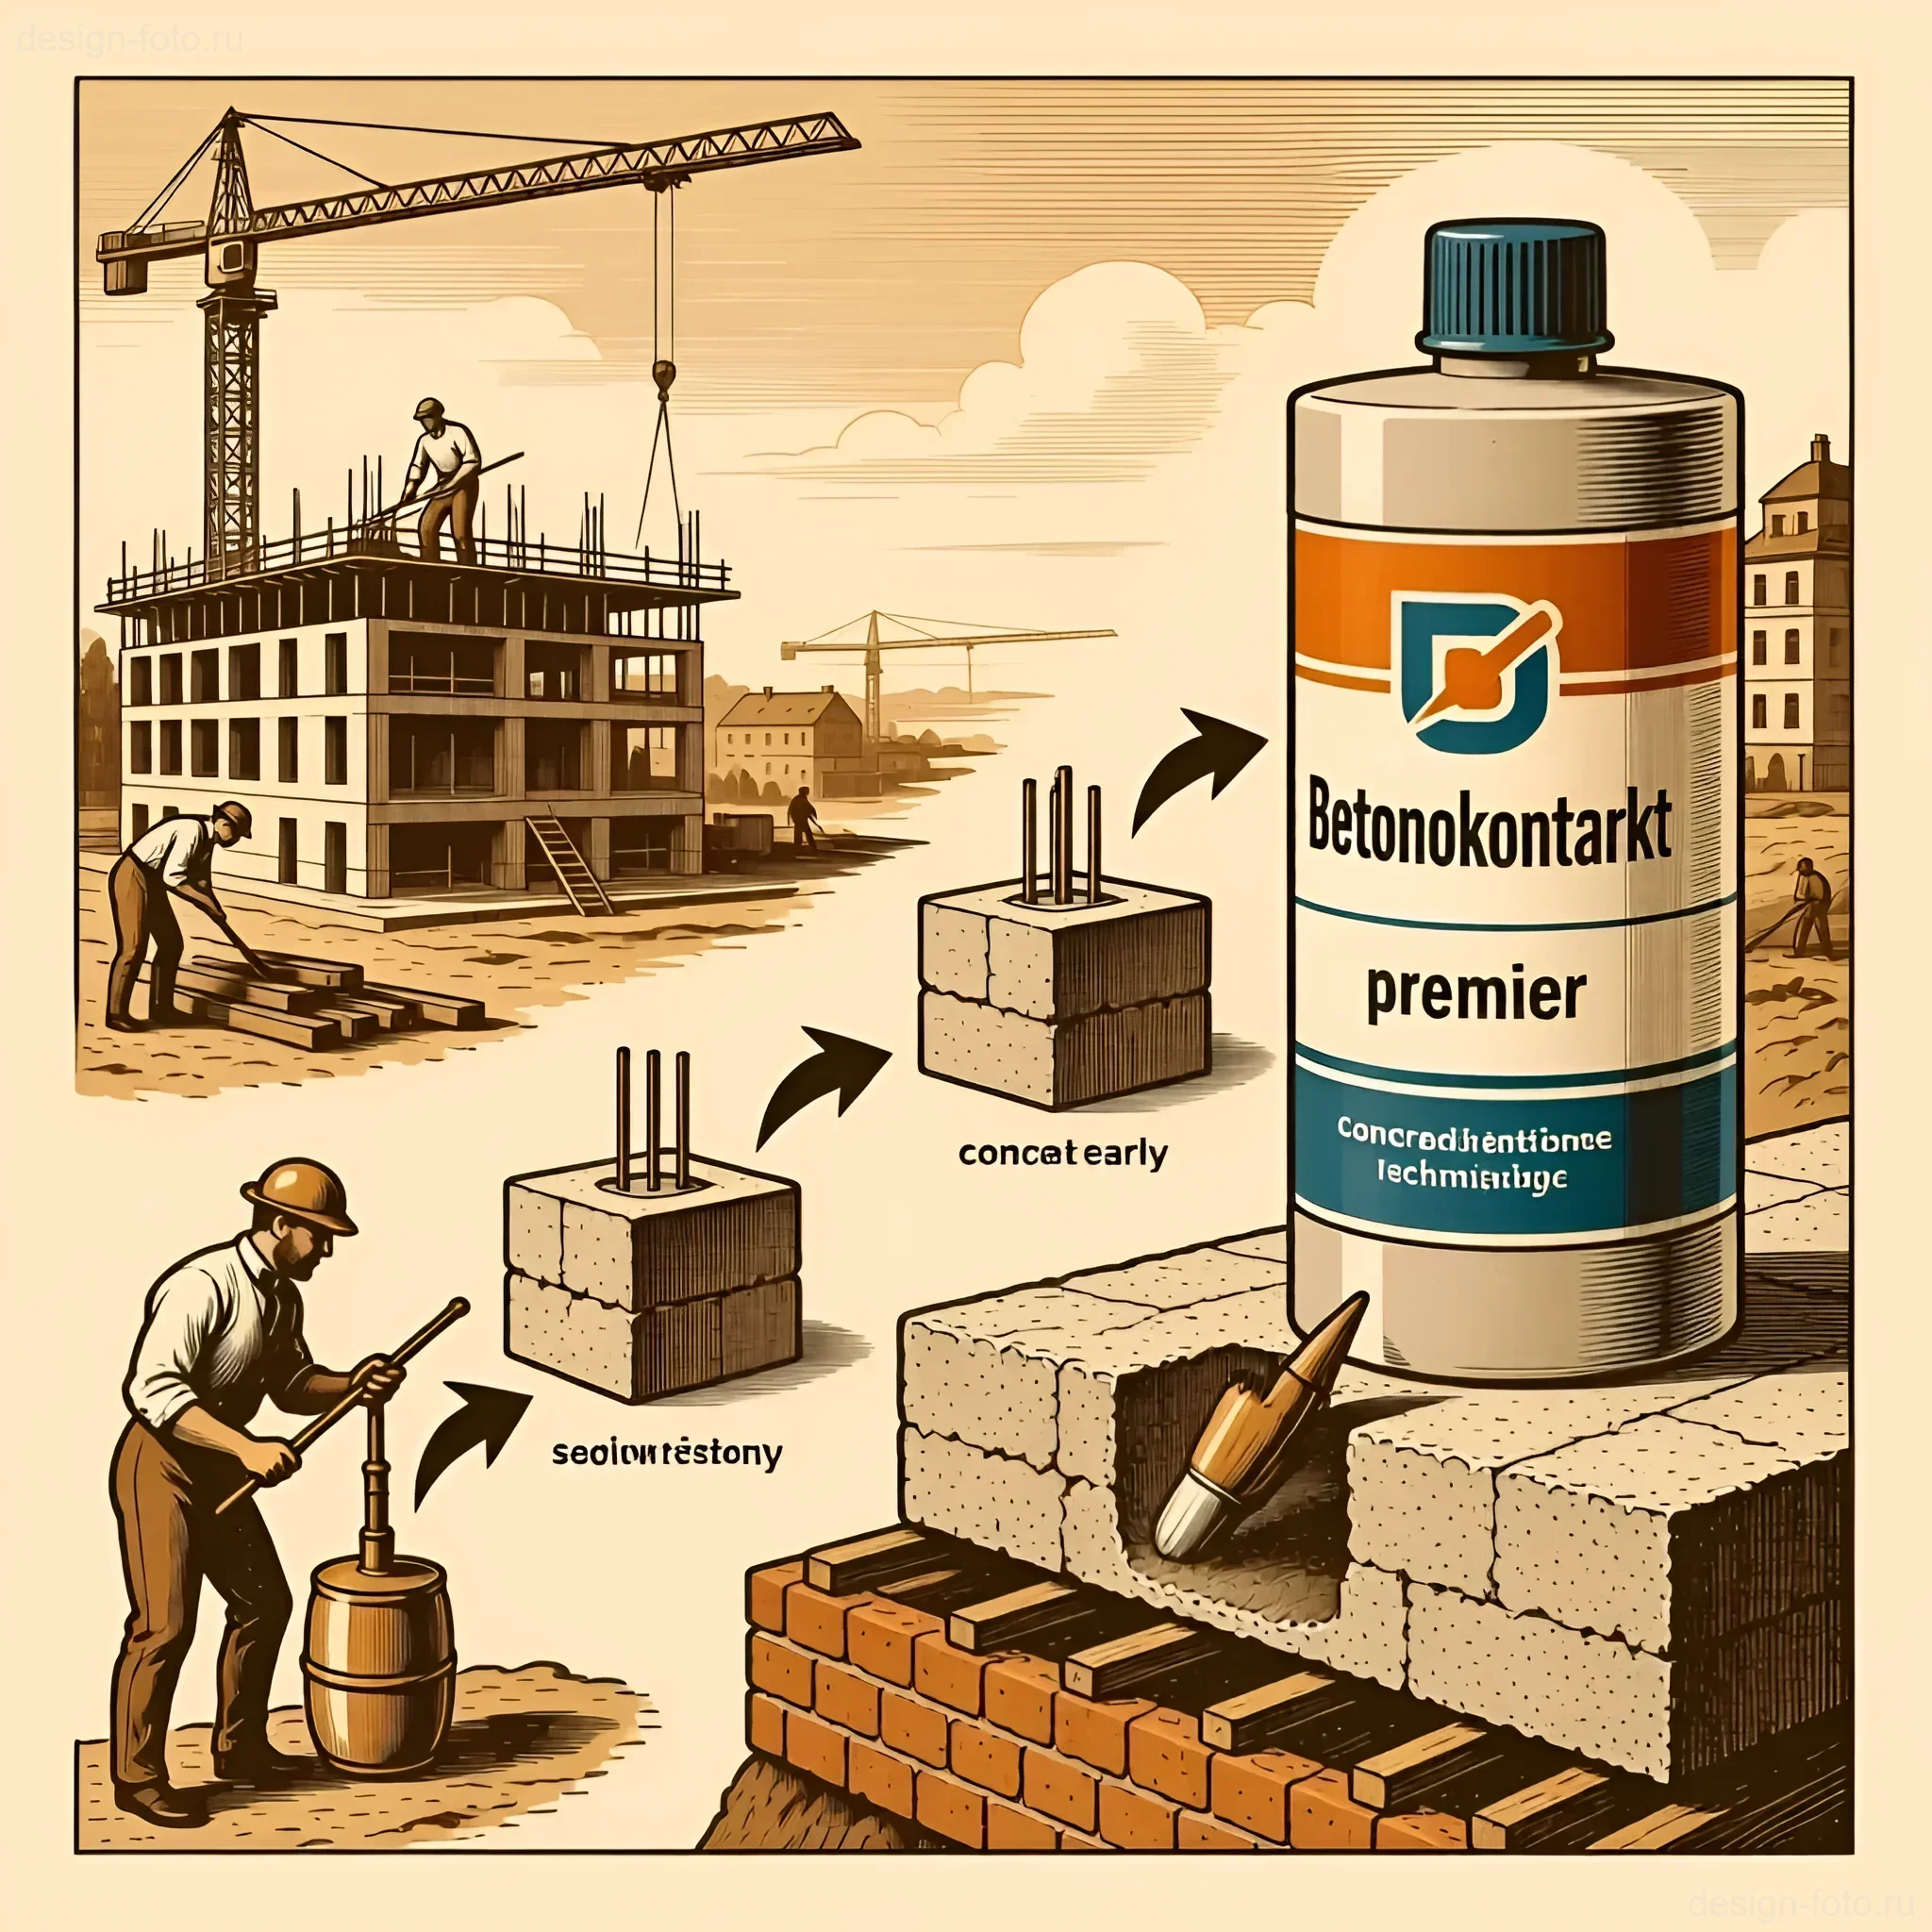
1. German Influence. The idea of creating an adhesion primer with quartz filler originated in Germany in the mid-20th century, when large-scale construction with monolithic concrete began. The first formulations were developed to solve the problem of bonding thick gypsum plasters to smooth concrete surfaces, which was critical for interior work.
2. Color is Standard. Most BK primers have a pink, red, or orange color. This is not just a design choice but a necessity for quality control. Thanks to the bright color, even in poor lighting, the craftsman can see that the entire surface is covered evenly. This has become an industry standard.
3. Different Sand Fractions. Modern manufacturers offer BK with different fractions of quartz filler. Fine grain (0.3–0.6 mm) is used under thin-layer putties or tiles. Coarse grain (up to 1 mm) is used under thick-layer plasters (e.g., gypsum, applied in a layer of 2–5 cm). Choose the fraction based on the thickness of the subsequent layer.
4. Application in Design. In modern design, “Betonokontakt” is sometimes used not only as a preparatory layer but also as a finishing coating in loft or industrial styles. Thanks to its pronounced rough texture and characteristic color, it can serve as a basis for imitating raw stone or concrete if covered with a matte varnish.
5. Environmental Friendliness. Modern BK formulations are mainly water-based (acrylic dispersion), making them environmentally safe and practically non-toxic. When working in living spaces, this is a big advantage compared to some older solvent-based primers.
***
We hope this detailed guide has helped you understand the specifics of “Betonokontakt” primer. Remember: proper base preparation is the key to the durability and beauty of your interior. Good luck with your renovation!
Рекомендуем:
 Priming Walls Before Wallpapering and Painting: The Ideal Foundation for Renovation
 How to Update Old Tiles Without Removing Them: 99 Ways to Transform Your Bathroom and Kitchen
 DIY Venetian Plaster: Is It Possible?
 Bark Beetle Decorative Plaster: Application Technology
 Bathroom: Tile or Paint. What Will Everyone Face?
 Joint filler for tiles: how to choose the color and apply it correctly
 DIY Decorative Stone Wall Installation: Your Guide to Home Transformation
 Wall Cladding with Wood Paneling: A Step-by-Step Guide
 Liquid Wallpaper: Pros, Cons, and Application Technology
 Sanding Walls After Puttying: A Perfect Surface with Your Own Hands
 How to Make a Brick Wall in an Interior (Imitation)
Grout for tiles: how to choose the color and apply it correctly
How to Make a Brick Wall in an Interior (Imitation)
Grout for tiles: how to choose the color and apply it correctly
 How to Tile Walls in a Bathroom: A Detailed Guide
 New wallpaper over old: is it possible and when should you try it?
 Betonokontakt: Guía completa de uso para una reparación perfecta
 Washable wallpaper for the kitchen: why it’s the best idea for your renovation?
 How to Wallpaper Behind a Radiator
 What to do if wallpaper is peeling at the seams?
 How to Hang Wallpaper Without Seams: The Technique for Perfect Joints
Betonokontakt: Der ultimative Leitfaden für perfekte Renovierungen
How to Hang Wallpaper Without Seams: The Technique for Perfect Joints
Betonokontakt: Der ultimative Leitfaden für perfekte Renovierungen