
Hello, friends! Your favorite designer and author of the design-foto.ru blog is back with you. Today we’ll talk about a wall leveling method that often sparks debate, but can be a real lifesaver in certain situations. We’re talking about installing drywall with adhesive. Many are accustomed to the frame method, but there are cases where the “frameless” option wins on all fronts. Let’s figure out when exactly it will be the best choice, how to implement it correctly, and what mistakes to avoid.
We will try to cover all aspects in as much detail as possible so that you can make an informed decision and possibly save budget and time while achieving a perfect result. After all, the goal of our blog is to provide only practical advice that works!
Aligning Walls with Drywall Adhesive: When This Method is Your Salvation?
Imagine this situation: you’ve bought an apartment, possibly in an older building, and the walls are far from ideal. They are crooked, uneven, possibly with peeling plaster. And then the question arises: how to level them? There are several options: from expensive and messy work with wet plaster to installing drywall sheets. The latter is often associated with creating a frame, but today we will focus on a faster and, strangely enough, more economical method – installing drywall on an adhesive base.
This method can truly be a lifesaver when you need to quickly and without excessive mess transform a room, especially if the unevenness on the walls is not too significant. It allows you to not only hide defects but also create a perfectly smooth surface for further finishing – painting, wallpapering, decorative plaster. But, like any technology, it has its nuances and is not suitable for all cases. We will analyze where it will be most effective and where it is better to look for other solutions.
Drywall on Adhesive: What is This Technology and How Does it Differ from the Frame Method?
Before diving into the details, let’s understand the essence of the method. Installing drywall with adhesive, or as it’s also called, the “frameless” method, involves directly gluing drywall sheets to the wall surface using special adhesive or mounting foam. Unlike the frame method, no metal or wooden profiles are used here. The sheets are glued directly to the surface, creating a new, even plane.
Key Differences from the Frame Method:
- Space Saving: The frame method “eats up” 5 to 10 centimeters from each wall, which is significant in small rooms. Installation with adhesive allows you to save precious centimeters, as the drywall adheres almost flush to the wall.
- Installation Speed: With a smooth surface and the correct technology, the frameless method can be faster, as it eliminates the frame assembly stage.
- Simplicity: In theory, it’s simpler, but requires care and precision.
- Cost: The absence of profiles, screws, and other fasteners reduces the overall material cost.
- Concealed Utilities: It is much easier and more convenient to run electrical cables, pipes, and other utilities within a frame. With adhesive installation, this becomes more complex, although still possible.
- Ventilation: The frame creates a gap that can facilitate wall ventilation. With adhesive installation, there is no such gap.
- Vibration Resistance: The frame system is more resistant to minor vibrations and movements, which can be important in new buildings or seismically active areas.
Thus, the choice between the frame and frameless method depends on the specific conditions, wall condition, and your priorities.
Drywall on Adhesive: 5 Situations Where It’s Justified
As I’ve already said, this method is not suitable for every wall. But there are situations where it becomes a real lifesaver and the optimal solution:
- Minor Unevenness and Irregularities: If your wall has deviations from the vertical of no more than 2-3 centimeters per 2 meters in length, installing with adhesive is an excellent option. Drywall glued to the base with special “dollops” of adhesive can level out such minor defects. This is much faster and easier than plastering, and requires less effort than assembling a frame.
- Desire to Save Space: In small rooms, narrow corridors, or compact apartments, every centimeter counts. The frame method “eats up” precious space, making the room even smaller. Installing drywall with adhesive hardly reduces the room’s area, making it an ideal choice for such cases.
- Desire to Save Money: If your budget is limited, but you want smooth walls for finishing, drywall with adhesive is cost-effective. The cost of adhesive is significantly lower than the cost of profiles, fasteners, and drywall itself (when comparing material volume for the same area). Moreover, the work is done faster, which can also reduce labor costs if you hire professionals.
- Quick Renovation: In cases where you need to quickly prepare walls for painting or wallpapering, the frameless method comes to the rescue. It allows you to quickly create a smooth surface, bypassing the labor-intensive process of plaster leveling and frame assembly. This is relevant, for example, during cosmetic renovations or preparing an apartment for rent.
- Concrete or Brick Walls with Good Adhesion: This method is most effective on strong, smooth concrete or brick bases to which the adhesive will adhere well. If the wall is crumbling, has large cracks or delaminations, then preparatory work will be required first: cleaning, priming, possibly partial crack filling.
It’s important to understand: if the unevenness on the wall exceeds 3-4 centimeters, or if the wall has significant protrusions, then installing drywall with adhesive will be ineffective. In such cases, the drywall will “flex,” and the adhesive may not cope, leading to the sheets detaching.
Drywall Adhesive: How to Choose the Ideal Compound for Smooth Walls?
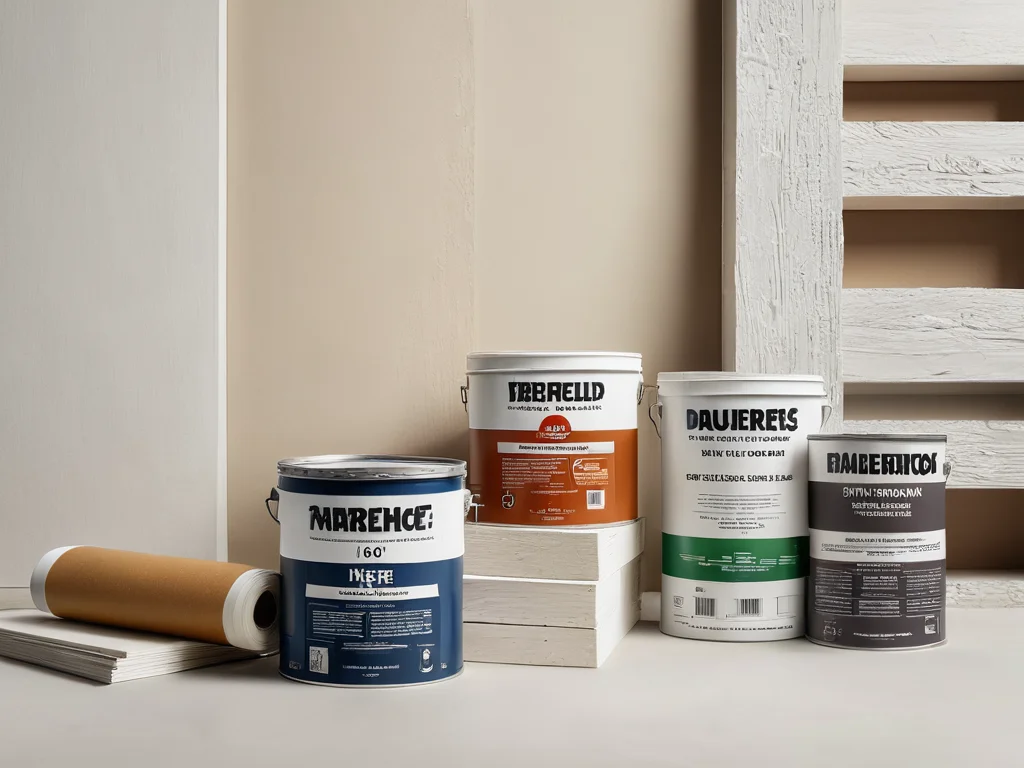
Choosing the right adhesive is key to success when installing drywall with adhesive. The strength of the bond, the durability of the structure, and, of course, the smoothness of your walls depend on it. Today, there are several types of adhesive compounds available on the market that are suitable for these purposes.
Main Types of Adhesives:
- Gypsum Mounting Compound (e.g., Perlfix from Knauf): This is perhaps the most popular and proven option. A special dry mixture based on gypsum, which is diluted with water. It has excellent adhesion to most mineral bases (concrete, brick, plaster), sets quickly, and provides a reliable hold. It is important to use mounting adhesive specifically for drywall, not regular putty.
- Polyurethane Mounting Adhesive (Foam): Comes in an aerosol can. Sets quickly, has good adhesion and elasticity. Convenient to apply as it can be applied point-wise or in strips. Excellent for gluing drywall to smooth, strong surfaces. Foam also has thermal and sound insulation properties.
- Cement-Based Adhesive Compounds: More commonly used for tiles, but some formulations can also be used for drywall, especially where increased moisture resistance is required (e.g., for bathrooms). However, they usually dry longer and can be less plastic than gypsum compounds.
What to Look for When Choosing:
- Purpose: Make sure the packaging indicates that the adhesive is suitable for installing drywall sheets.
- Setting Time: For drywall with adhesive, it’s optimal to use fast-setting compounds (10-20 minutes) so that you can quickly position the sheets according to the level.
- Adhesion: Choose an adhesive with high adhesion to your type of base (concrete, brick, plaster).
- Consumption: Manufacturers usually indicate the approximate consumption per square meter. Compare these figures.
- Manufacturer: Prefer proven brands that have established themselves in the building materials market.
Designer Recommendation: If you are a beginner, start with gypsum mounting compounds. They forgive some mistakes, allow time for correction, and provide reliable adhesion. For more experienced users or if increased moisture resistance is needed, consider polyurethane adhesive foam.
Master Class: How to Level Walls with Drywall Adhesive in 3 Steps (Step-by-Step Instructions)
Now let’s get practical! I’ve prepared step-by-step instructions for you that will help you tackle this task as effectively as possible. Even if you’re doing this for the first time, by following these steps, you can achieve excellent results.
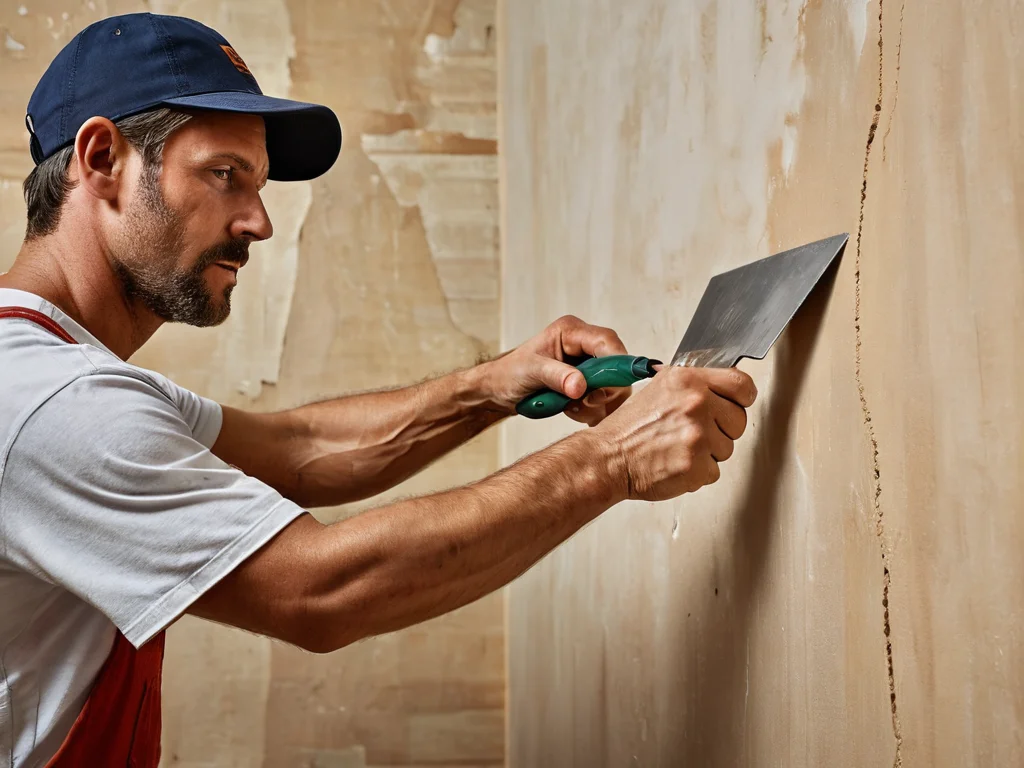
Step 1: Preparing the Base
- Cleaning: Thoroughly clean the walls of old wallpaper, paint, dust, dirt, and grease stains. Use a spatula, brush, or vacuum cleaner.
- Priming: Treat the walls with a special deep-penetrating primer. This will strengthen the base, improve adhesive adhesion, and reduce wall absorbency. For concrete bases, use a quartz primer for better grip.
- Setting Beacons (Optional): If you are not confident in your abilities or want to achieve maximum smoothness, you can install temporary beacons (e.g., from gypsum adhesive or profiles that will be removed later). This will help control the plane.
- Removing Protruding Elements: Plaster that is poorly adhered, old nails, adhesive residue – all of this must be removed.
Step 2: Installing Drywall Sheets
- Preparing the Adhesive: Follow the instructions on the adhesive packaging. Typically, gypsum compounds are mixed with water to obtain a plastic, homogeneous mass without lumps.
- Applying the Adhesive: There are two main methods for applying adhesive:
- “Dollops”: Apply adhesive in “dollops” (clumps) on the back of the drywall sheet every 20-30 cm. You can apply more adhesive in the center and along the perimeter.
- Strips: Apply adhesive along the vertical edges of the sheet and dot it in the center.
- Gluing the Sheet: Apply the sheet to the wall, starting from the top. Gently press it against the base using a straight edge or a long, flat ruler, tapping it.
- Leveling: Using a spirit level and a straight edge, level the sheet vertically and horizontally. For adjustments, you can tap it through the straight edge or add/remove adhesive under the sheet.
- Fixing: Initially, while the adhesive is setting, the sheets may shift slightly. They can be temporarily secured with masking tape or small temporary supports.
- Installing Subsequent Sheets: Install sheets butt-jointed, observing the staggering of seams (like in brickwork) so that vertical seams do not align.
Step 3: Sealing Joints and Final Preparation
- Priming: After the adhesive has completely dried (usually 24 hours), prime the entire surface.
- Jointing Compound: Fill the seams between the sheets and screw holes (if used for temporary fixing) with special drywall jointing compound. Reinforcing tape (mesh tape) or paper tape is often used for reinforcing joints to prevent cracking.
- Corner Finishing: For internal and external corners, use special plastic or metal perforated corner beads, which are fixed with jointing compound.
- Full Jointing Compound Application (if necessary): For a perfectly smooth surface for painting, the entire sheet area can be coated with a thin layer of jointing compound.
- Final Sanding: After the jointing compound has dried, sand the surface with fine-grit sandpaper or a sanding screen until perfectly smooth.
- Cleaning and Priming: Thoroughly clean the surface of dust and prime again before final finishing.
Important Tip: Work with drywall quickly but carefully. If you are using gypsum adhesive, remember that you have a limited time for adjustments before it starts to set.
Hidden Pitfalls: 7 Common Mistakes When Installing Drywall with Adhesive
Even the seemingly simplest technology can hide pitfalls. When installing drywall with adhesive, there are several common mistakes that can ruin the entire result. Let’s go over them so you can avoid them.
- Improper Base Preparation: This is perhaps the most significant mistake. If the wall is not cleaned of dust, grease, old coatings, or if it is too absorbent, the adhesive simply cannot provide a reliable bond. The result is falling drywall.
- Using the Wrong Adhesive: Using regular jointing compound instead of mounting adhesive, or adhesive not intended for drywall, will lead to unreliable fastening.
- Excessive Wall Irregularities: As mentioned, if the walls have significant unevenness (more than 3-4 cm), this method is not suitable. Attempting to level such walls with adhesive will result in the sheets “flexing,” and the adhesive will not be able to distribute evenly to hold them.
- Applying Adhesive Too Thinly Over the Entire Surface: This method is suitable for very smooth walls, but with the slightest unevenness, the adhesive will be squeezed out, and the sheet will not lie flat. “Dollops” or “strips” allow for compensation of minor irregularities.
- Lack of Leveling: Novice DIYers often think that simply gluing the sheet is enough, and it will level itself. This is not true. It is necessary to constantly monitor verticality and horizontality using a level and a straight edge.
- Improper Joint Sealing: Using regular jointing compound for seams without reinforcing tape is a direct path to cracking. Drywall has a tendency to expand and contract slightly, and without reinforcement, the seams will inevitably crack.
- Jointing Compound Applied Too Soon: The adhesive must be allowed to dry completely before applying jointing compound (usually 24 hours). If you start jointing compound over wet adhesive, it can lead to sheet deformation and cracking.
Pro Tip: Always read the instructions from the adhesive and drywall manufacturers. They contain the most up-to-date and important application information.
Pro Life Hacks: How to Achieve Perfect Results with Minimal Cost
To ensure your drywall-on-adhesive renovation goes smoothly and the results are pleasing to the eye, here are some time-tested life hacks from experienced craftsmen:
- Use a Square for the First Sheet: When gluing the first sheet in a corner, use a square to set it precisely at 90 degrees. This will set the correct direction for all subsequent sheets.
- A Straight Edge is Your Best Friend: Keep a long straight edge (2-3 meters) handy. It will be useful not only for leveling the sheet but also for applying adhesive in even strips.
- Water Level or Laser Level: For precise vertical alignment, especially when installing the first sheet, a water or laser level is very useful. This ensures your walls will be perfectly straight.
- Rag and Bucket of Water: Adhesive, especially gypsum-based, dries very quickly. Keep a damp rag nearby to immediately wipe away excess adhesive that squeezes out of the seams or gets on the face of the sheet. This will save time during finishing.
- Use Expanding Foam for Large Gaps: If a gap too large to be filled with adhesive forms between the sheet and the wall, expanding foam can be used. It quickly fills voids and provides additional fixation.
- Don’t Skimp on Primer: Quality primer is not only for improving adhesion but also for dust protection. Skip this step, and you risk facing problems in the future.
- Reinforcing Mesh for Weak Seams: For added seam reliability, especially if you are using thin drywall or know the walls will be subjected to loads, always use mesh tape or paper tape.
- Drywall for Painting: If your goal is painting, you will need to apply jointing compound to the entire surface of the sheet, not just the seams. Use finishing compound for perfect smoothness.
Your Secret to Success: Patience and accuracy. It’s better to spend a little more time leveling each sheet than to fix mistakes later.
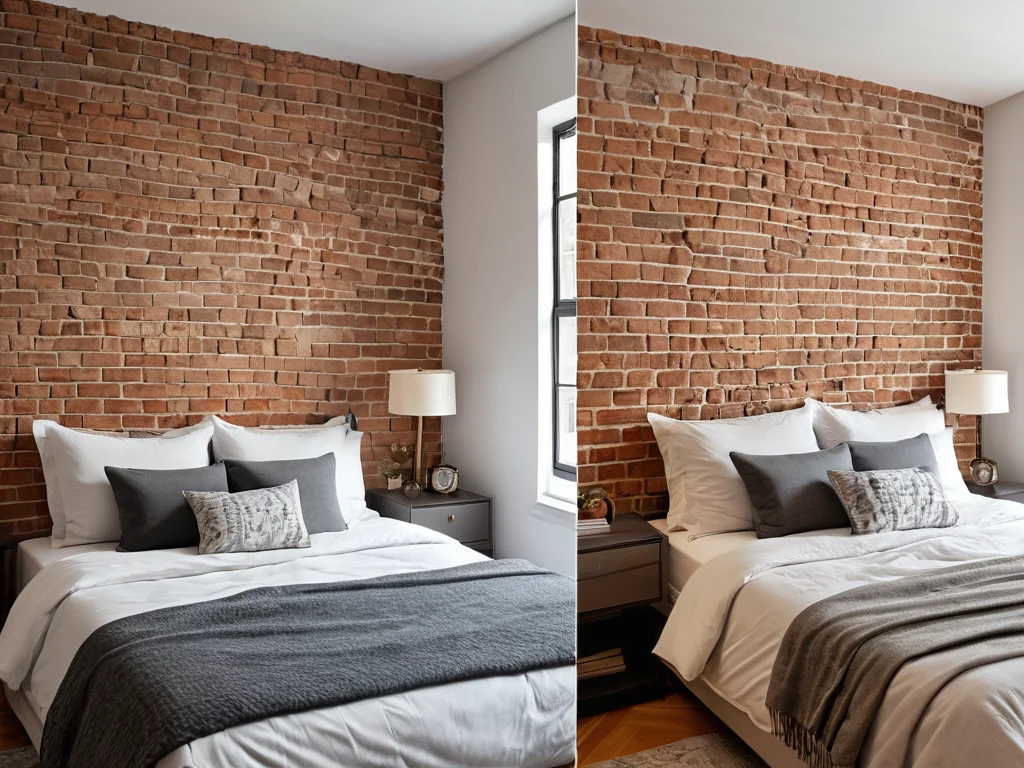
Before and After: Inspiring Examples of Walls Levelled with Drywall Adhesive
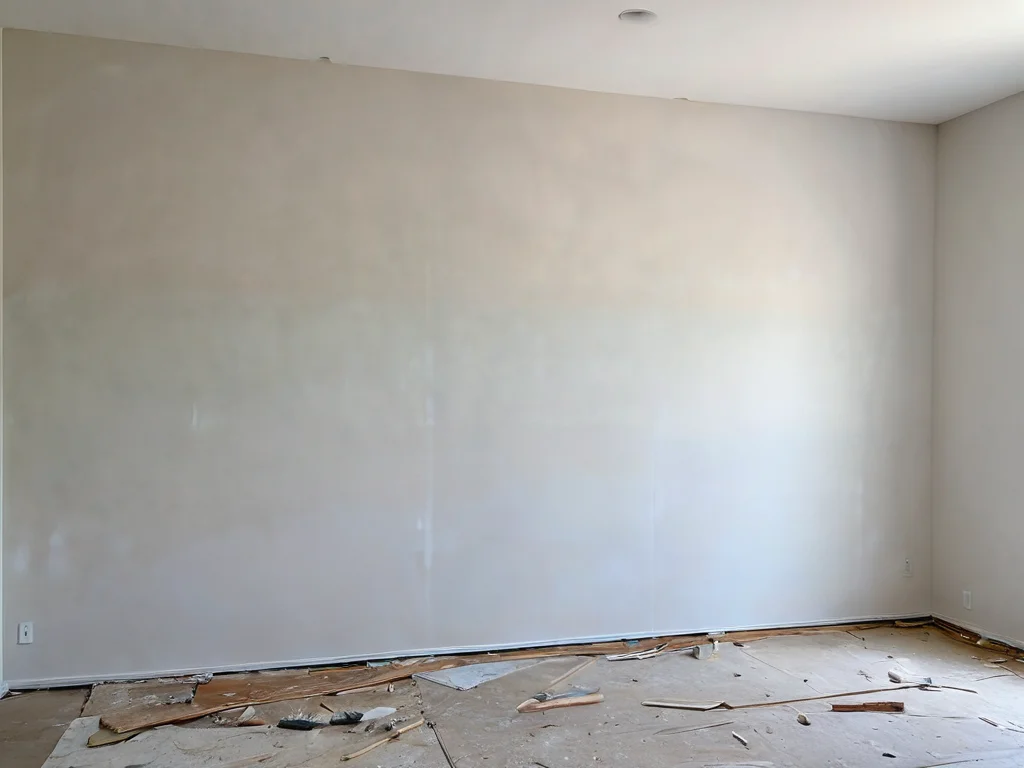
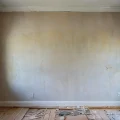
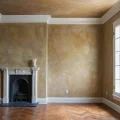
To better understand how this method works, let’s look at real examples. Imagine an old, uneven wall in an apartment that looked like it had seen decades and multiple renovations. The surface was covered with peeling plaster, deep cracks were visible in places, and the overall appearance left much to be desired.
Before:
- Crooked walls, noticeable unevenness.
- Old, peeling plaster.
- Visible cracks and chips.
- Uneven surface, unsuitable for wallpapering or painting.
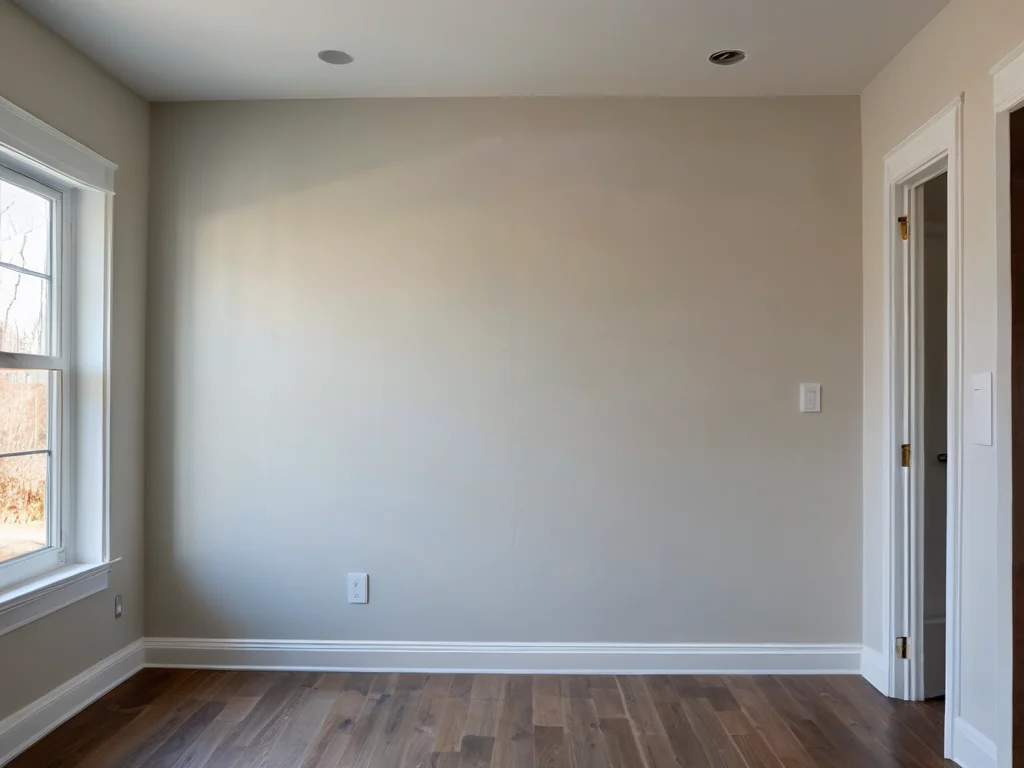
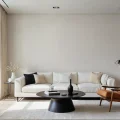
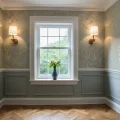
After:
- Perfectly even, smooth surface.
- A new plane, ready for any type of finishing.
- Improved sound and thermal insulation (due to tight fit and adhesive).
- A feeling of freshness and completion in the room.
- The possibility of making the room visually larger by saving space.
The visual transformation is colossal. Walls that used to be depressing now look like new. This method allows you to achieve a “magazine-worthy” effect, even if the initial condition of the walls was far from ideal. Imagine how your room will be transformed when you see a smooth, clean surface ready to bring your boldest design ideas to life – whether it’s bright wallpaper, stylish paint, or exquisite decorative plaster.
I hope this article has helped you understand the intricacies of leveling walls with drywall adhesive. Remember that the right choice of technology and careful execution are the keys to success. Good luck with your renovation!
Рекомендуем:
 Gypsum or Cement Plaster: What and Where to Use?
 How to Properly Plaster Walls for Painting: Perfect Smoothness
 How to Hang Wallpaper Without Seams: The Technique for Perfect Joints
 DIY Decorative Stone Wall Installation: Your Guide to Home Transformation
 How to Repair Cracks and Holes in Walls Before Finishing: A Complete Guide
 How to Seal Drywall Seams to Prevent Cracks
 MDF Panel Wall Finishing: Installation Guide
 DIY Venetian Plaster: Is It Possible?
 Priming Walls Before Wallpapering and Painting: The Ideal Foundation for Renovation
 Wall Putty for Wallpaper: How Many Coats Are Needed and How to Apply?
 Wallpapering Corners: Master Secrets
 How to Hang Vinyl Wallpaper on a Paper Backing?
 Betonokontakt: A Comprehensive Guide to Application for Perfect Renovation
 Internal Wall Insulation: Materials and Technology
 How to Update Old Tiles Without Removing Them: 99 Ways to Transform Your Bathroom and Kitchen
 How to Tile Walls in a Bathroom: A Detailed Guide
 Bark Beetle Decorative Plaster: Application Technology
 Starting and Finishing Putty: What’s the Difference and How to Use It
 How to Make a Brick Wall in an Interior (Imitation)
 PVC Wall Panels: Cheap and Cheerful. Installation Guide