When planning a renovation, especially when it comes to finishing touches like painting or wallpapering, you always want the result to be perfect: a smooth finish, rich color, and durability. Many, trying to save time or money, neglect one of the most important stages of surface preparation – priming. And this, believe me from experience, is the biggest mistake that can lead to catastrophic consequences: peeling wallpaper, uneven paint application, and increased consumption of expensive materials. Priming is not just an extra step; it’s the foundation on which the entire beauty of your interior rests. If you want your wallpaper to last for decades and your paint to look smooth and professional, without spots or streaks, pay due attention to this process. As professional designers and builders, we always insist: quality priming is 80% of the success of the finishing work.
What is primer and why is it needed? Understanding the basics
First, let’s understand what primer is from a technical standpoint. Primer (or primer) is a special construction compound applied to a prepared base (putty, plaster, concrete, drywall) before applying the finishing coating. Essentially, it’s a liquid “glue” that penetrates the pores of the material and performs several critically important functions at once.
In simple terms, primer solves three main problems, without which quality finishing is simply impossible:
1. Improving adhesion (bonding)
This is perhaps the most important function. Imagine you’re wallpapering a bare, slightly dusty wall. The wall surface, especially after puttying, has a microscopic porous structure and often contains dust residue. As primer dries, it forms a thin but very strong film that binds the base particles together and ensures perfect adhesion between the wall and the adhesive (or paint). If you skip priming, the wallpaper may start to peel at the seams within a few months, and the paint may apply unevenly and crack quickly.
2. Reducing the absorbency of the base
Most building materials – concrete, drywall, cement plaster – are highly porous and absorb moisture very strongly. If you start painting or wallpapering without priming, the wall will instantly “drink up” all the moisture from the paint or wallpaper adhesive. What will happen? Firstly, you’ll get uneven color (spots and streaks) when painting. Secondly, you’ll need much more paint (consumption can increase by up to 30%). Thirdly, the wallpaper adhesive will lose its working properties before it can fix the wallpaper.
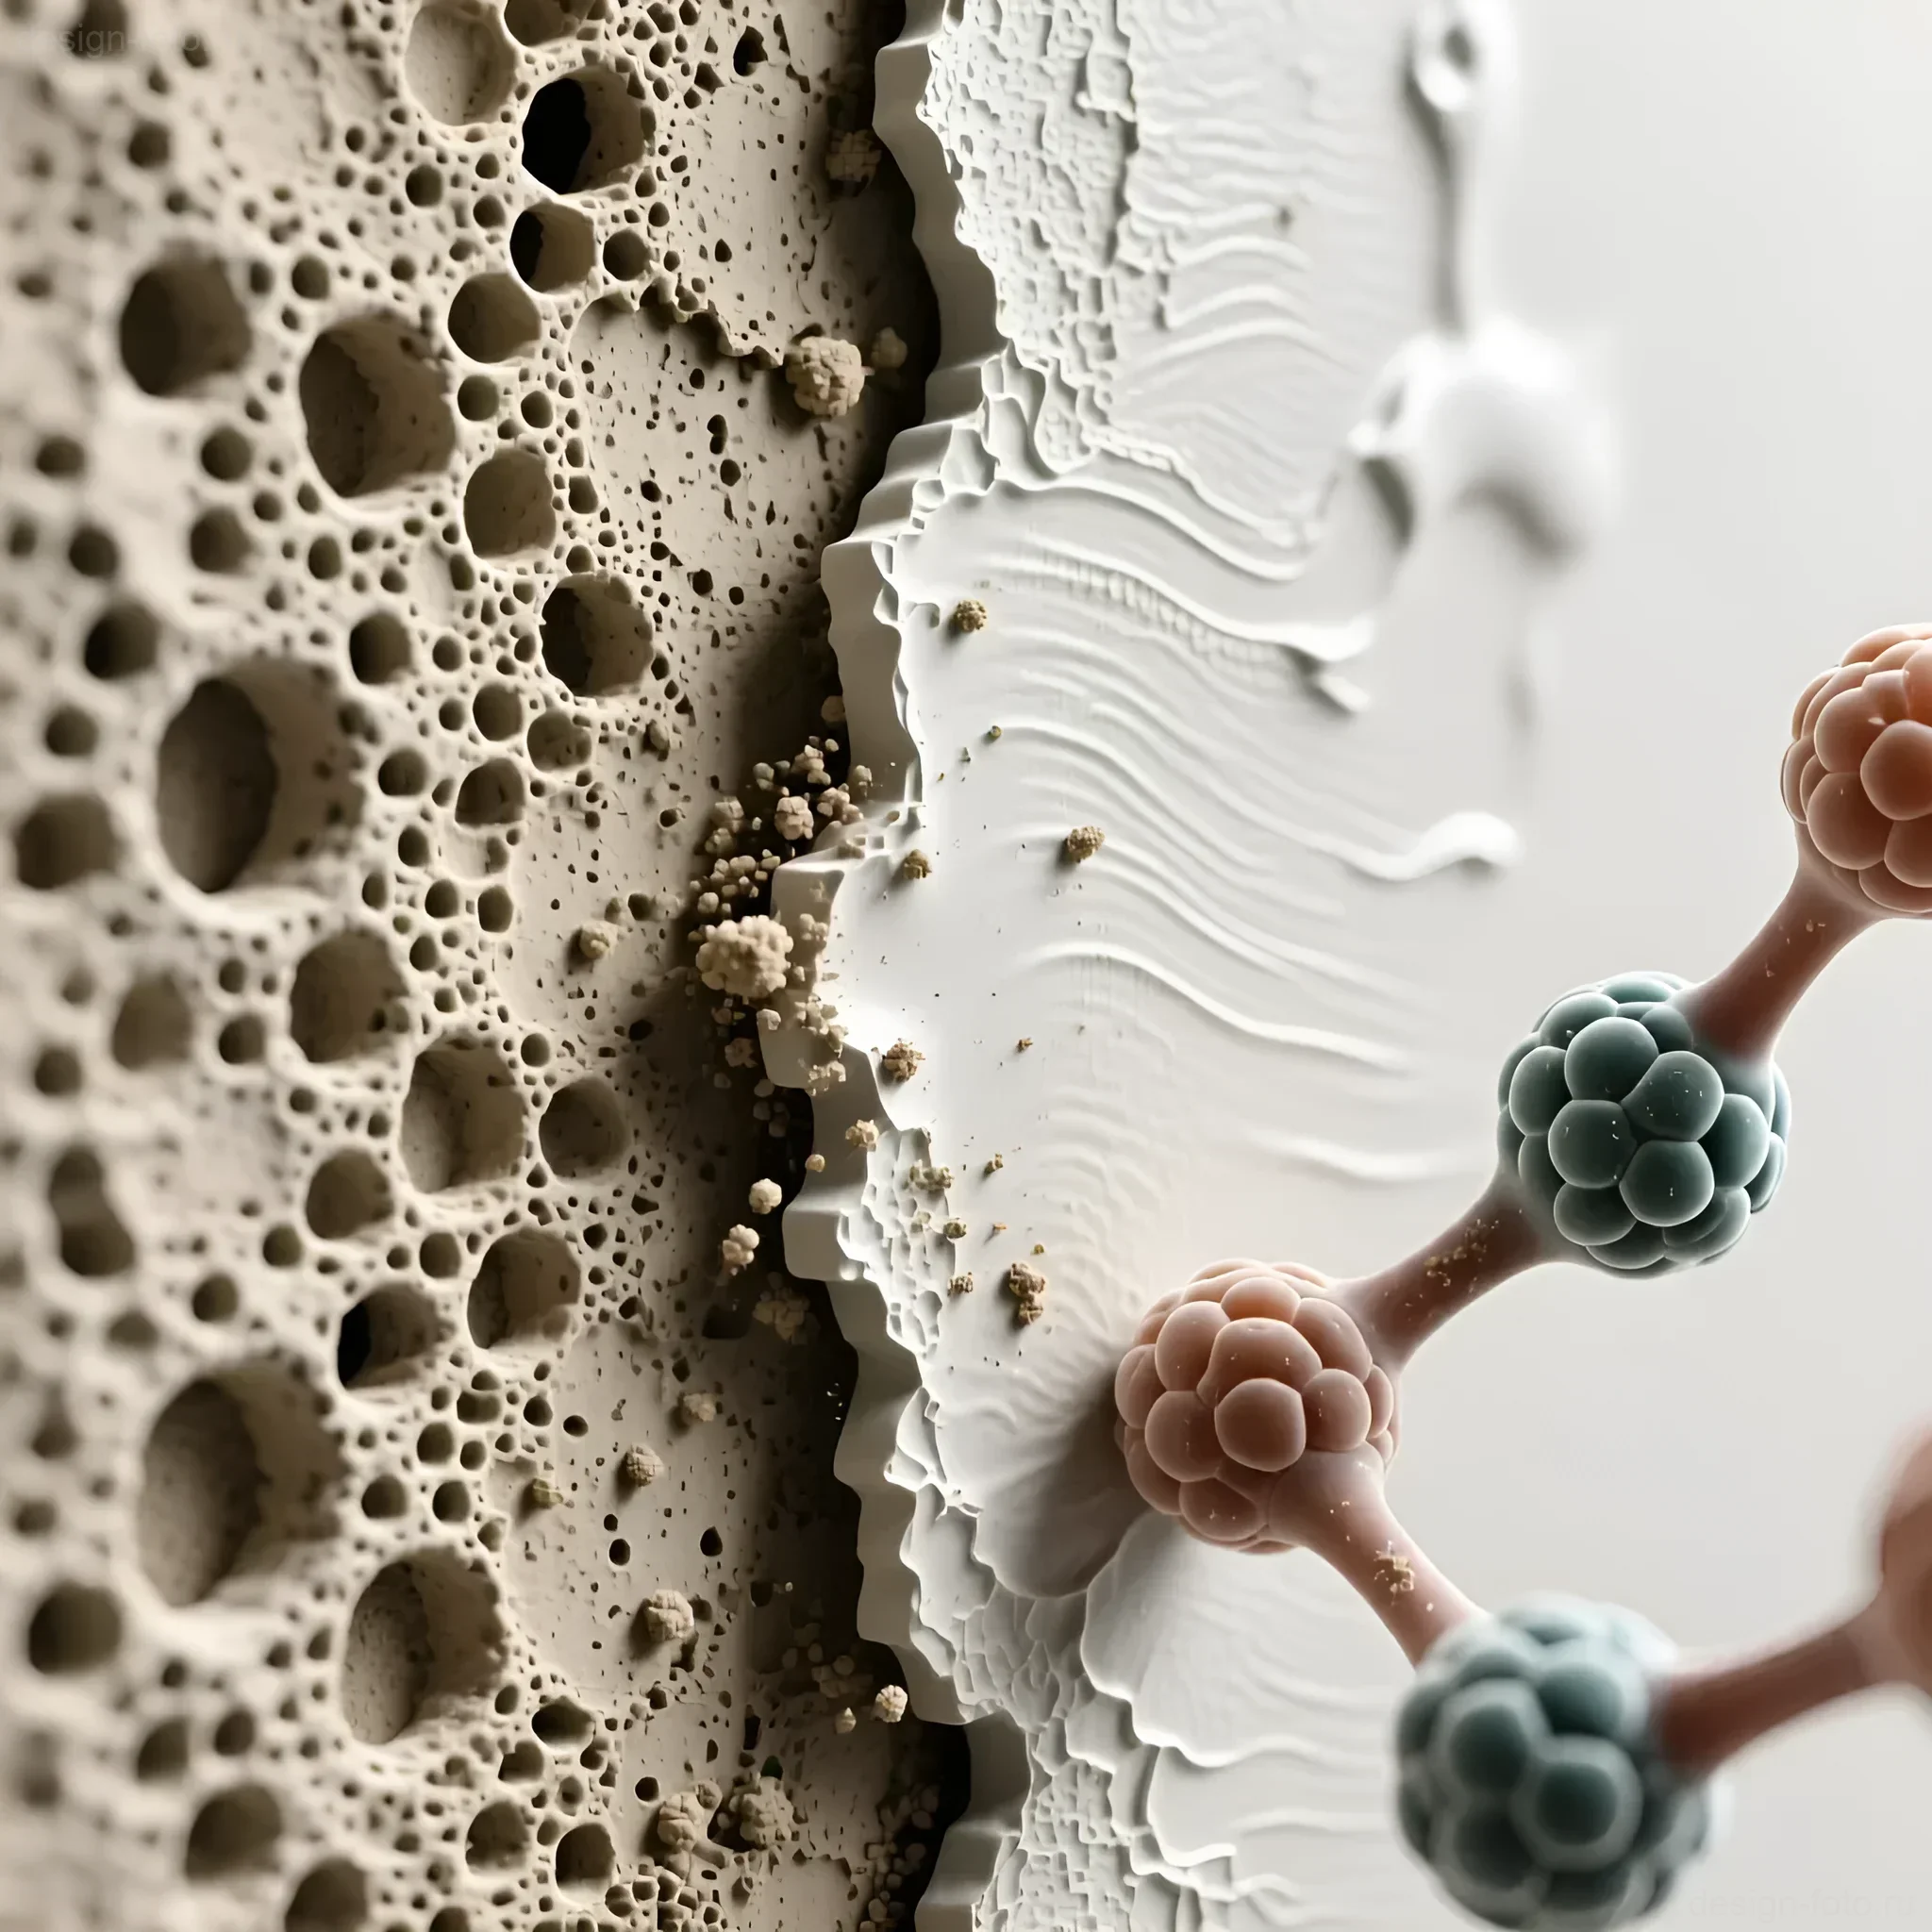
3. Strengthening the surface and binding dust
Even a perfectly cleaned and puttied wall always contains micro-particles of dust and weakly bound material particles. Deep-penetrating primer (which we’ll discuss later) impregnates the upper layer of the base to a depth of several millimeters, binding these particles and creating a strong, non-crumbling “armor.” This is especially important when working with old, loose, or crumbling plaster. Primer literally “preserves” the wall, making it suitable for further finishing.
Remember: primer is an investment, not an expense. It saves you money on finishing materials and guarantees the durability of your renovation.
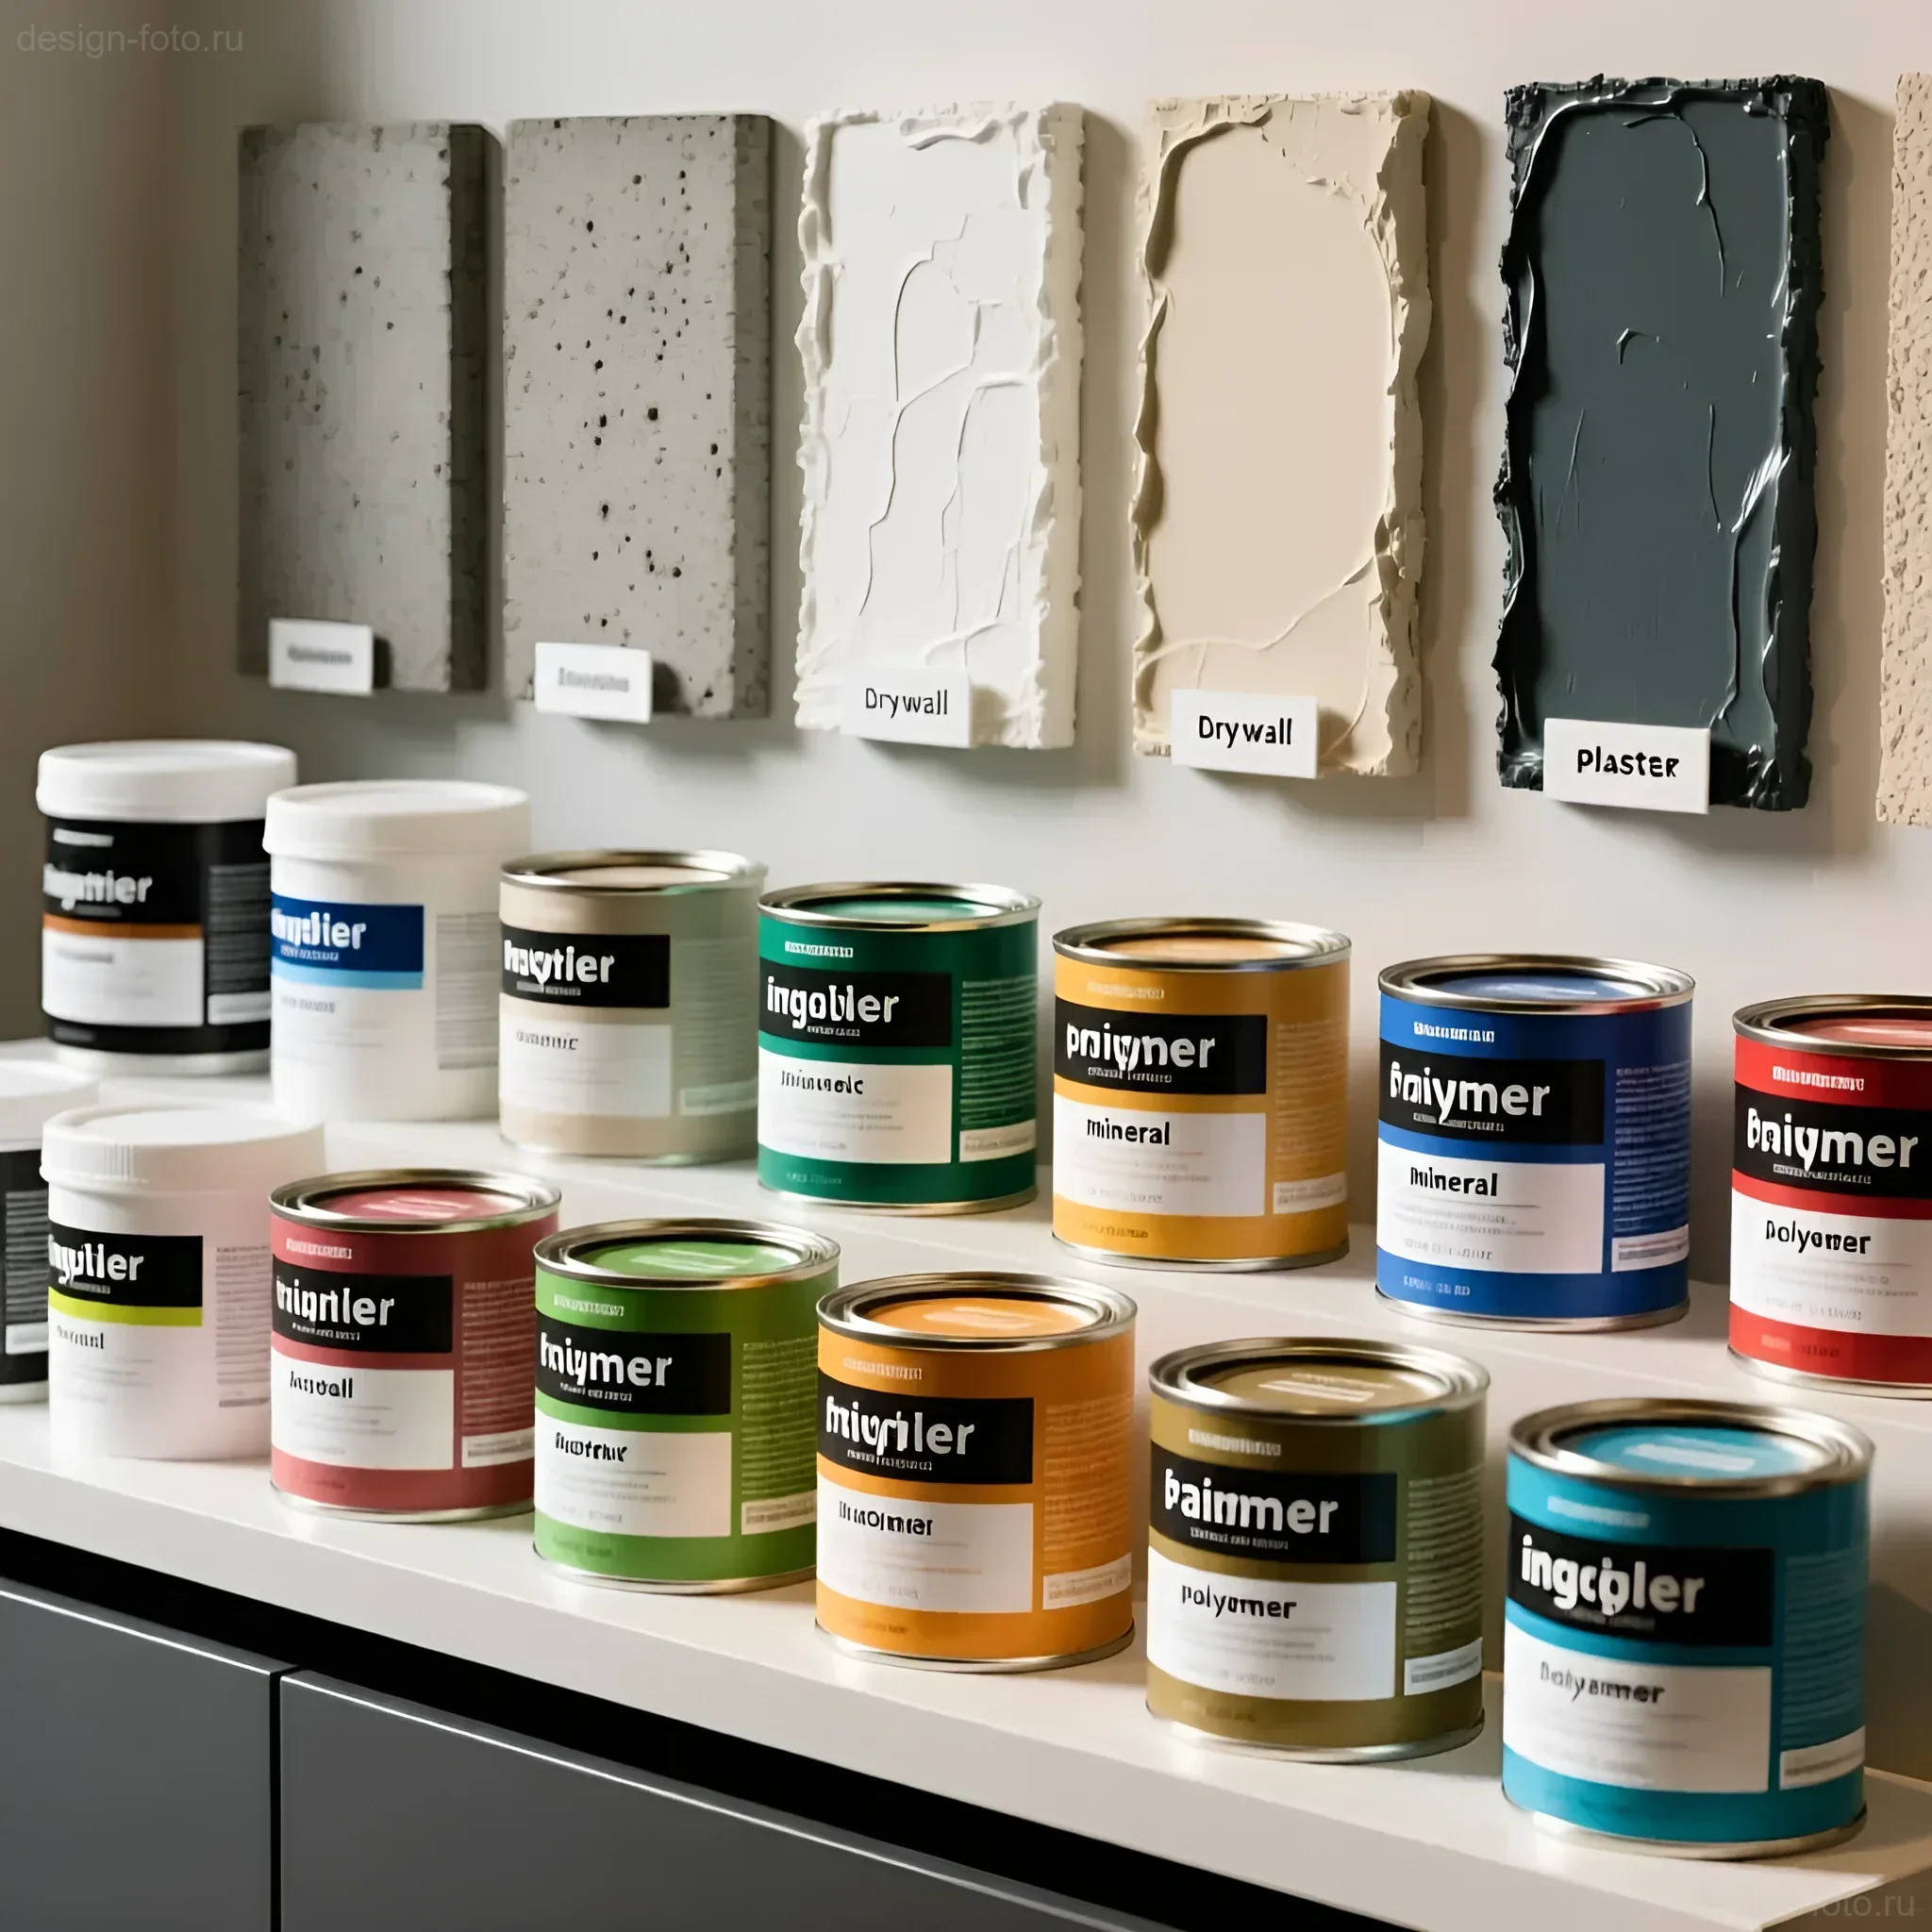
Types of primers for walls: choosing the right composition for wallpaper and paint
The market offers a wide variety of priming compounds, and choosing the right one without understanding their chemical basis can be difficult. It’s important for us to know which composition is suitable for our wall type and for the finishing coating we plan to use (wallpaper or paint). Primers are most often classified based on their binder.
1. Acrylic primers (Universal)
- Composition and features: The most common and popular type. Based on acrylic polymers. They have virtually no odor, dry quickly (usually 2–4 hours), and are suitable for most mineral bases (concrete, brick, drywall, cement plaster).
- Application: Ideal for preparing walls for wallpaper and for working with new, strong bases. They provide good adhesion and reduce absorbency.
- Nuance: Not suitable for treating metal surfaces or for very loose, crumbling walls.
2. Deep-penetrating primers (Strengthening)
- Composition and features: This is a type of acrylic or latex primer, but with very small polymer particles. Thanks to this, they can penetrate deep into the base (up to 10 mm), strengthening it from within.
- Application: Indispensable for old, loose, chalky, or highly absorbent surfaces (old plaster, aerated concrete, lime-based surfaces). If the wall “dusts” when touched, you need this type.
- Tip: If you are preparing a wall for heavy vinyl wallpaper or complex decorative plaster, always use a deep-penetrating primer, even on relatively new walls.
3. Adhesion primers (Betonokontakt)
- Composition and features: Contain acrylic resins and, most importantly, fine quartz sand. This sand creates a rough, “grippy” surface.
- Application: Used for treating smooth, low-absorbency surfaces (monolithic concrete, old tiles, very dense glossy paint) where regular primer cannot create the necessary adhesion. Betonokontakt is necessary if you plan to apply plaster or a thick layer of putty on smooth concrete. For wallpapering thin wallpaper or regular painting, it is usually not needed.
4. Alkyd primers
- Composition and features: Based on alkyd resins, they have a strong odor and dry slowly.
- Application: Rarely used in interior wall renovation for wallpaper or paint. Their main purpose is for working with wood or metal surfaces, as they offer excellent anti-corrosion protection and penetrate deeply into wood.
5. Specialized primers (Anti-mold, Isolating)
- Composition and features: Contain fungicidal (anti-mold) additives.
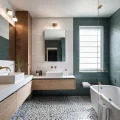
- Application: Necessary for treating walls in rooms with high humidity (bathrooms, kitchens, basements) or in cases where mold has already been detected on the walls. They prevent the recurrence of mold under the finishing coating.
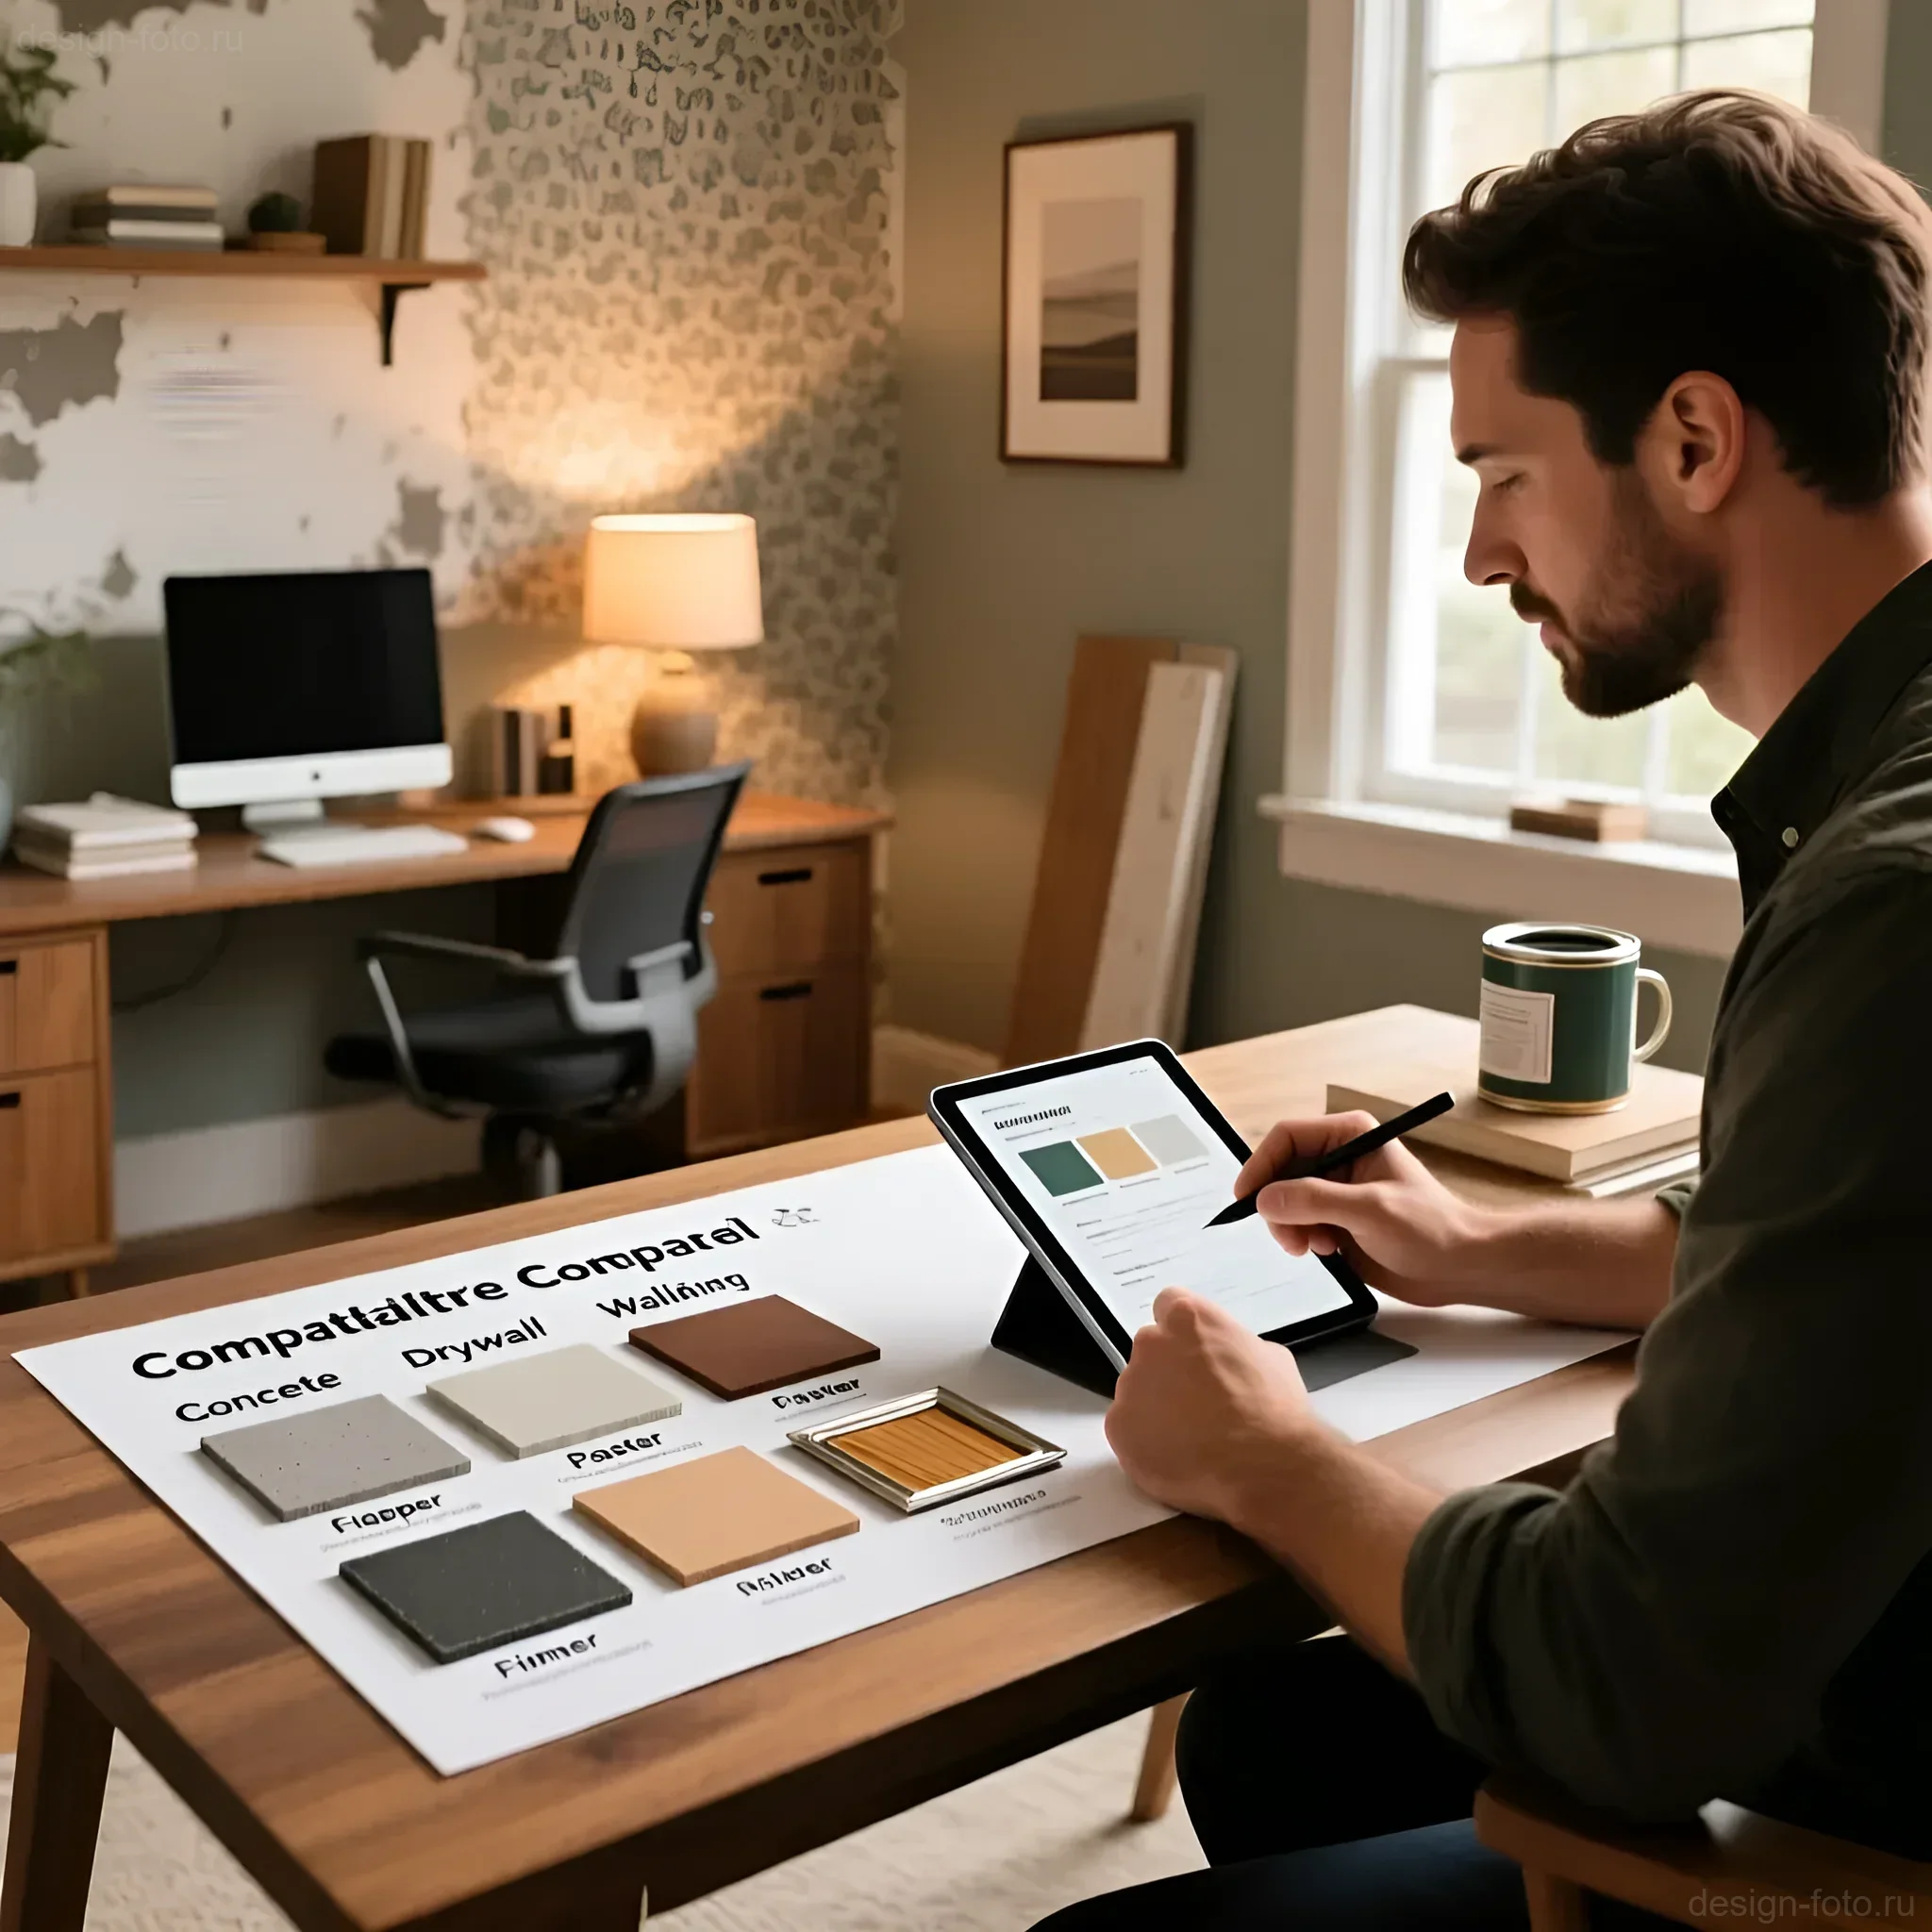
How to choose the right primer: considering wall type and finishing coating
The choice of primer should always be based on two key factors: the condition and type of the base (what you are priming) and the type of finishing coating (what you will be covering it with). An incorrectly chosen primer can negate all your work.
Here’s a simple table to help you quickly orient yourself:
| Base Type (Wall) | Surface Condition | Finishing Coating | Recommended Primer Type | Key Task |
|---|---|---|---|---|
| Drywall (GKL) | New, smooth | Wallpaper (all types), Paint | Universal acrylic or Deep-penetrating acrylic | Reduce absorbency, protect cardboard from moisture. |
| Cement/gypsum plaster | New, strong | Wallpaper (light), Paint | Universal acrylic | Reduce paint/adhesive consumption. |
| Old, loose plaster | Chalky, crumbling | Wallpaper (heavy), Paint | Deep-penetrating primer (2 coats) | Strengthen loose base. |
| Monolithic concrete | Smooth, non-absorbent | Putty, Decorative plaster | Adhesion primer (Betonokontakt) | Create roughness for adhesion. |
| Walls in bathroom or kitchen | Any base | Paint, Wallpaper | Acrylic with anti-mold additives | Protection against mold and mildew. |
| Surfaces painted with oil paint | Smooth, low-absorbency | Putty, Paint | Special primer for old paint (or Betonokontakt) | Enhance adhesion. |
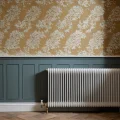
An important point when choosing for wallpaper
If you are applying non-woven wallpaper, many manufacturers recommend using a special pigmented (white or lightly colored) primer. This is especially relevant if the wall has stains or an uneven color. Pigmented primer evens out the base color, preventing dark spots from showing through light or translucent wallpaper.
If you are using heavy vinyl wallpaper, be sure to choose a deep-penetrating primer so that the wall can withstand the weight of the material and the adhesive layer.
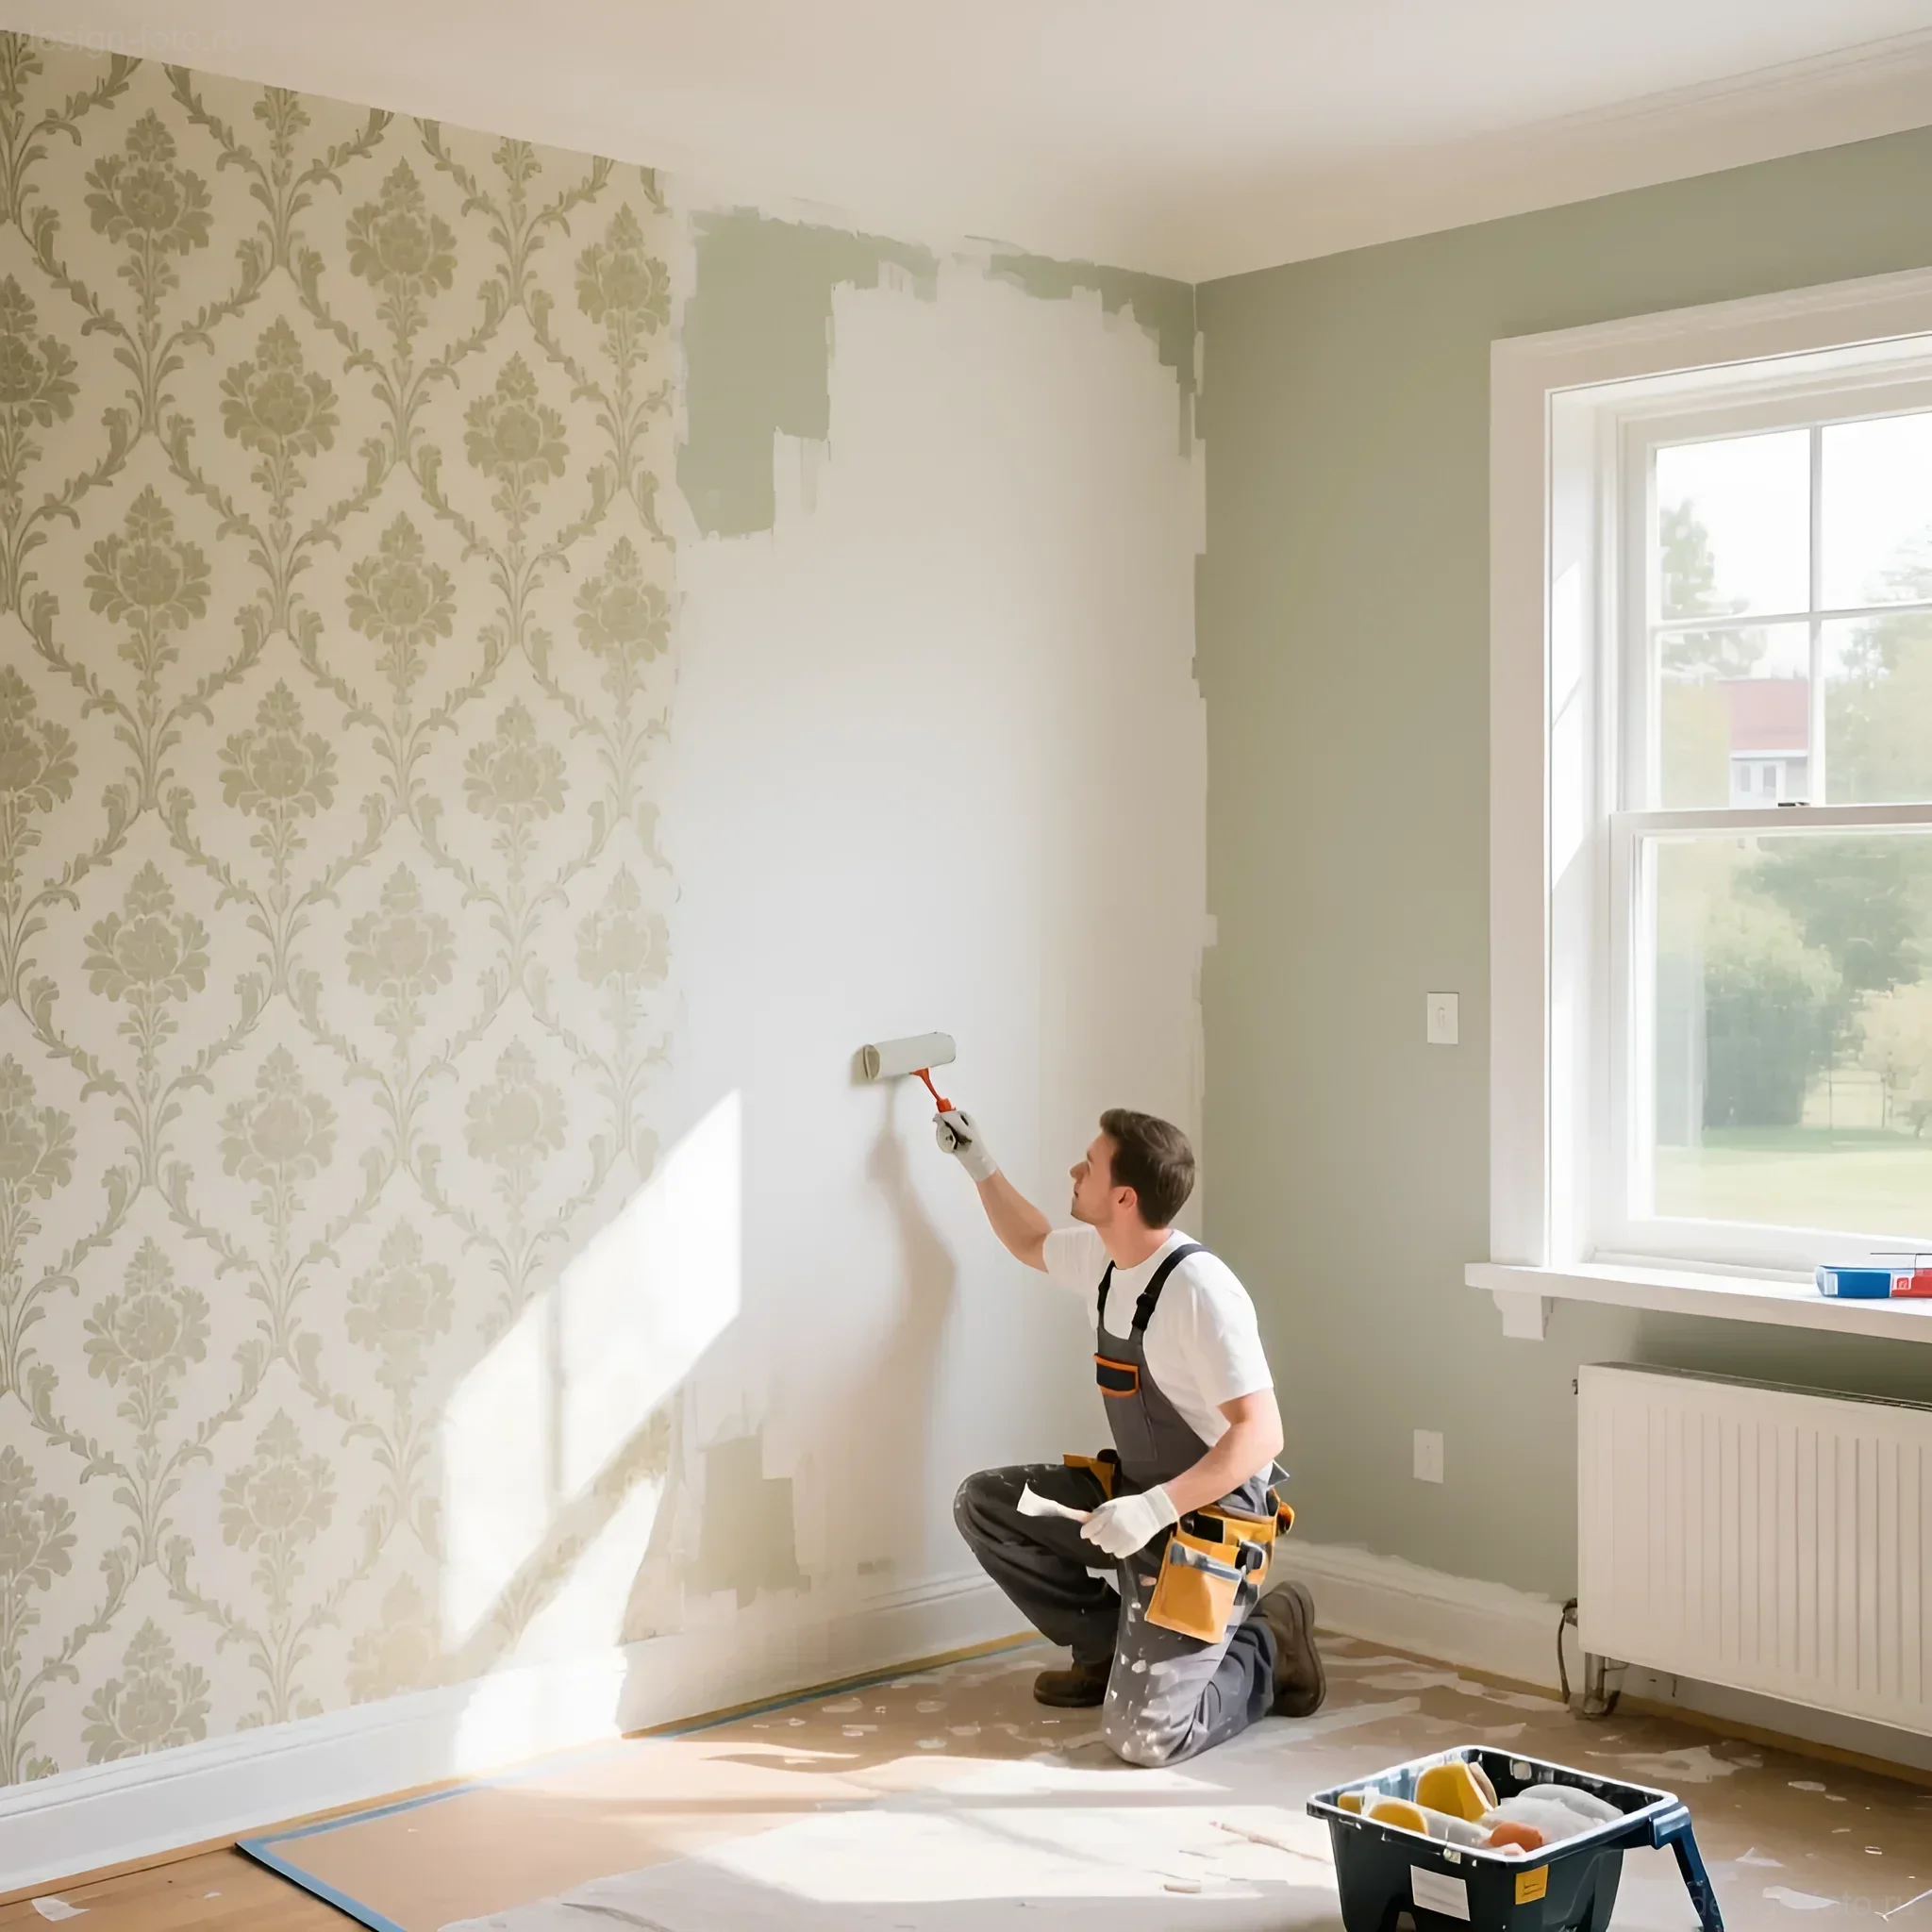
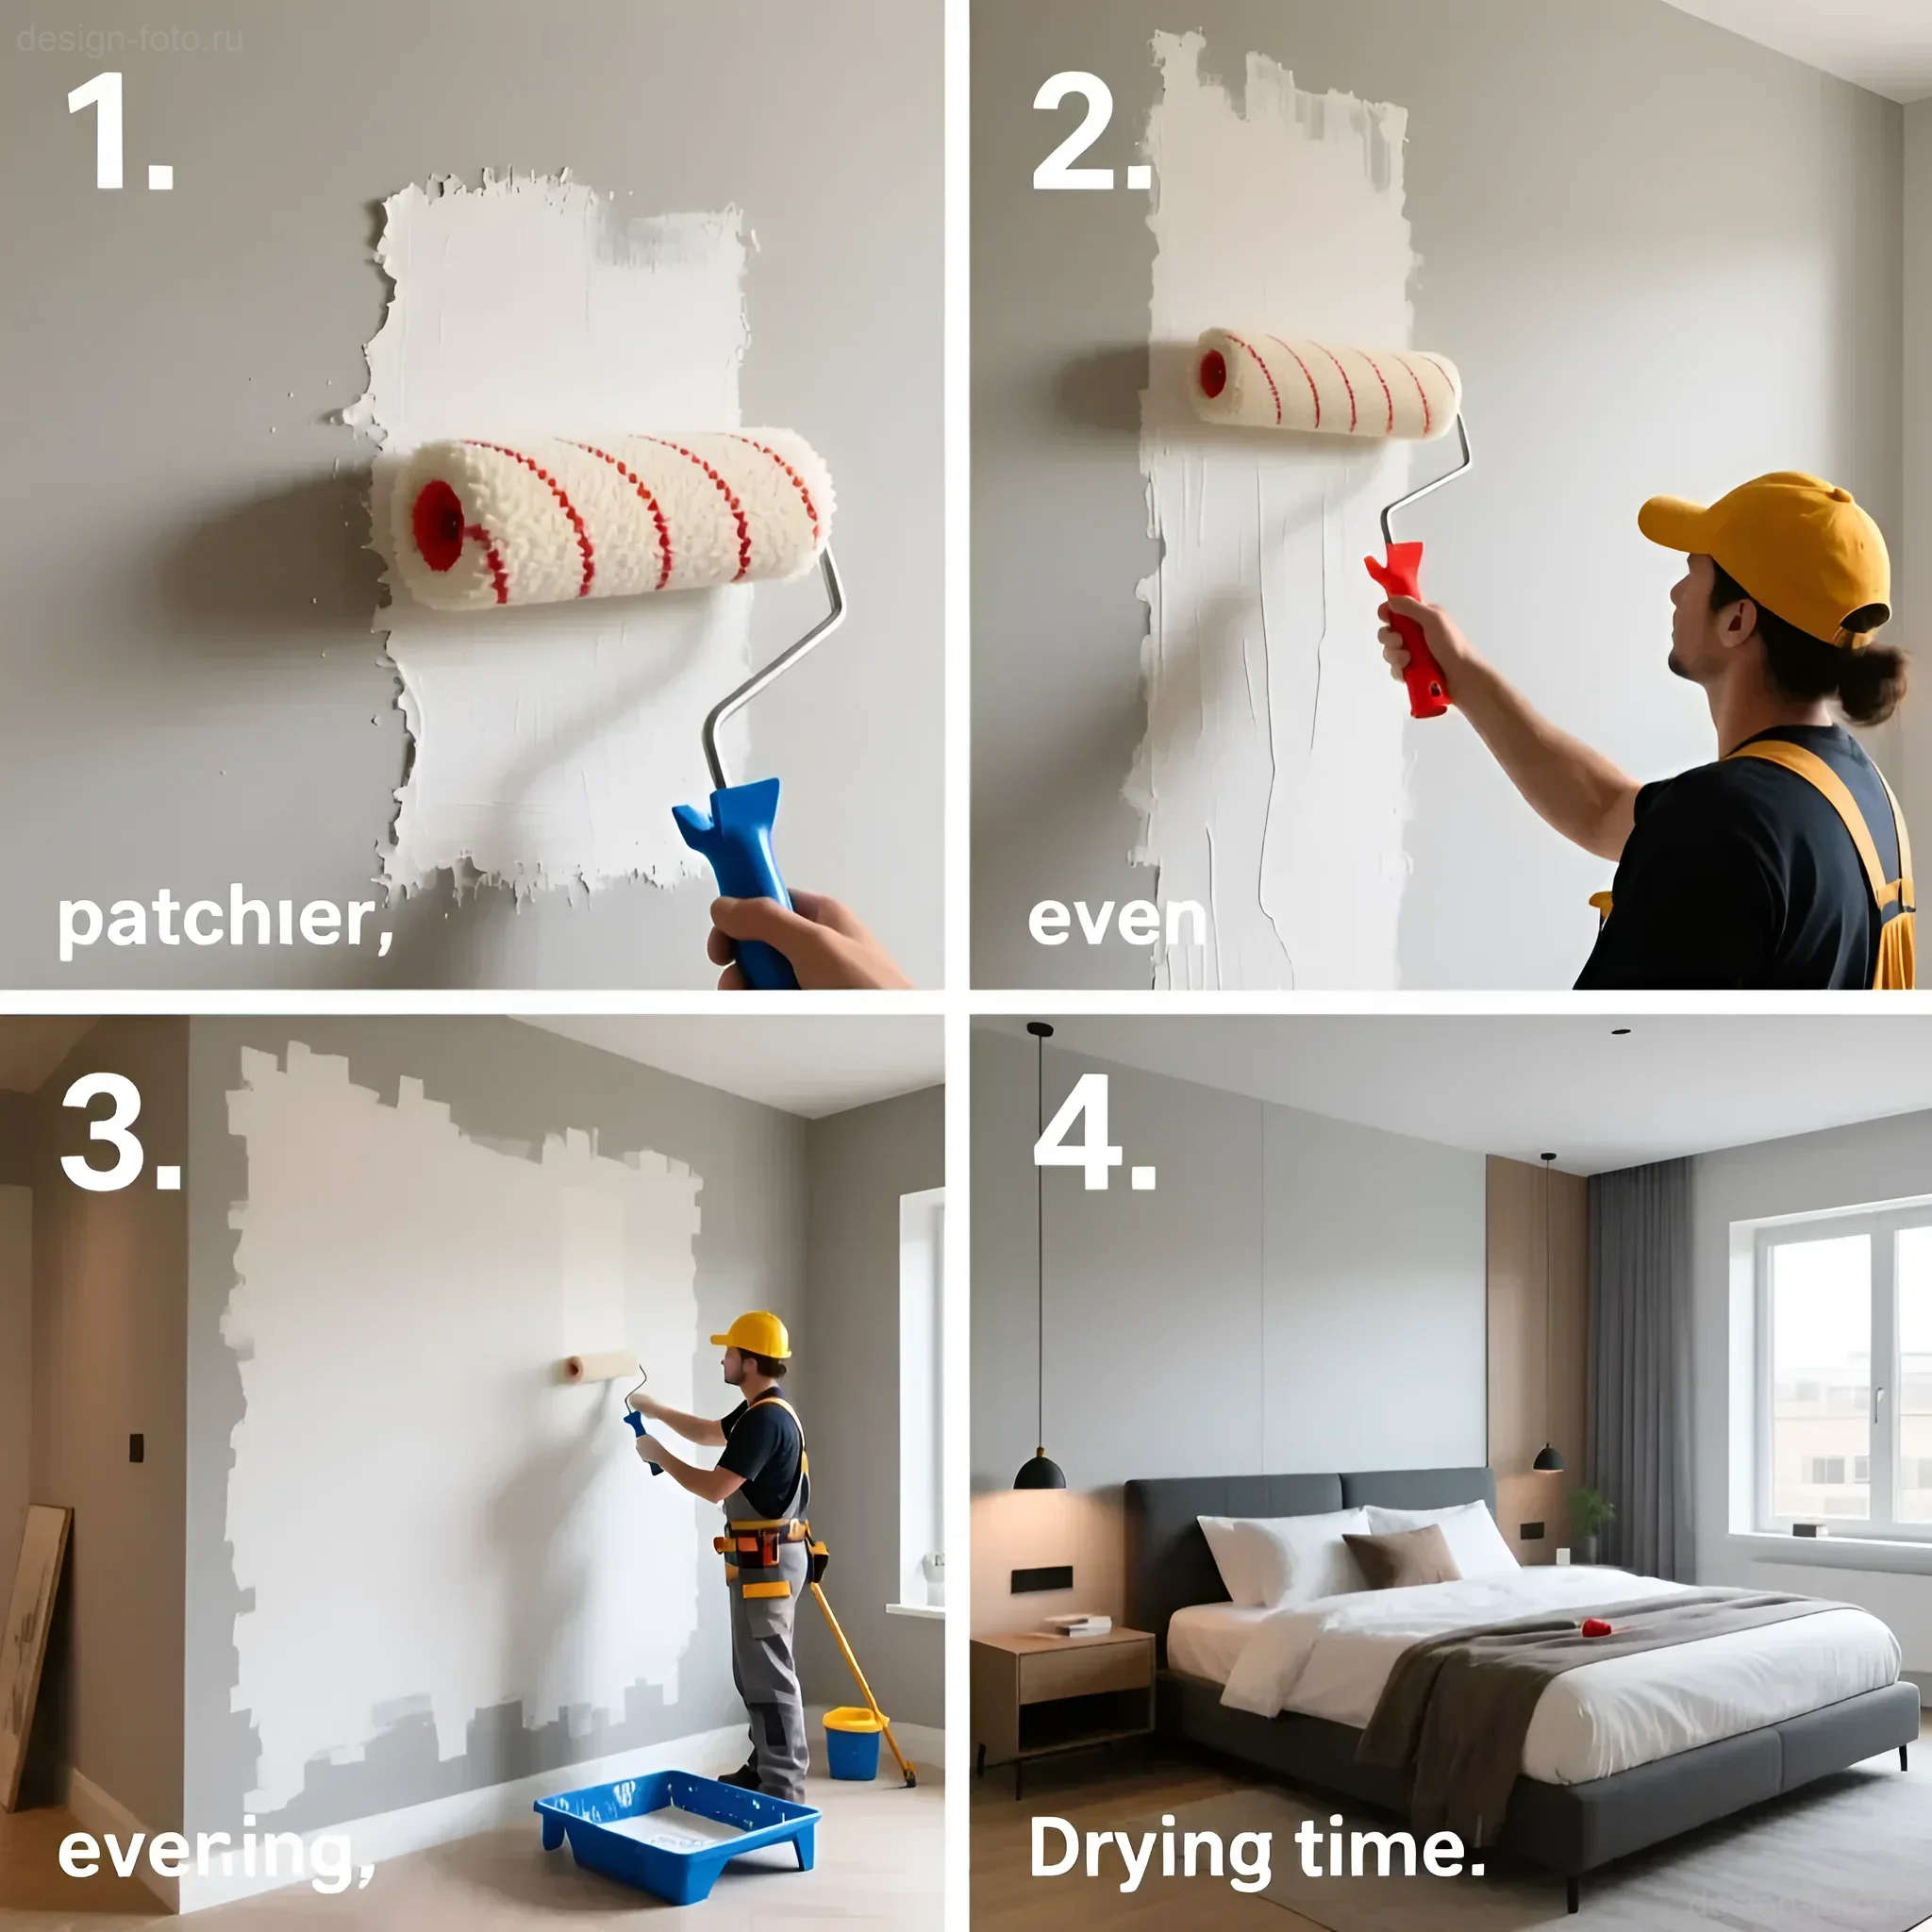
Step-by-step guide: Priming walls before wallpapering or painting – from A to Z
Priming is not a difficult process, but it requires care and adherence to the technology. Failure to observe drying times or improper application can ruin the entire effect.
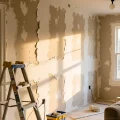
Step 1: Preparing the room and surface
- Protection: Cover the floor, windows, and baseboards with protective film or masking tape. Primer, especially deep-penetrating, can leave marks that are difficult to wash off.
- Cleaning: The surface must be as clean as possible. Remove all dust (use a brush, then a vacuum cleaner with an attachment) and grease stains. If there are signs of mold on the wall, they must be removed mechanically and treated with a special antiseptic solution before priming.
- Repair: Ensure all cracks and holes are puttied, and the putty is completely dry and sanded with sandpaper. Only prime dry and clean surfaces.
Step 2: Preparing tools and composition
- Tools: You will need a roller (medium nap for smooth walls, long nap for textured ones), a brush for corners and hard-to-reach areas, and a paint tray.
- Dilution: Carefully read the instructions on the packaging. Some universal primers are sold concentrated and require dilution with water in the specified proportion. Deep-penetrating primers are usually ready to use. Never dilute a ready-to-use composition “by eye”; this will degrade its penetration and strength.
- Temperature: Priming should be carried out at the temperature recommended by the manufacturer (usually from +5°C to +30°C).
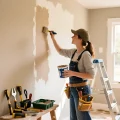
Step 3: Primer application technique
Applying primer is very similar to painting, but there are nuances, especially regarding the number of coats.
- Starting work: Pour the primer into the tray. Start with hard-to-reach areas, corners, and junctions with the ceiling and floor, using a brush.
- Main surface: Use a roller. Dip the roller into the tray, remove excess primer on the ribbed part of the tray. The primer should not drip down the wall. Apply the composition with uniform strokes, avoiding gaps and drips.
- First coat: Apply the first coat in horizontal or vertical strokes. The goal of the first coat is to bind dust and provide initial reduction of absorbency.
- Drying time: Allow the first coat to dry completely. The drying time (from 2 to 6 hours) is indicated on the packaging, but it strongly depends on the humidity and temperature in the room. Important: ensure the wall has become matte and does not feel damp to the touch.
- Second coat (if necessary): Applying a second coat is not a whim but a technological necessity, especially if you are working with loose or highly absorbent bases (e.g., old plaster or drywall for painting). Apply the second coat perpendicular to the first (crosswise). The second coat ensures maximum strengthening and uniform absorbency.
Step 4: Final drying
Before you start wallpapering or painting, the primer must fully polymerize. For most acrylic compositions, this takes from 6 to 24 hours. Don’t rush! If you start wallpapering on a not-yet-dry primer, it can lead to a chemical reaction, reduced adhesion, and the appearance of stains.
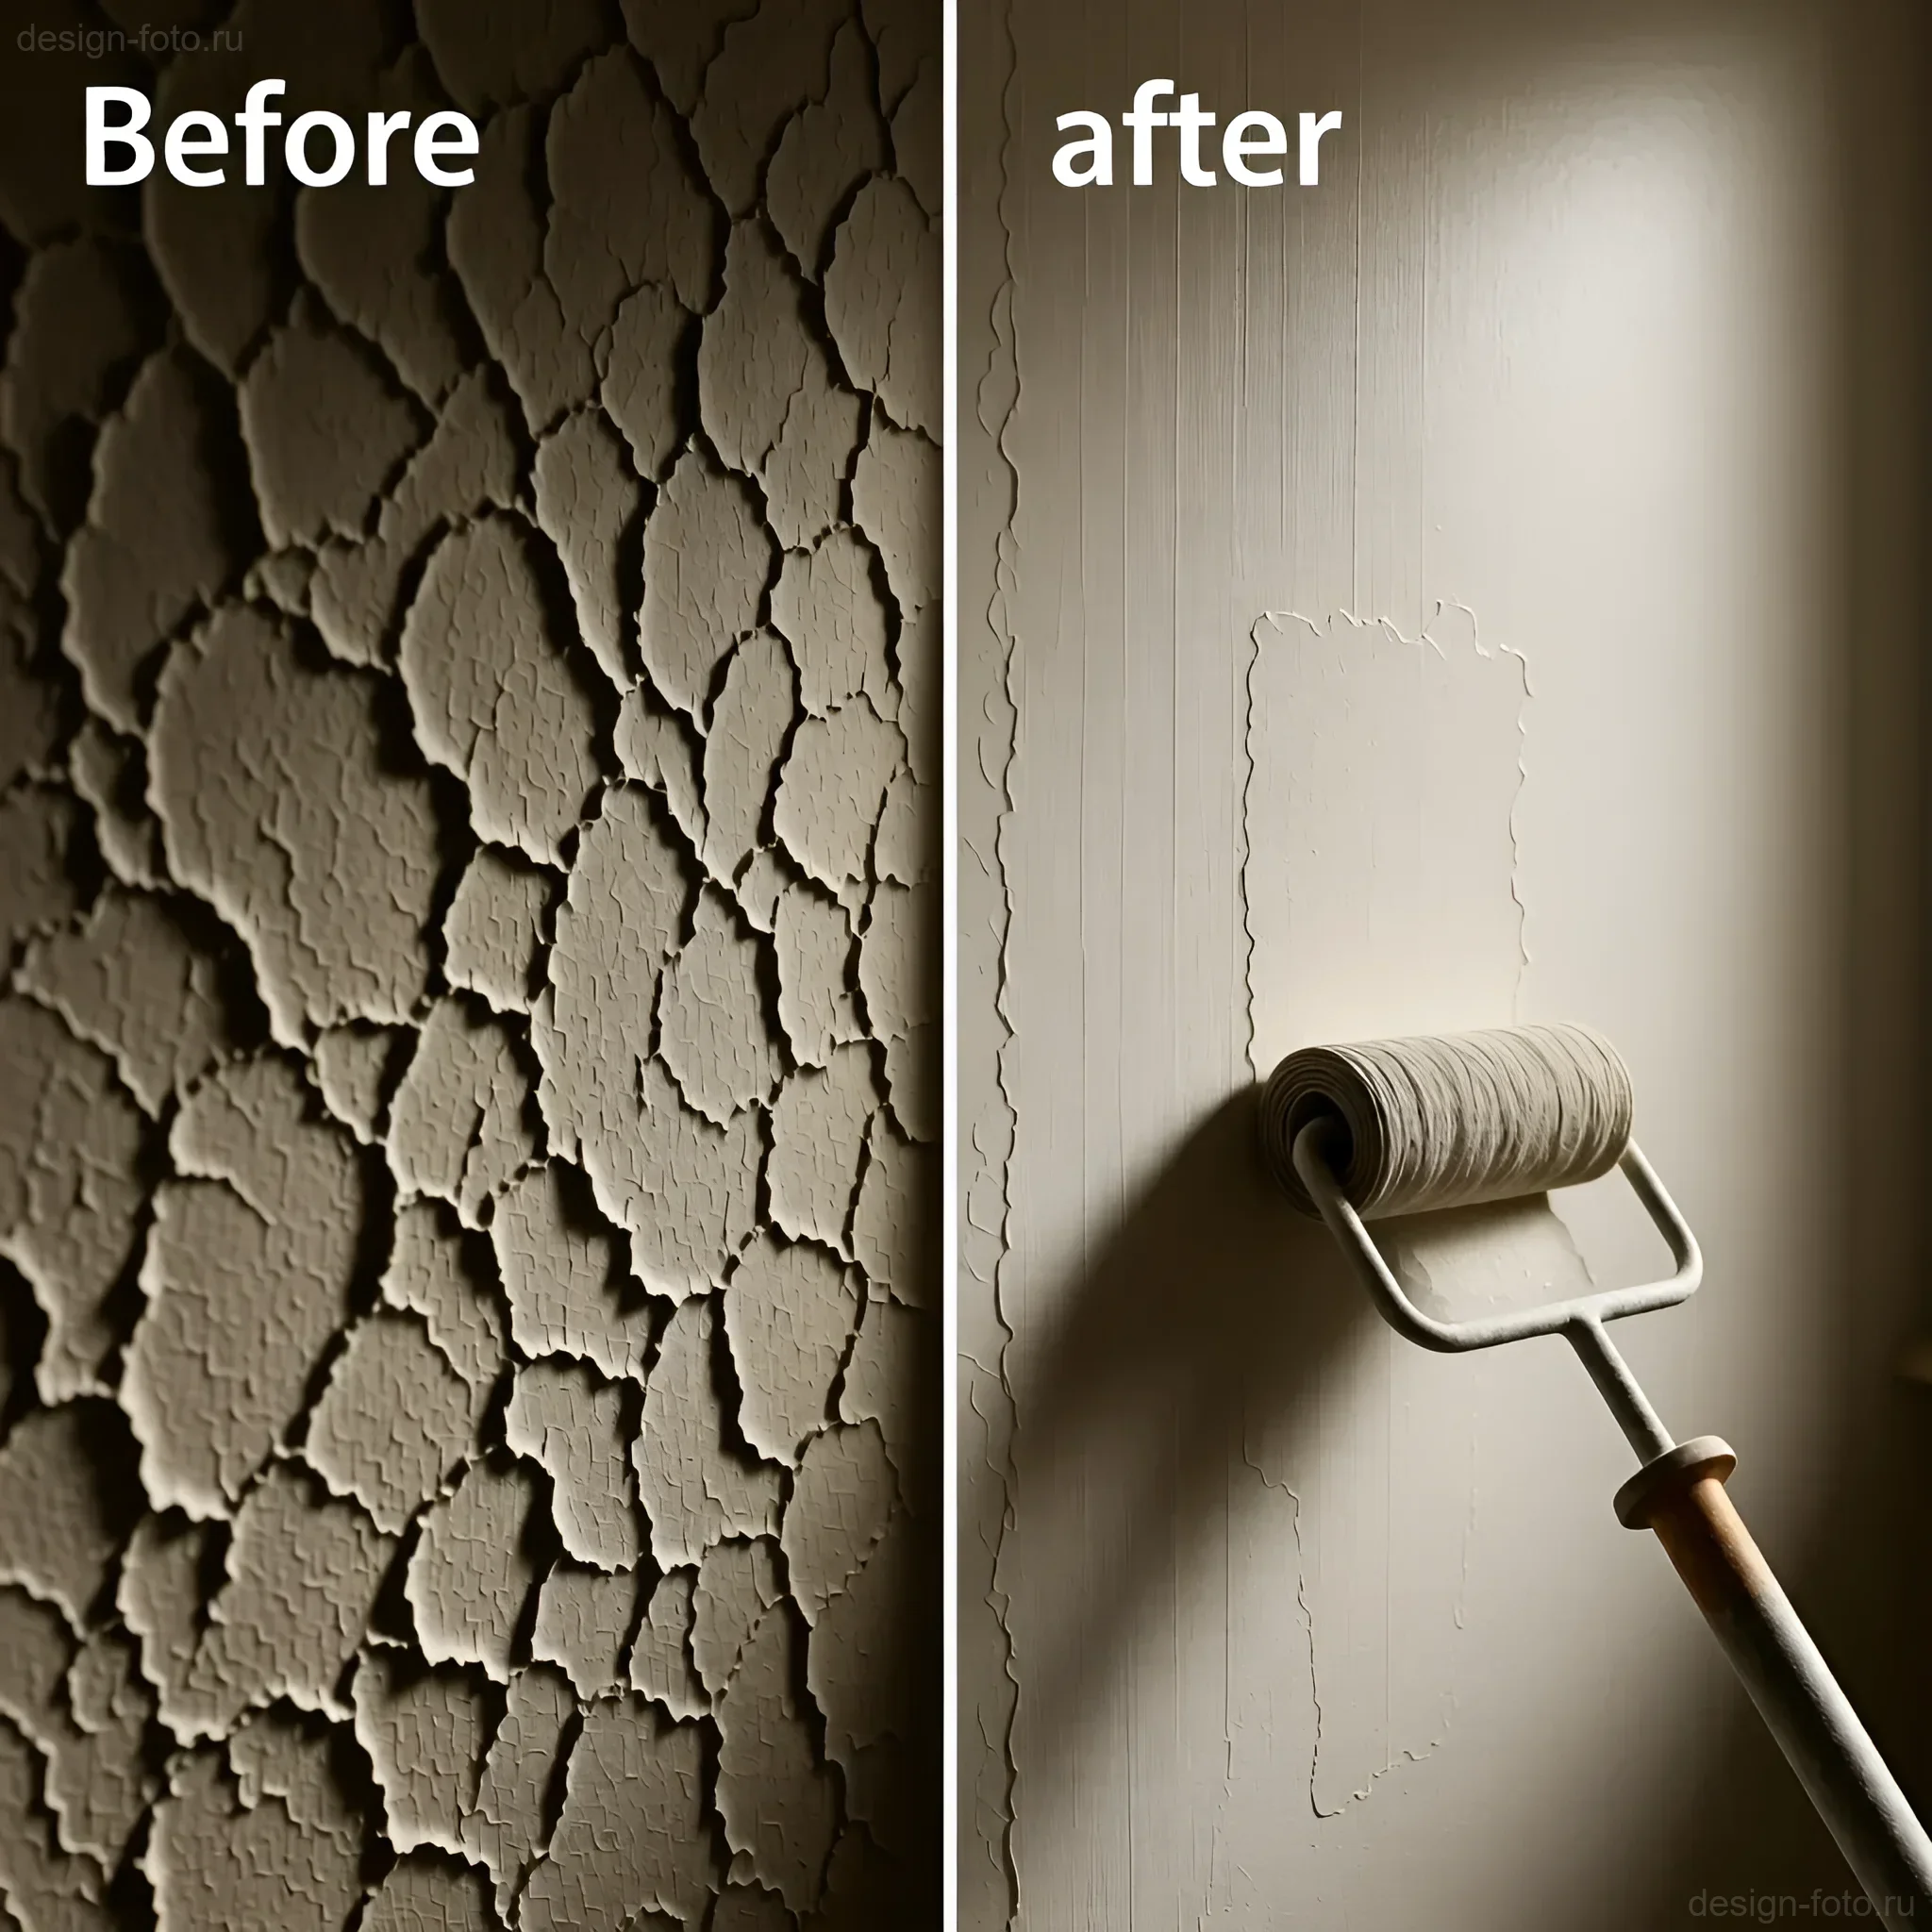
Examples of successful priming: before and after (Photos)
To understand the real value of priming, let’s consider typical construction site scenarios where the correct choice and application of primer saved the finishing work.
Scenario 1: Preparing drywall for painting
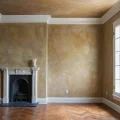
“Before”: A new drywall sheet, puttied at the seams. When applying the first coat of paint (without primer), the puttied areas absorb moisture much less than the areas covered with cardboard. As a result, stripes, spots, and streaks immediately appear on the wall. The paint applies unevenly, and material consumption sharply increases.
“After”: The walls were treated with two coats of universal acrylic primer with intermediate drying. The primer leveled the absorbency of the cardboard and putty. The paint applied perfectly evenly, without spots, and only two coats were needed to achieve the desired color saturation, instead of the three or four that would have been required without primer.
Scenario 2: Wallpapering heavy vinyl wallpaper on old plaster
“Before”: An old wall covered with lime plaster that crumbles and dusts slightly. When attempting to apply heavy vinyl wallpaper with regular adhesive, the wall cannot withstand the weight, and the adhesive instantly loses moisture and stops holding. The wallpaper begins to peel at the seams and corners, and in some places, it peels off along with the top layer of plaster.
“After”: The surface was thoroughly cleaned and treated with a deep-penetrating primer in two coats. The primer bound and strengthened the loose plaster layer. After complete drying, the wallpaper was applied without problems. The strengthened base withstood the weight of the heavy material, ensuring reliable and durable fixation.
Scenario 3: Dealing with stains before painting
“Before”: Old stains (possibly from leaks or grease) remain on the wall, which have bled through even the finishing putty. Regular acrylic primer cannot completely isolate these stains, and they may show through light paint.
“After”: The surface was treated with a special isolating primer (often based on shellac or special resin). This primer creates an impermeable barrier that “seals” the stains and prevents them from migrating through the finishing coating, ensuring a clean and uniform color.
Common mistakes when priming walls and how to avoid them
Even in such a simple task as priming, there are pitfalls. Knowing these mistakes will help you save time and avoid rework.
1. Ignoring surface preparation
Mistake: Priming a dusty, dirty, or greasy wall. Primer needs to penetrate the pores of the base, not just cover a layer of dirt. If dust remains under the primer, it doesn’t bond with the wall but simply creates a thin film that will easily peel off with the finishing coating.
How to avoid: Thoroughly clean walls with a brush and vacuum cleaner. If necessary, use a damp sponge (and let the wall dry completely).
2. Incorrect dilution of concentrate
Mistake: Diluting primer “more, to make it last” or, conversely, using concentrate without dilution when required. Too thin primer does not perform its functions, and too thick primer does not penetrate deeply and forms a film that can peel off.
How to avoid: Strictly follow the manufacturer’s instructions for dilution ratios. Use a measuring cup.
3. Applying primer with a roller like water
Mistake: Applying too thick a layer of primer or allowing significant drips. Excess primer forms a glossy, glassy film on the surface, which itself is a poor base for adhesion. This is called “over-priming.”
How to avoid: Thoroughly wring out the roller in the tray. Primer should be applied in a thin, even, matte layer. Two thin coats are better than one thick one.
4. Skimping on corners and edges
Mistake: Priming only the main surface with a roller, ignoring corners, junctions with windows, doorways, and the ceiling. It is in these places, where a brush is used, that wallpaper adhesion problems most often occur.
How to avoid: Start by brushing all corners. This will ensure reliable wallpaper adhesion or even paint color at the seams.
5. Insufficient drying time
Mistake: Applying paint or wallpapering before the primer has completely dried and polymerized. The wall may appear dry externally, but polymerization within the pores has not yet occurred.
How to avoid: Always aim for the maximum drying time indicated on the packaging (usually 4-6 hours for the first coat and 12-24 hours for final readiness). If the room is cold or very humid, the drying time increases.
FAQ: answers to popular questions about priming walls
1. Do I need to prime walls if I use wallpaper adhesive with primer?
Answer: Yes, absolutely. Priming with adhesive is a marketing ploy that does not replace proper surface preparation. Adhesive, even if it contains polymers, does not have sufficient penetration and cannot strengthen a loose base. Use adhesive with primer as an additional means to improve adhesion, but not as a substitute for preliminary priming.
2. Can I prime over old paint?
Answer: Depends on the type of paint. If the old paint (e.g., water-based emulsion) is holding firmly, not peeling, and not chalking, it’s enough to prime with a universal acrylic primer. If the paint is glossy (oil-based, enamel), it needs to be sanded to create roughness, and then an adhesion primer like “Betonokontakt” or a special primer for non-absorbent surfaces should be used.
3. Is it mandatory to apply two coats of primer?
Answer: If you are working with new, strong drywall or well-prepared, dense putty and plan to apply light wallpaper, one coat is sufficient. However, if you are preparing walls for painting, working with highly absorbent or loose bases, or using heavy wallpaper, two coats are mandatory. The first coat strengthens, the second evens out absorbency.
4. What roller is best for priming?
Answer: For priming, a roller with a medium or short synthetic nap is best. It picks up and releases liquid well without leaving too much material on the surface. Avoid foam rollers, as they can create bubbles and quickly degrade from the aggressive components of the primer.
5. What to do if the primer freezes during transportation?
Answer: If a water-based primer (acrylic) has frozen, it cannot be used immediately. Move it to a warm room and let it thaw naturally (without heating devices). After thawing, stir thoroughly. If flakes appear in the composition or it separates and does not regain homogeneity, it means the polymers have been destroyed, and such a composition should not be used.
Interesting facts about primer that you didn’t know!
Primer may seem like a boring technical material, but even it has its history and surprising features:
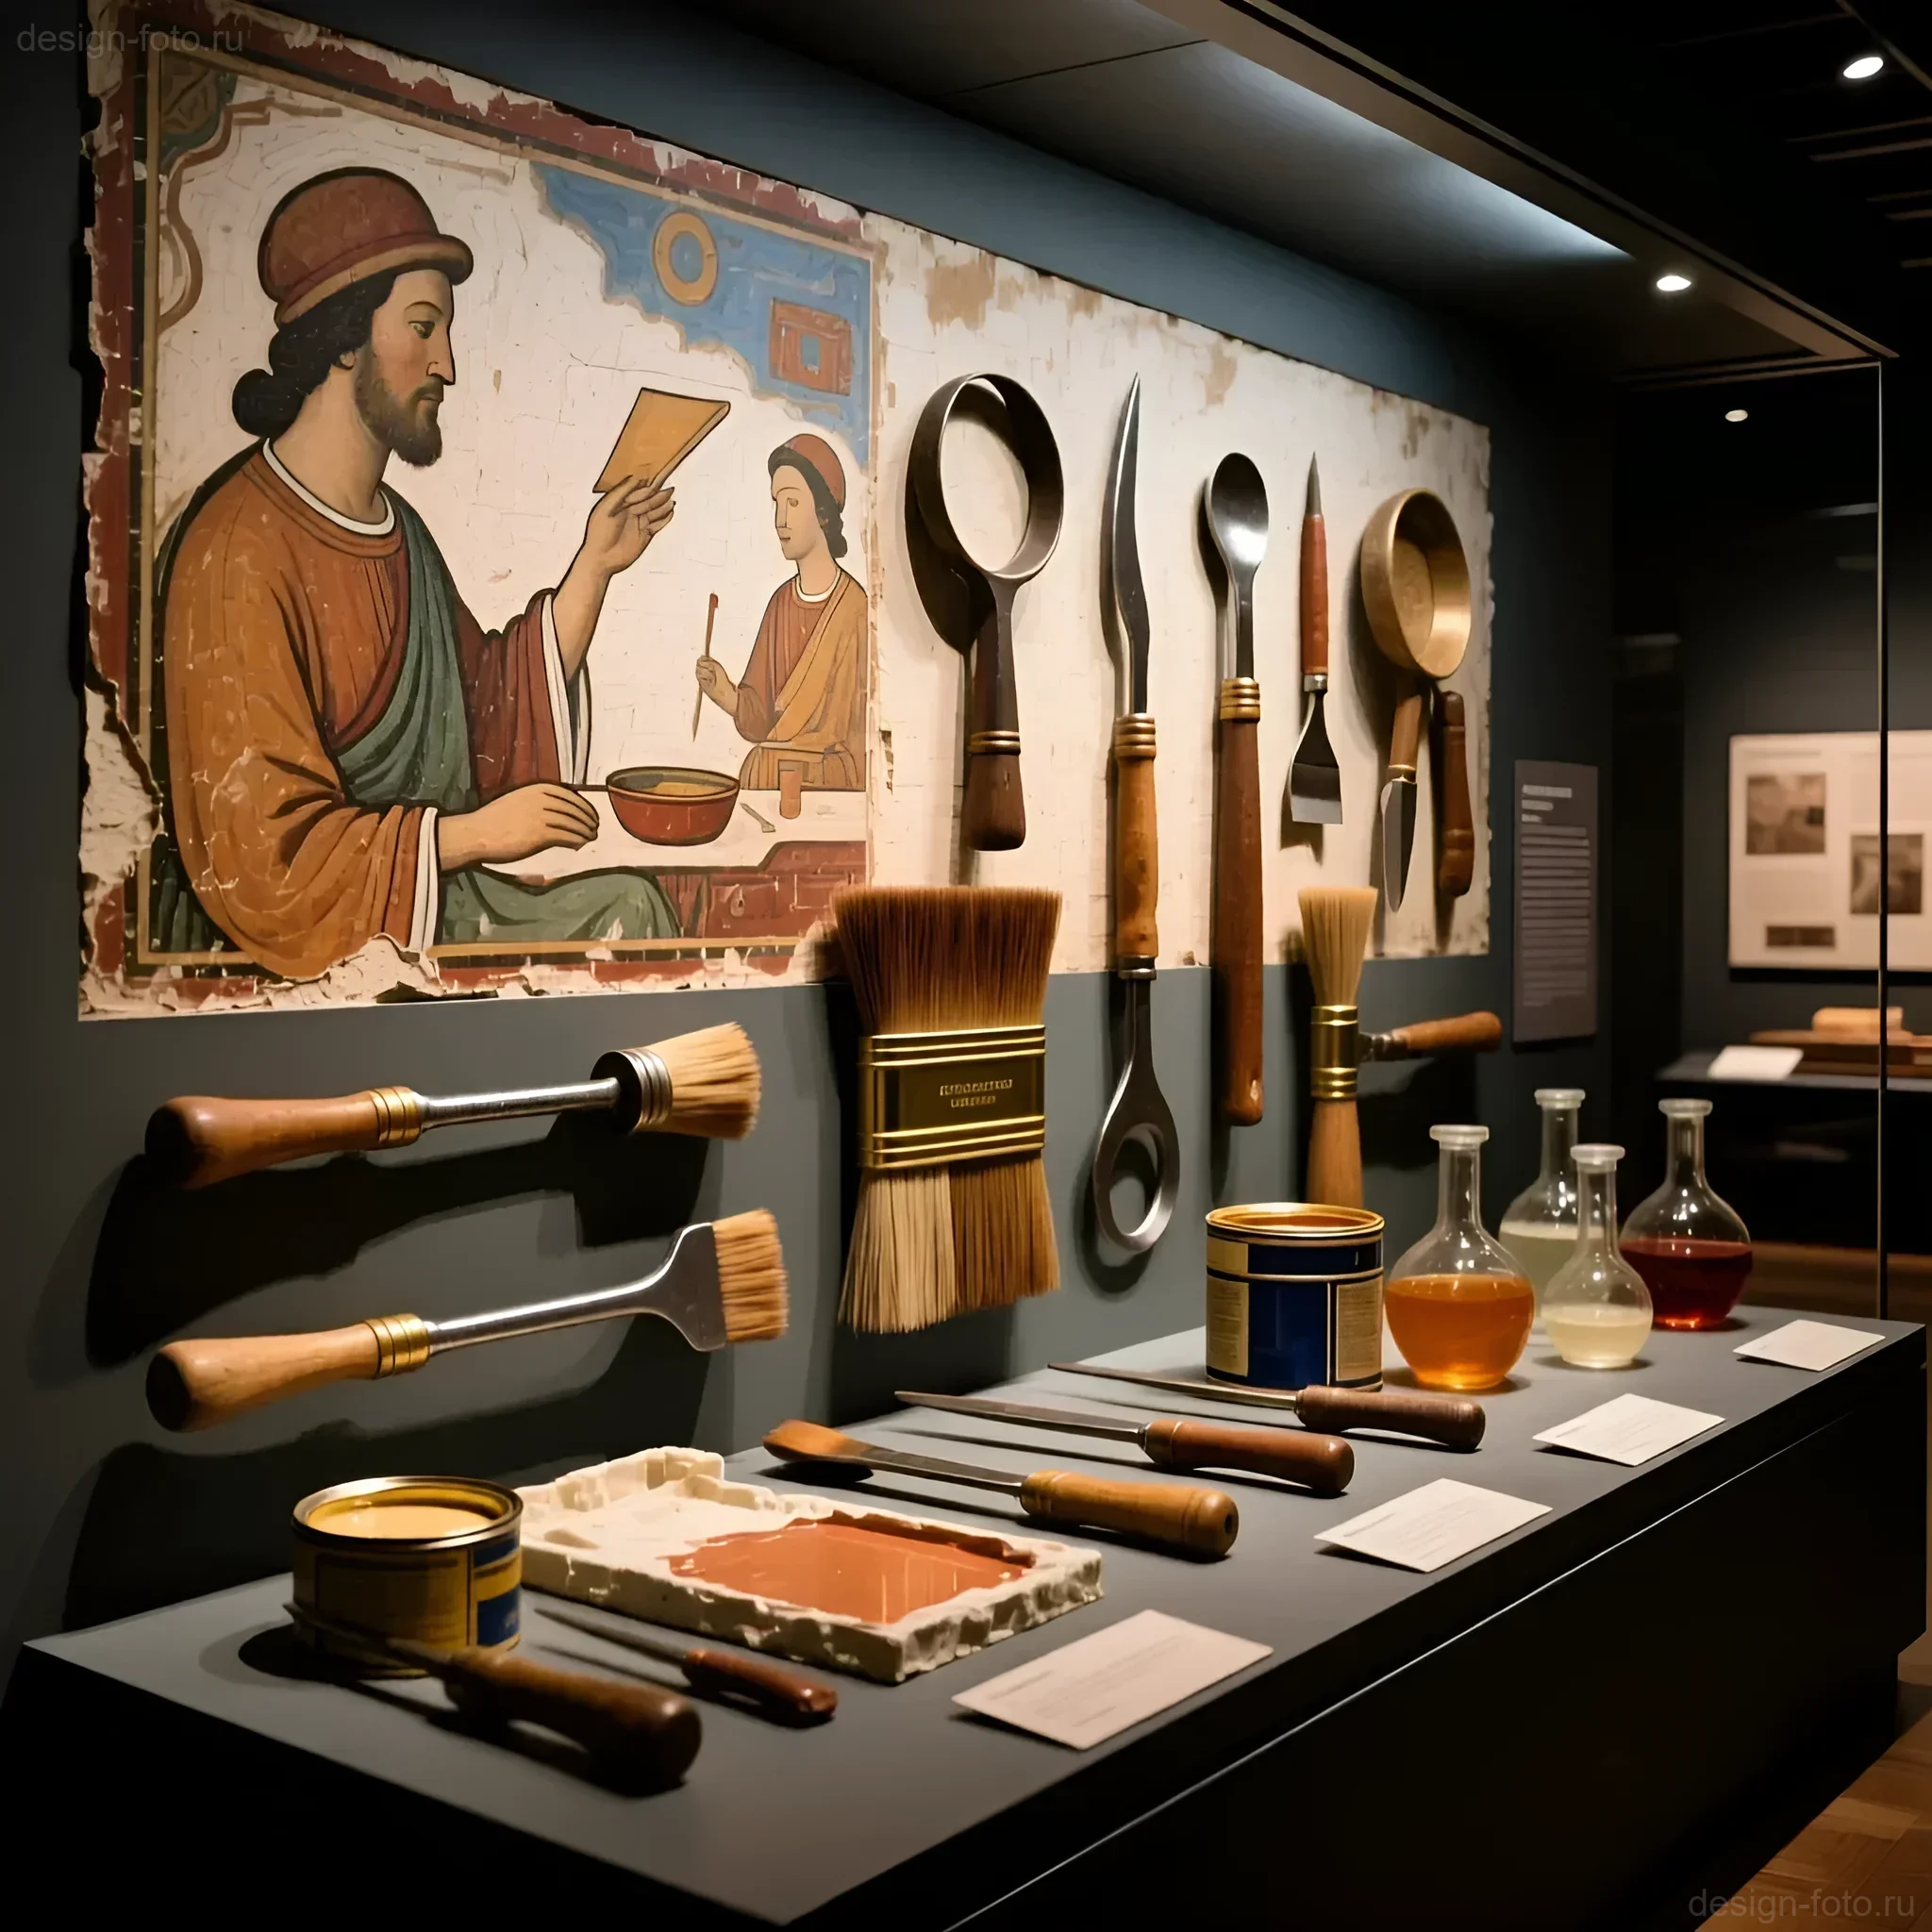
1. Primer was born in painting: The first priming compounds appeared long before modern construction. Renaissance artists used complex mixtures based on animal glues and pigments to prepare canvases and wooden panels. This was done to prevent paints from soaking into the fabric and fading over time. Modern construction primers are direct descendants of these artistic compounds.
2. Particle size matters: The effectiveness of deep-penetrating primer directly depends on the size of the polymer particles. In high-quality primers, these particles are so small (sometimes only 0.05 micrometers) that they can penetrate deep into micro-cracks and pores where regular acrylic composition simply cannot reach. That’s why a quality deep-penetrating primer costs more.
3. Primer as a moisture detector: Some professional craftsmen use primer as a moisture indicator. If you apply primer and it dries significantly slower in some areas, it may indicate increased residual moisture in the wall, which is critical before wallpapering or applying decorative coatings.
4. Primer against fire: There are special fire-retardant primers. They are not used in regular renovations but are indispensable when working with wooden structures or in industrial premises. These compounds swell when heated, forming a heat-insulating layer that slows down the spread of fire.
Priming walls is not just a routine duty but a key stage that ensures the durability and aesthetics of your renovation. We hope that our detailed advice will help you achieve a perfect result, whether it’s bright paint or elegant wallpaper.
Рекомендуем:
 Betonokontakt: A Comprehensive Guide to Application for Perfect Renovation
 DIY Venetian Plaster: Is It Possible?
 How to Hang Vinyl Wallpaper on a Paper Backing?
 How to Hang Wallpaper Without Seams: The Technique for Perfect Joints
 How to Update Old Tiles Without Removing Them: 99 Ways to Transform Your Bathroom and Kitchen
 Bark Beetle Decorative Plaster: Application Technology
 New wallpaper over old: is it possible and when should you try it?
 DIY Decorative Stone Wall Installation: Your Guide to Home Transformation
 Bathroom: Tile or Paint. What Will Everyone Face?
 How to Tile Walls in a Bathroom: A Detailed Guide
 Washable wallpaper for the kitchen: why it’s the best idea for your renovation?
 Wall Cladding with Wood Paneling: A Step-by-Step Guide
 Sanding Walls After Puttying: A Perfect Surface with Your Own Hands
 How to Make a Brick Wall in an Interior (Imitation)
 How to Wallpaper Behind a Radiator
 Liquid Wallpaper: Pros, Cons, and Application Technology
 What to do if wallpaper is peeling at the seams?
 What to do if mold or mildew appears on the walls?
 PVC Wall Panels: Cheap and Cheerful. Installation Guide
 MDF Panel Wall Finishing: Installation Guide