
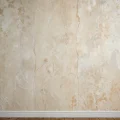
In the world of interior design and renovation, there’s an unwritten rule: the quality of the finishing coat depends 90% on the preparation of the base. And if applying putty can be compared to the work of a sculptor, then sanding walls is the final, meticulous touch that transforms a draft into a perfect canvas. Many DIY enthusiasts underestimate this stage, considering it a tedious and dusty evil. However, it is precisely here that the difference lies between professional renovation, where light glides over a perfectly smooth surface, and amateur work, where even a small lamp reveals all the “waves” and scratches.
As a professional designer and someone who has seen hundreds of projects, I can tell you with certainty: how you sand your walls will determine the fate of future painting or wallpapering. In this article, we will delve into how to choose the right sandpaper, what tools to use, and most importantly, how to perform the sanding so that your walls become the benchmark of smoothness.
1. Sanding Walls After Puttying: The First Step to a Perfect Finish – Why Is It Necessary?
Why sand at all if the craftsman (or you yourself) applied the putty “almost perfectly”? The fact is that even the most professional hand leaves microscopic, and sometimes quite visible, defects. These defects become a disaster when it’s time for the finishing coat. Sanding solves three key tasks:
- Eliminating Lumps and Bumps. When applying putty, small thickenings inevitably form along the edges, especially when working with corners or seams. If they are not removed, they will be visible even under thick wallpaper.
- Smoothing Tool Marks. Even the sharpest putty knife leaves fine grooves and scratches (so-called “risks”) on the surface. If you plan to paint, these risks will show up under side lighting, creating a “combed” wall effect.
- Creating a Uniform Texture. Sanding ensures uniform porosity and smoothness of the surface across its entire area. This is critical for even primer absorption and, consequently, for perfect paint application. Uneven texture will lead to blotches and material waste.
Remember: Sanding is not just about removing excess material. It is a process of leveling the plane at a micro-level, allowing you to achieve visual perfection. You cannot save time or effort at this stage, especially if you are working with glossy or semi-gloss paint.
2. Choosing Sandpaper for Wall Sanding: Grit and Its Importance
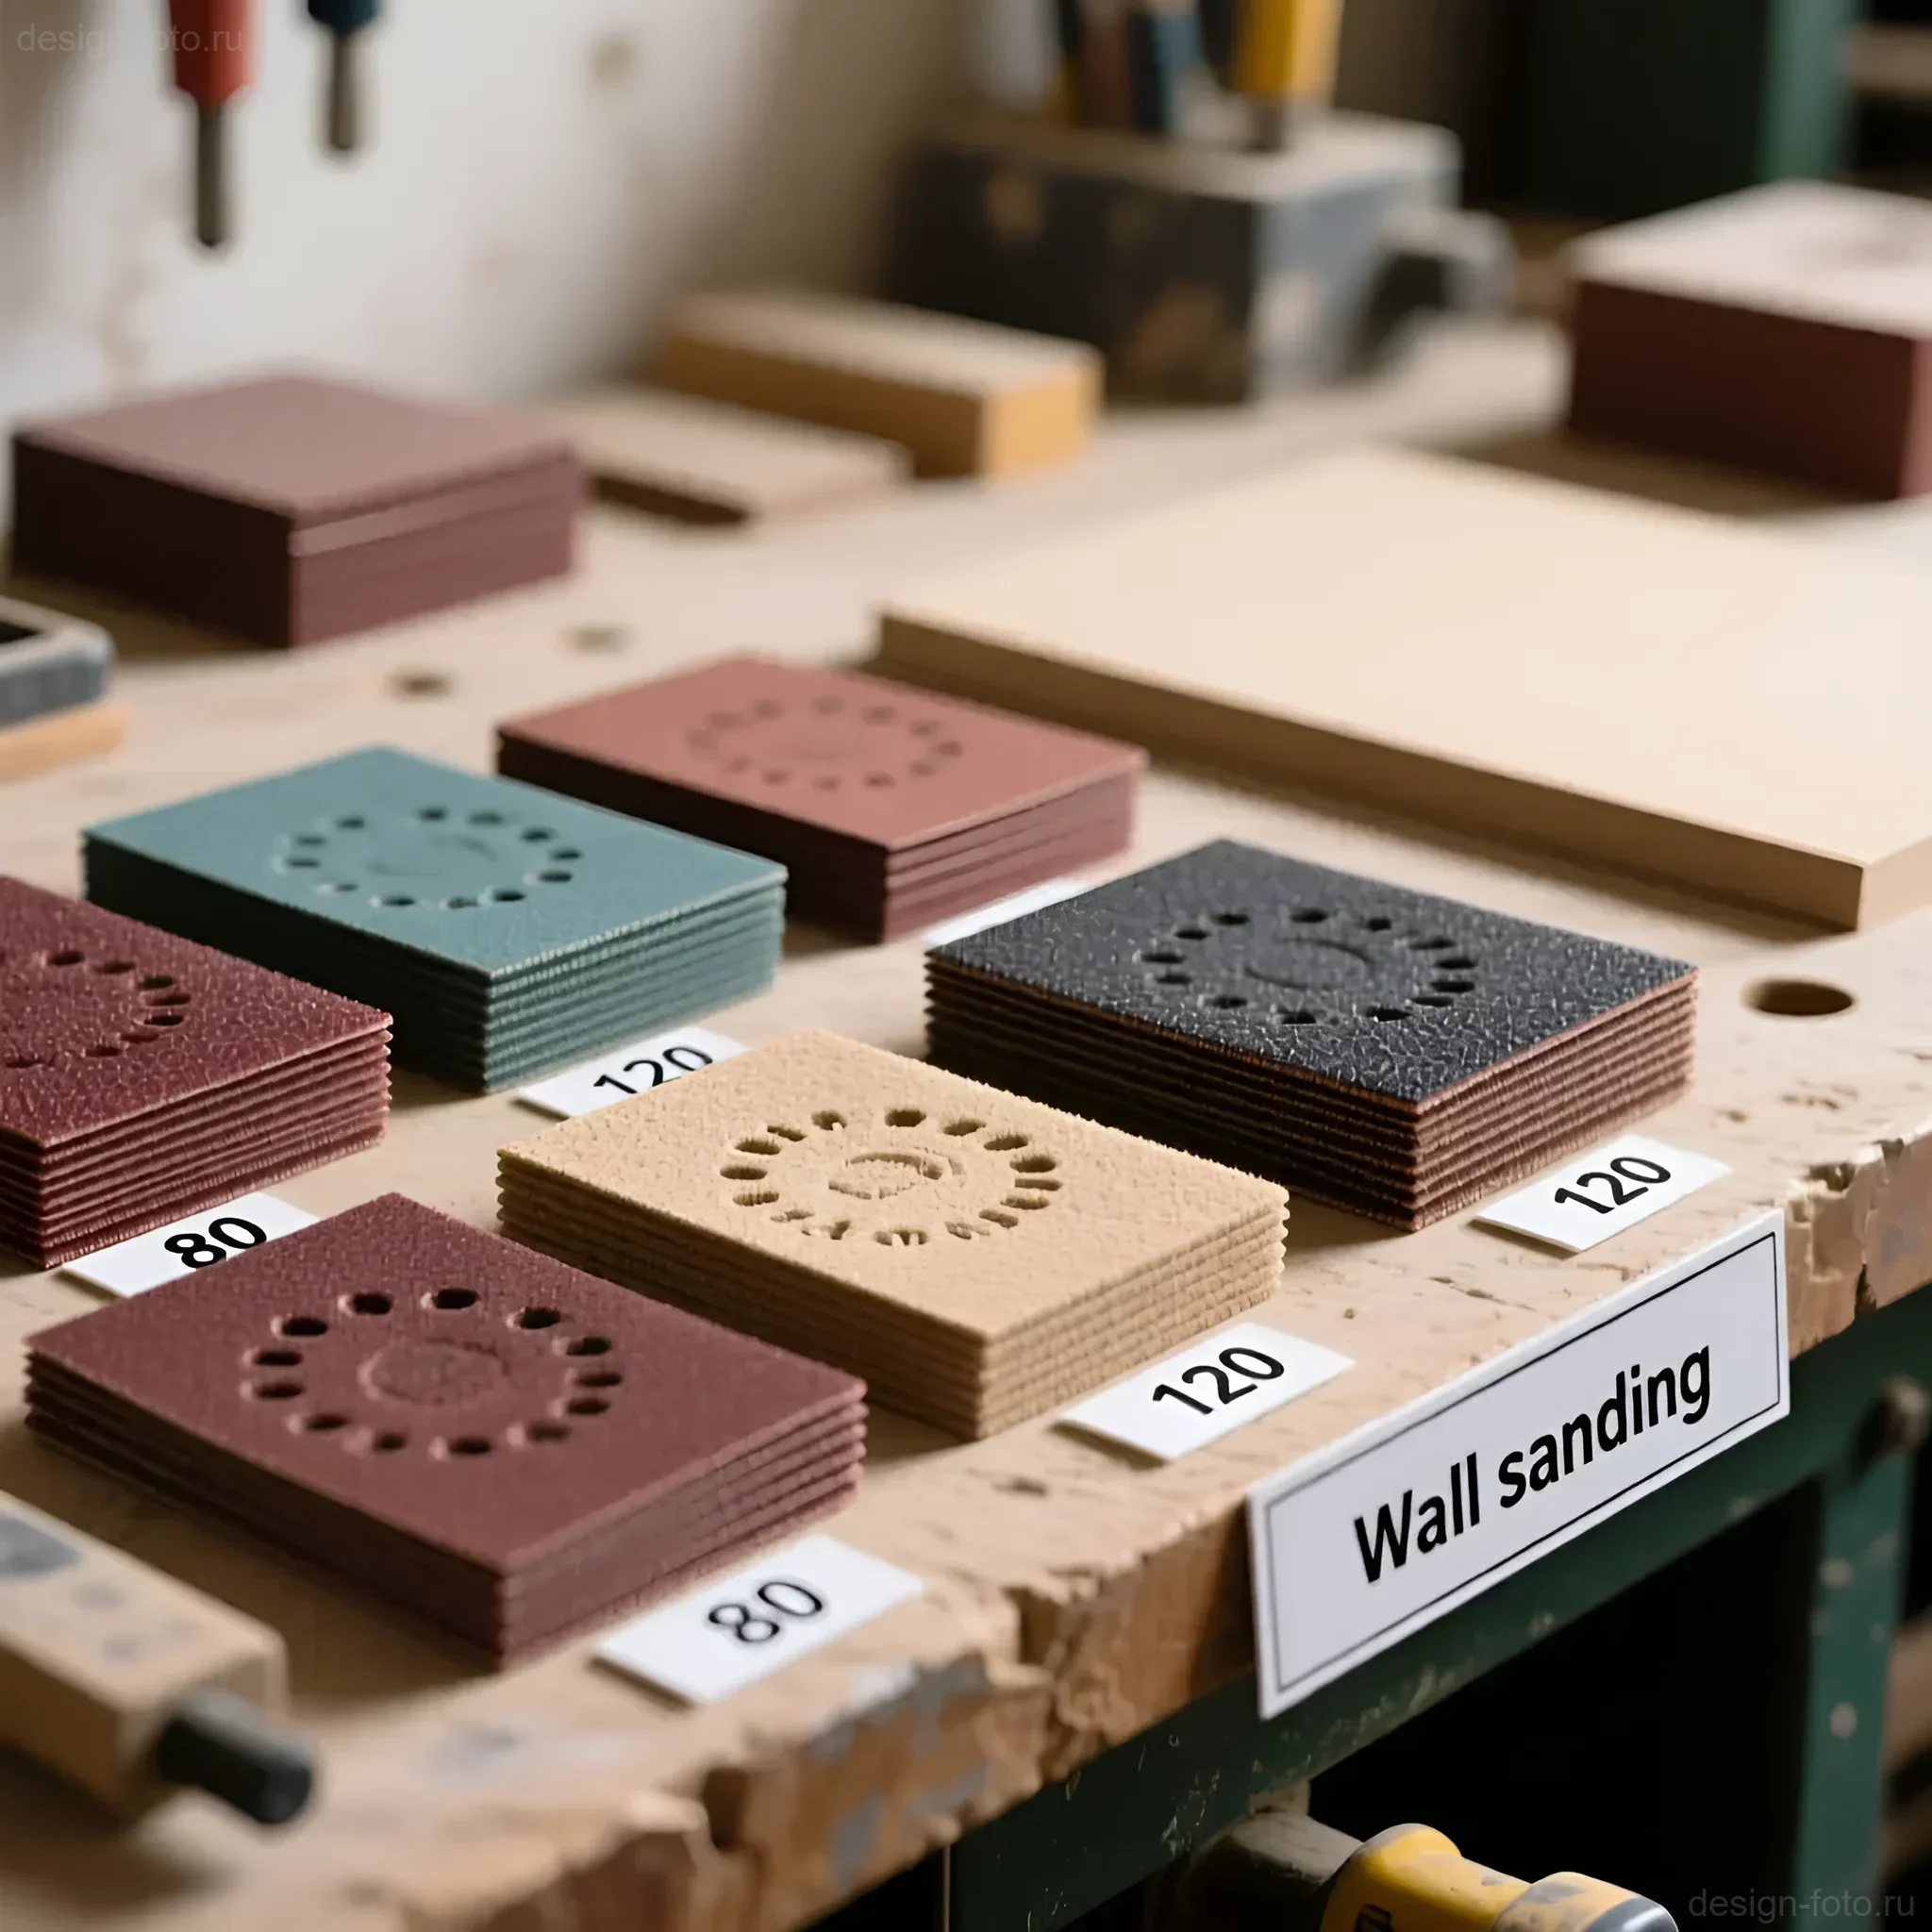
The choice of abrasive is 90% of success. If you use too coarse a grit, you will quickly remove material but leave deep scratches that will take longer to remove. If you use too fine a grit, you will spend hours without achieving results. Sandpaper (or abrasive mesh) is marked according to the P system, where the number indicates the density of grains per square centimeter. The higher the number, the finer the grit.
Main Stages and Corresponding Grit (P-Grade)
For quality wall sanding after puttying, you will need at least two, preferably three, types of grit.
Stage 1: Coarse (Initial) Sanding
This stage is needed to remove significant lumps, eliminate marks from a wide putty knife, and level seams. It is typically used after the first, leveling layer of putty.
- P80 – P100: Used only for very rough work, removing a large amount of material, or working on starter (cement/gypsum) putty. If you are working with finishing paste, this range is likely not for you, as it leaves too deep scratches.
- P100 – P120: The ideal working range for initial leveling after applying base layers of putty. It quickly removes material, eliminates lumps, but requires subsequent sanding with finer grit.
Stage 2: Intermediate (Main) Sanding
This is the main stage, used after applying the finishing layer of putty. The goal is to remove fine marks from the putty knife and prepare the surface for final finishing.
- P150 – P180: The most versatile and frequently used range. P150 perfectly handles residual defects after P120, and P180 creates a surface that is already acceptable for applying dense wallpaper.
Stage 3: Fine (Finishing) Sanding
This stage is mandatory if you plan to paint, especially with semi-gloss or gloss paint, or to apply thin vinyl/non-woven wallpaper.
- P220 – P240: This is the minimum standard for sanding for high-quality painting. P220 grit removes all micro-scratches left by P150/P180 and creates a perfectly smooth, velvety surface on which the paint will apply flawlessly.
Grit Selection Summary Table
| Task | Recommended Grit (P) | Comment |
|---|---|---|
| Removing large defects (start) | P100 – P120 | Fast material removal, requires subsequent sanding. |
| Preparation for thick wallpaper | P120 – P150 | Sufficient for good adhesion and masking minor defects. |
| Preparation for thin wallpaper | P150 – P180 | Necessary to prevent defects from showing through the material. |
| Preparation for matte paint | P180 – P220 | Eliminates most scratches. P220 is preferred. |
| Preparation for gloss/semi-gloss paint | P220 – P240 | Maximum smoothness. Gloss does not forgive mistakes. |
Important Point: Mesh vs. Paper. Professionals often use abrasive mesh instead of sandpaper. Mesh has an advantage: it is self-cleaning. Putty dust passes through its holes, significantly extending the life of the abrasive and reducing the risk of deep scratches from stuck dust clumps.
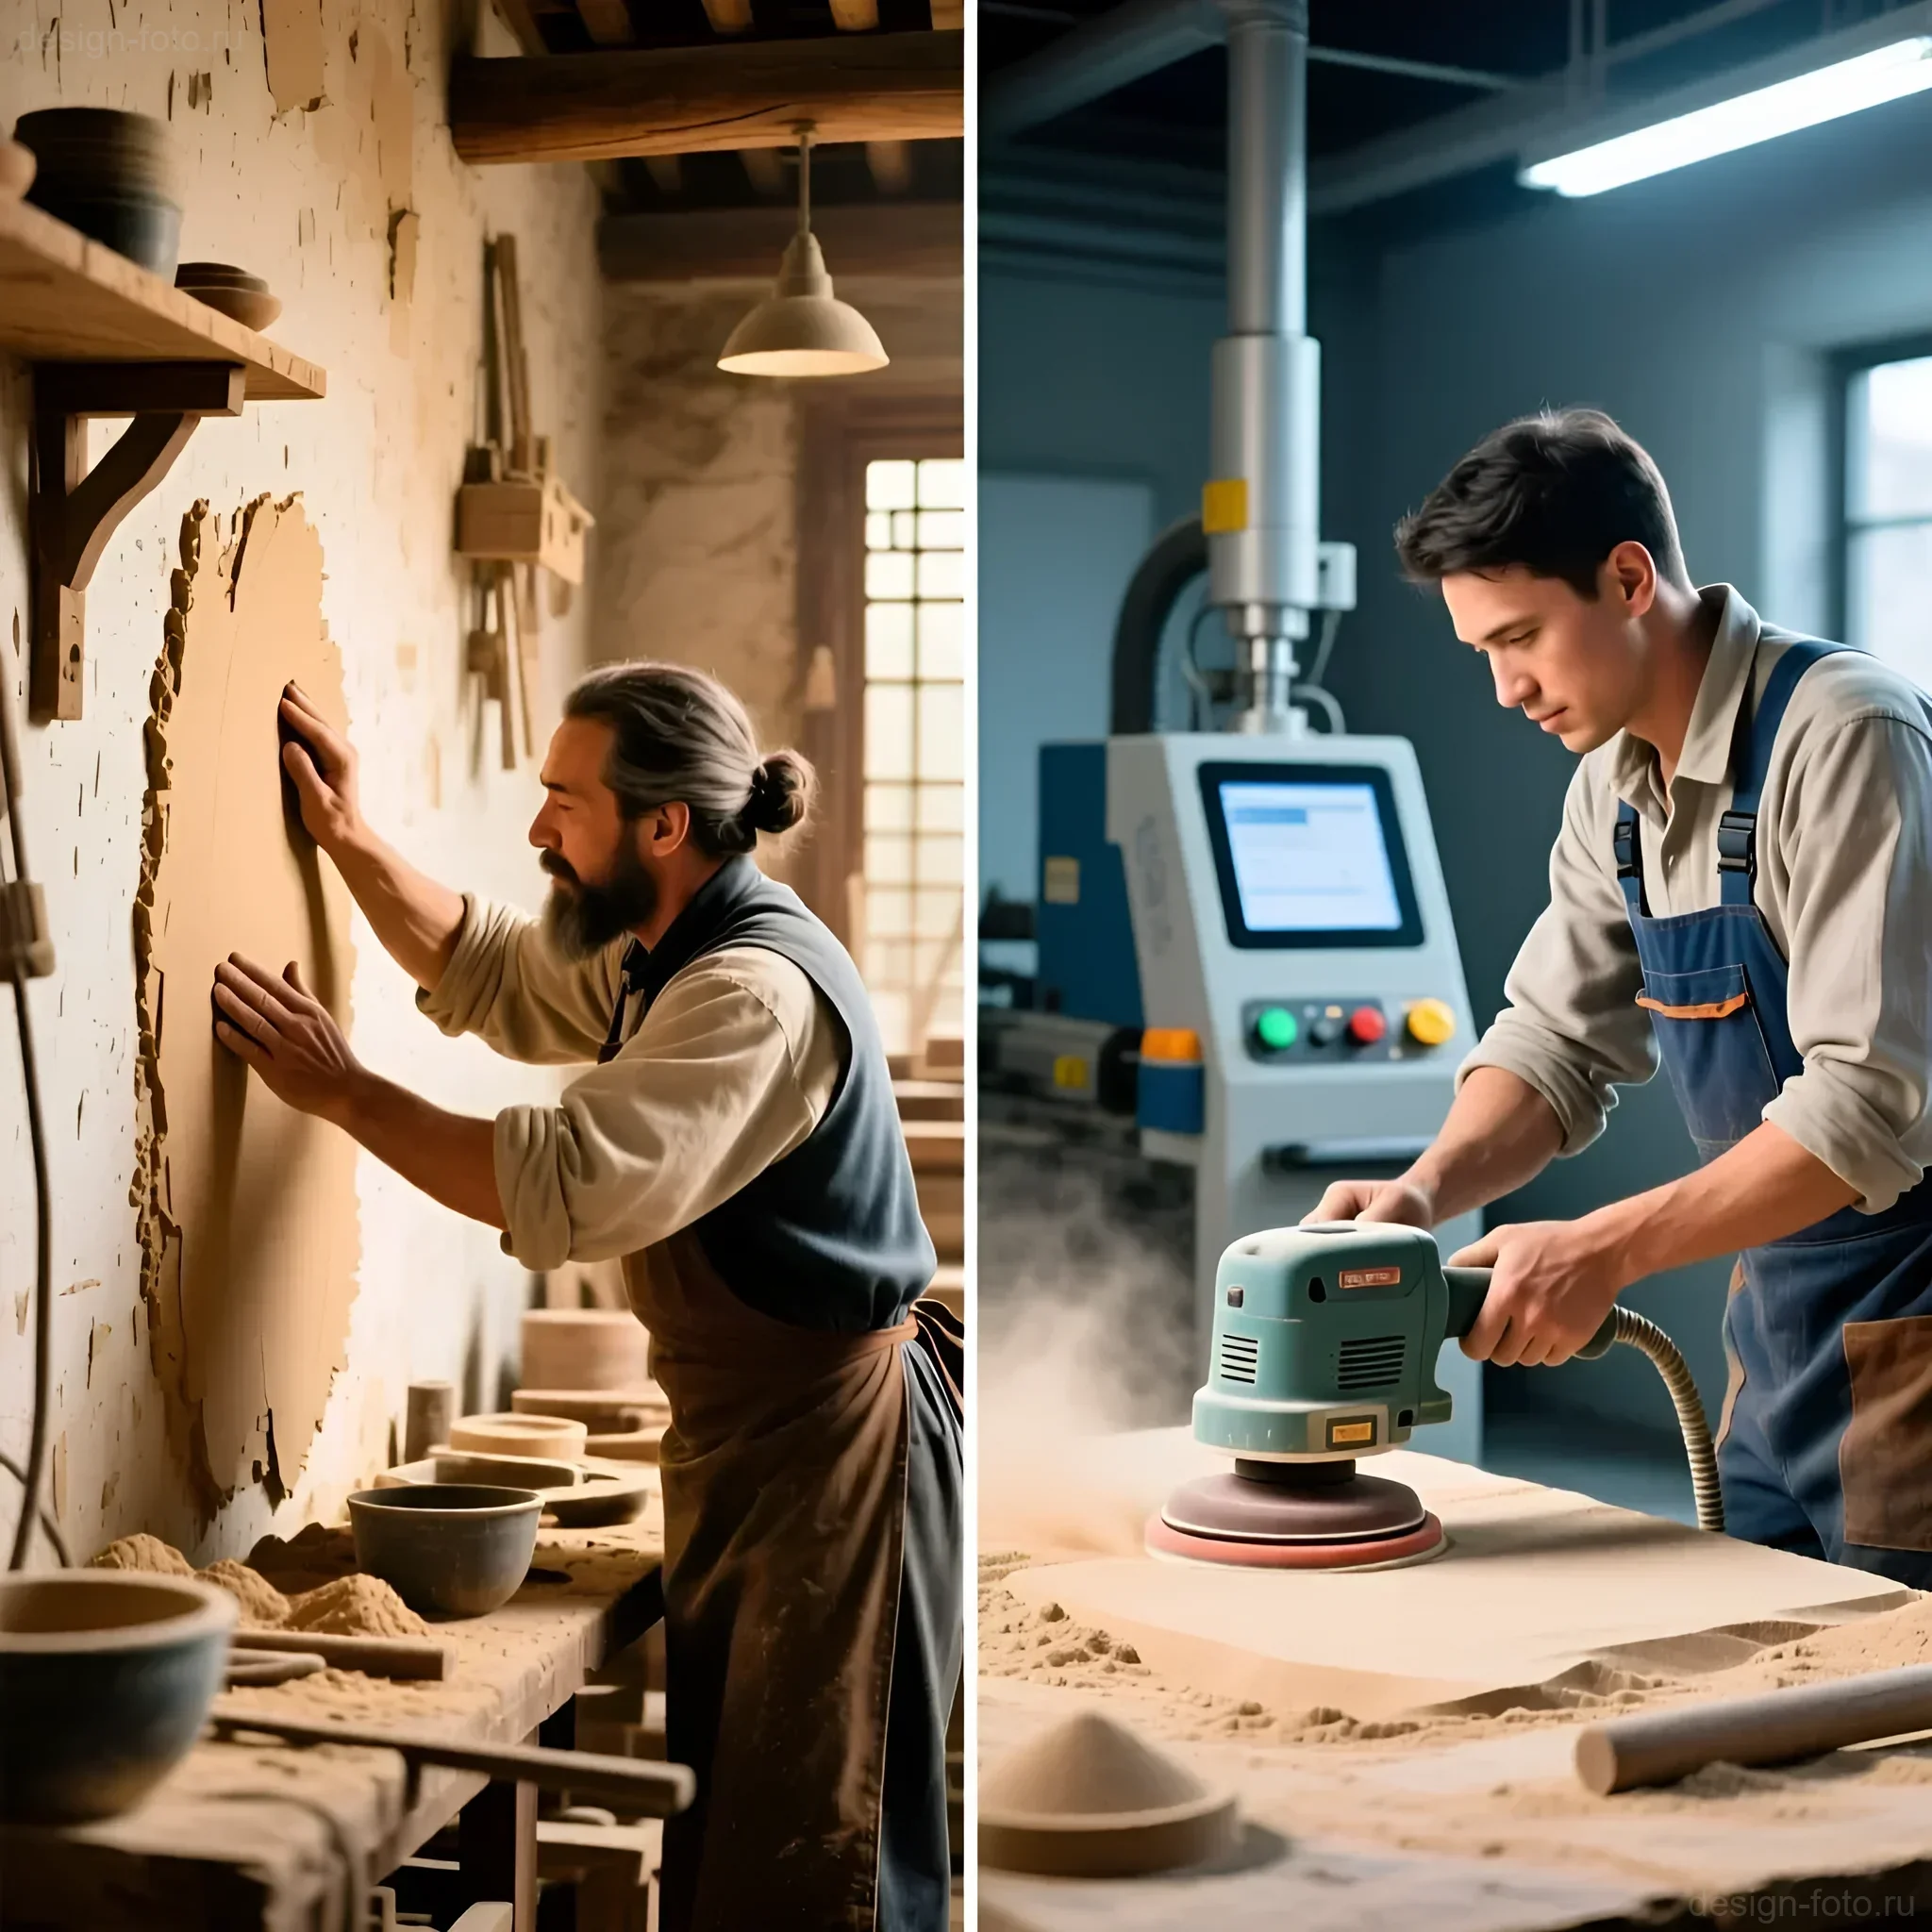
3. Tools for Wall Sanding: From Manual to Electric
The choice of tool directly depends on the volume of work, your quality requirements, and budget. We will consider three main categories.
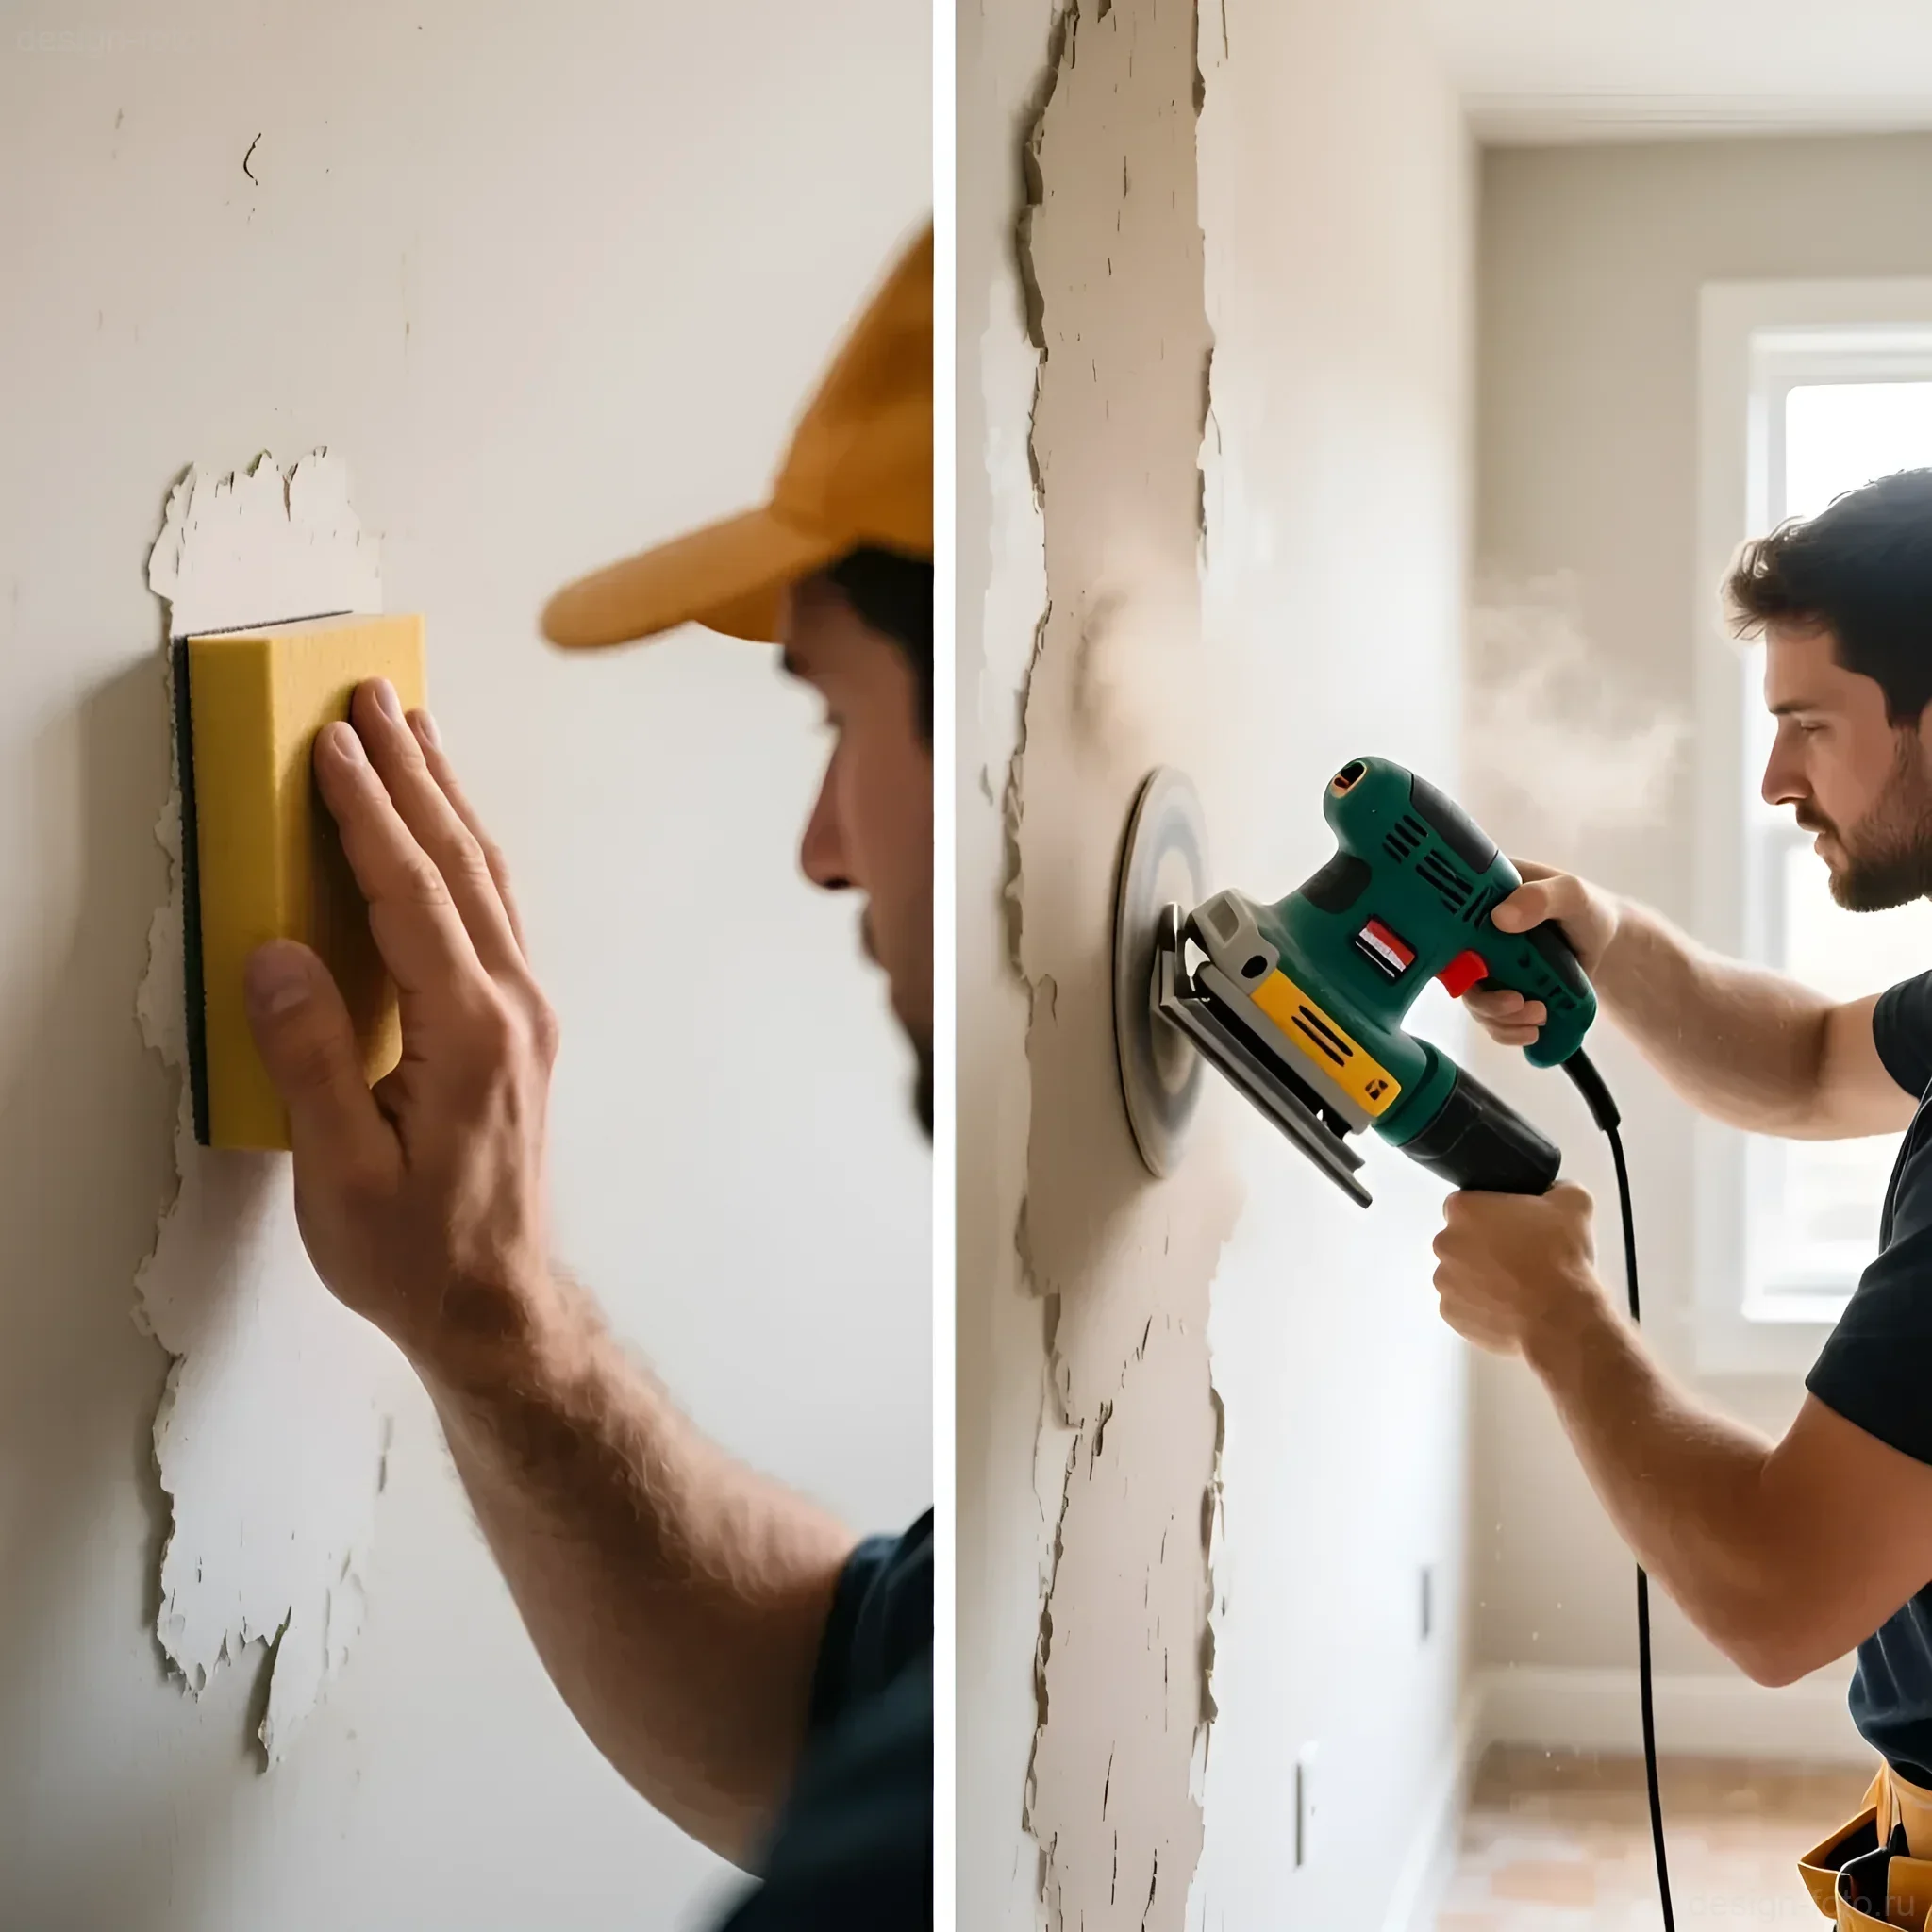
1. Manual Tools (for small volumes and control)
If you need to sand a small area or are working in an apartment where minimal noise is important, manual tools are your choice.
- Manual Sanding Block (Sander, Pad): The simplest and most affordable tool. It is a plastic or cork platform with clips for attaching sandpaper or mesh. It allows for good pressure control and is ideal for corners and edges. Tip: choose blocks with a soft but firm sole to avoid creating indentations.
- Sanding Sponge (Sponge): Used for final sanding and working in hard-to-reach areas (internal corners, curves). Typically has a grit of P180-P220.
2. Electric Sanders (for medium volumes)
These tools significantly speed up the process and provide a more uniform result, especially with a dust extraction system.
- Random Orbital Sander: Excellent for small walls and ceilings. It performs rotational and orbital movements, which help minimize the visibility of circular scratches. Used with round abrasive discs (P120-P240).
- Sheet Sander (Orbital Sander): Works with reciprocating movements. Good for final leveling, but can leave visible lines if used incorrectly. Uses rectangular abrasive sheets.
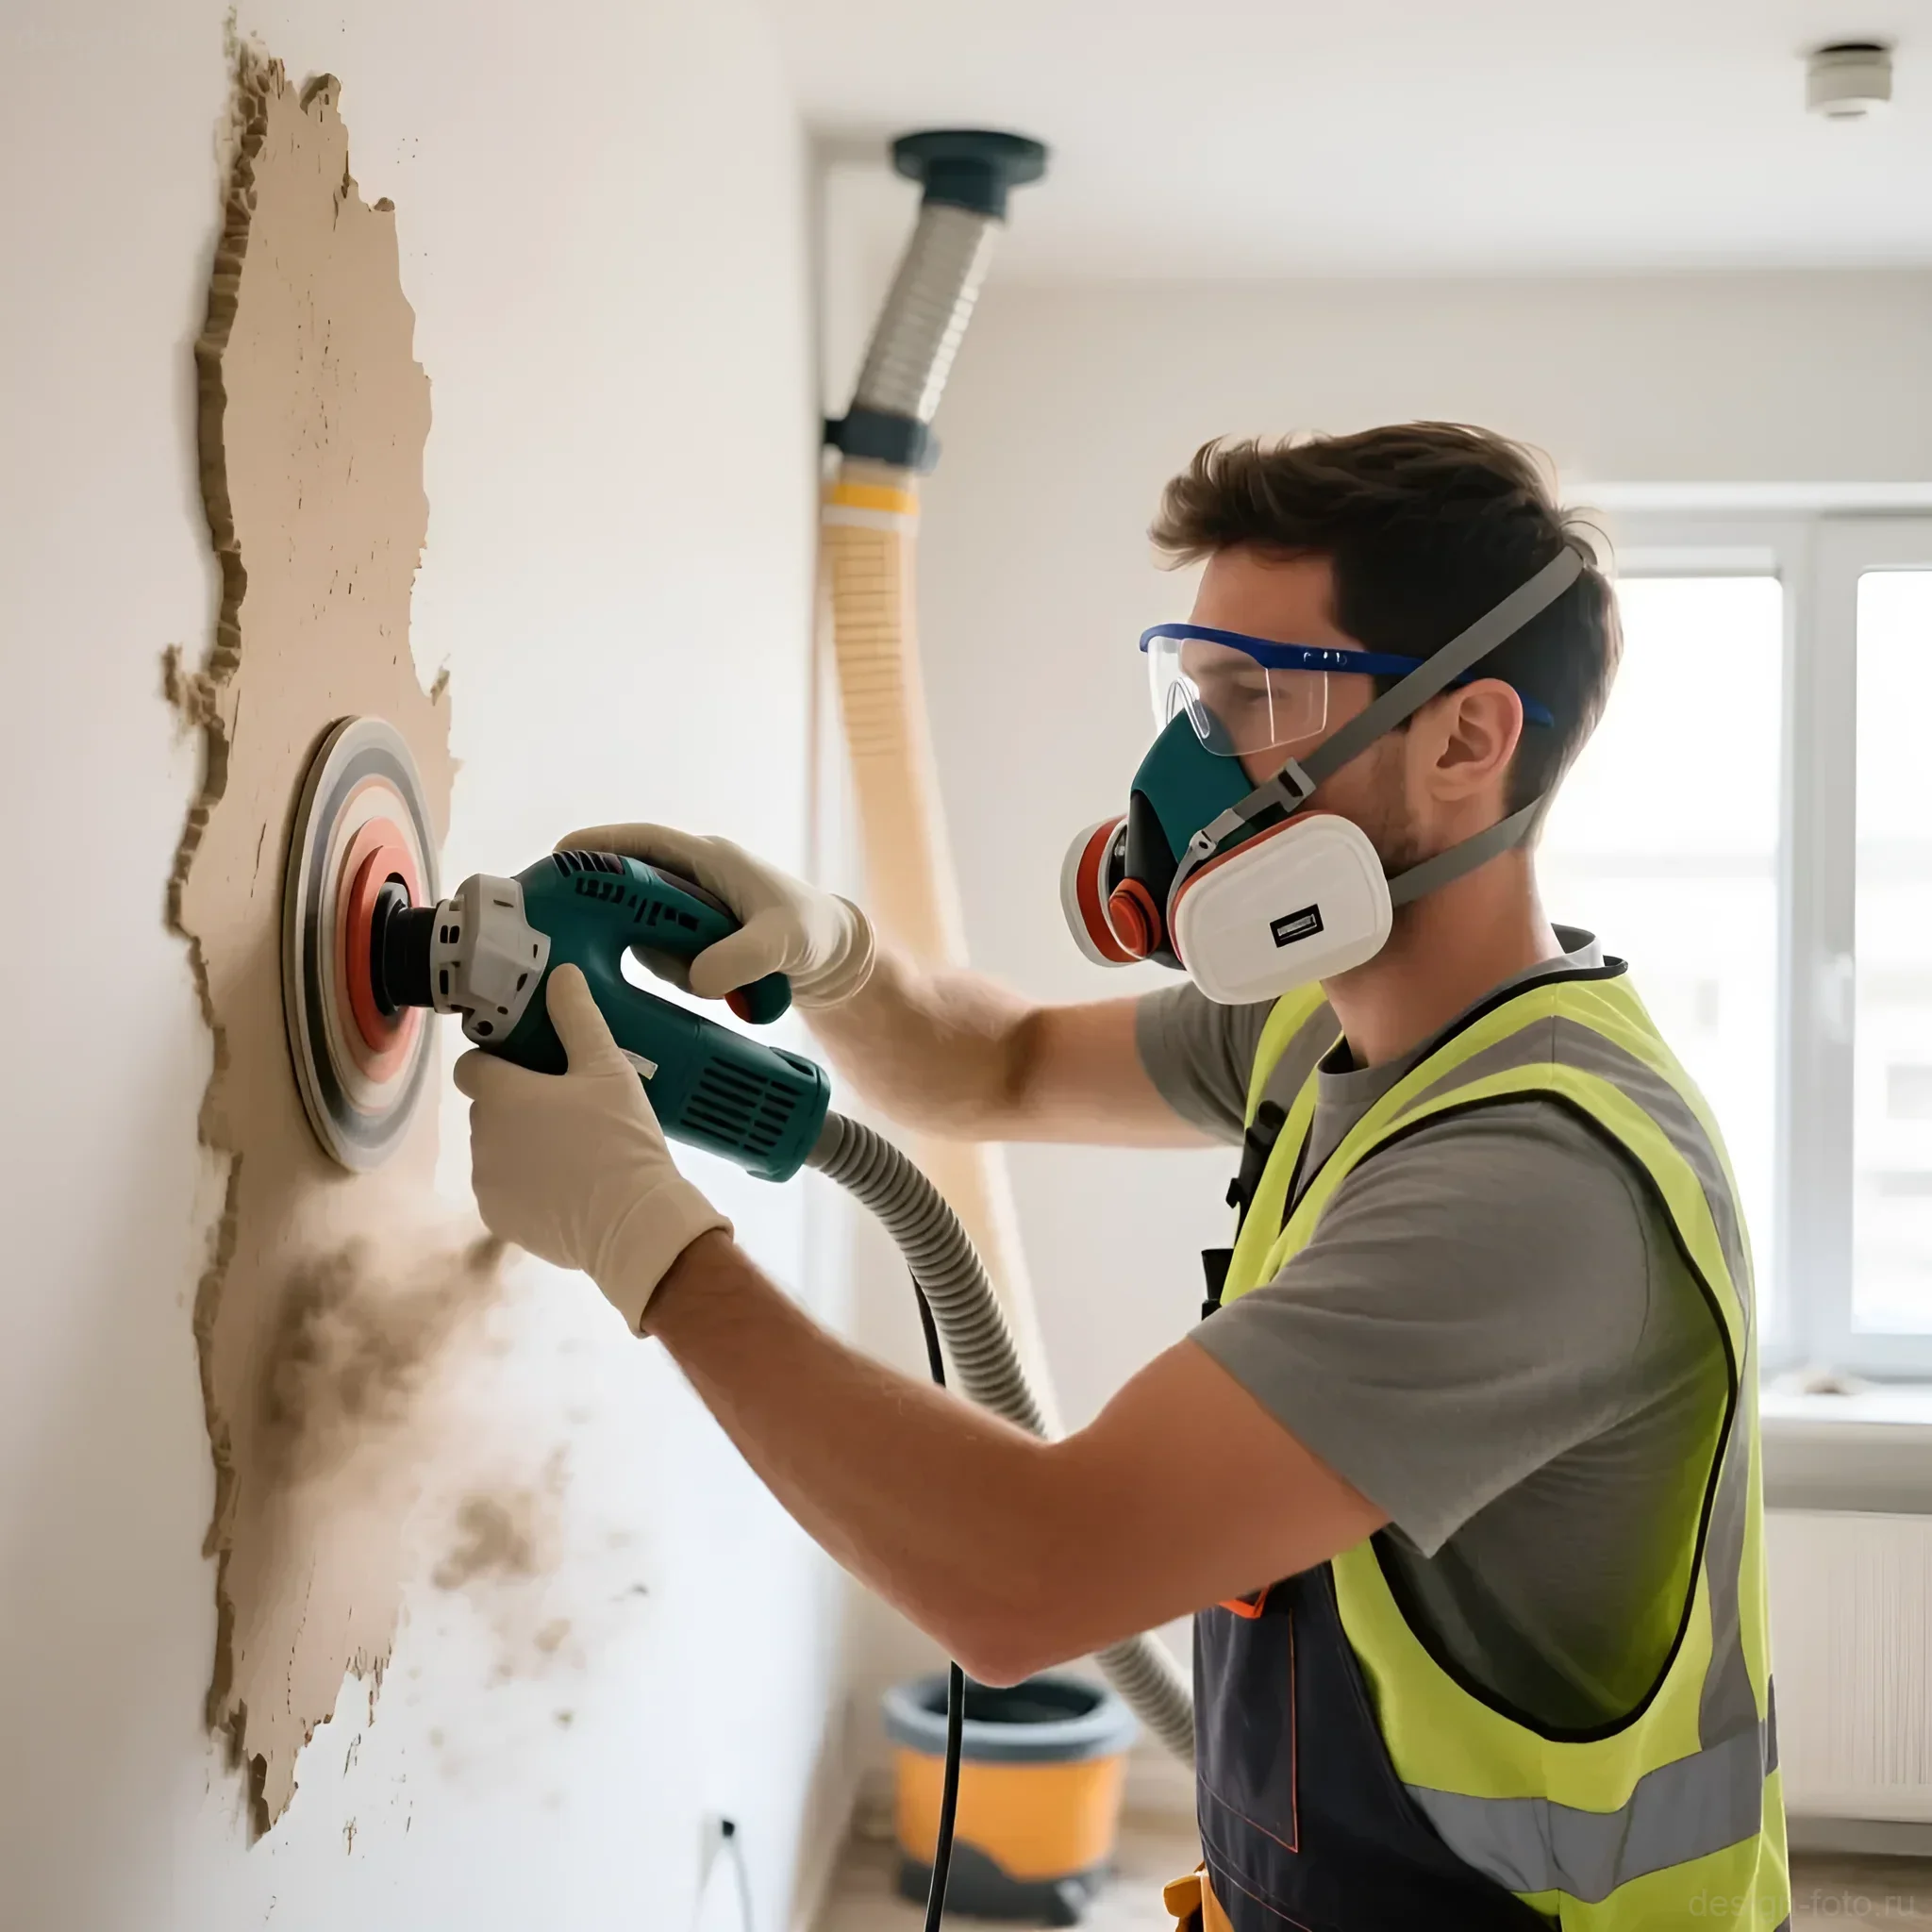
3. Professional Systems (for large volumes and maximum comfort)
If you are renovating an entire house or working with high ceilings, you cannot do without these tools.
- Long-Handled Sander (“Giraffe”, Planex): A specialized tool for sanding walls and ceilings. It has a telescopic handle and a large working surface (usually 225 mm). The main advantage is the ability to work without a ladder and a built-in dust extraction system connected to an industrial vacuum cleaner. This is the cleanest and fastest way to sand.
- Industrial Vacuum Cleaner with Power Tool Connection: This is not just a tool, it’s a necessity. Sanding putty generates a huge amount of fine dust (gypsum) that settles everywhere. Using a vacuum cleaner that turns on simultaneously with the sander reduces dust generation by 80-90%.
Designer’s Tip: Never skimp on personal protective equipment. Gypsum dust is very harmful to the lungs. You need a good respirator (FFP2 or FFP3 class), safety glasses, and a special suit.
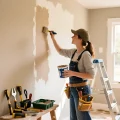
4. How to Properly Sand Walls After Puttying: Step-by-Step Instructions

Sanding technique is as important as choosing the grit. Incorrect pressure or movement can ruin even perfectly applied putty.
Step 1: Prepare the Workspace and Material
Ensure the putty is completely dry. Drying time depends on the thickness of the layer and humidity, but usually, finishing paste requires 12–24 hours. Check for dryness by touching the wall – it should be light-colored and dry to the touch.
Lighting: This is the most crucial point. You cannot sand in general lighting. You need a powerful spotlight or a portable lamp set up parallel to the wall (side lighting). Only side lighting reveals all shadows from the slightest bumps, dents, and scratches.
Step 2: Choose Starting Grit and Technique
Start with a coarser grit (P120–P150). Attach the abrasive to a manual block or sander.
Movement Technique:
- If using a manual block, move in circular or crosswise motions, covering small areas (approximately 50×50 cm).
- If using power tools (random orbital sander or “Giraffe”), move in even, overlapping strokes.
Pressure Control: The pressure should be minimal and uniform. You should let the abrasive do its work. Excessive pressure leads to the formation of localized dents and “waves,” as well as overheating and rapid wear of the abrasive.
Step 3: Check the Surface
After sanding an area, wipe it with a clean cloth and check under side lighting. Any shadows or glares indicate a defect. If bumps are visible, continue working with the same grit. If scratches (risks) are visible, move to a finer grit.
Step 4: Final Sanding
Move to a finer grit (P180–P240) for the final smoothing. At this stage, you remove all traces left by the previous, coarser abrasive. Movements should be even lighter.
Step 5: Dust Removal and Priming
After completing the sanding, the entire surface must be thoroughly cleaned. Do not try to simply brush off the dust with a dry cloth – this will only stir it into the air and leave some on the wall.
Correct Method: First, go over the walls with a dry brush or broom to remove the bulk of the dust. Then, use an industrial vacuum cleaner with a soft attachment. The final step is dust removal using a deep-penetrating primer. The primer will bind remaining micro-particles of dust, strengthen the base, and ensure ideal adhesion for paint or glue.
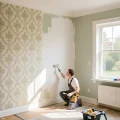
5. Sanding Walls for Painting and Wallpapering: Nuances and Differences
The quality requirements for sanding differ drastically depending on the finishing material. Ignoring these differences is a common cause of disappointment.
Sanding for Wallpaper
Wallpaper, especially dense non-woven or vinyl types, can hide minor imperfections. The main task here is to ensure a flat surface and good adhesion, without “polishing” the surface to a shine.
- Required Smoothness: Grit of P120 – P150 is sufficient. If the wallpaper is very thin or light-colored, it’s better to finish with P180 to prevent the putty texture from showing through.
- Danger: If you sand the wall too finely (e.g., P240), you can “polish” the gypsum putty. A polished surface becomes glossy and dense, which reduces primer absorption and decreases the adhesion of wallpaper paste. The wallpaper may start to peel off.
- Focus: Eliminating large lumps and dents. Minor scratches are not as critical.
Sanding for Painting
Paint is a coating that does not hide, but rather emphasizes all the defects of the base. This is especially true for gloss and semi-gloss finishes, which act like mirrors, reflecting light and highlighting every micro-scratch.
- Required Smoothness: Minimum P180, but P220 – P240 is strongly recommended.
- Danger: Any remaining scratches from P150 will be visible after the first coat of paint. When sanding for painting, it is essential to work with powerful side lighting.
- Focus: Achieving ideal, velvety smoothness. It is necessary to thoroughly remove all traces of coarser abrasives.
- Priming: Two coats of primer are mandatory before painting: the first – for dust removal and strengthening after sanding, the second – for leveling absorbency before applying the finish coat.
6. Common Mistakes in Wall Sanding and How to Avoid Them

Even with the right tools and abrasives, beginners often make the same mistakes. Knowing these pitfalls will help you save time and nerves.
Mistake 1: Uneven Pressure
Problem: If you press too hard on the same spot, you will “wear through” a dent in the putty. When using a manual block, people often press harder on the edges, which leads to grooves.
How to Avoid: Use a wide sanding block (20–30 cm) to distribute pressure. Work with light, gliding motions. When using power tools, let them work under their own weight, just guiding them.
Mistake 2: Ignoring Side Lighting
Problem: Without side lighting, you won’t see 90% of the defects. You will think the wall is smooth until you start painting it, and only then will you discover all the “waves” and scratches.
How to Avoid: Always use a powerful light source (halogen spotlight or LED flashlight) and hold it at a sharp angle to the wall. Check every sanded area.
Mistake 3: Skipping Grit Stages
Problem: Jumping directly from P100 to P220. Finer grit will not be able to quickly remove deep scratches from P100. You will have to work with P220 for hours, and the scratches may still remain, or you will start pressing harder, creating dents.
How to Avoid: Move sequentially: P120 -> P150 (or P180) -> P220. Each subsequent grit should remove the traces of the previous one.
Mistake 4: Premature Sanding
Problem: Sanding wet putty. If the putty is not completely dry, it will not sand but will roll up and stick to the abrasive, leaving deep grooves and clumps.
How to Avoid: Always allow the putty sufficient time to dry completely, following the manufacturer’s recommendations. For thick layers or high humidity, this may take more than 24 hours.
Mistake 5: Lack of Dust Removal Before Priming
Problem: When applying primer over a thick layer of gypsum dust, you simply create “mud” that reduces adhesion. The primer mixes with the dust and forms a weak, crumbly layer that can start to peel off with the paint.
How to Avoid: Remove as much dust as possible using dry methods (vacuum cleaner, brush) before you start with the primer roller.
7. FAQ: Answers to Popular Questions About Wall Sanding
Question: What is the difference between abrasive mesh and sandpaper?
Answer: Mesh is preferable for sanding putty because it has through-holes. Dust passes through them without clogging the abrasive. This ensures a longer service life and reduces the risk of scratches from clumped gypsum dust. Sandpaper (especially high-quality fabric-backed) can be better for finishing work (P220+), as it provides a more uniform texture, but it clogs faster.
Question: Can walls be sanded wet?
Answer: Absolutely not, if we are talking about standard gypsum or polymer putty. Gypsum putty, upon contact with water, softens and turns into a paste. This will lead to the destruction of the layer and the need for rework. Wet sanding is only used for very specific materials, such as certain types of decorative plasters or cementitious compounds.
Question: How to sand internal and external corners?
Answer: Corners require manual work. For internal corners, use a special corner sanding sponge or a folded piece of sandpaper secured with your fingers. Move along the corner. For external corners (slopes), use a manual block with a flat sole to keep the corner as sharp and straight as possible, avoiding “slopes.”
Question: How long does it take to sand 100 sq. m of walls?
Answer: If working manually, it can take 4–5 full working days, and the quality may suffer due to fatigue. When using a professional system (a “Giraffe” sander with a vacuum cleaner), an experienced craftsman can sand 100 sq. m in 1–2 days, ensuring much higher and more uniform quality.
8. Interesting Facts About Wall Sanding: From History to Modern Technologies
Sanding is a process that has evolved over centuries, moving from primitive methods to high-tech solutions.
- Historical Abrasives: Before the advent of standardized sandpaper in the 18th century, a wide variety of natural materials were used to smooth surfaces: from sharkskin (which has natural roughness) and pumice to dried plants with stiff fibers.
- Invention of Sandpaper: Although the first mentions of gluing sand to parchment date back to 15th-century China, modern sandpaper was patented in the USA only in the 1830s, when animal glue began to be used to bind the grains.
- P-Grade Standardization: Grit systems, such as the European P standard (FEPA), appeared relatively recently to ensure uniformity. Before that, marking was chaotic and often depended on the manufacturer or country.
- Dustless Technology: Modern professional sanding systems, such as the Festool Planex, use automatic suction control technology. They create a vacuum between the sanding pad and the wall, which allows for the removal of up to 98% of dust directly during operation. This not only improves cleanliness but also significantly enhances sanding quality, as dust does not interfere with the abrasive.
- Laser Quality Control: In large-scale construction and high-end renovations, special laser scanners or measuring rods are used, which project a grid onto the wall. This allows for instant detection of any deviations from the ideal plane (millimeter “waves”) even before painting, which cannot be seen with the naked eye.
Sanding is an investment in the durability and aesthetics of your interior. If you choose the right grit, do not ignore side lighting, and follow the principle of consistency, you are guaranteed to get a base worthy of any, even the most expensive, finishing material.
Рекомендуем:
 Priming Walls Before Wallpapering and Painting: The Ideal Foundation for Renovation
 Wall Cladding with Wood Paneling: A Step-by-Step Guide
 New wallpaper over old: is it possible and when should you try it?
 Betonokontakt: A Comprehensive Guide to Application for Perfect Renovation
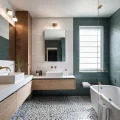 Bathroom: Tile or Paint. What Will Everyone Face?
 DIY Venetian Plaster: Is It Possible?
 How to Hang Wallpaper Without Seams: The Technique for Perfect Joints
 Washable wallpaper for the kitchen: why it’s the best idea for your renovation?
 How to Hang Vinyl Wallpaper on a Paper Backing?
 Liquid Wallpaper: Pros, Cons, and Application Technology
 Bark Beetle Decorative Plaster: Application Technology
 How to Update Old Tiles Without Removing Them: 99 Ways to Transform Your Bathroom and Kitchen
 How to Wallpaper Behind a Radiator
 PVC Wall Panels: Cheap and Cheerful. Installation Guide
 What to do if wallpaper is peeling at the seams?
 DIY Decorative Stone Wall Installation: Your Guide to Home Transformation
 MDF Panel Wall Finishing: Installation Guide
 Joint filler for tiles: how to choose the color and apply it correctly
 What to do if mold or mildew appears on the walls?
 Wallpapering Corners: Master Secrets