It’s nice when the renovation is finished, the walls delight the eye with smooth sheets of wallpaper, and your home is filled with coziness. But sometimes, after a while, we notice an annoying problem – the wallpaper starts to peel at the seams. This can greatly spoil the overall impression of the interior. Don’t rush to panic and think about re-pasting the whole thing! In most cases, this problem can be solved independently, and we will tell you how to do it as carefully and effectively as possible.
My name is [Ваше Имя], and as a professional designer, I often encounter such questions from my clients. Today I will share with you all the secrets on how to restore the perfect look to your walls, even if you have never done such repairs before. We will analyze all the reasons for the problem, select the right materials, and learn how to perform repairs so that no one will guess that there were once peeling areas here.
Why is wallpaper peeling at the seams? The main causes of the problem
Before rushing into battle with peeling seams, it’s important to understand why this happened in the first place. Knowing the causes will help not only to eliminate the current problem but also to avoid it in the future. Let’s break down the most common culprits:
- Insufficient glue application: This is perhaps the most common reason. If too little glue was applied to the seam, or it was applied unevenly, the sheets simply won’t be able to bond reliably to the wall and to each other. This is especially critical for vinyl and non-woven wallpapers, which require a tight fit.
- Poor quality glue: The market offers a huge variety of glues, and not all of them are equally good. Using glue that is too thin, old, or simply unsuitable for your type of wallpaper can lead to it losing its adhesive properties too quickly, and the wallpaper will start to peel.
- Violation of the pasting technology:
- Drying too quickly: If you pasted the wallpaper in a room with high temperature, drafts, or direct sunlight, the glue could dry out before it had time to bond reliably.
- Insufficient soaking time: Some types of wallpaper (e.g., paper) require a certain amount of time to soak in glue. If this step is skipped or done incorrectly, adhesion will be weak.
- Careless trimming: If the edges of the wallpaper are torn or too thick when trimmed, they may not adhere well to the wall.
- Quality of the wallpaper itself: Sometimes the problem lies with the rolls themselves. Cheap wallpaper with a thin paper backing can be more capricious and prone to deformation and peeling.
- Unprepared surface: If the wall was dusty, greasy before pasting, or old paint or whitewash did not hold well, then the wallpaper, accordingly, will not be able to adhere reliably to it.
- Humidity in the room: High humidity, especially in bathrooms or kitchens, can lead to the glue softening and, as a result, the wallpaper peeling off.
- Wall deformation: In rare cases, the cause may be house settling or wall deformation, which leads to tension in the wallpaper and its peeling.
Understanding these nuances is the first step to successful repairs. Now that we know what can go wrong, let’s move on to how to fix existing problems.
DIY Repair: how to re-glue wallpaper at the seams quickly and neatly
So, you’ve discovered that a seam has started to peel. Don’t despair! We’ll tell you how to quickly and neatly restore it to its former appearance. The main thing is to act step-by-step and use the right tools and materials.
What you will need:
- Wallpaper glue: Special seam glue or the one used to paste the wallpaper initially.
- Glue container: A small bowl or plastic container.
- Brush: A thin brush (e.g., an art brush or a narrow-bristled paint brush) or a special wallpaper spatula-brush.
- Spatula: A narrow plastic or metal spatula.
- Clean cloth or sponge: For removing excess glue.
- Knife or utility knife: For precise trimming.
- Water: For moistening the sponge and cleaning tools.
Process:
- Preparation: Make sure the area around the seam is clean. If there is dust or cobwebs, carefully remove them with a dry cloth.
- Applying glue: Gently lift the peeling edge of the wallpaper with a spatula. Then, using a thin brush, apply a small amount of wallpaper glue under the edge of the wallpaper. Try to apply the glue evenly along the entire length of the peeling. It’s important not to overdo the glue so it doesn’t ooze out the sides.
- Pressing: Carefully press the wallpaper onto the wall. Use a spatula, moving from the center of the seam to the edges, to push out excess air and glue. This will ensure a tight fit.
- Removing excess: If a little glue has oozed out, immediately and carefully remove it with a clean damp cloth or sponge. Do this gently so as not to damage the wallpaper.
- Drying: Allow the repaired area to dry. Avoid drafts and direct sunlight during this time.
This simple algorithm will help you deal with minor peeling. But what if you need to choose glue or prepare the surface? More on that next.
Choosing the right wallpaper glue: which formula is best
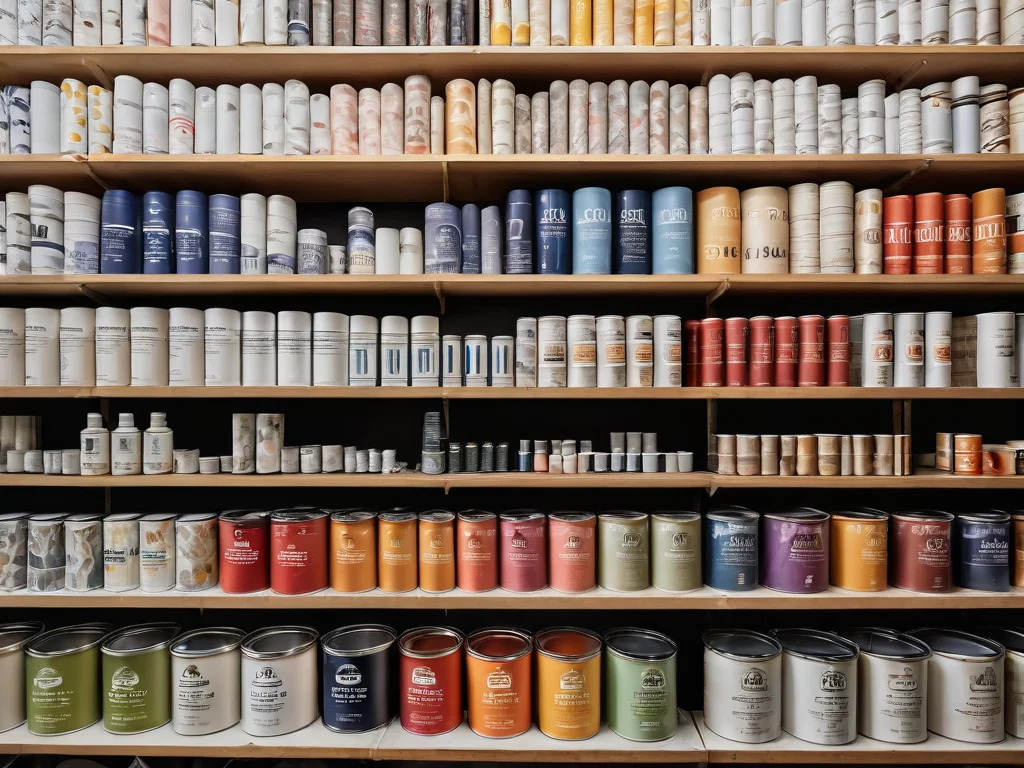
Choosing the right glue is one of the key factors affecting the durability and appearance of your wallpaper. You cannot use the same glue for all types of wallpaper, as each material has its own characteristics.
Main types of glues and their applications:
- Universal glue: Suitable for most types of paper, vinyl, and textile wallpapers. A good choice if you are unsure of the wallpaper type or are using different types.
- Glue for paper wallpaper: Usually has a more liquid consistency, penetrates paper well, but may not be strong enough for heavier types of wallpaper.
- Glue for vinyl wallpaper: Thicker and stronger, with increased moisture resistance. Ideal for kitchens and bathrooms where resistance to humidity fluctuations is important.
- Glue for non-woven wallpaper: Contains special additives that ensure excellent adhesion to the non-woven base and mineral surfaces. Often applied directly to the wall, not the wallpaper.
- Glue for textile and special wallpapers: Has a particularly strong formula, often with anti-mold additives and for better adhesion to heavy materials.
What to look for when choosing:
- Wallpaper type: Always check the wallpaper packaging – the manufacturer will indicate which type of glue is recommended.
- Composition: For seams, glue with high adhesion and good moisture resistance is very important.
- Drying time: Some glues set faster, others take longer. For beginners, it’s better to choose glue with a longer correction time to allow for fixing mistakes.
- Manufacturer: Prefer trusted brands.
Designer’s tip: If you are re-gluing a seam, try to use the same glue that was used to paste the wallpaper initially. If you don’t know which glue it was, choose a universal or special glue for your type of wallpaper. Prepare the glue strictly according to the instructions on the packaging – this is critically important for its properties.
Surface preparation: the key to perfect wallpaper adhesion
High-quality surface preparation is the foundation for successful wallpapering and, most importantly, for preventing it from peeling at the seams. Don’t neglect this step, even if you are just re-gluing a small area.
Preparation steps:
- Cleaning: Ensure the wall is completely clean. Remove dust, dirt, cobwebs, greasy stains. Use a dry cloth or vacuum cleaner. If there are greasy stains, they can be carefully removed with a weak soapy solution, then wiped with a clean damp sponge, and let the wall dry completely.
- Removing old coating: If there are pieces of old wallpaper left on the wall that are poorly adhering, whitewash, or old paint, they must be removed. A weak base will not allow the glue to adhere reliably. Whitewash should be scraped down to the base, and old paint, if it’s peeling, should also be removed.
- Leveling: Minor unevenness and cracks can be puttied. This is especially important for wallpaper seams, as any unevenness at the joint can lead to gaps.
- Priming: This is perhaps the most important preparation step, especially if you are dealing with problematic surfaces or pasting non-woven wallpaper. Primer improves the adhesion of the glue to the surface, reduces glue consumption, prevents mold, and evens out the wall’s absorbency.
Which primer to choose?
- Deep penetrating acrylic primer: A universal option, suitable for most surfaces. It strengthens the base and reduces absorbency.
- Quartz primer (with sand): Used to create a rough surface if the wallpaper is heavy or the wall is too smooth.
How to prime:
Apply the primer in an even layer using a brush or roller. Let it dry completely (time is indicated on the packaging). If the wall is highly absorbent, two coats of primer may be needed.
Designer’s tip: If you are re-gluing a seam, after applying the glue and pressing the sheet, you can additionally go over the seam with a narrow roller to ensure maximum adhesion. The main thing is to do it carefully so as not to damage the wallpaper.
Master class: step-by-step instructions for fixing peeling wallpaper
Now that we know all the nuances, let’s move on to the practical part. By following these steps, you can neatly and reliably re-glue peeling wallpaper seams.
Step 1: Assess the situation
Carefully separate the peeling edge of the wallpaper with your fingers or a thin spatula. Assess how much it has peeled and the condition of the wall underneath.
Step 2: Prepare the glue
Prepare the wallpaper glue according to the instructions on the packaging. You will need a small amount, so don’t mix the whole bag if it’s not required. Use a clean container.
Step 3: Apply the glue
Using a thin brush (a brush allows you to carefully apply glue right under the edge), apply glue under the peeled edge of the wallpaper. Spread it evenly along the entire length of the peeling. It is important that the glue covers the entire inner surface of the wallpaper that needs to be glued, and at the same time does not ooze out.
Step 4: Pressing and leveling
Carefully press the wallpaper onto the wall. Use a clean plastic spatula. Start pressing from the center of the seam and move towards the edges, pushing out excess air and glue. Try not to press too hard so as not to damage the wallpaper.
Step 5: Remove excess glue
If a little glue has oozed out at the edges, immediately remove it with a clean, slightly damp sponge or soft cloth. Do this carefully so as not to spread the glue over the wallpaper surface or rub off the pattern.
Step 6: Final pressing
Go over the seam again with a spatula to ensure a secure fit. For a tighter fit, you can use a special wallpaper roller, but you need to be extremely careful not to leave marks.
Step 7: Drying
Leave the repaired area to dry. During this period, it’s best to ensure there are no drafts or direct sunlight in the room so that the glue dries evenly.
Important nuances:
- For thin paper wallpaper: use a minimal amount of glue and work very carefully with the spatula so as not to tear the sheet.
- For vinyl and non-woven wallpaper: you can use a little more glue, but make sure it doesn’t get on the front side.
- If the seam has peeled significantly: you may need to carefully trim the edge of the wallpaper with a sharp knife so that it lies flat.
By following this step-by-step instruction, you can deal with the problem of peeling seams and restore your walls to their perfect appearance.
Common mistakes when re-gluing wallpaper: how to avoid them
Even when performing a seemingly simple task like re-gluing seams, you can make mistakes that will nullify all your efforts. Let’s break down the most common pitfalls so you can avoid them.
- Using the wrong glue: As we’ve already said, choosing the right glue is half the battle. Using paper glue on vinyl wallpaper or vice versa is a surefire way to get a result that won’t last long.
- Too much glue: The desire to “apply more” can backfire. Excess glue that oozes out not only looks unsightly but can also damage the top layer of the wallpaper, leaving stains or streaks after drying.
- Too little glue: Paradoxically, this mistake is also very common. If there isn’t enough glue, the seam simply won’t hold. Make sure the entire surface that needs to be glued is covered with glue.
- Ignoring surface preparation: Dust, grease, remnants of old paint or plaster – all these are enemies of good adhesion. Pasting on an unprepared wall is a direct path to the wallpaper peeling off again.
- Drafts and high temperatures: Pasting in a room where the air conditioner is on or the windows are open will lead to the glue drying too quickly. The wallpaper won’t have time to adhere properly. The same applies to hot weather – the glue will simply “burn out.”
- Careless removal of excess glue: Rubbing too hard with a damp cloth, especially on paper wallpaper, can rub off the pattern or damage the surface. Act gently and carefully.
- Using dirty tools: Dust and dirt on the brush or spatula can get onto the wallpaper and spoil its appearance. Always use clean tools.
- Incorrect pressing: Too much pressure with the spatula can deform the wallpaper, especially if it’s not yet fully saturated with glue. Use moderate force and move from the center to the edges.
By avoiding these mistakes, you will significantly increase the chances that the re-glued seam will look like new and last a long time.
Pro tips: extending the life of wallpaper at the seams
Professionals always know a couple of tricks that help make the work not only high-quality but also more durable. Here are some useful tips that will help you achieve a perfect result and extend the life of your wallpaper at the seams:
- Use special seam glue: There are ready-made glues in tubes or dispensers designed specifically for re-gluing seams. They usually have a thick consistency and are conveniently applied with a thin nozzle, minimizing the risk of glue getting on the front of the wallpaper.
- Using painter’s tape: If the wallpaper is very delicate, before re-gluing the seam, you can carefully apply painter’s tape along the edge of the wallpaper to protect it from glue. After the glue dries, the tape should be carefully removed.
- “Double application” technique (for some types of wallpaper): If you are pasting wallpaper that requires pre-soaking and notice peeling, you can carefully lift the edge, apply glue to the wall, and then to the edge of the wallpaper itself, let it soak a little, and then re-glue it. This method ensures more reliable adhesion.
- Use a wallpaper iron: Some craftsmen use a small iron (e.g., for hot glue sticks or a special wallpaper iron) on a minimal setting to warm the glue and press the wallpaper better. Do this very carefully so as not to damage the wallpaper.
- Sealing seams (for specific cases): In rooms with high humidity (bathroom, kitchen) or on seams that are subject to mechanical stress, a thin layer of transparent acrylic sealant is sometimes used. This helps protect the seam from moisture and wear. It should be applied very thinly and carefully.
- Regular inspection: Periodically inspect the walls, especially in corners and at seams, for early signs of peeling. The sooner you notice a problem, the easier and faster it will be to fix.
- Proper ventilation: After re-gluing, ensure even drying. Do not seal the room completely, but also avoid drafts.
These simple but effective techniques will help you deal with any wallpaper quirks and keep your renovation in perfect condition.
When is it time to re-paste? Signs that wallpaper needs a complete replacement
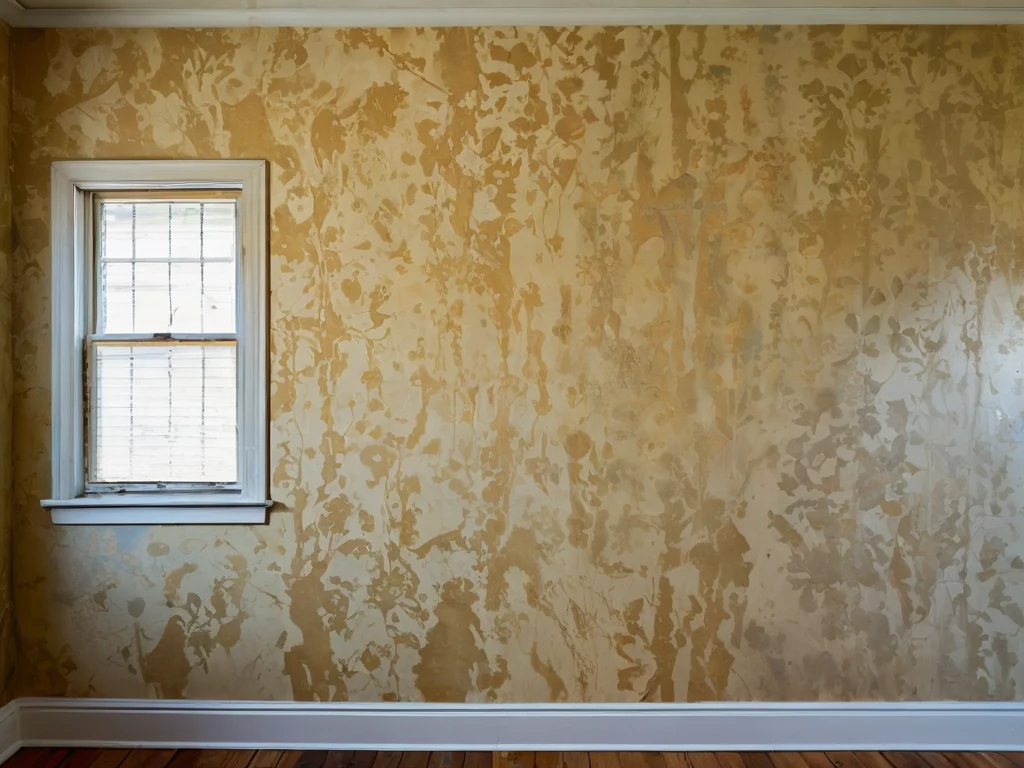
We’ve covered how to re-glue peeling seams. But there are situations when minor repairs won’t help, and the walls require more radical measures. It’s important to be able to recognize these signs so as not to waste time and effort on hopeless patching.
Signs that it’s time to completely re-paste the wallpaper:
- Mass peeling: If peeling seams have started to appear in many areas of the walls, and the problem is systemic, it’s likely not about individual areas, but about the overall quality of the pasting or glue.
- Appearance of mold or mildew: If dark spots have started to appear under the wallpaper, it indicates moisture penetration and the development of microorganisms. In this case, it’s necessary not only to remove the wallpaper but also to treat the wall with antiseptics.
- Severe fading or discoloration: If the wallpaper has lost its original color, become dull, especially if this has happened unevenly (e.g., where sunlight hit it), it may be time to update the interior.
- Damage from mechanical impact: Scratches, cuts, scuffs – if they are numerous and spoil the appearance, self-repairing won’t solve the problem.
- Wallpaper deformation: Bloating, bubbles that don’t disappear after pasting, or wallpaper that has “shrunk” after drying, indicate low material quality or violation of technology.
- Unpleasant odor: Sometimes wallpaper can start to emit an unpleasant odor, which may be due to the development of microflora underneath or the quality of the material itself.
- Radical change in design: Sometimes you just want to update the interior, choose a new style, color, or texture. In this case, of course, no re-gluing will help – only a complete replacement.
Don’t be afraid to decide on a complete re-pasting if you see that minor repairs are no longer effective. This is an opportunity to breathe new life into your home, choose more modern and high-quality materials, and make the interior exactly as you envision it.
I hope my advice will help you deal with any problems related to wallpaper seams. Remember that neatness, attention to detail, and the right choice of materials are the key to a beautiful and durable renovation. Good luck with your endeavors!
